
Work on the Ascent stage continued with more foil work. Before I added more foil, I painted some black on the lower cabin and the RCS quads. Foil was then added around the hatch area, the area below and under the “gills” and the lower sections of the front RCS quads.
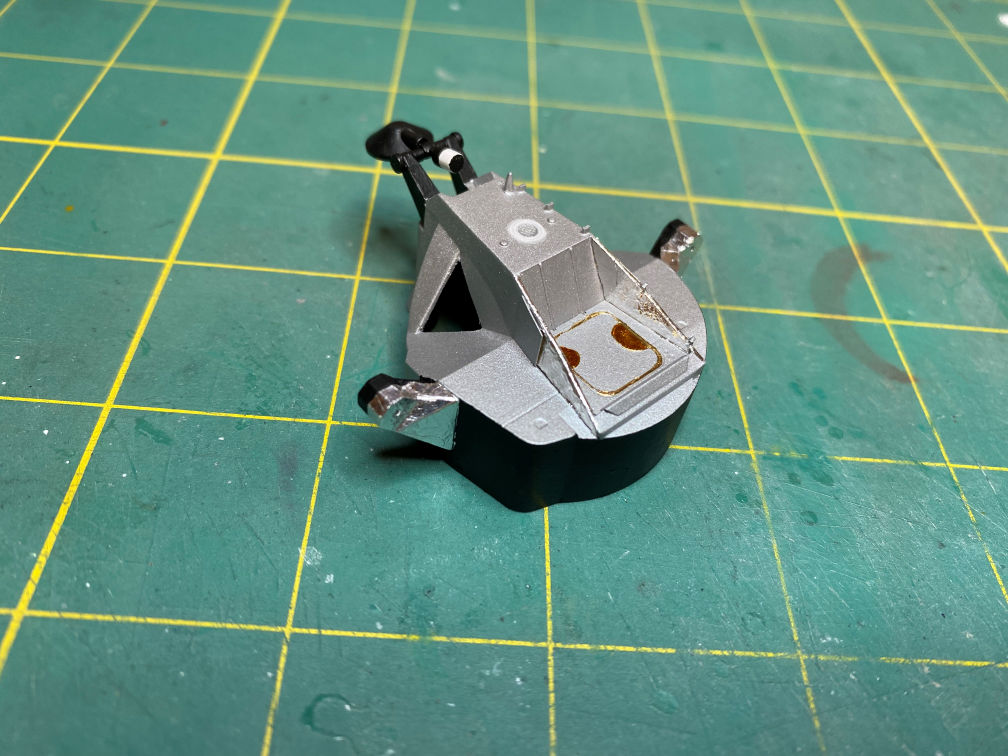
Next I painted the black areas around and below the windows.

The notch in the black near the hatch was painted light gray. Then I painted the sides of the “nose” and part of the “gills”.

Next I cut some clear 0.010 styrene to fit the window openings. This was glued in with Plasti-Zap CA glue. There were a couple of small gaps that I filled with Mr. Putty 500. Then the inside black paint was touched up. I used the Space Model Systems decals for the windows and hatch. The window decals were applied on the inside of the windows. If you apply the decals to the outside the text will be backwards. (Assuming that you can read the text at this scale.) The hatch decals were also applied. Here are a couple of photos.


Note that I also added the EVA handrail. From my photo research it appears that the New-Ware EVA handrail photoetch part is about a quarter of an inch too short. Rather than try to scratch one with styrene I went with the photoetch part. That completed the front of the LM. I glued it to the rest of the LM with some Tenax. The Ascent stage was now ready to start adding the remaining details.
This view shows the front left side of the Ascent stage. I painted the RCS nozzles with some Alclad Burnt Metal and attached them with CA. I could now add the kit supplied strut that runs from the bottom front to the fuel tank. Visible also is one of the VHF antennas and the docking target.
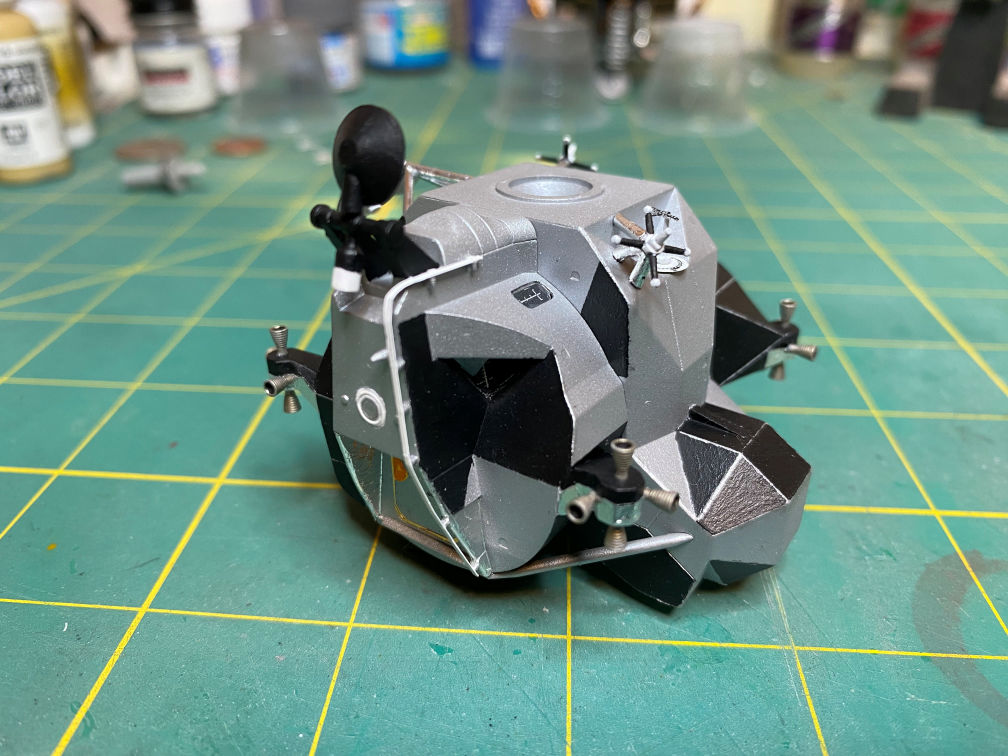
This view shows the rear left side. You can see the docking target better from this angle. The top and bottom were photoetch from the New-Ware set. The pole is from the kit with the top cut off. The kit part was too tall so it was shortened. I glued a small strip of 0.010 styrene to the underside of the “T” bar to make it easier to securely attach it to the pole. You can also see that I added a bit of Vallejo Iraqi Sand to the bump on the back of the Ascent stage. I don’t know what that bump is, I’ve searched all my docs and can’t find where it is identified.

I’m not sure that LM-4 had an EVA antenna, but I can’t find any photo evidence that it didn’t. I did notice that LM-3 didn’t, but nothing definitive for LM-4. Here is a photo of the right side showing the steerable S-Band antenna.

By the way, after all these photos were done, I noticed that I had not painted the black panels on the back of the midsection. With the VHF antenna installed, it will be a bugger to fix but I’ll give it a try. After that I will be attaching the Ascent stage to the Descent stage and then dock it with the CSM. That will complete the model. So close now. (It’s been a year long build, good grief.)
Thanks for looking.
