

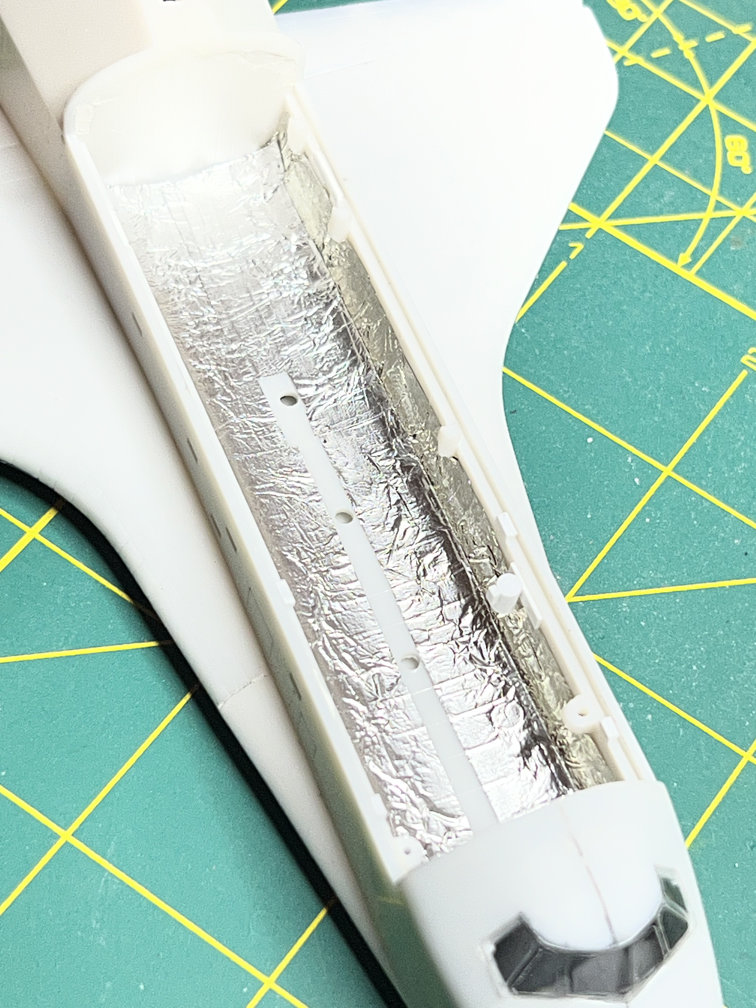
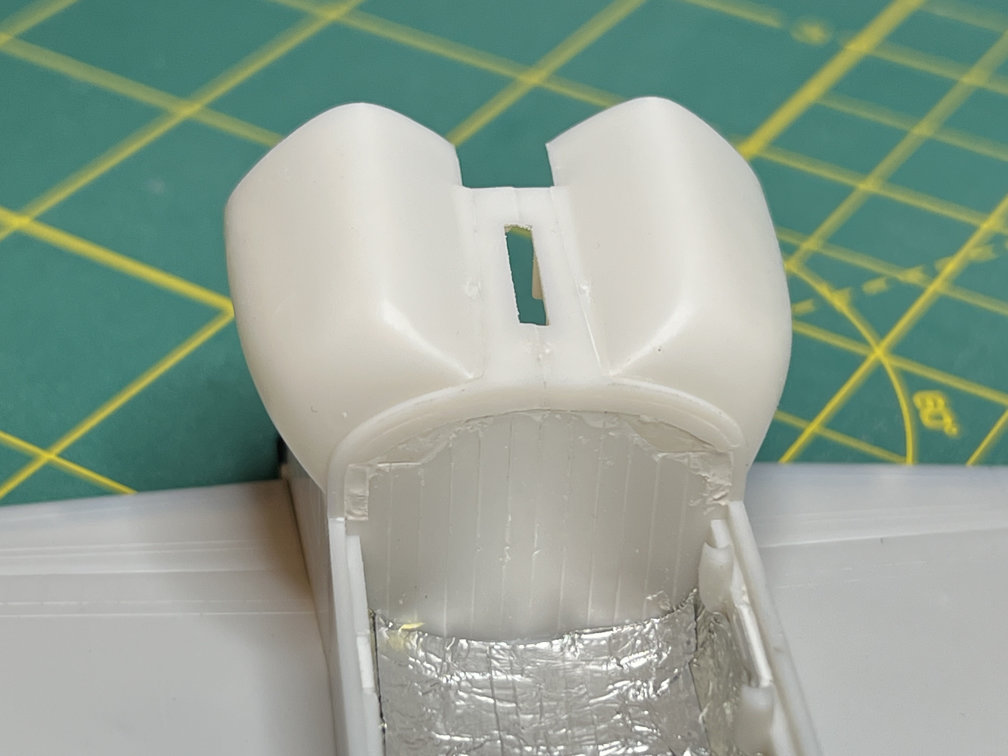
The above photo shows the foil I added to simulate the thermal blanks in the payload bay. The open areas in the center will not be seen when the payload is added. I needed that for a good glue joint when I attach them. The payload bay is now glued into the shuttle and the fuselage halves are glued together. A close look at the back bulkhead will show that I have started filling in some of the holes that will not be needed since I’m posing this model with the payload bay doors open.
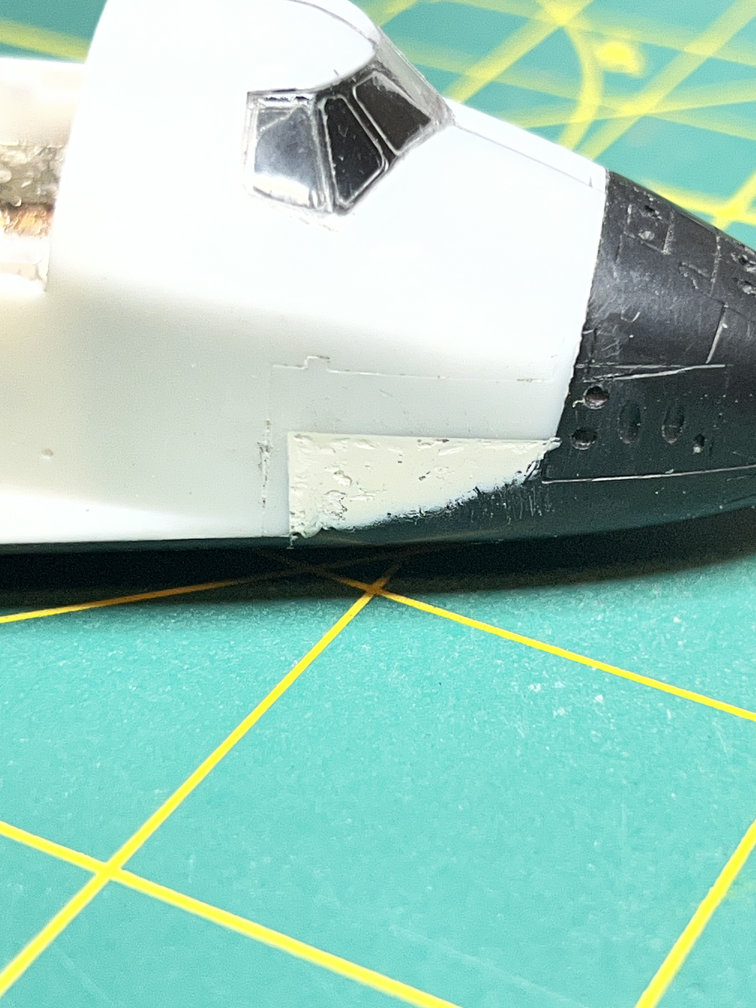
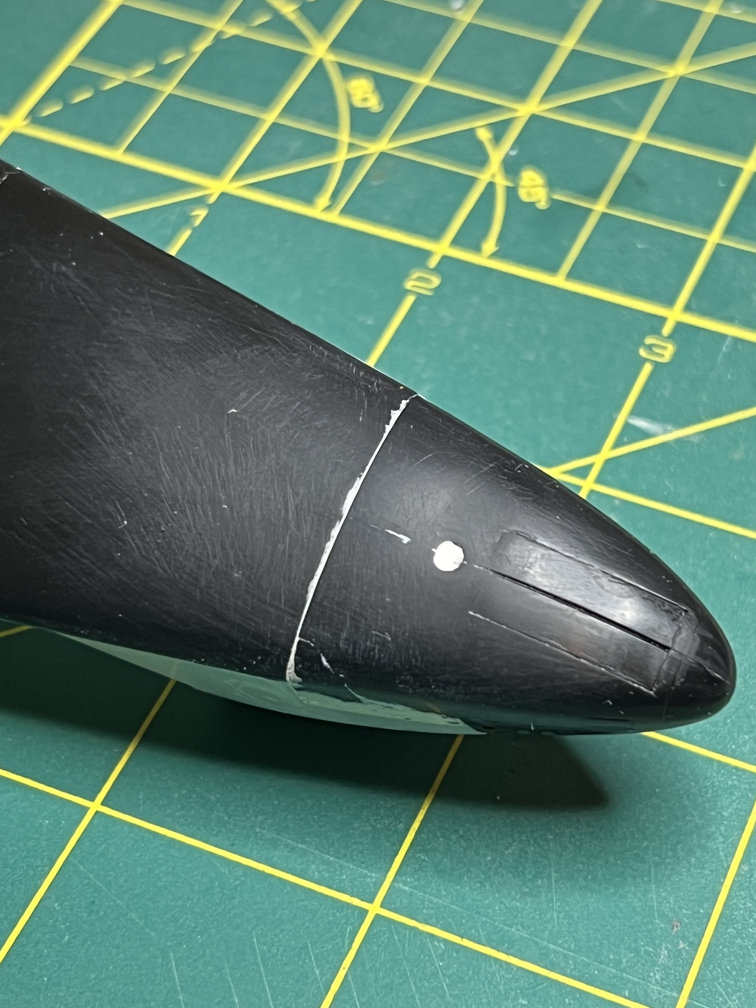
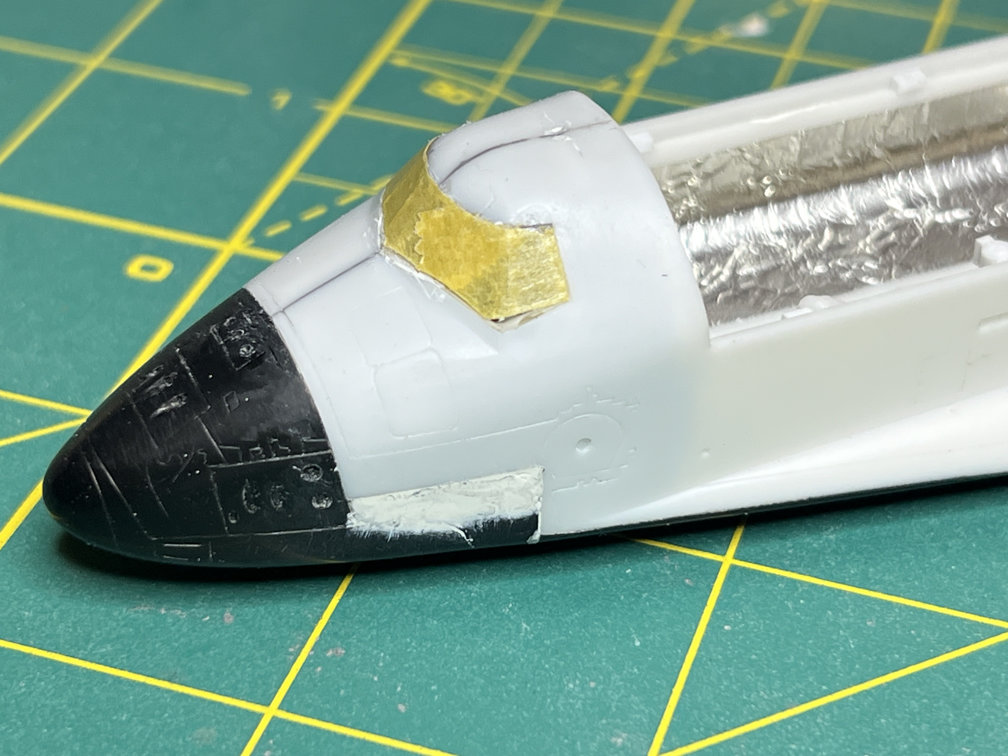
I next attached the nose section and cockpit windows. The fit of the nose isn’t too bad except for the sides. There is an obvious step between the two parts that will have to be filled in with some putty and sanded back to a proper level.
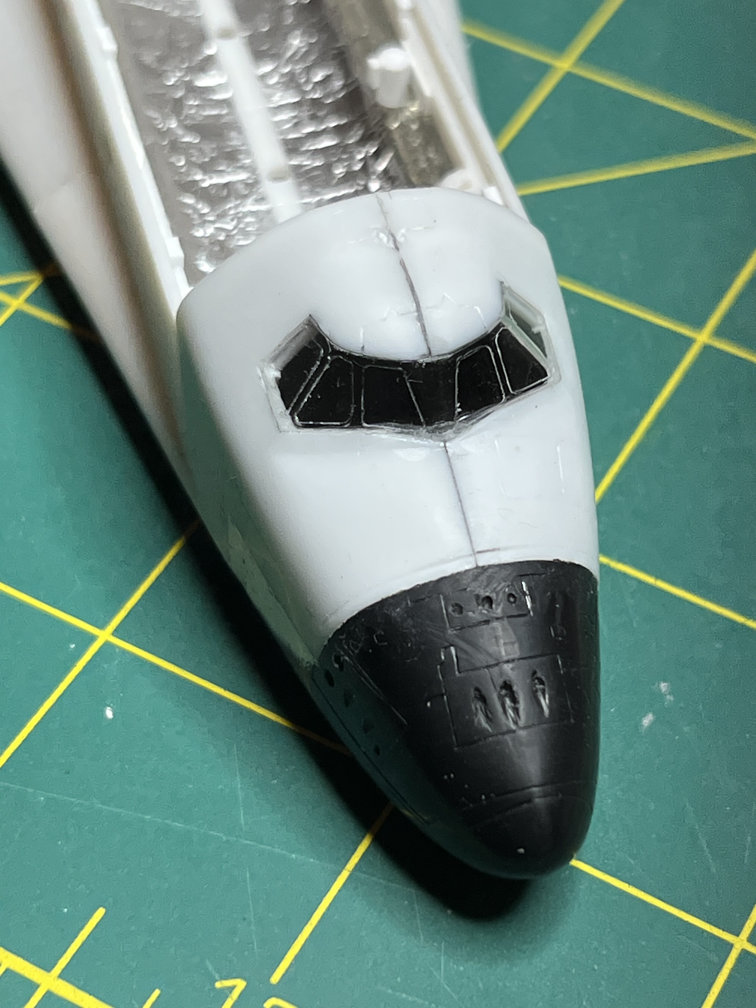
Here is a good look at the affected area. More filler is needed.
I attached the bottom wing. The fit was pretty good. Only a small amount of filler was needed.
The wing tops were also added. The fit once again was good. I only need a tiny bit of filler where the wing met the blend of the fuselage. The rest of the wing fit nicely to the fuselage leaving no gaps.
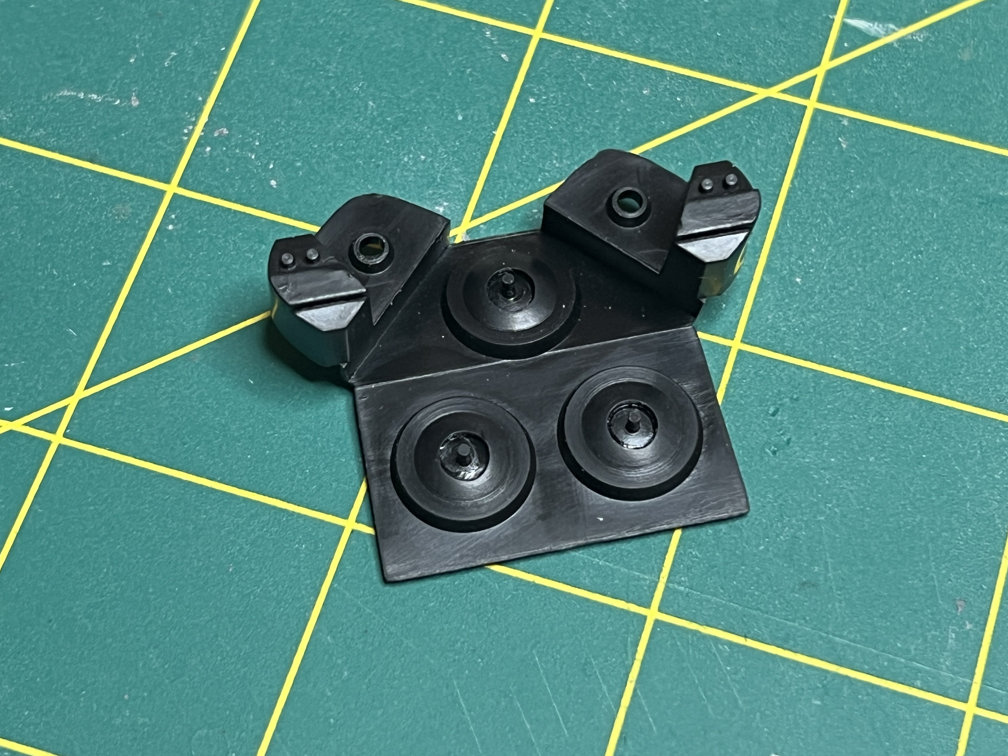
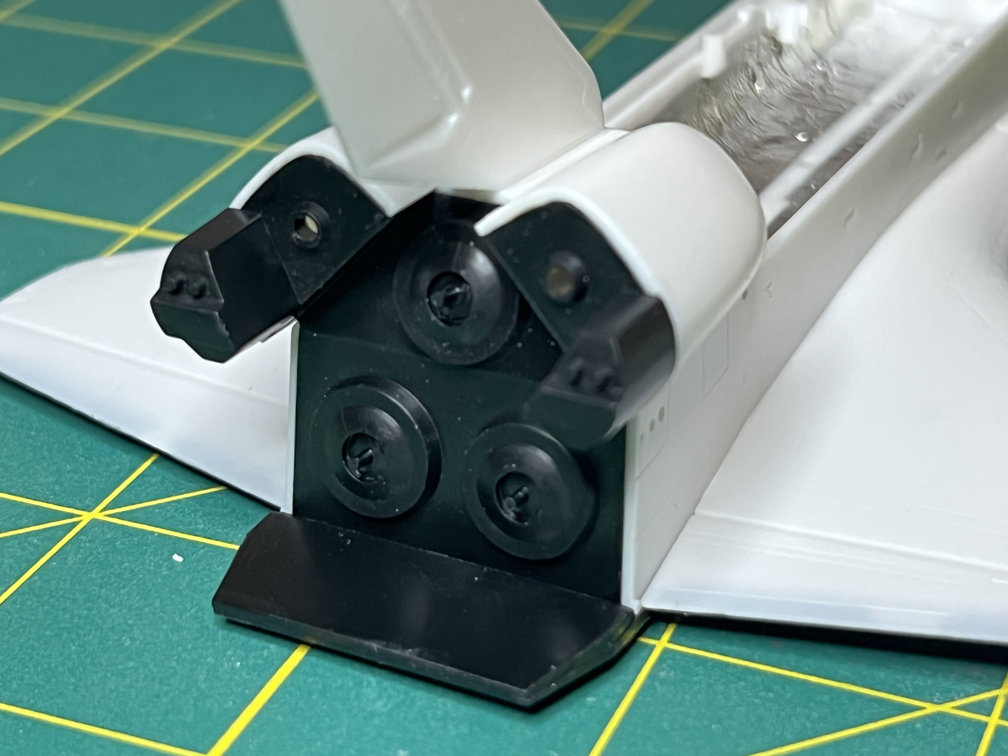
The aft plate where the SSME’s are attached required that I glue in the pins that the nozzles attach to. Their real purpose is to allow the nozzles to swivel. I don’t need that. so I glued them in centered in the holes.
At this point I masked the cockpit windows. You can also see the blend of the filler on the nose. I think it looks good. But I really won’t know until I spray on some primer.
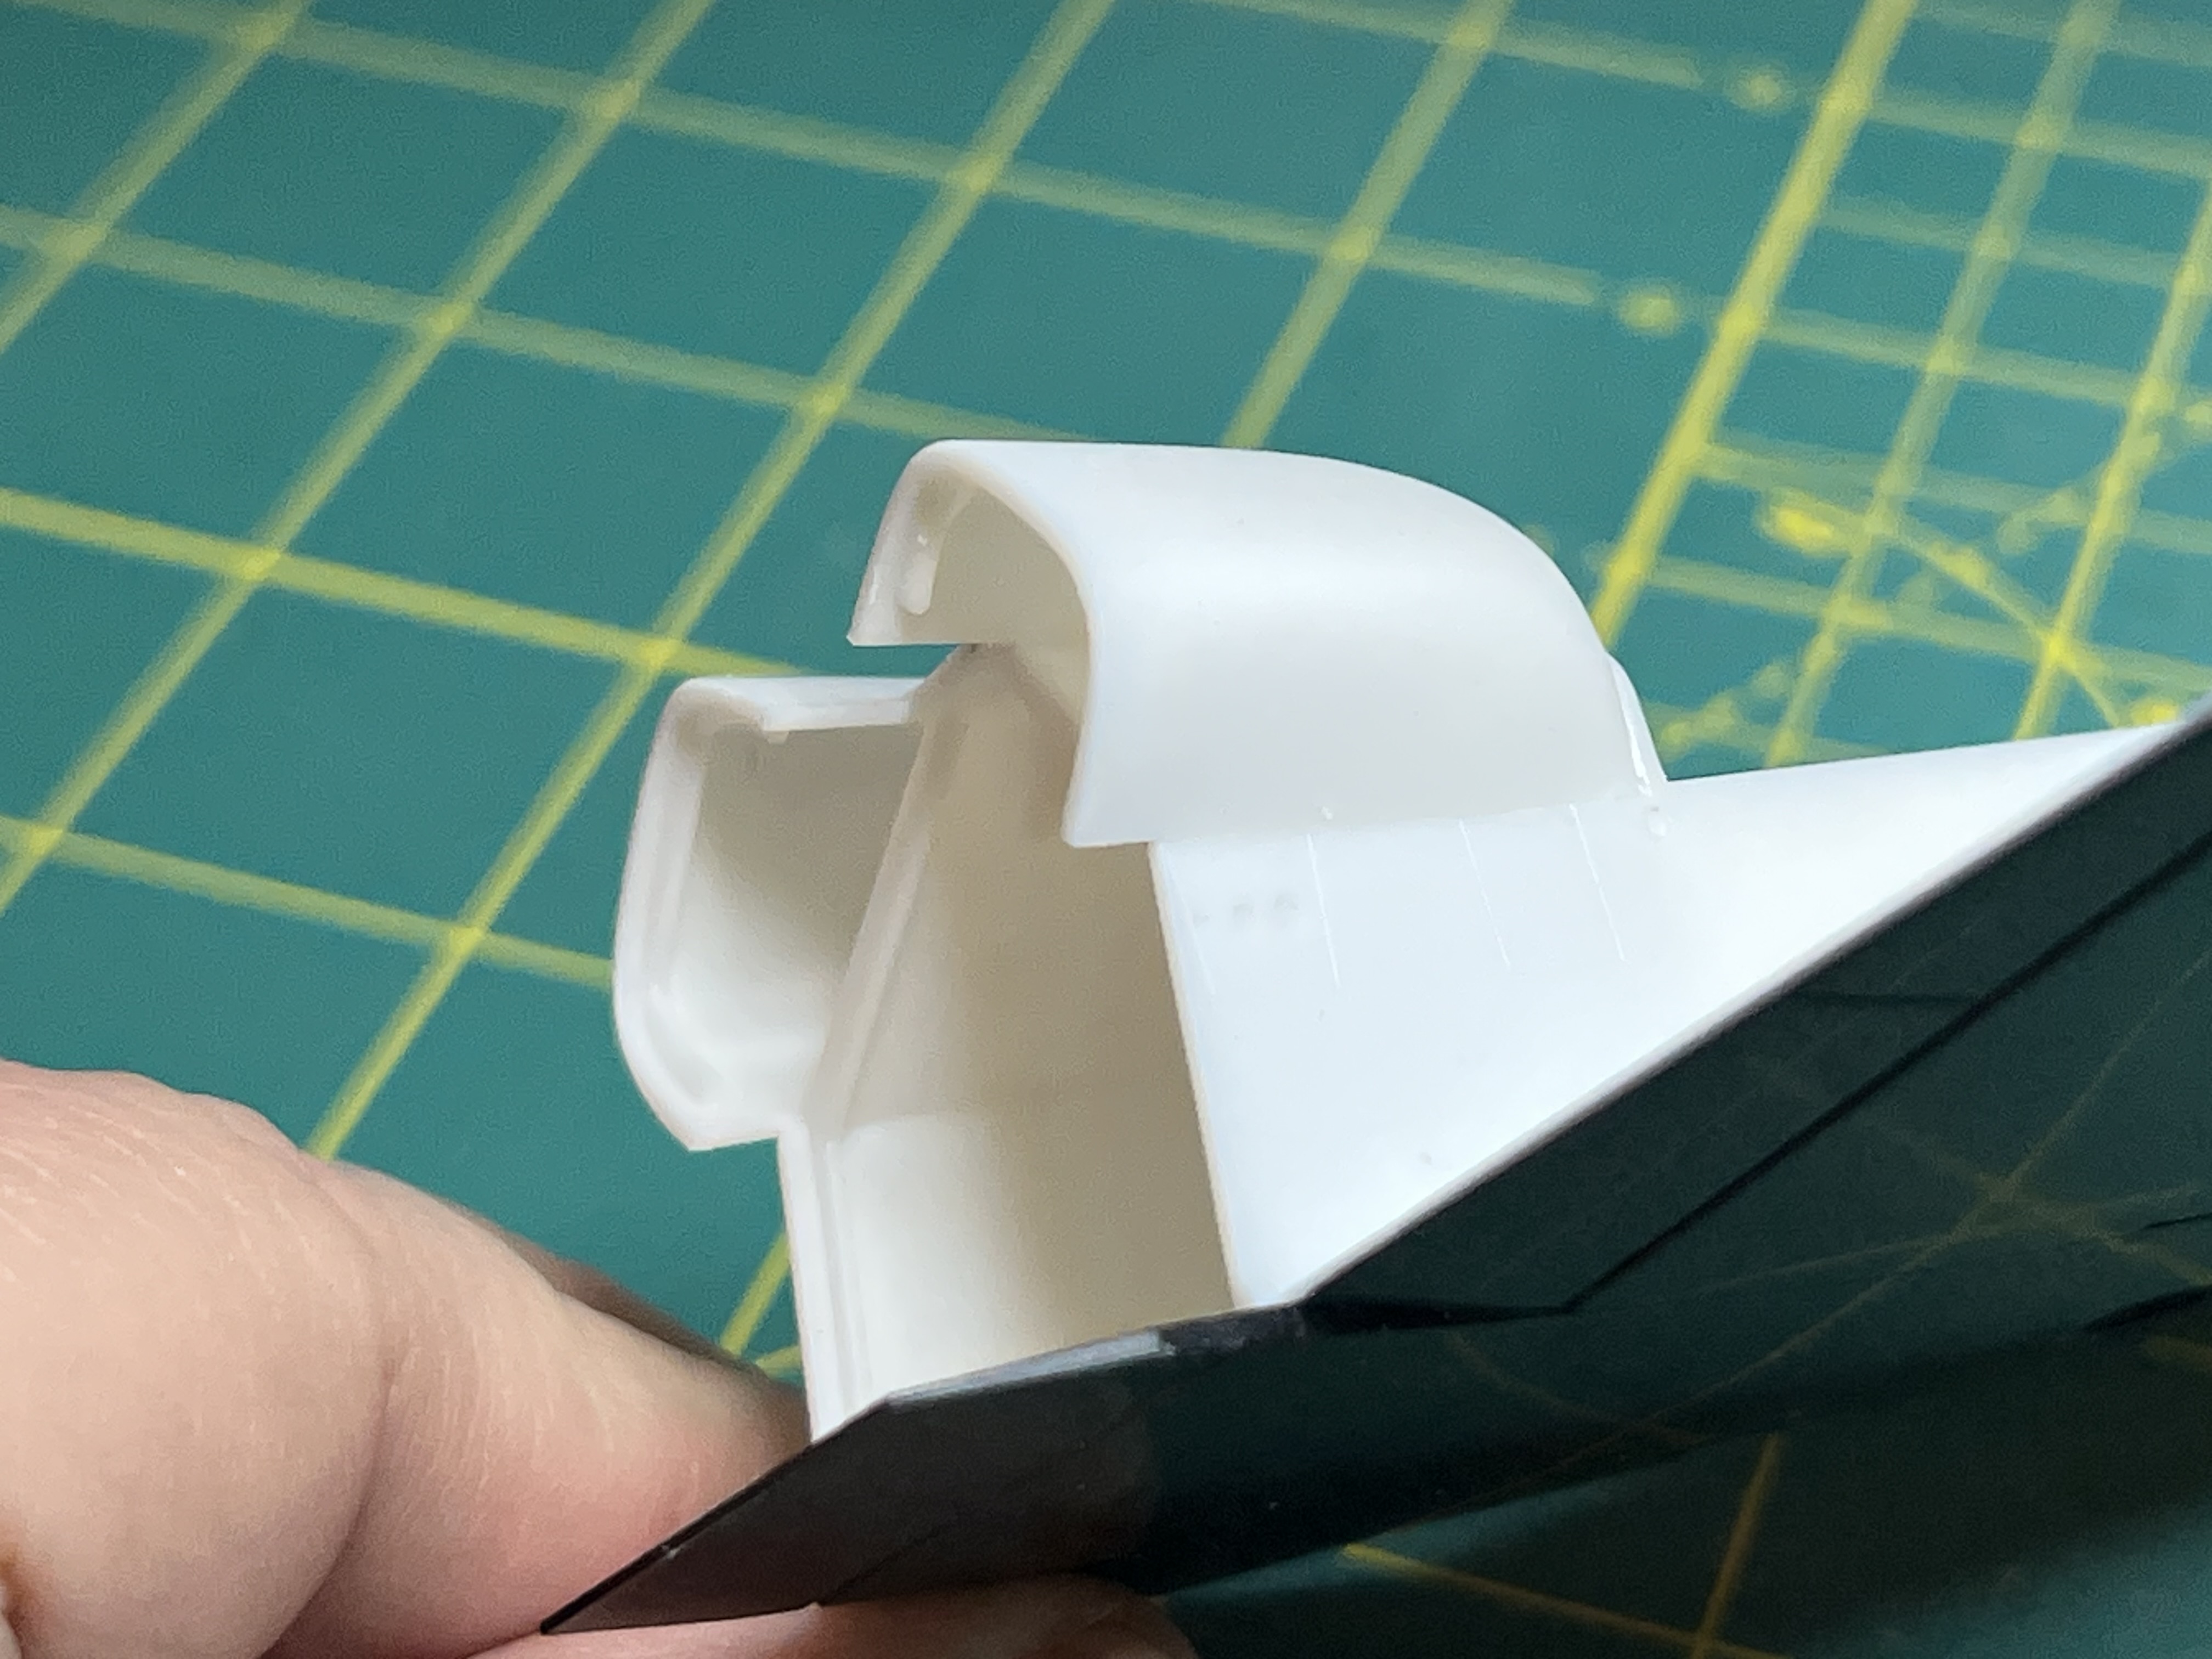
I attached the OAMS pods to the shuttle. I taped the aft plate in place since part of the plate is the back of the OAMS pod. That way I could get a proper fit on the pods. With only a small bit of fiddling, the pods were attached. You can also see that I removed the small step at the back of the payload bay which provided a stop for the payload bay doors. Since the doors will be open that is not needed and I could remove it for a proper scale appearance.
Here is a view from below to show the nice fit of the pods to the fuselage.
The vertical stabilizer was assembled and attached. I wanted to do this before attaching the back plate so I could get some cement on the under side for a secure attachment.
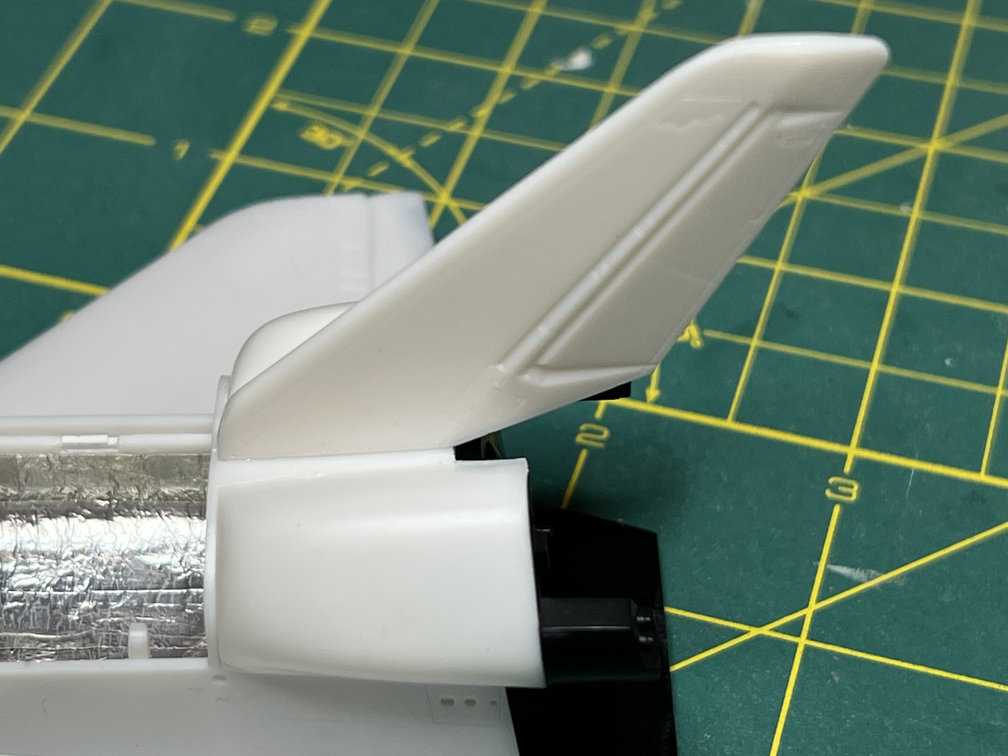
Finally, the back plate and upper surface of the body flap were added.
That pretty much completes the main part of the shuttle. Now I have to wait for it to warm up a bit before I get some primer on it. When the outside temperature is in the low teens or single digits the garage gets a bit too cold to paint. In the mean time, I have a lot of work to do drawing the decals for this model.
Thanks for looking. More to come. Click the subscribe button at the bottom of the page to get notifications of new updates.

2 thoughts on “Hasegawa 1/200 Space Shuttle Update 4”