

With the Challenger build finished I can get back to finishing up the 1/48 Mercury Atlas build. When I built the Mercury Redstone last year I started with the escape tower. This time I’m starting on the capsule instead. I began by filling the mounting hole in the side of the capsule with a section from the base that I won’t be using. The photo above shows it filled.
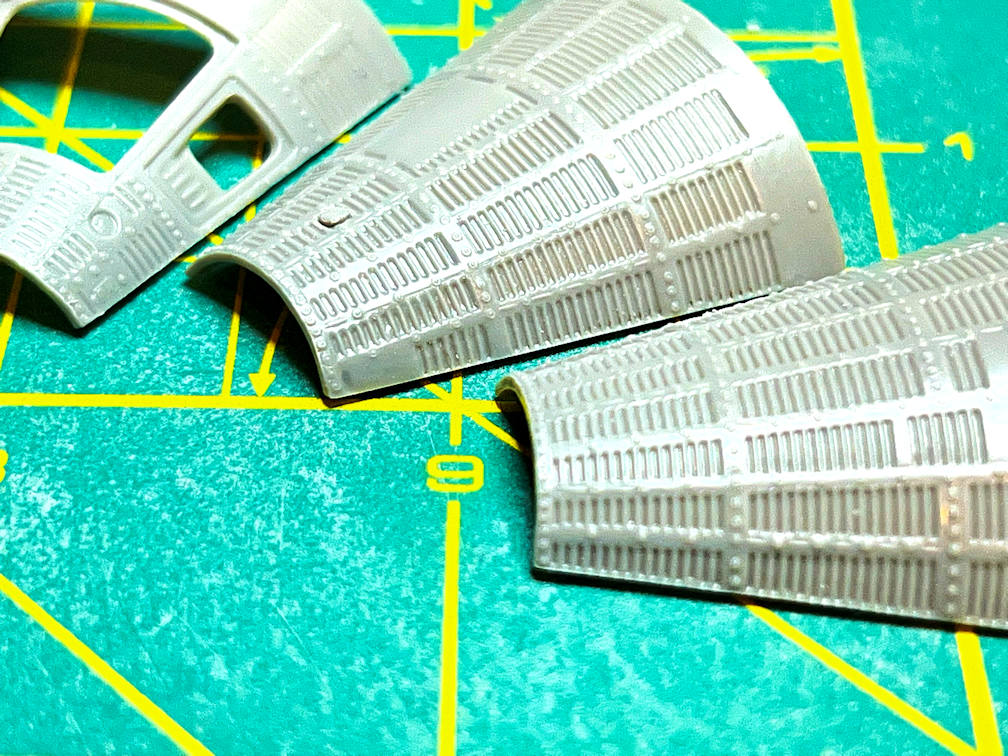
Before scribing the newly filled hole I noticed that one of the sections didn’t have a place for a C-band antenna. I will fill in the corrugations on the third section before priming. Here is a photo showing all three sections. You can see where it is molded in on two of them, but the third is missing.
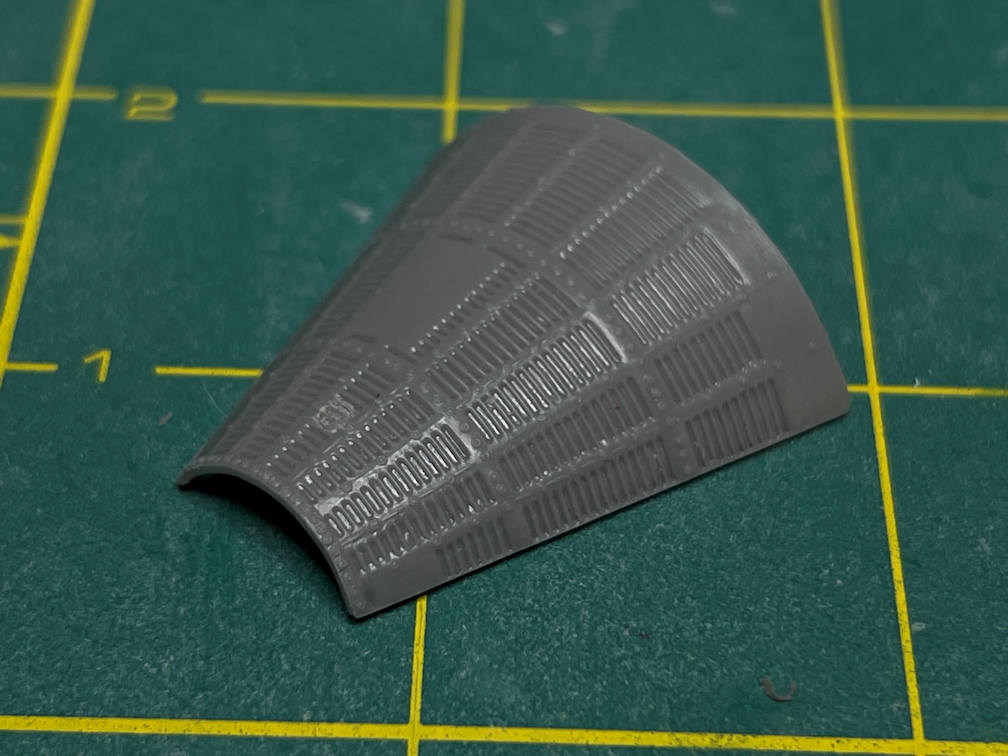
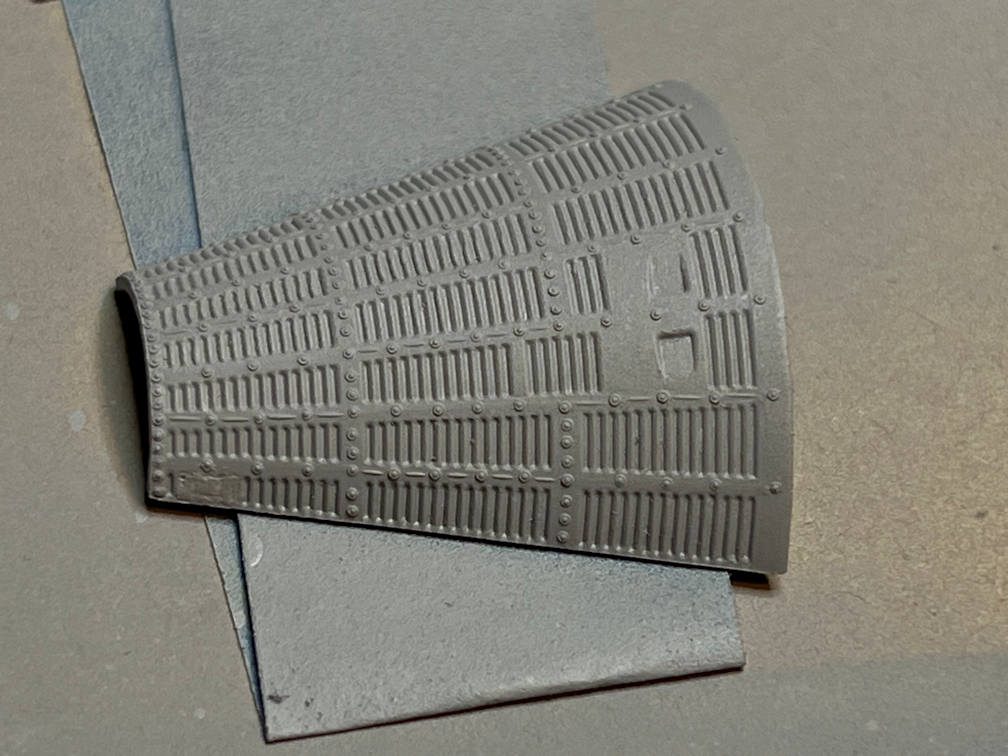
Next I needed to scribe the panel corrugations into the filled hole to match the rest of the capsule. Here you can see the scribing work. It looks good here but the real test will be after I spray on the primer.
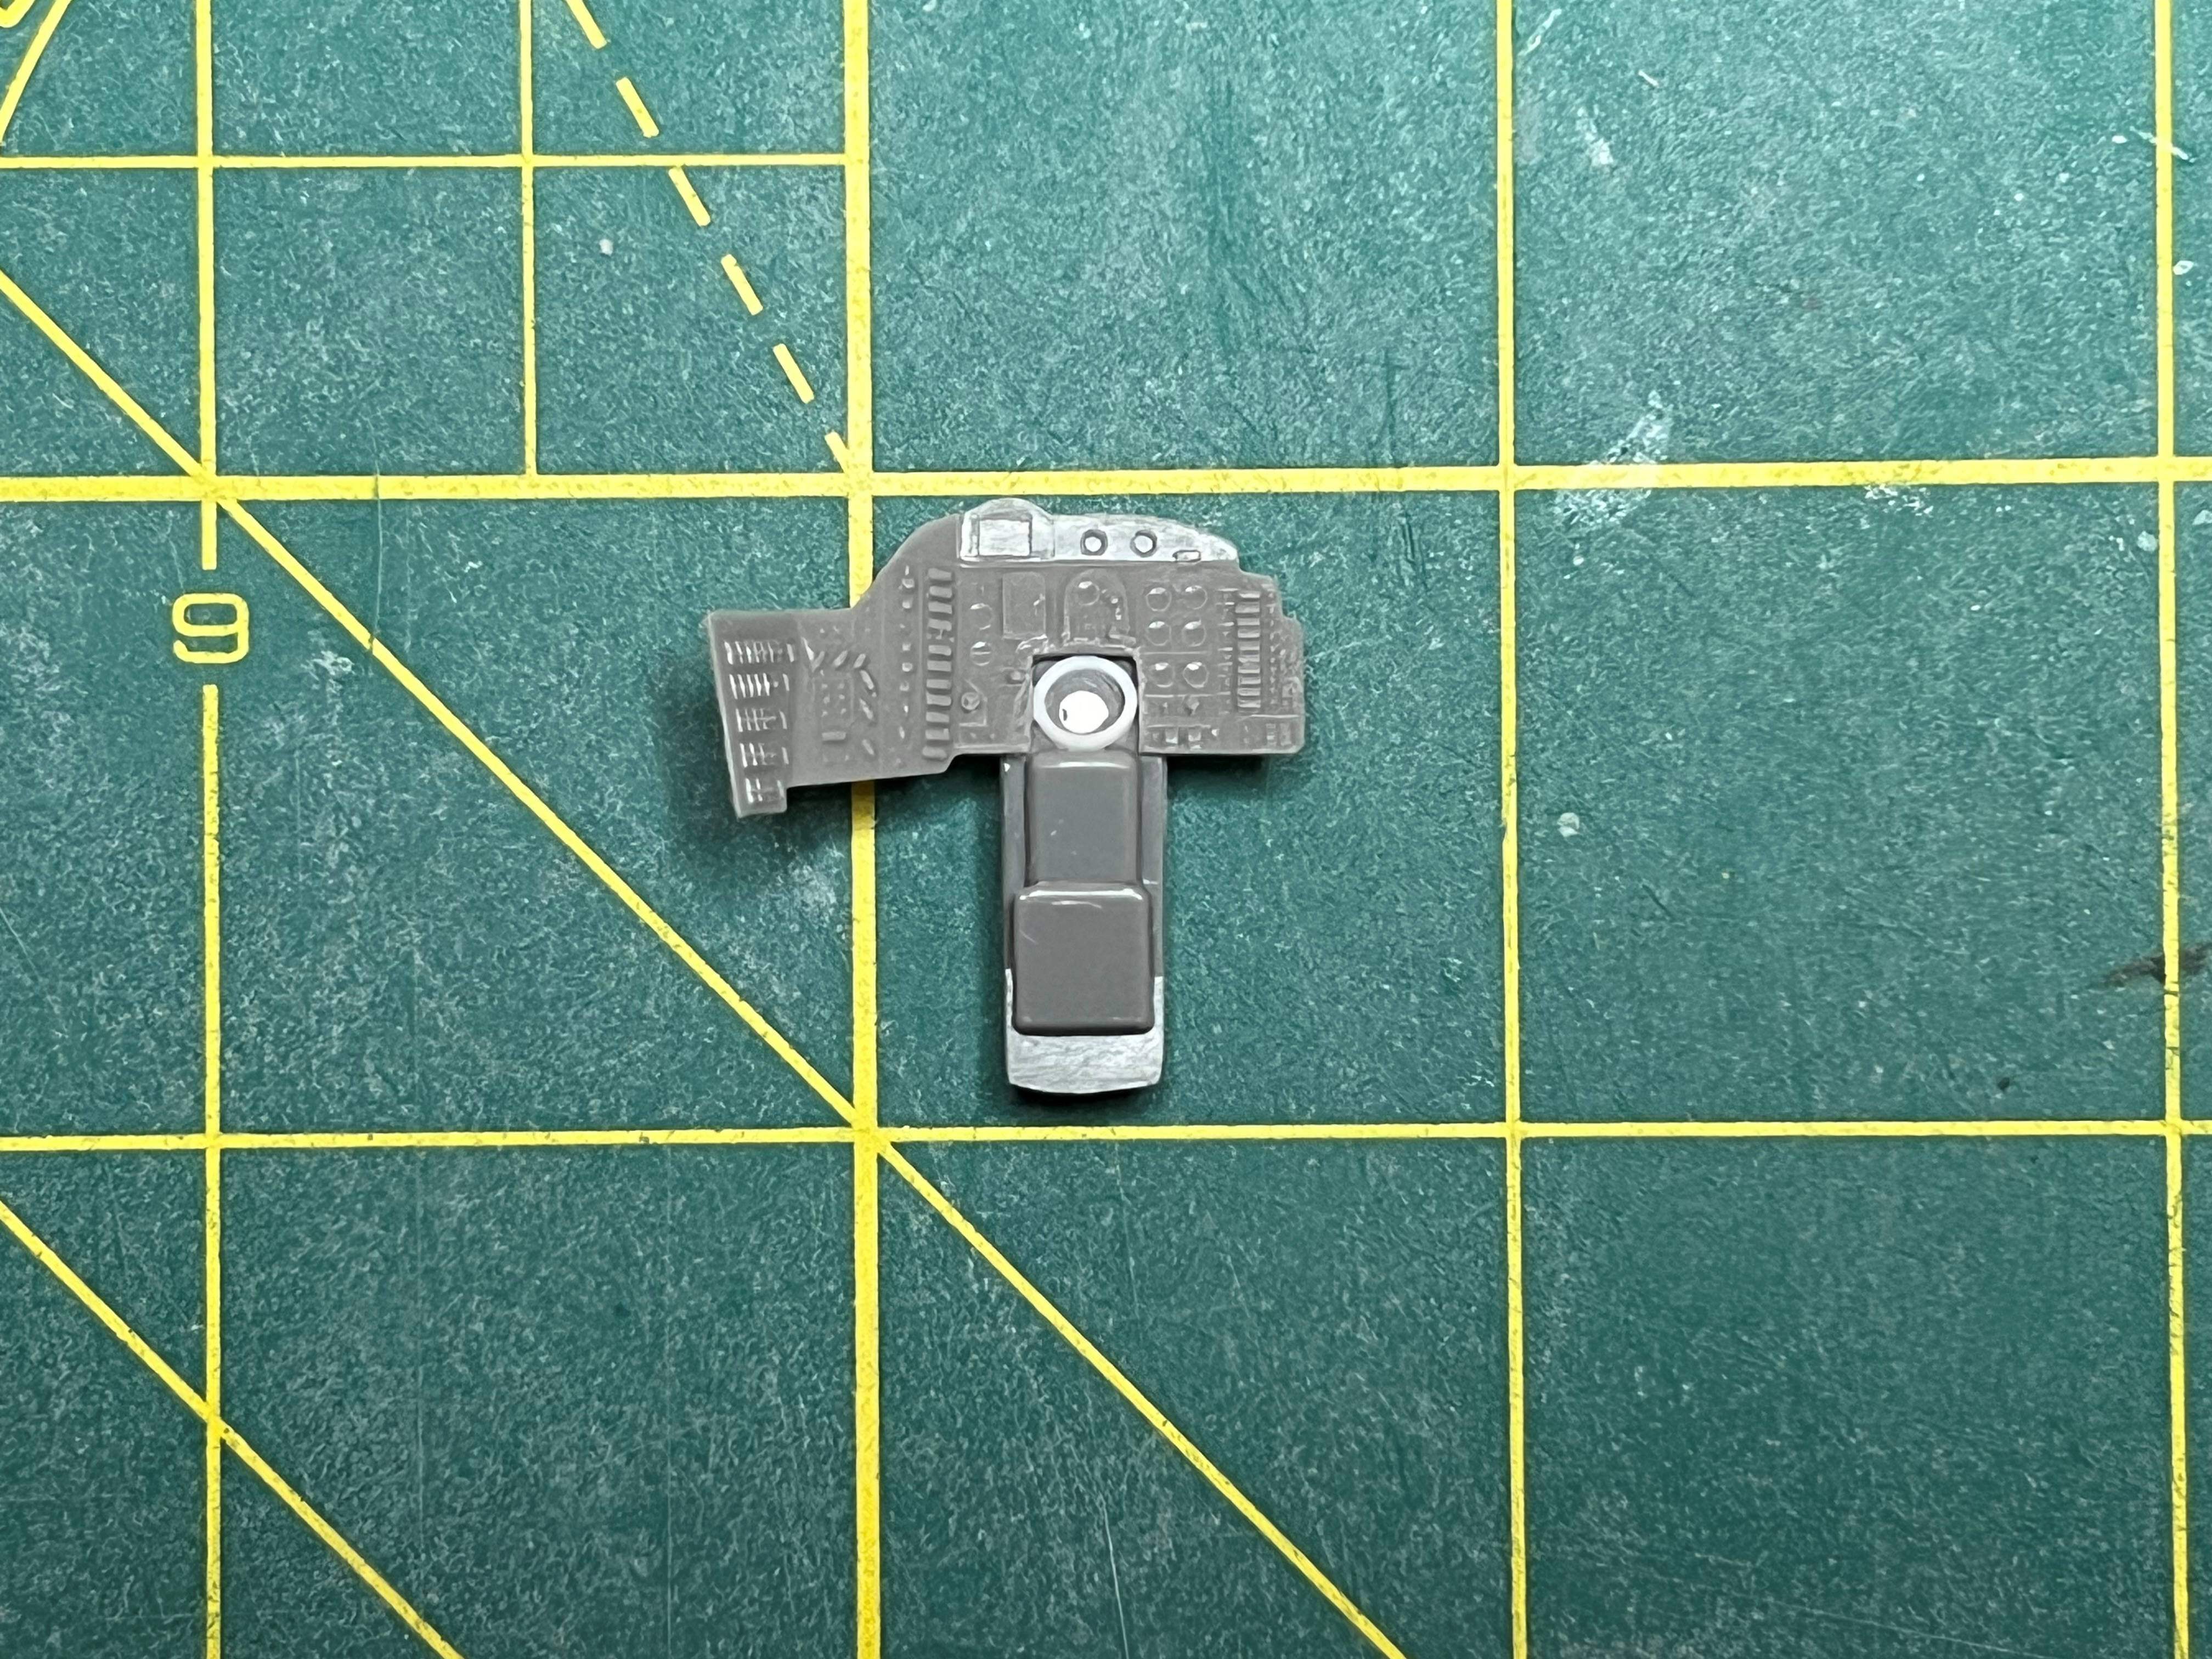
I moved to the control panel for the capsule. I know it will be virtually invisible when it is assembled, but I thought I’d try to add the periscope to control panel. I first assembled the control panel post. Then I used a section of 5/32 styrene tube. First I drilled out the inside to make the walls narrower. I then cut a thin section off the tube. I glued that to the spot where it should be on the control panel post. When it was dry, I sanded it down a bit thinner. In the photo, the white dot inside the ring is where I filled an ejector pin hole. I also added a 0.030 x 0.060 strip to the top of the post to give the control panel a small tilt forward to try and imitate the angled recessed area where the periscope view port is located.
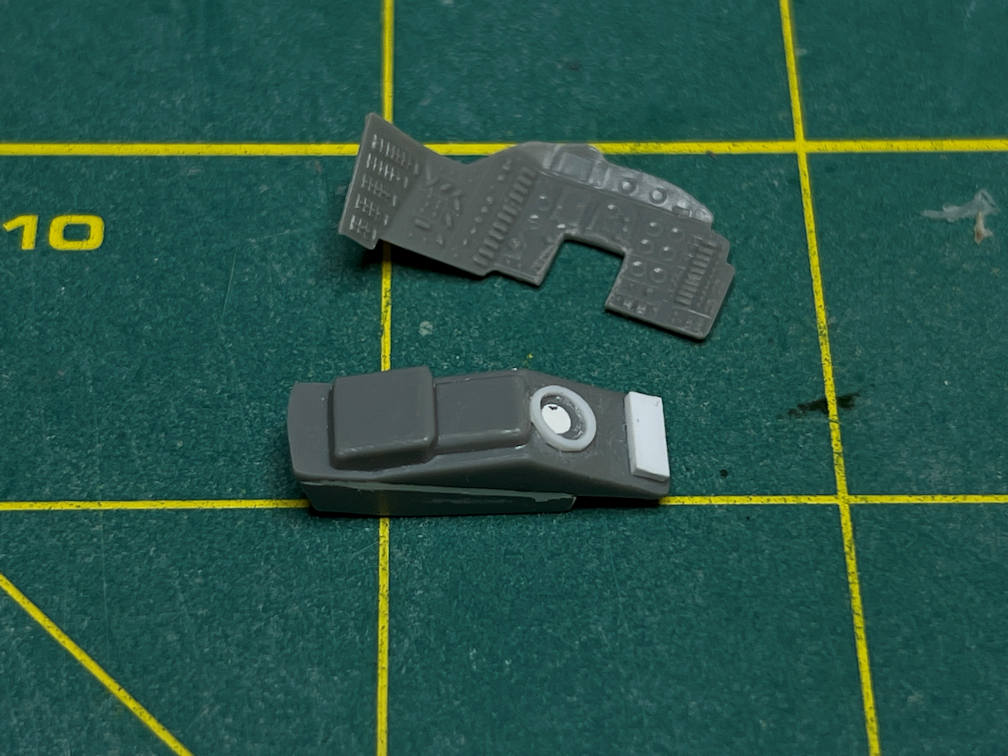
I then glued the control panel to the post.
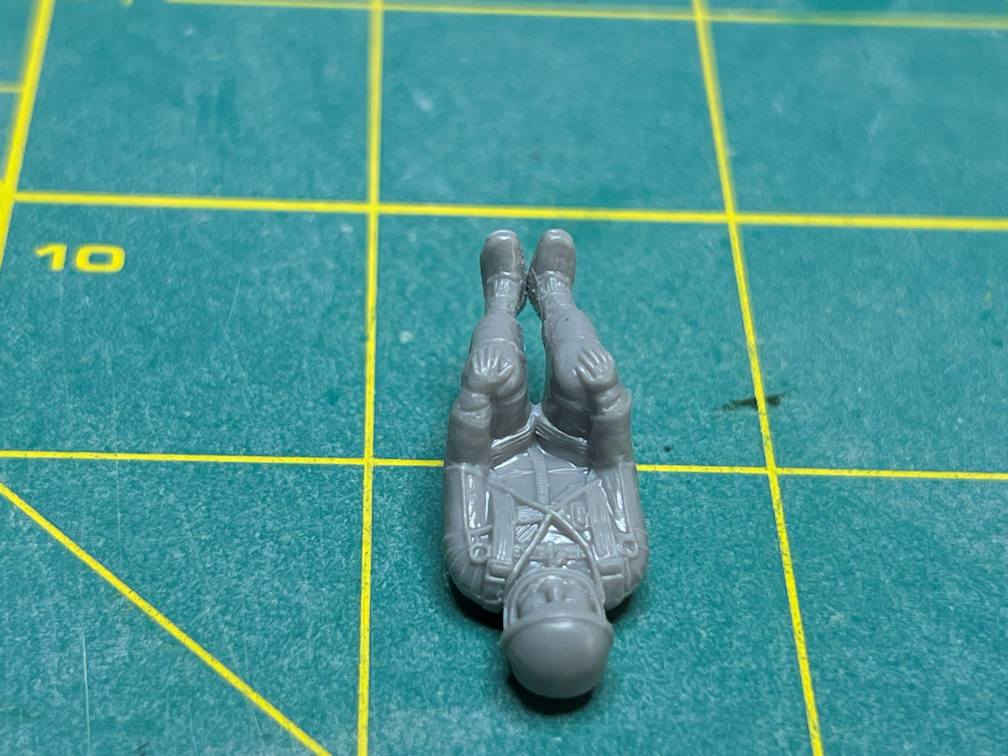
I also cleaned up the astronaut figure, including separating his feet. There is not much space between them, but at least they don’t flow into each other anymore.
Here is a photo of the filled corrugations for the C-band antenna after applying a coat of primer. It’s almost there. A tiny bit more filler should get it where I want it.
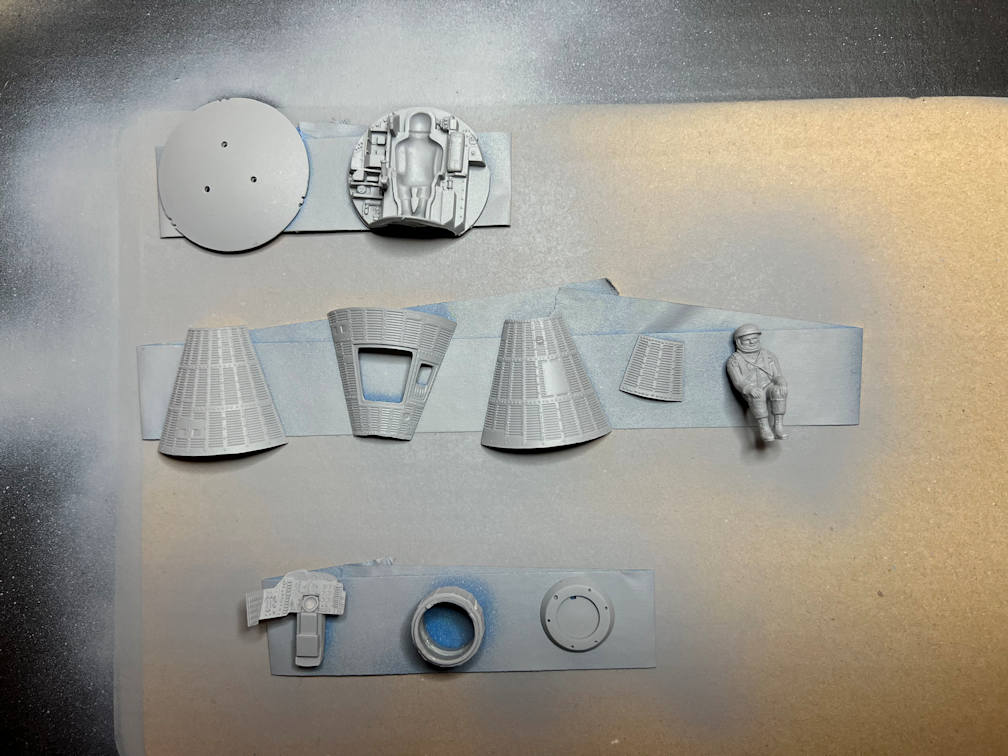
Finally, here is a view of all the capsule parts with a primer coat.
That’s it for now. More to come. Thanks for looking in.

One thought on “1/48 Wings Atlas D Update 17”