

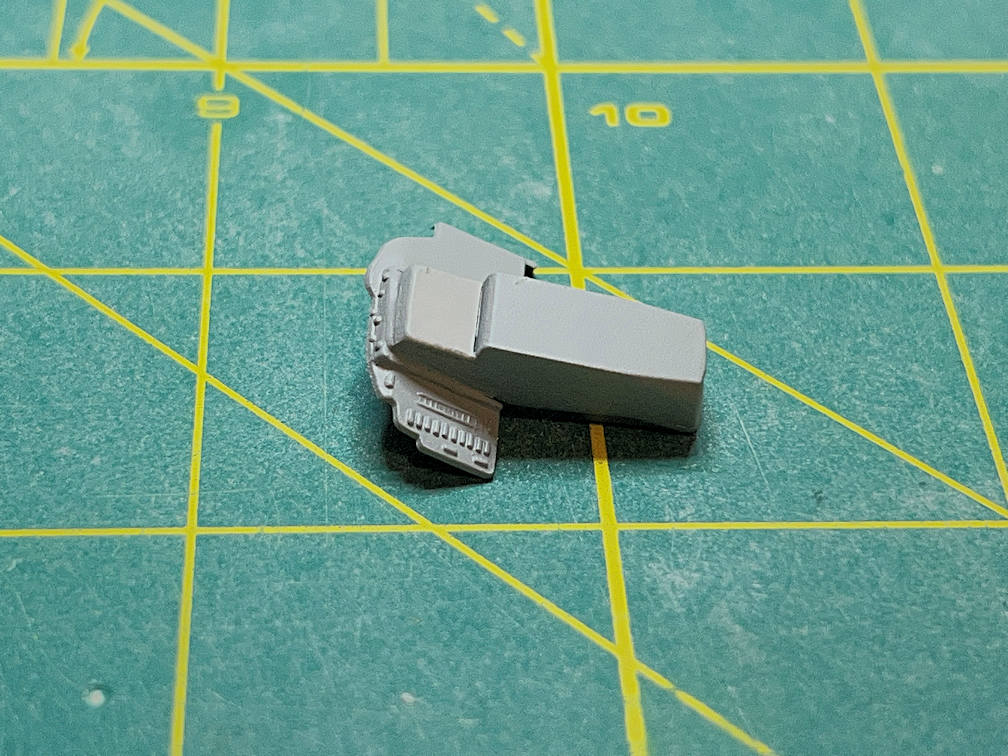
After filling a bit more and another coat of primer, the area for the C-band antenna was finished. See above.
I also covered the hole in the back of the post to which the instrument panel is attached. I also gave it a coat of primer.
Next up was painting the control panel. I was unsure how it was going to turn out when I started, but the end result should suffice at this scale, especially since so little of it will actually be seen.
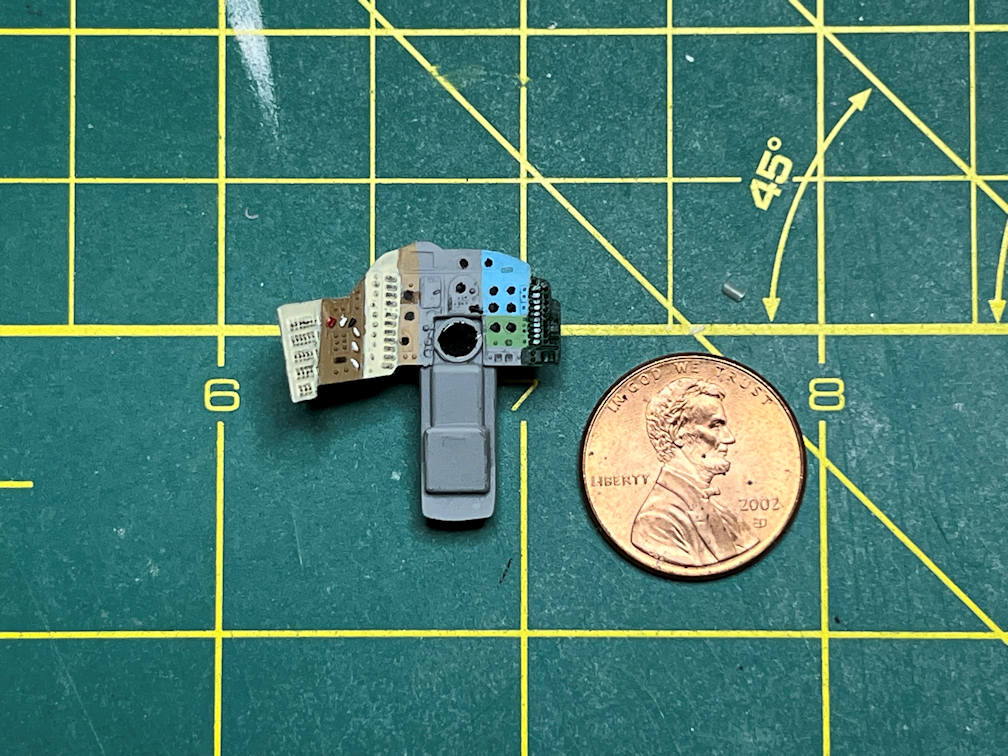
I mainly used a photo of the reproduction Freedom 7 control panel that Adam Savage built some years ago. I verified as best I could that Aurora 7 had a very similar layout. It isn’t completely accurate, particularly the center gray section, but I didn’t bother fixing those errors. After I gave the panel a coat of clear flat, the periscope view port was painted black and then had a few layers of Micro Kristal Klear added to give it a more glass like appearance.
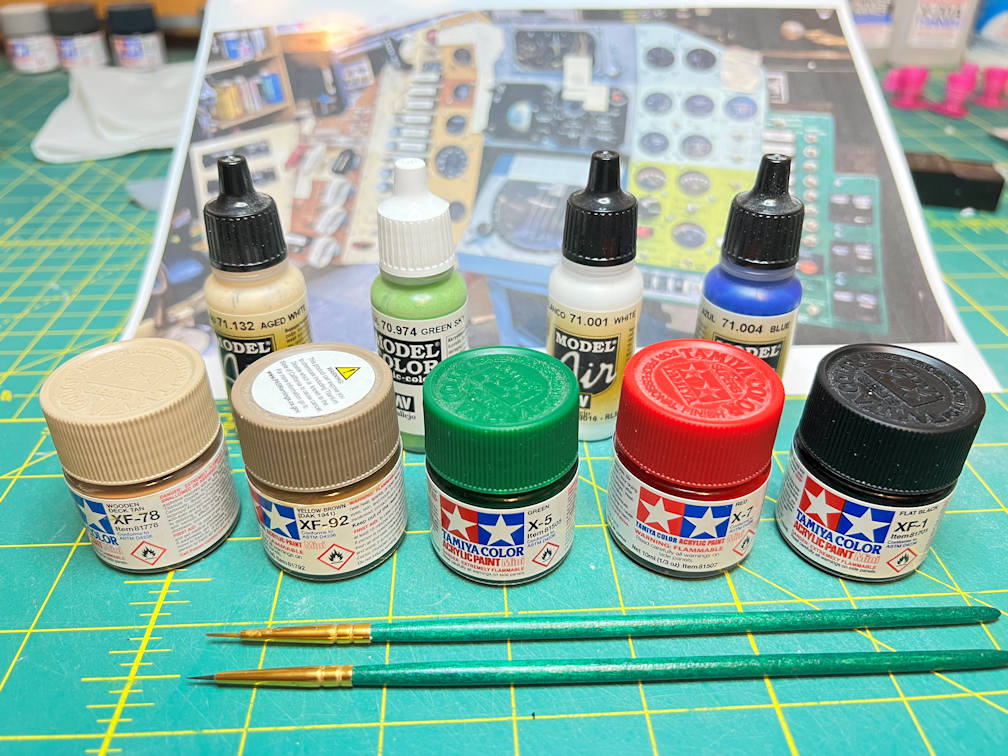
Here are all the colors I used. A few of the smaller details were highlighted with pencil lead. The light blue was a custom mix of 71.001 white and 71.004 blue in about an 8 to 1 ratio.
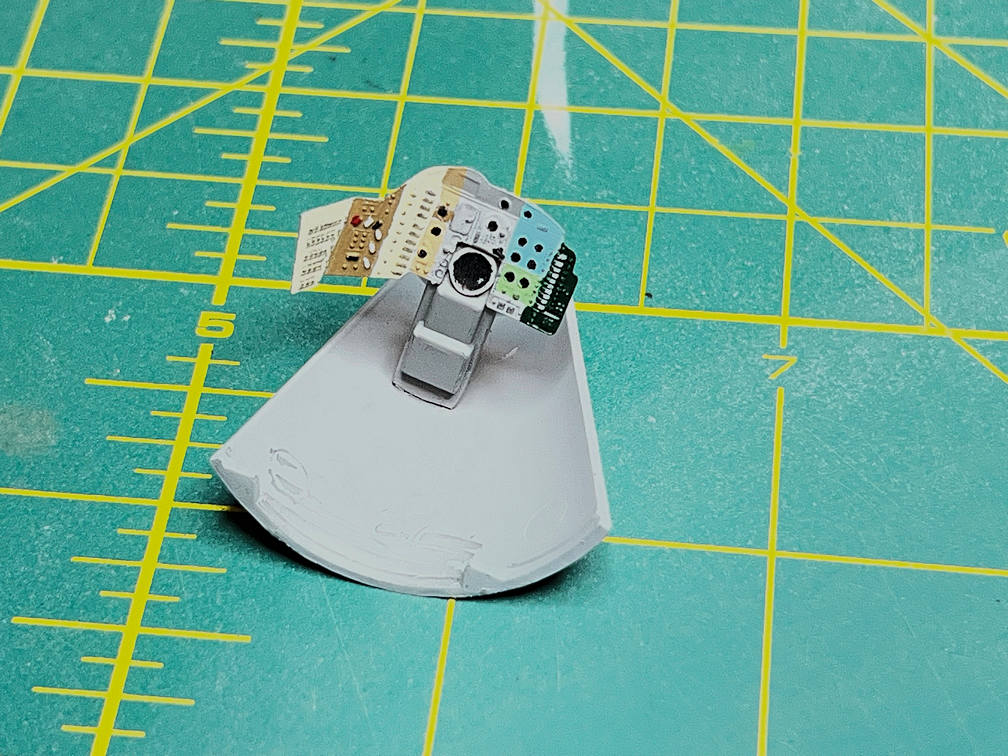
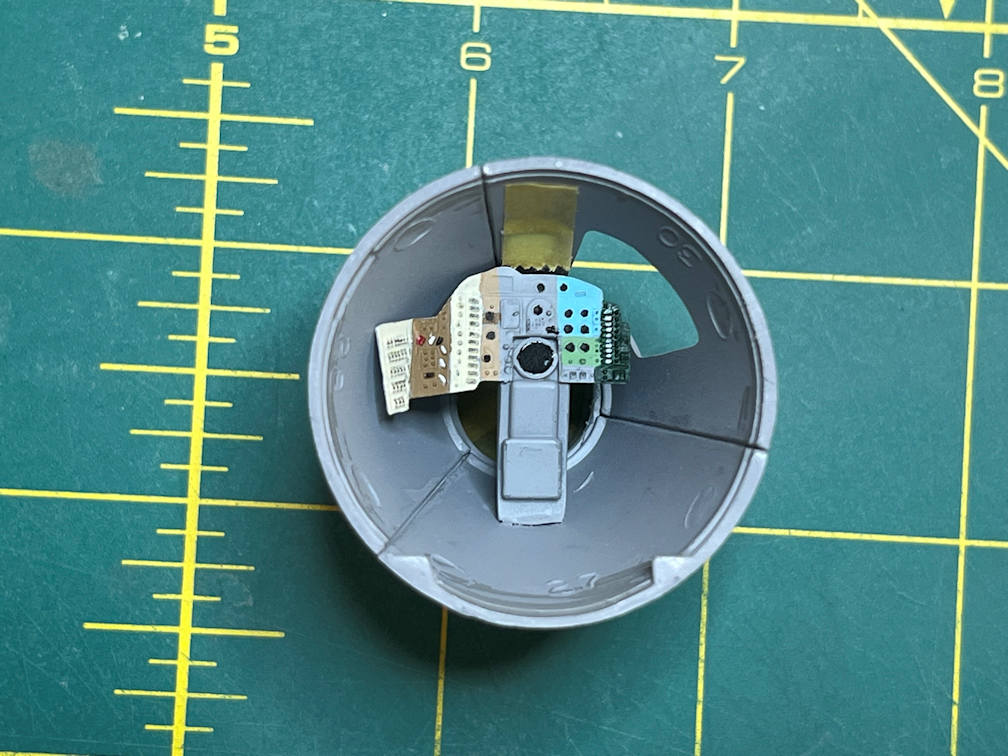
I then glued the instrument panel into the capsule.
Then I assembled the capsule shell. I put a bit of masking tape over the window area to keep the paint out.
I glued on the recovery section and attached the hatch, masked off the open top end and window and painted the capsule Tamiya NATO Black. I painted the astronaut figure and glued it in place. I painted the rim of the heat shield with Vallejo German Red Brown and then glued the interior to the heat shield.
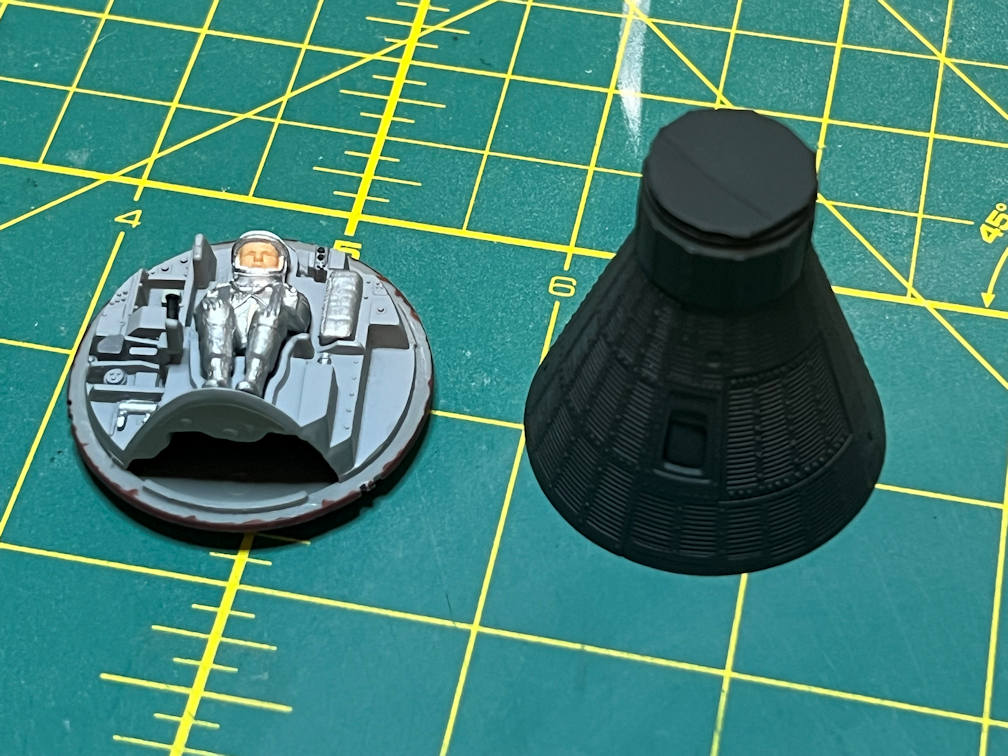
I’ll glue the capsule shell to the heat shield after I get the window installed.
That’s it for now.
