

It’s been about 2 months since the last update on this build. I’ve been rather busy with little time to spend on my modeling projects. But I’ve had some free time lately so it’s time for an update.
The above photo shows the inside of the payload bay doors. I’ve put BareMetal Foil Bright Aluminum on the inside of the doors to represent the shuttle radiators. It’s not quite accurate. The actual radiators were separate panels that covered the inside of the doors. But this is close enough. I applied the foil in one strip to the model. I then burnished them into the part to get them to adhere well and shine them up a bit.
I primed the model with Tamiya Fine White primer. Then masked over the areas that need to stay white and sprayed the rest with Tamiya NATO Black. Here is an overall view after that step. Note the gray areas are Tamiya Fine Gray primer used to represent the high heat RCC sections.
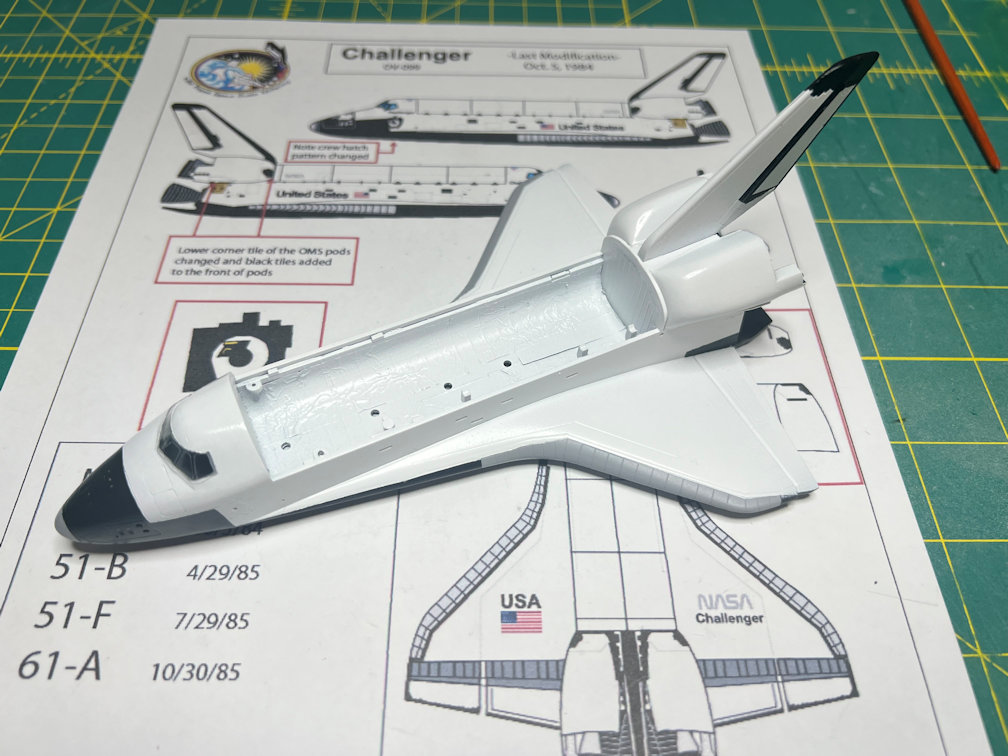
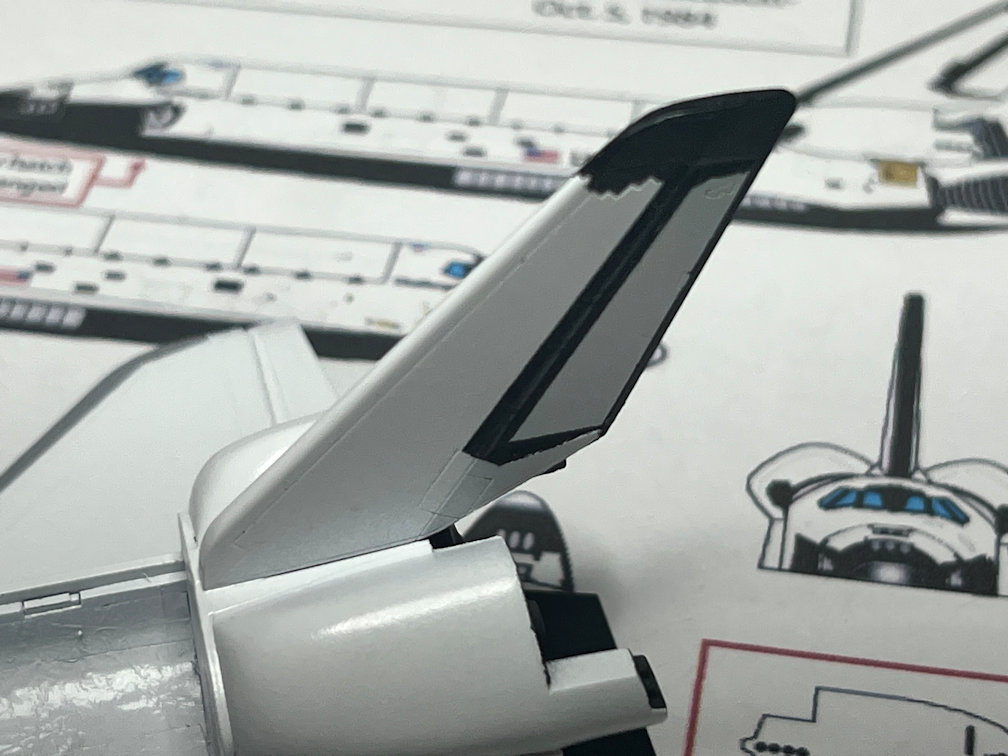
I had originally planned to draw decals for the black markings on the tail but changed my mind and instead masked and painted them with Tamiya XF-1 Flat Black. Here is a close up of the tail.
I’ve also been drawing the decals. I used the Warbird Wings 1/144 Revel Space Shuttle decals as a base. I loaded a scan of the sheet into my vector drawing app and reduced it to 1/200 scale. I then started drawing my decals over the Warbird decals. To try and match the Hasegawa model, I would print a sample on plain paper, cut out the candidate decal and place it on the model. If needed, I would then go back and modify it and repeat the process. There were some decals on the Warbird sheet that I didn’t draw since I didn’t need them for this model. I also added several decals that were not on the Warbird sheet that I did need for this build. Here is a photo of the decal sheet.
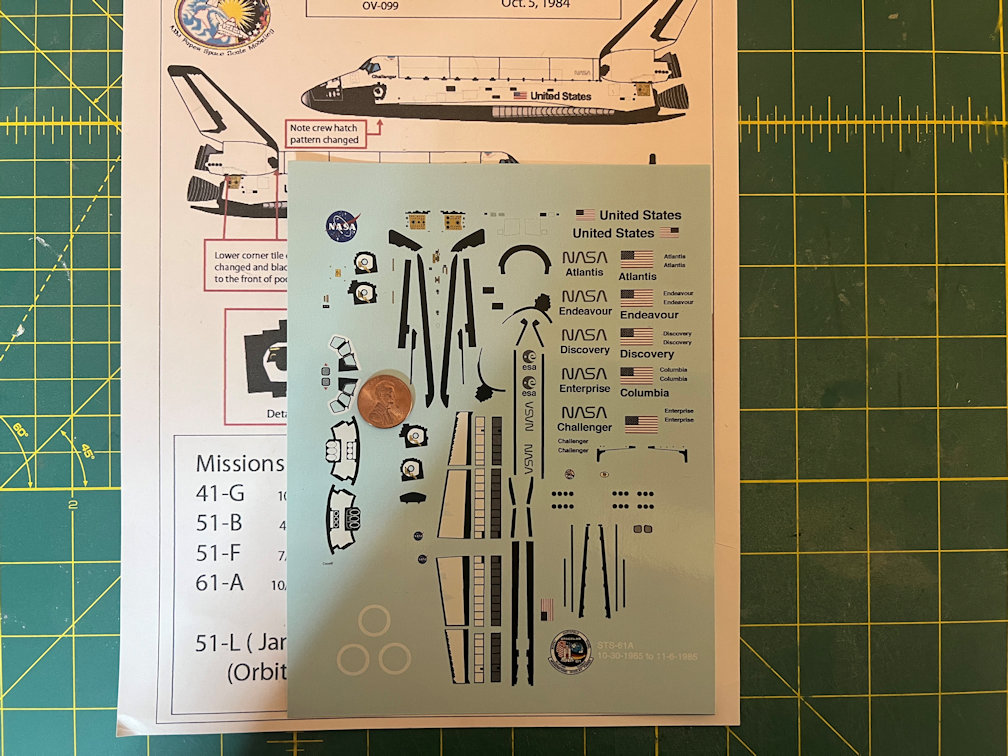
One of the things added were the white circular heat shields that go on the rear of the shuttle where the base of the RS-25 engine nozzles go. I also added decals for the Spacelab, the ESA and the German mission logos. I also added an STS-61A mission patch and flight dates to go on the base.
For making decals of the various logos you can’t necessarily just grab a jpeg and print it. They all seem to contain a fair amount of white. If you’re going to place the logo on a white area then it’s not such a problem. If not then it has to be drawn and then separate the white parts from the rest of the logo. That way you can print the white first and then print the colors over it to get a complete decal.
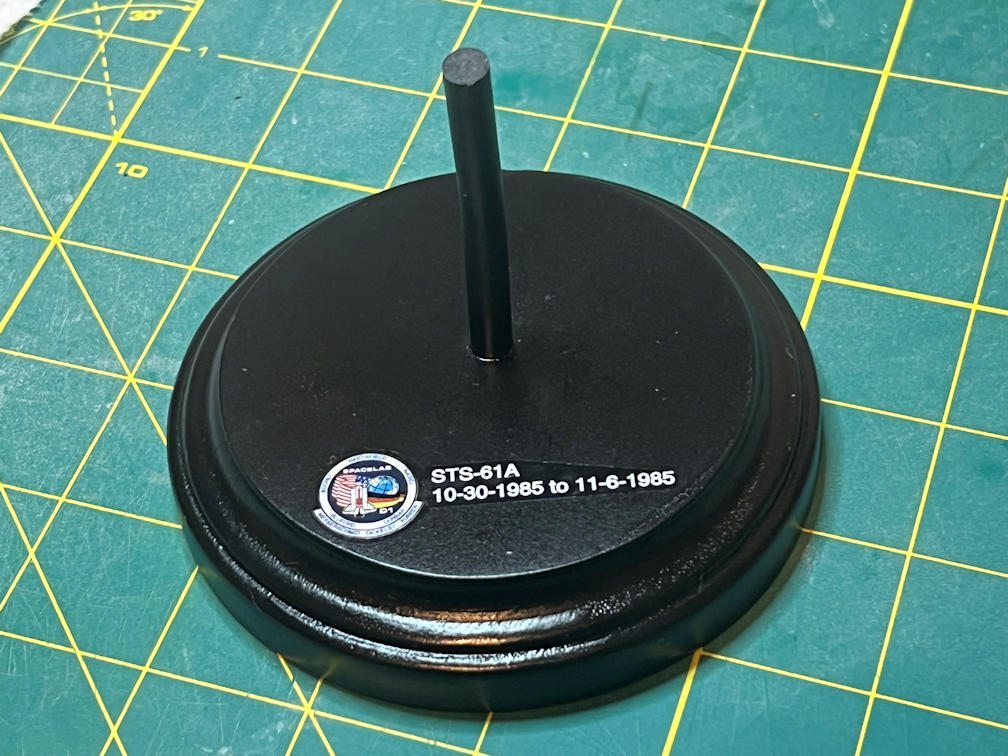
For the base I cut a 1/4 inch plastic rod to a length that looked good. I had previously placed a bend near the top of the rod to hold the model at a slight angle to the base. I drilled a 1/4 inch hole about 5/16 inch deep in the center of the base to hold the rod. Then started the process of spraying primer, sanding smooth, and reapplying primer, repeating as needed. When the base was smooth enough I painted it flat black and then added the mission decal.
I began applying decals to the model by starting with the Spacelab module.
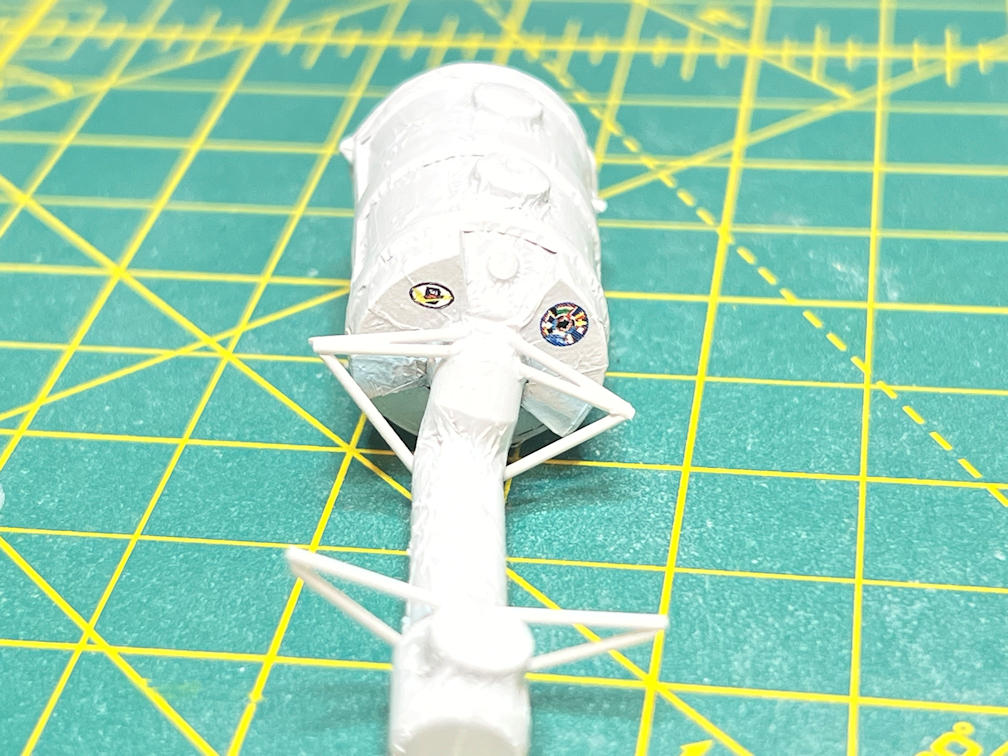
Here is an overhead view of the model with the decals applied.
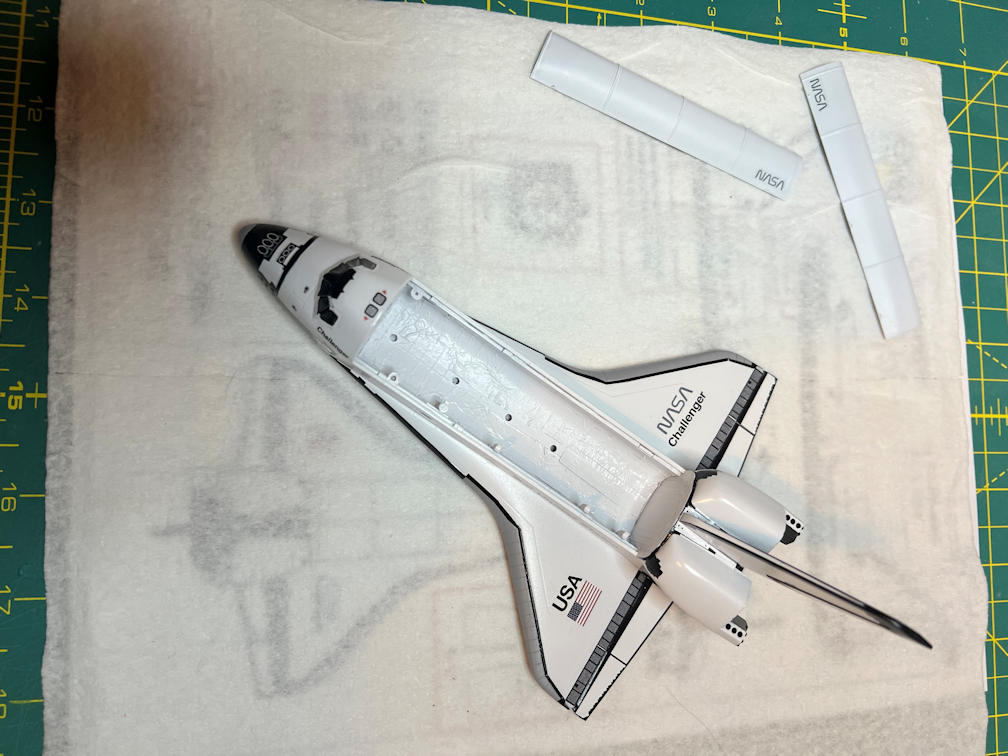
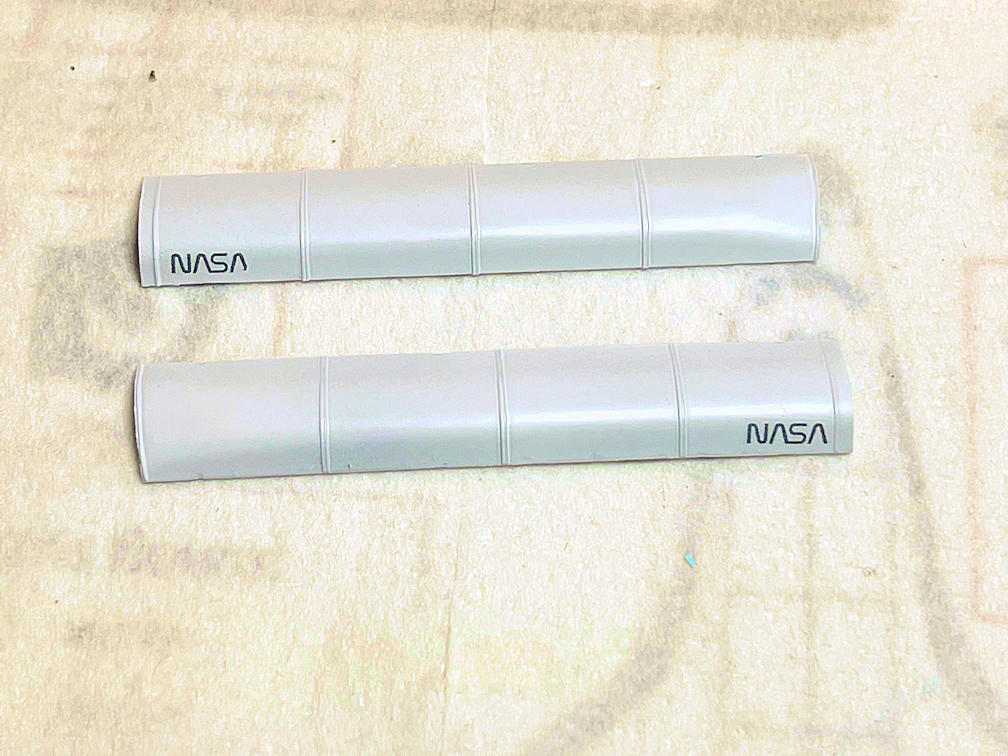
If you look carefully at the payload bay doors, you’ll notice that I got the NASA decal on the wrong side of the door. In that position the decal would be near the top of the payload bay door rather than the bottom. Since I didn’t have any backups for those decals I decided to try something I’ve not done before. Namely, move a previously applied decal to a new position. I started by flooding the area with Micro Set and using my application brush (a dedicated paintbrush). I slowly rubbed the solution around and over the decal, occasionally pressing gently around the edges with the brush bristles. After around 10 minutes or so one corner began to lift. I slowly worked from that area around the decal bit by bit. Eventually the decal came free. I soaked the decal and surrounding areas with water and slowly moved the decal with the brush over to the other side. I cleaned up all the excess water and Micro Set and waited a couple of minutes and applied a light coat of Micro Set to keep the edges from curling up. If I had already applied a clear coat over the decal all of this would have been impossible. Lucky me. Here is how it turned out.
Here is the left side of Challenger.
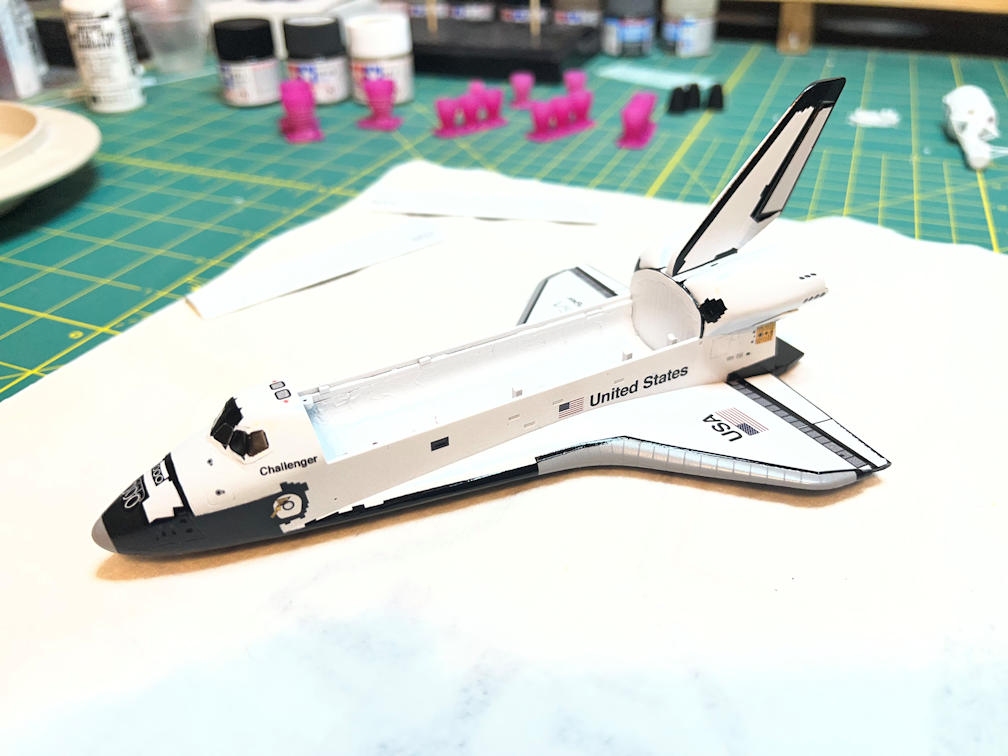
I’m regretting my decision to paint the inside of the cockpit with dark gray. I should have gone with a much lighter gray. Anyway, here is the right side with decals.
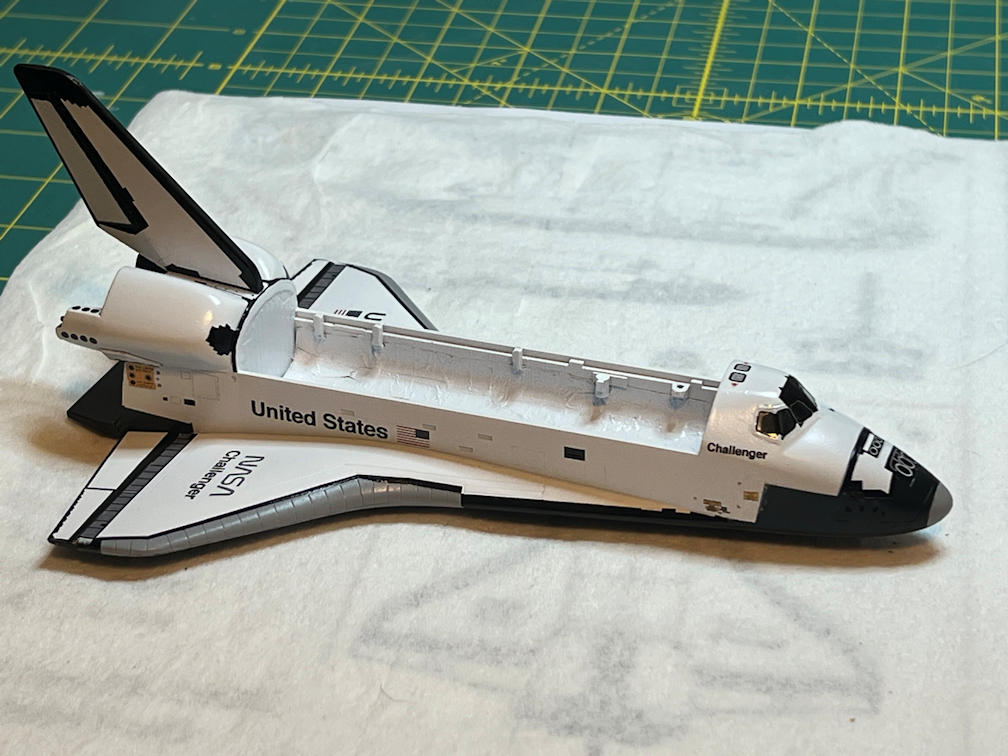
Note the tail. I painted the leading edge black. The decals I printed did not cover that area so I had to paint it. I also touched up a few minor spots with Flat Black.
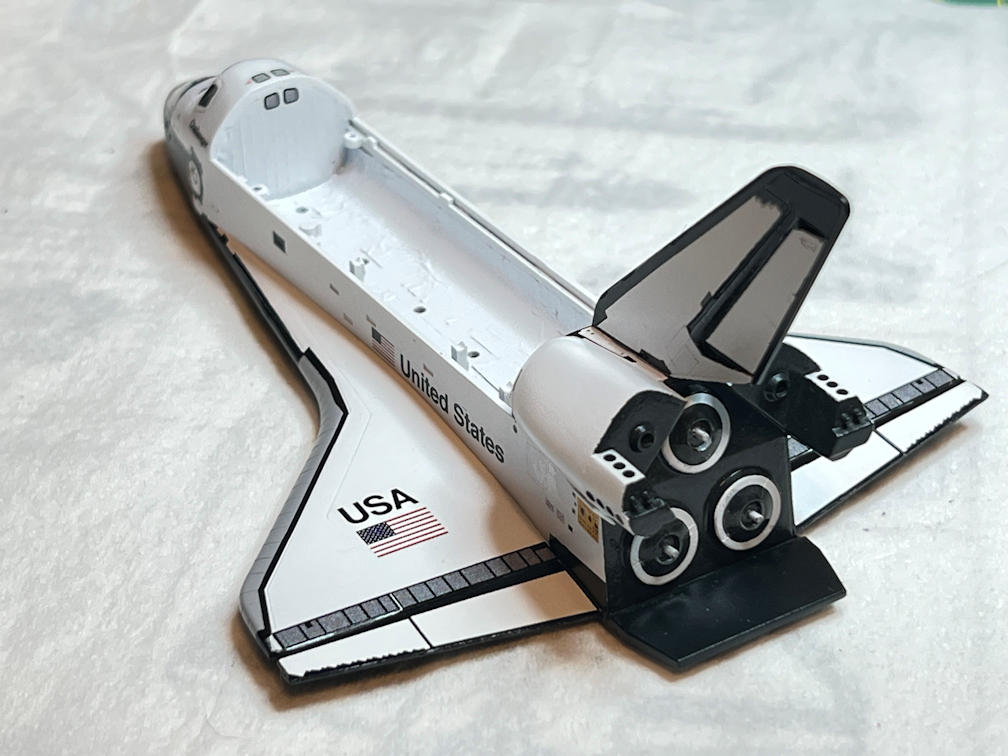
Here is a view from the back. You can see the white rings in the engine area and you can also see the payload bay windows that are represented with a decal.
I’ll apply a clear coat to protect the decals followed by an overall clear flat. Then it’s time to attach the payload bay doors.
That it for this update. If all goes well I’ll have time to finish the model soon. Thanks for looking in after such a long wait.

2 thoughts on “Hasegawa 1/200 Space Shuttle Update 5”