

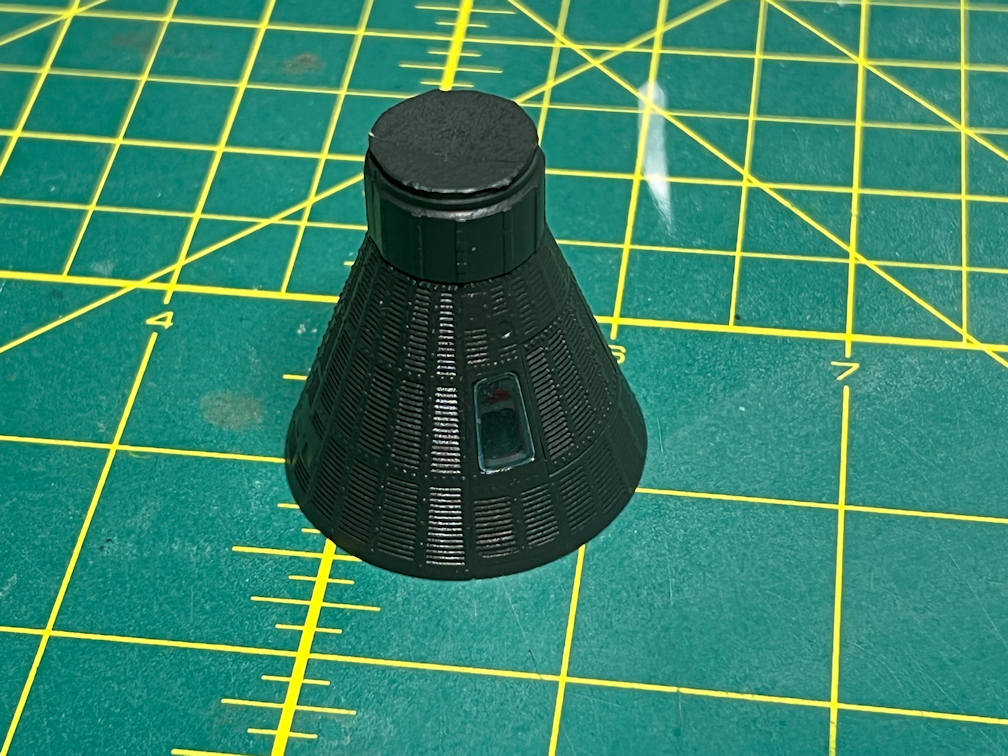
Above is the capsule after gluing in the hatch and painting the red window edges after removing the tape covering the inside of the window area.
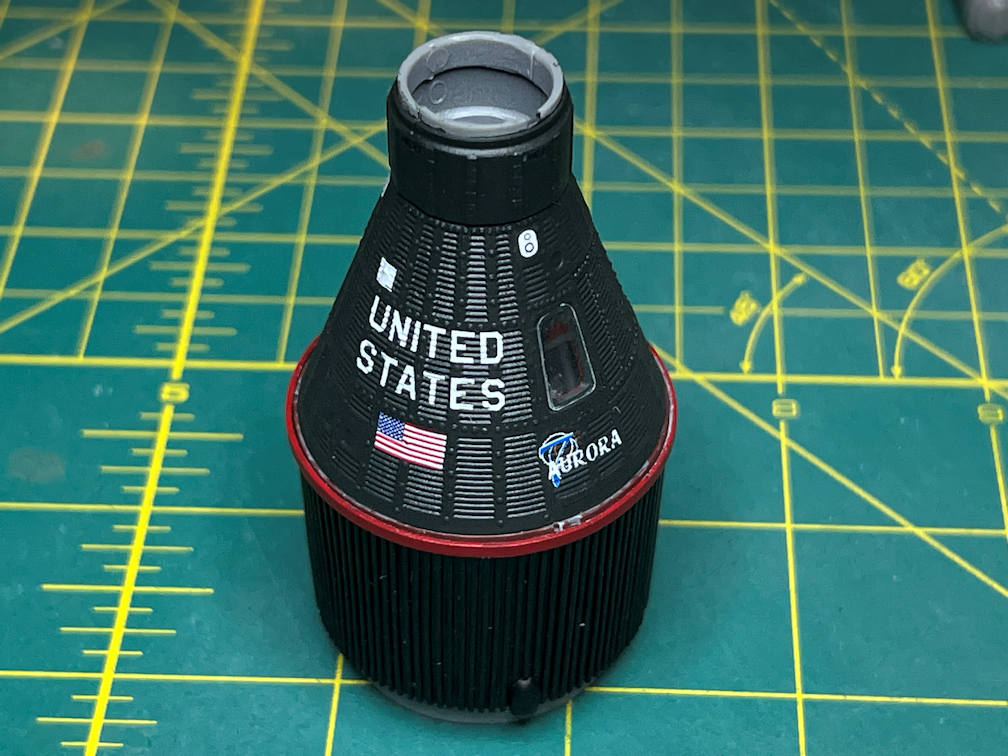
I then glued in the inside window pane with some Future Floor Finish. When that had dried I started on the outside pane. I cut a clear piece of plastic, provided with the kit, to the right shape and then used a sanding stick to round the corners. Next I gave the window a bit of curve to match the capsule. Then it too was applied with Future. When it was dry I used some MicroScale MicroMask to protect the window during the decaling process. You can just make out the blue tint on the window from the MicroMask. I then sprayed the whole capsule with Tamiya Clear to get it ready for decals.
The decals were applied with MicroSet beginning with the “UNITED STATES”, Aurora 7, and the US Flag decals. These came from the Space Model Systems decal sheet. I added decals from my custom printed set for the C-band antennas, the attitude control thrusters on the recovery section plus one white square on the left hand side of the capsule. The thruster decals should have had a white background to show up better. It took several applications of MicroSet and one pass with Walther’s Solvaset to get the decals to settle in to the details.
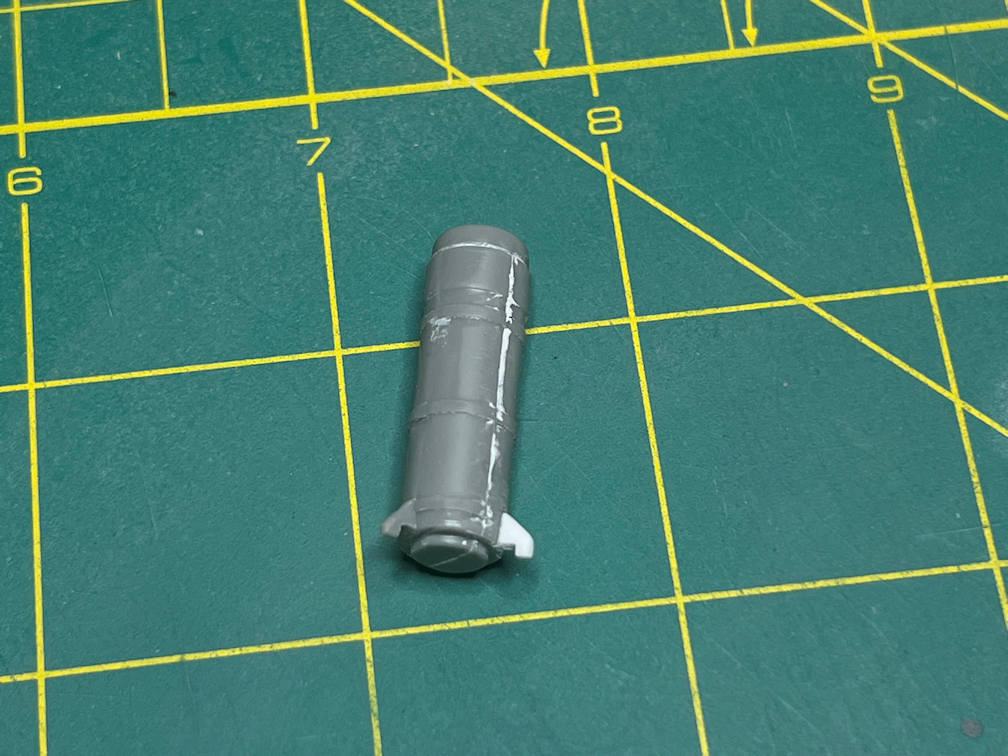
I then turned my attention to the escape rocket. This time I decided that I would correct the conduit, which I did not do on the Mercury Redstone build. I began with fixing the base of the rocket motor. The cutout/locator notch is in the wrong place so I filled it with some plastic strip and sanded it smooth. I then added a bolt head to the area to match the other molded in details. I also added three larger bolt/nut combos to the base. They look much better than just a blank flat area. These came from a set of Meng Bolts and Nuts.
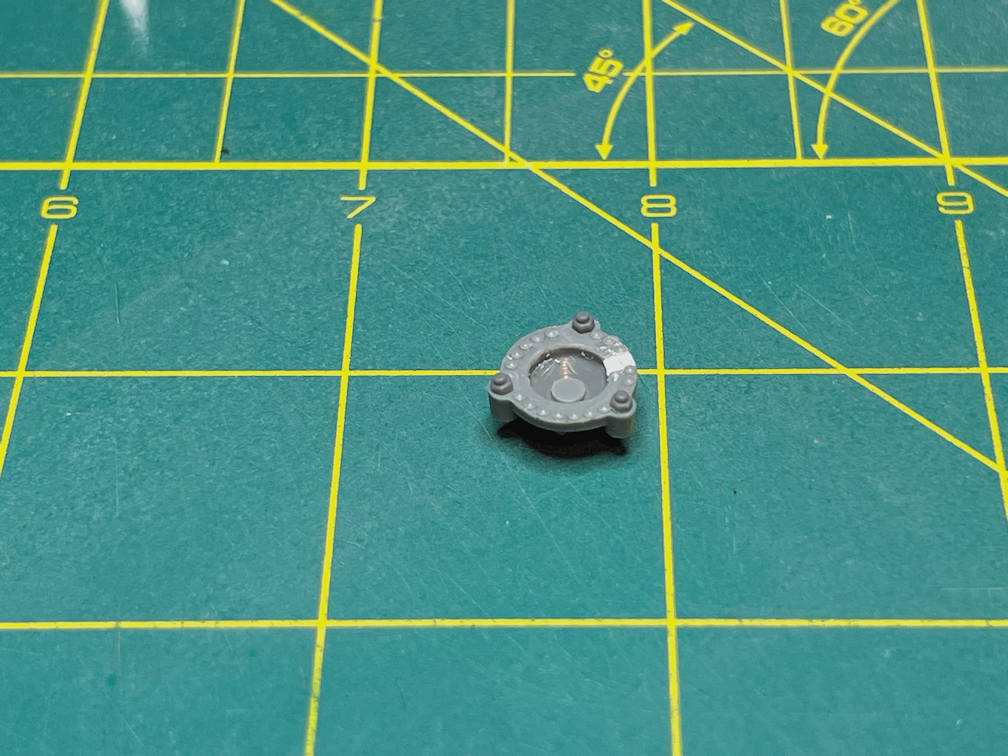
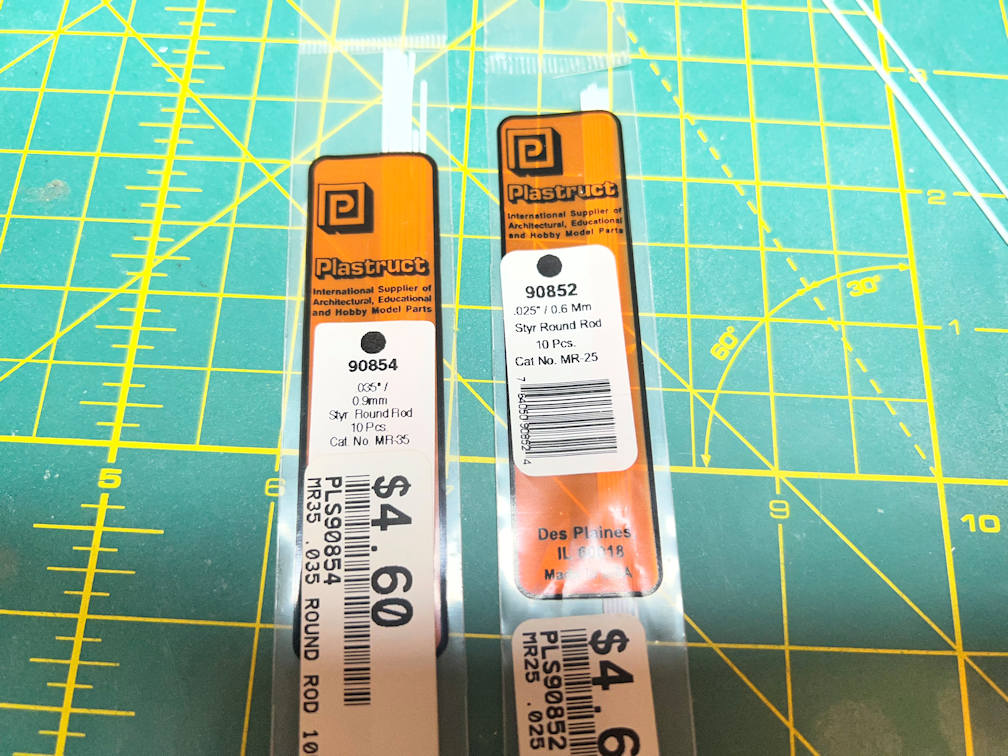
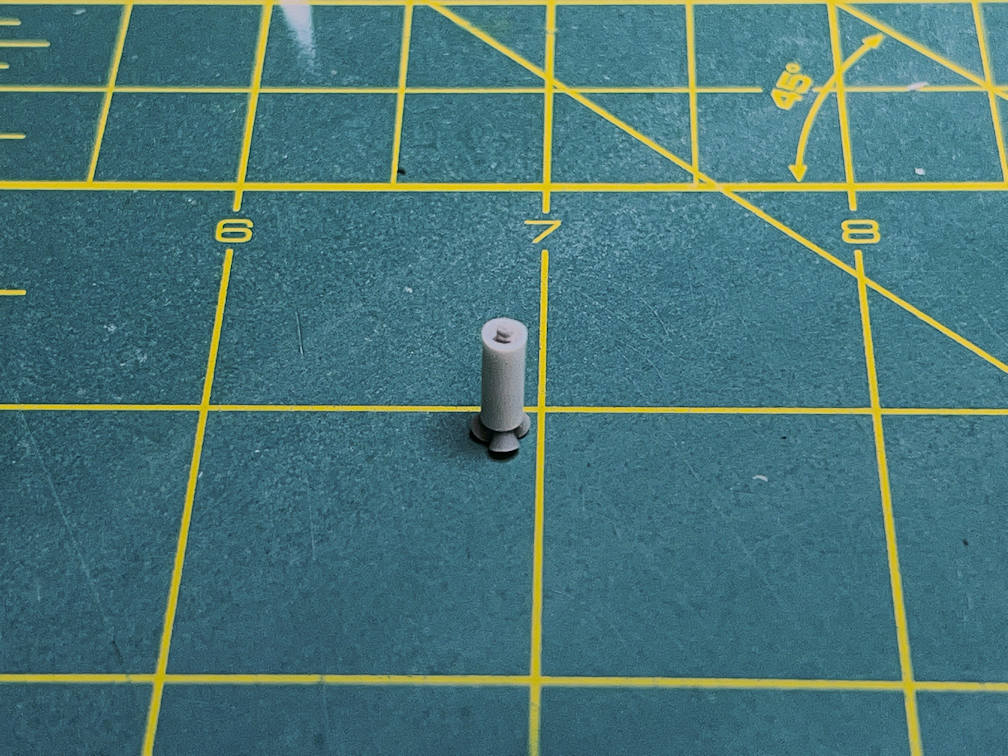
The added bolt head was made with two slivers of plastic rod. One just slightly smaller than the other. Here are the two sizes of rod I used (0.9mm and 0.6mm).
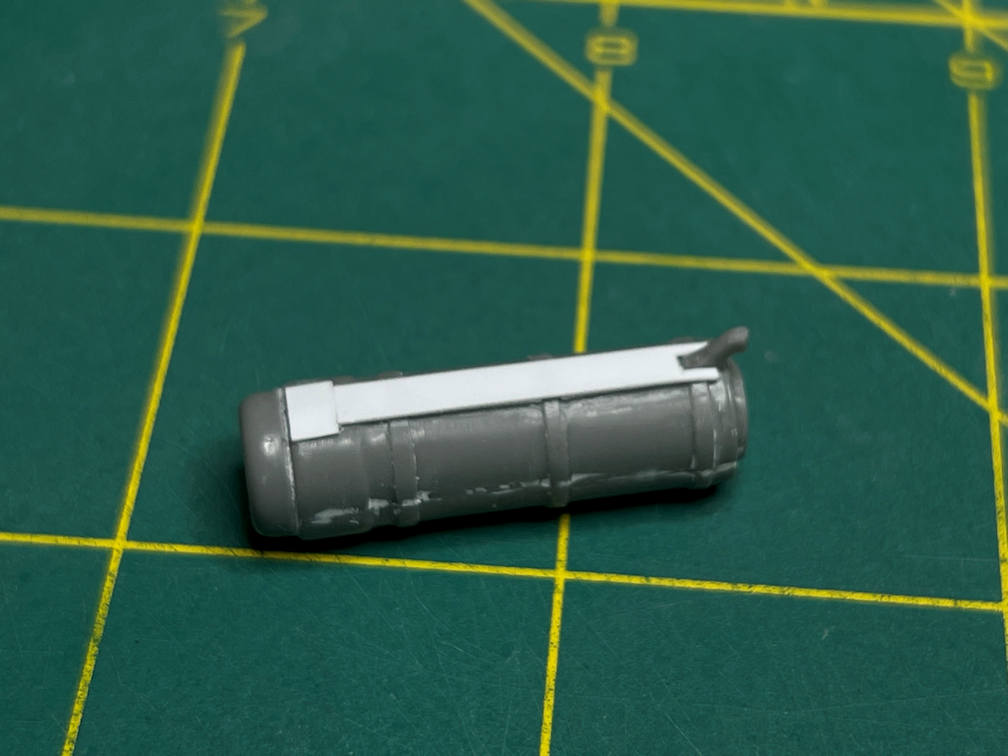
I then sanded off the large conduit that was molded in and then carved the lower triangular shaped detail into a more accurate shape. Next I needed to add an additional conduit port to the another place on the rocket. I didn’t have any stock thick enough to match the port. So I laminated 5 rectangles of 0.010 x 0.10 inch strip stock. When the laminations were dry I started carving the part trying to match what I had done with the existing port. I then glued it to the proper place on the rocket motor. To place the new part I had to remove a small part of the lower motor case strap. I then glued the motor case cap to the top.
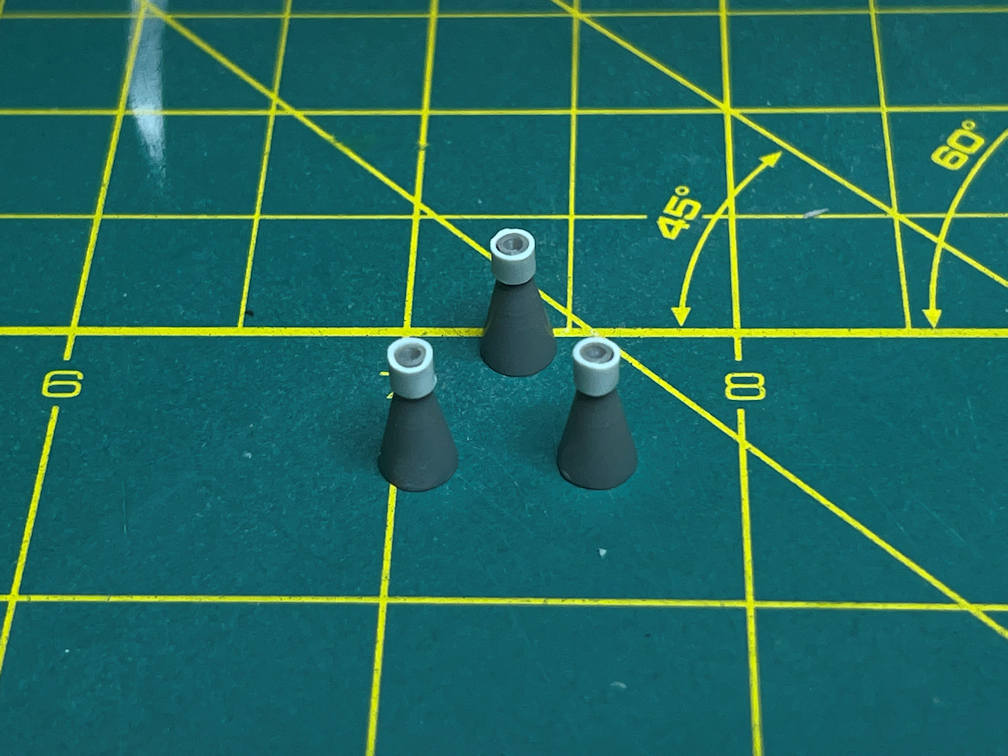
Taking a break from the motor case I needed to add some stiffing rings to the three large escape motor nozzles. I started by drilling out a section of 1/8 inch styrene tube to allow the nozzle to slide in. Once the inside of the tube was enlarged I cut short sections and glued them to the nozzles.
The next modification was to the tower jettison motor. I cut another section of the drilled out 1/8 inch tube to enlarge the jettison motor diameter.
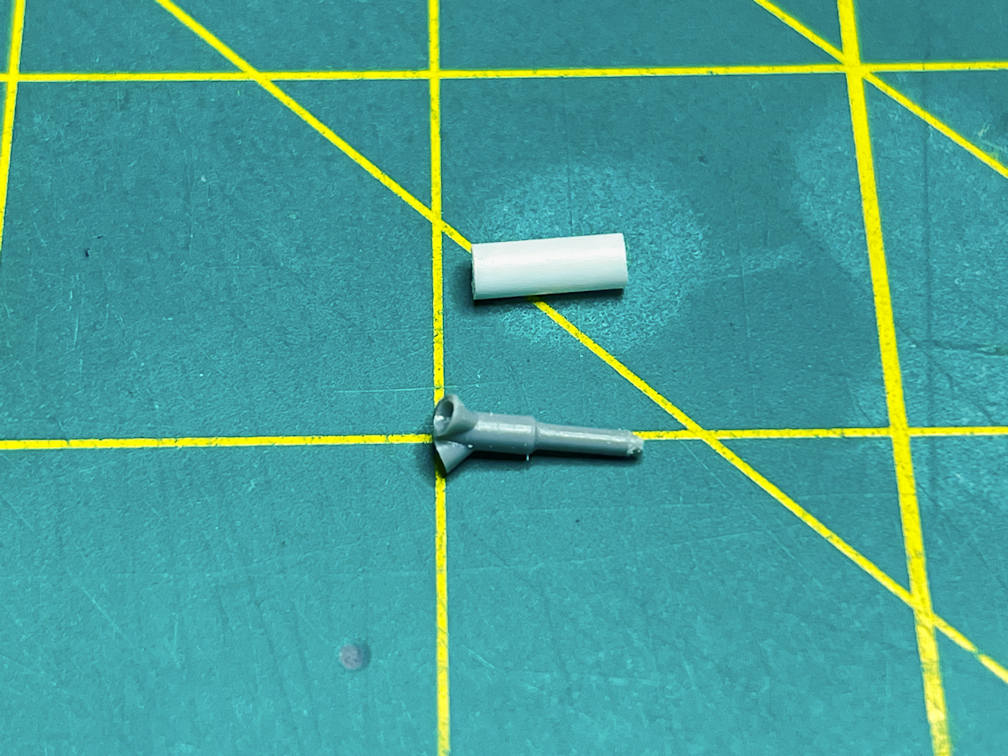
I glued the two pieces together to complete the conversion.
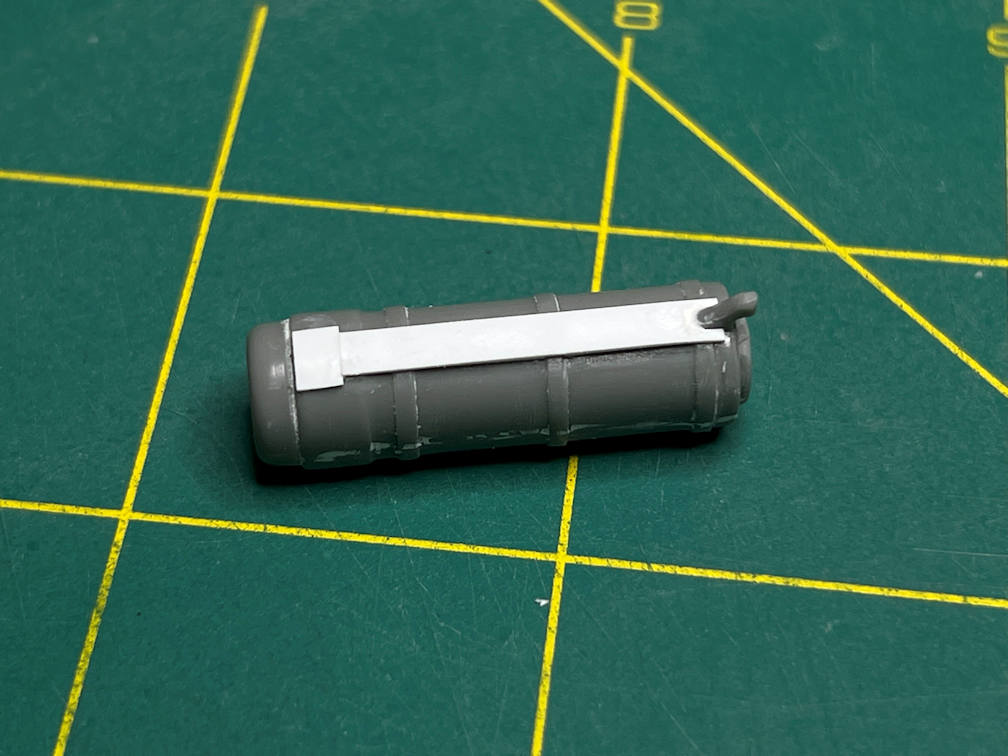
Back to the escape motor and I added some strips of 0.010 x 0.10 inch strip stock between the raised areas on the motor. I sanded them down a bit to match the raised details.

Next I measured and cut a strip of the 0.010 x 0.10 stock to complete the new conduit path. The slightly wider bit at the top was the same strip stock cut to length and placed sideways.
Finally I filled the area around the base where the port protrudes.
The final motor looks pretty good. More to come.
