
Well, let’s see how this works out. I’m going to do a multi-scale build of the Mercury Redstone vehicle. One will be in 1/200 scale from the AMT Man In Space kit. One will be 1/72 scale from the Horizon models kit and one will be in 1/48 scale using the Glencoe Jupiter-C combined with the Revell Mercury/Gemini kit and an aftermarket conversion from New-ware.
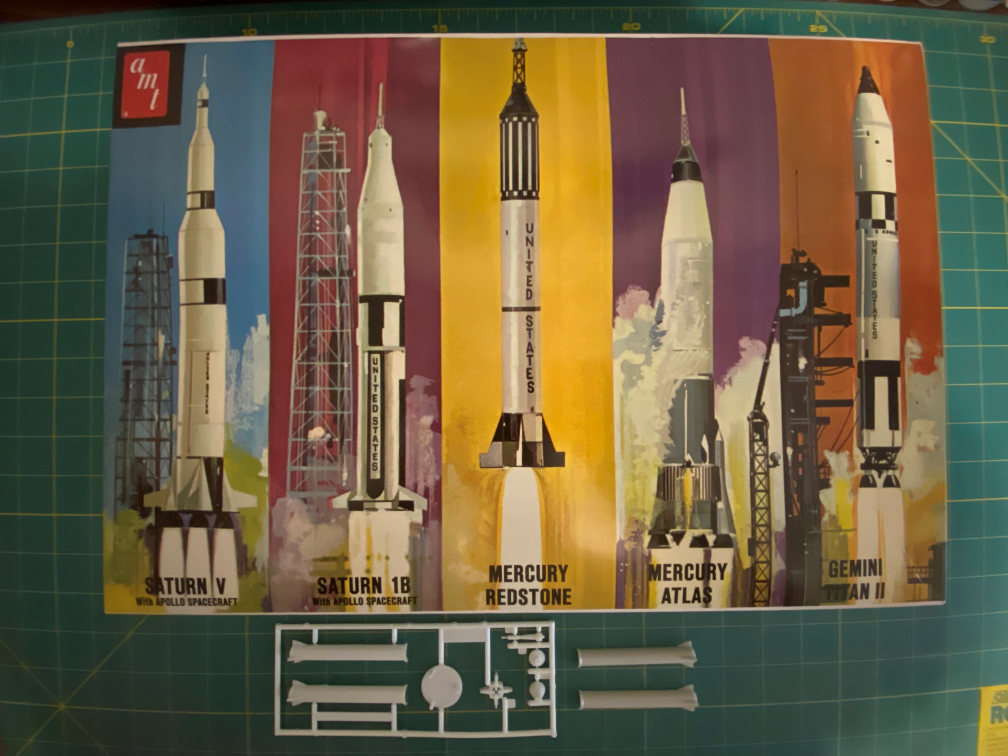
The only part of the Man In Space kit I’ll be using right now is the Redstone. One problem with it is that it is too short. I’ll be adding a section from another Man In Space kit (I’ve got several in my stash). While doing some initial measurements and referring to Peter Alway’s Rockets of the World book, I noticed that not only is the Redstone too short, its diameter is off as well. The diameter actually scales out to about 1/181 instead of 1/200. Interestingly, the Atlas from the kit is spot on for 1/200 scale. I DO NOT intend to do anything about the Redstone discrepancy. It is what it is, and adding the extra length is all I’ll do, since that is very noticeable.
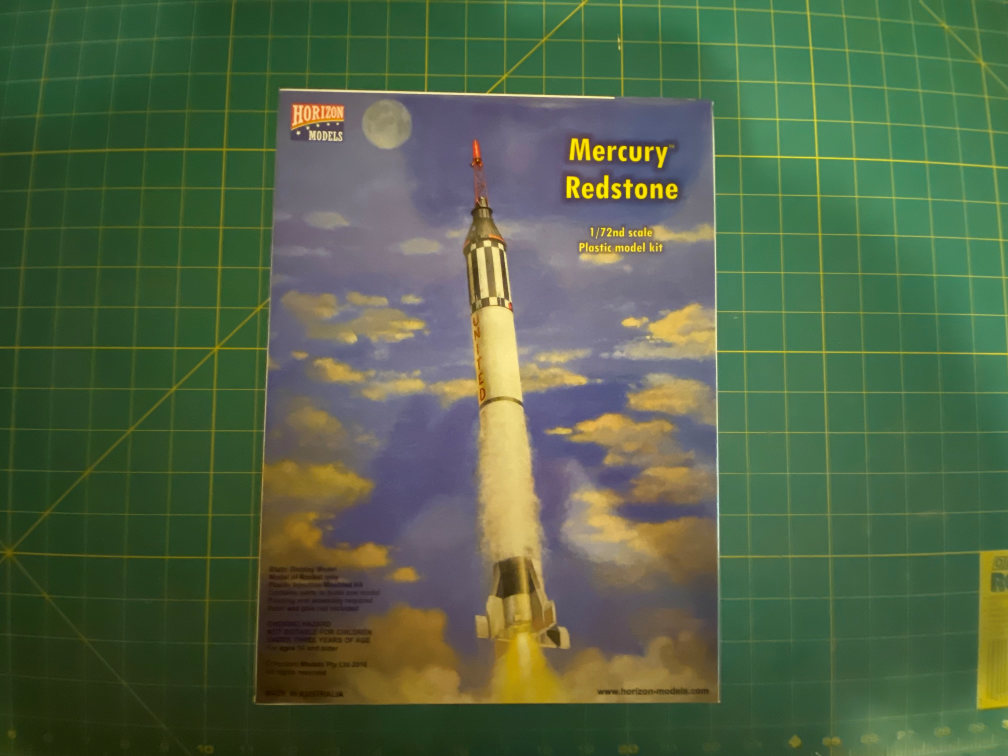
The Horizon kit seems just fine. I’ve already built the Mercury portion of this kit before. It has reasonable detail and goes together nicely. Hopefully I won’t find any problems when I get into this kit.

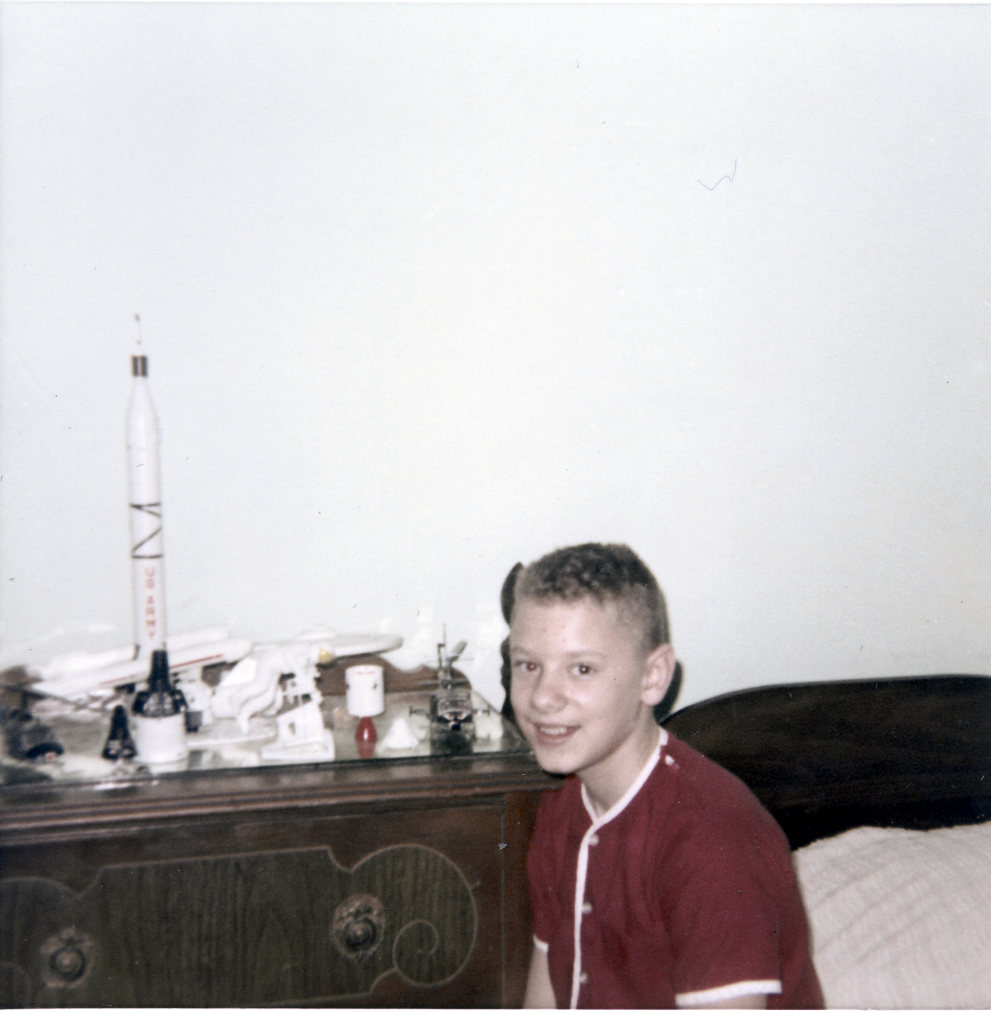
The 1/48 Revell Mercury kit is good. Not perfect, but not bad. The molding of this release seems better than the last one I built many, many years ago. The Glencoe Jupiter C is a re-pop of the old Hawk kit. The last time I built this kit was way back when I was in Junior High (Middle School they call it these days). From my fading memory I don’t recall it being a difficult kit to build and it looked good. The photo below shows my Jupiter C from about 55 years ago. I no longer have the model. In fact, I don’t think I have any of the models in that picture anymore.
The New-ware conversion set is one large chunk of resin and four small resin parts that add the spacecraft/booster adapters (even though I only need three). I bought it a long time ago and apparently the large chunk of resin is now two hollow resin halves that when glued together allow for a complete Mercury capsule to be added on top. My version is totally flat on the spacecraft end, which means that when I build the Mercury capsule I’ll have to leave off the heat shield and retro rocket pack. We’ll see how that goes.
My plan for decals on this build will be using some aftermarket and some kit decals. For the 1/48 Redstone I’ll use Space Model Systems Redstone decals and his 1/48 scale Mercury decals. For the 1/200 Mercury Redstone I’ll be using a set of decals from Tango Papa Decals. The Horizon kit has nice decals so I shouldn’t need any extra for it.
My current plan is to start with the 1/48 Mercury capsule and then the 1/48 Redstone. I guess we will find out when I make my next post.
Lots more to come on this build. Thanks for looking.
Part 1 of the 1/48 Mercury build is here.
Part 1 of the 1/72 Mercury build is here.
Part 1 of the 1/200 Mercury build is here.
