
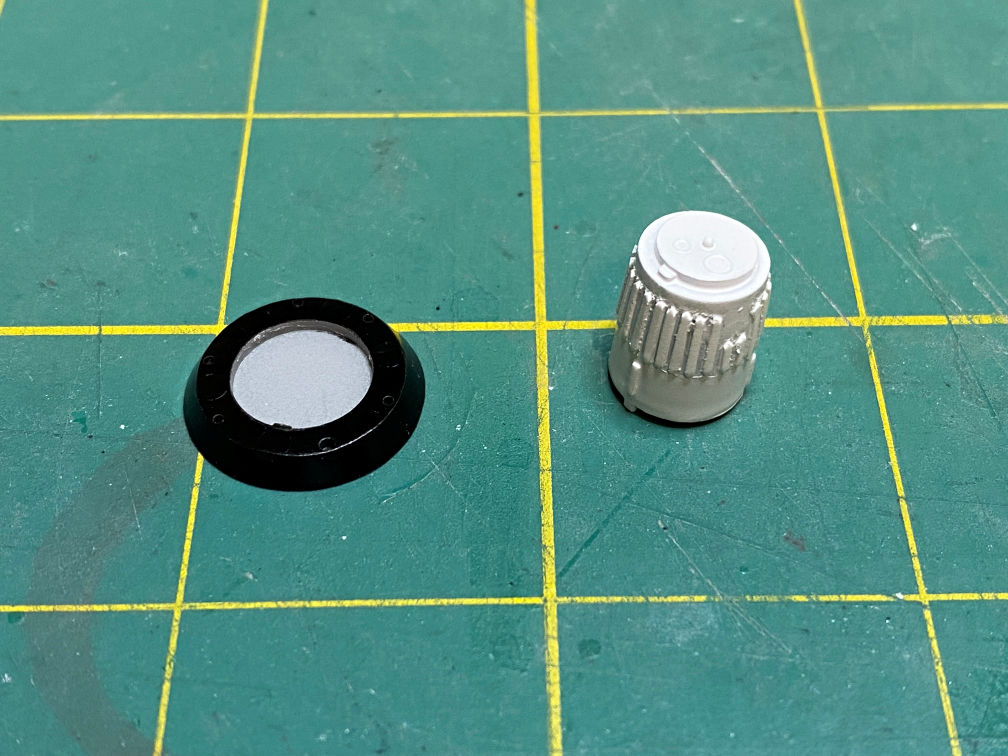
With the tower legs cleaned up, I started on the other nose parts. The nose cap was masked and then primed and then painted with Tamiya TS-14 Black. I then used some MicroScale MicroMask to cover the painted part. This will protect it when the tower is painted red later on. Once the red is on, the mask can be removed. I also added some extra details to the antenna canister. It had some lightly molded in ribbing that was not correct and much too light. I used .010 by .020 strip stock and made some new ribbing. Once it was on I sanded the edges and rounded the fore and aft ends of each rib.

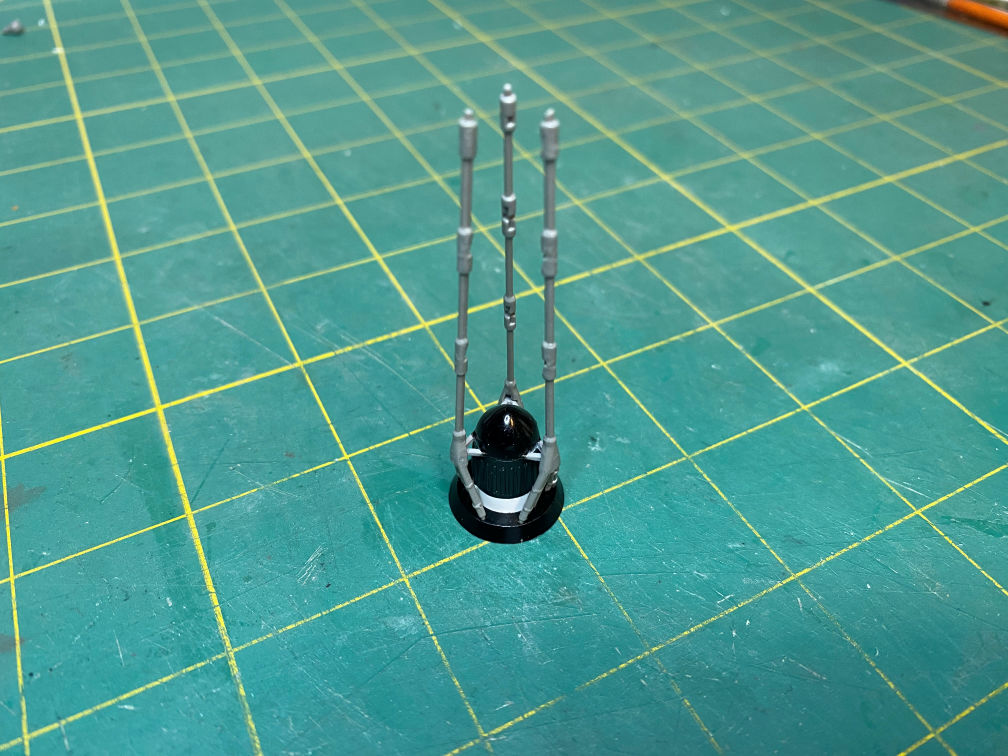
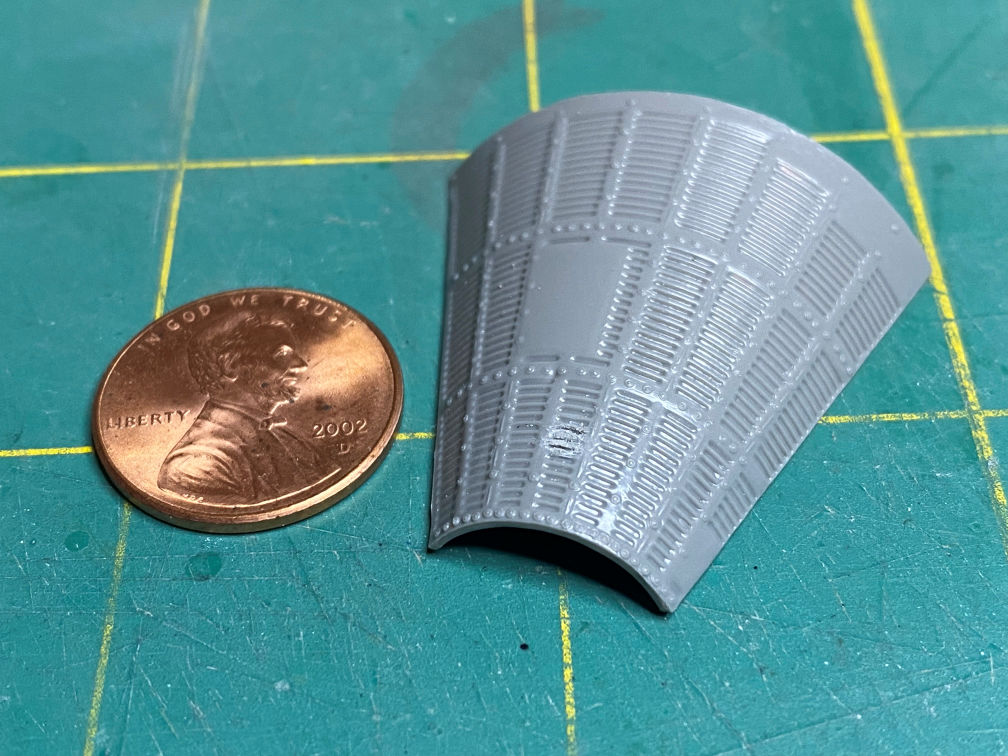
The section with the short ribs is where the horizon sensor cover will be added later. The single strip just above the aerodynamic shroud represents one of the three Teflon strips that went around the antenna cover. That area will be painted white.
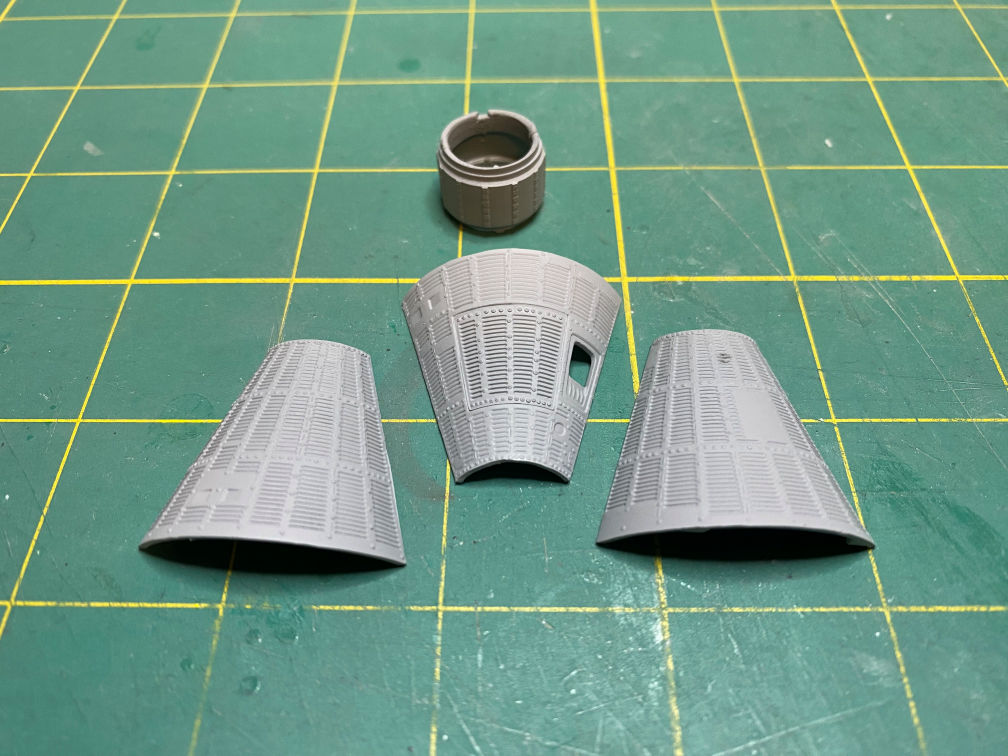
Next the antenna shroud was sprayed with Tamiya white primer. The aerodynamic shroud was masked and primed, then painted Tamiya TX-14 Black, same color as the nose cap.
I then masked the lower part of the antenna shroud in preparation to paint the rest of the shroud with Tamiya TS-63 NATO Black.

Here are the nose parts painted.

I then used the nose parts as a jig to assemble the tower. The nose parts are just press fit and not yet glued together. Here are the three legs glued to the nose cap braces (but not yet glued to the aerodynamic shroud.
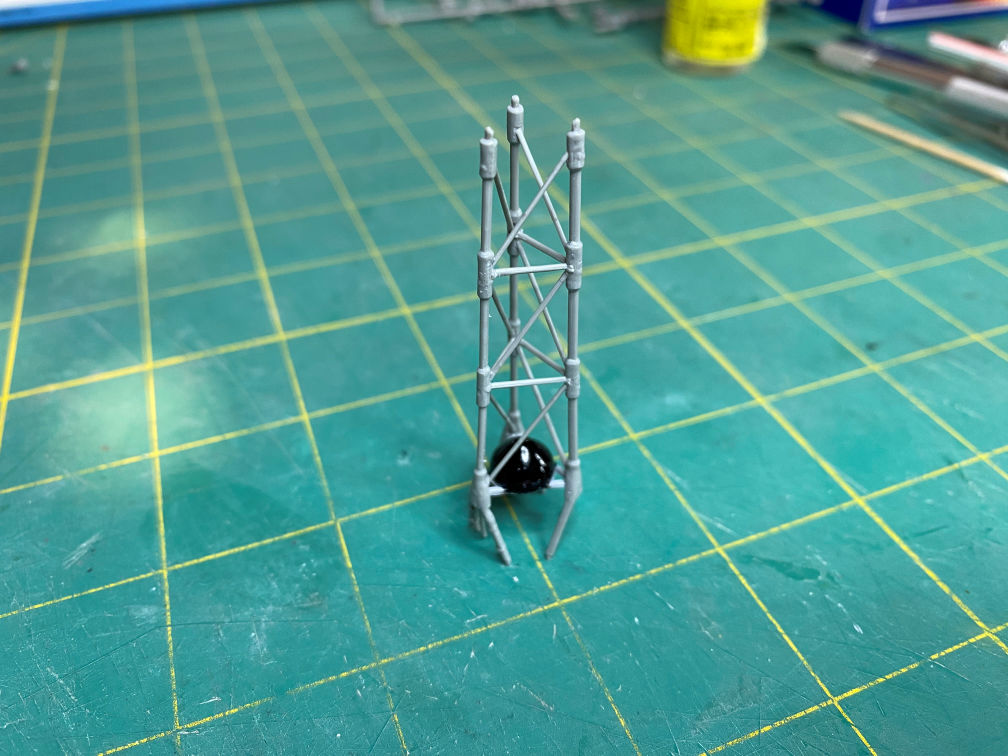
Next the two cross braces were added. They required careful handling. The cross braces are thin and easy to break if you are not careful. When cutting them from the tree I left a good amount of runner attached to ease the pressure on the braces. Then once removed from the tree I cleaned up the remaining runner. There wasn’t much flash to remove, but there were some obvious mold lines that had to be dealt with. That seems to be the biggest flaw with most of the parts in this kit.

Next came the diagonal braces. They are actually thinner than the cross braces. That made cleaning up the mold lines even more problematic.
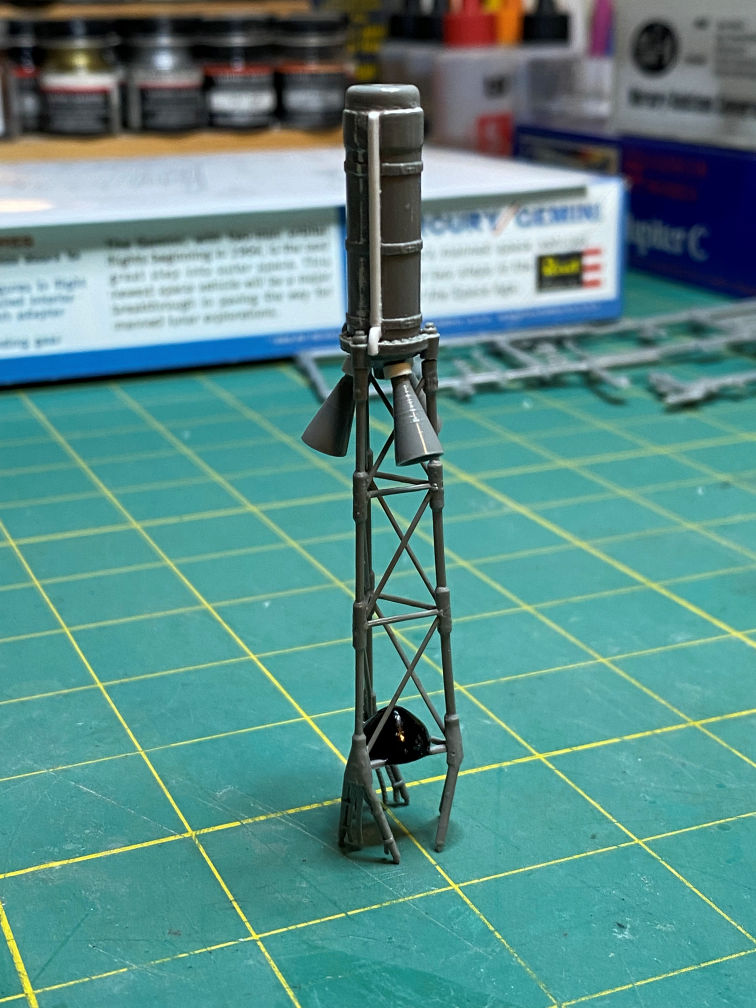
I then glued the large nozzles to the rocket motor. I left off the small tower jettison motor. It will be added after the rest is painted red. I test fitted the rocket motor to the tower to be sure that everything was aligned properly.
Here are the tower parts ready for primer.

Now they are all cleaned up and primed.

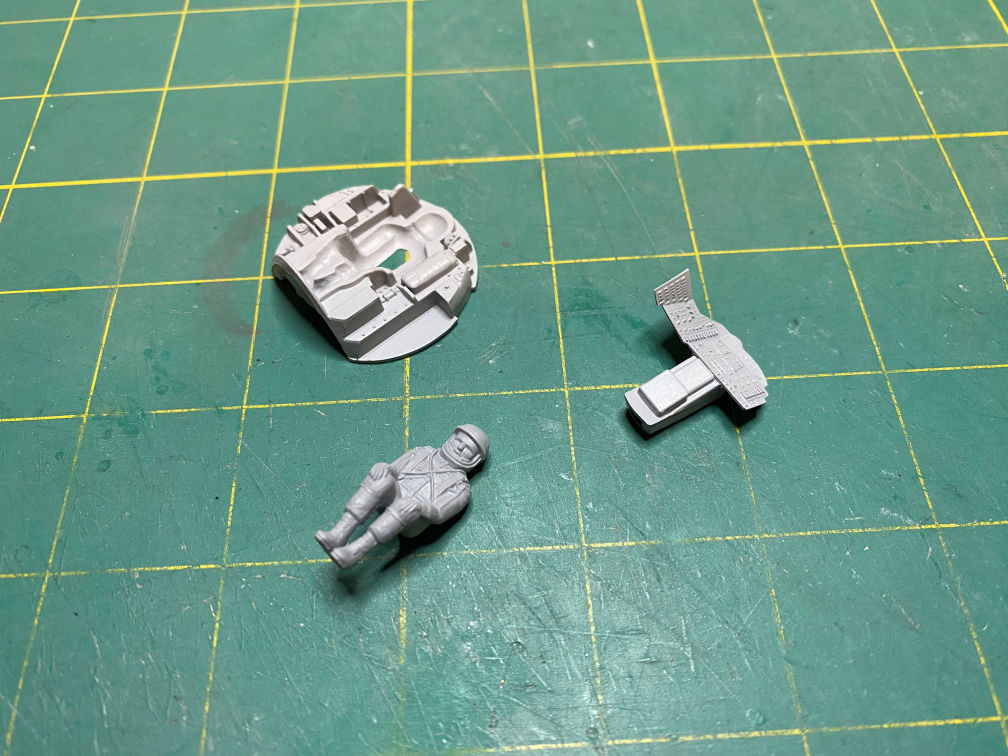
I then switched to the capsule. I started by gluing the hatch to its side of the capsule wall. I also started filling the hole in one side of the capsule wall. It is supposed to be where the mount would be attached. I won’t be using the mount so I filled the hole with Mr. Putty. The astronaut figure will be cleaned up (mostly mold lines) as well.

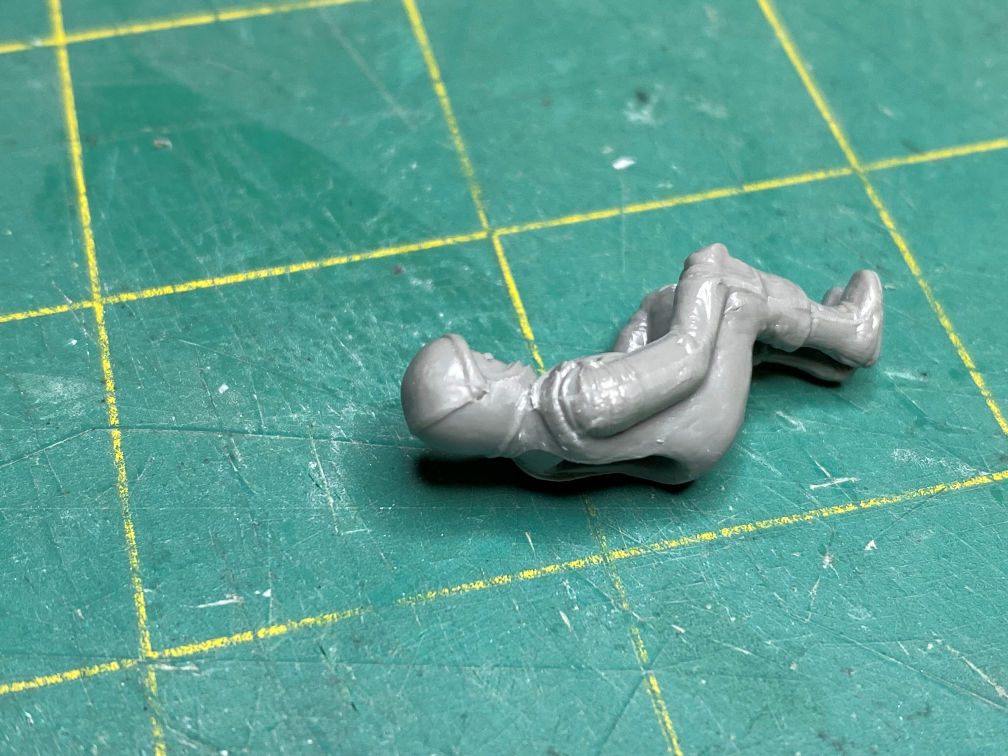
It took a bit of work but I was able to get the mold lines off the figure. They were so heavy on the helmet that I didn’t realize that the figure is modeled as though his visor is up. Removing that line was about half of the clean up. I used several progressively finer sanding sticks to get a smooth surface again.
There were more mold marks on the sides of the figure that were removed.
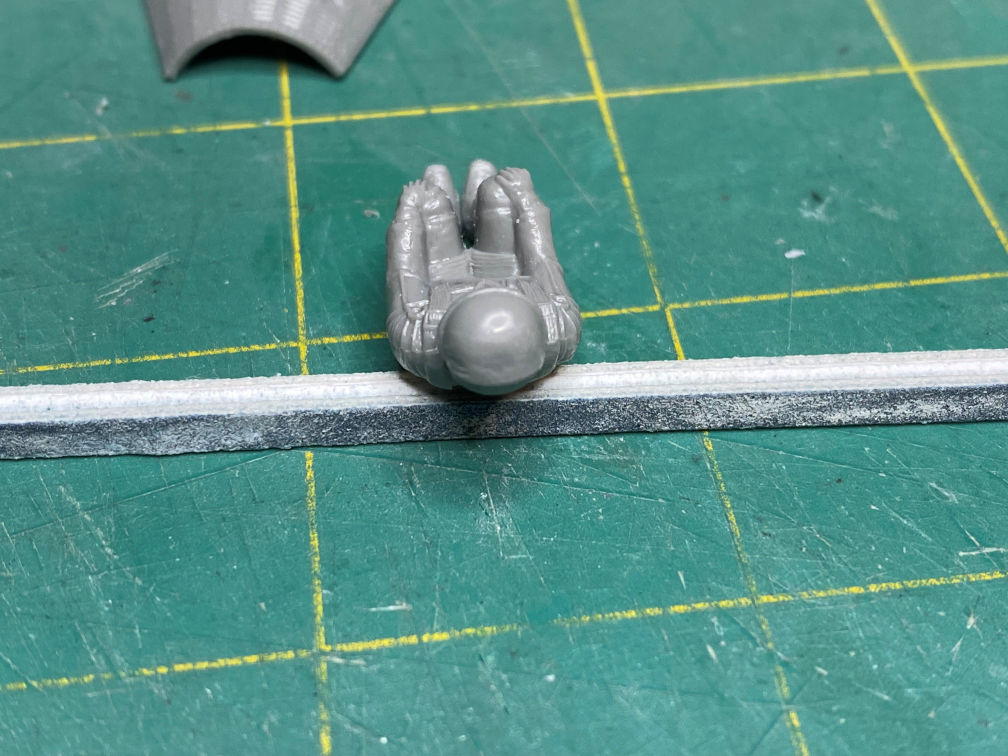
Even the feet needed some work. I cut away enough plastic to make some visible space between the feet.

I’m going ahead and using this figure rather than getting a more accurate aftermarket one since so little will be seen through the tiny window.
I went back to the capsule wall that had the hole. I didn’t like the putty look. Plus, the hole is so deep it will take quite a while for the putty to cure. I removed the putty and instead cut off the mount post on the inside of the capsule and then cleaned the hole up a bit. I then pushed the stand mounting pin through the hole from the back side until it just came even to the outside edge. I glued it into place and cut off the excess on the back side.

Next I took some etching tools and attempted to carve in some corrugations. We’ll see how they look after the part gets primed.
I next assembled the control panel. It had a large ejector pin mark on the back side that had to be removed before it would fit on the post. The control panel isn’t correct for Grissom’s mission, but you’ll be hard pressed to see it through the window.

I can’t use the heat shield since the New-Ware part is flat on the spacecraft end. However, I do need the extra thickness that the edge of the heat shield adds to the spacecraft. To fix that I roughly cut a circle from some .040 sheet stock. The cabin back/astronaut couch is proud of the edge so I needed to sand away the excess on the back side. Here you can see it sitting flat on the sheet stock.

From this side you can just see the white of the sheet stock showing through the thin bit of styrene that is left on the couch back.
Here is the view of the cabin back from the opposite side. It is so thin that I don’t think it will survive the priming process.

The astronaut figure will still sit fine in the couch. The below picture shows the capsule after priming.
The interior parts were also primed.
The next thing to do is start painting these parts. Once the capsule parts are painted then I’ll be able to add the window.
Painting is next. Thanks for looking.
