
I started back in by painting the window area of the capsule. Gus’s capsule had silver below the window and like all the capsules with a window, the window area was surrounded by a red silicone seal. I used Vallejo Silver RLM01 and the red was Vallejo Red RLM23.

When those had cured, I glued the inside window in place with Future floor finish. It is a clear acrylic and won’t damage clear parts.

I didn’t do a lot of cleaning up of the interior parts. You just can’t see much through that window.
I then carefully cut out a piece of clear plastic for the outside window pane. I curved the window slightly to match the curvature of the capsule and glued it in place with some more Future floor finish.
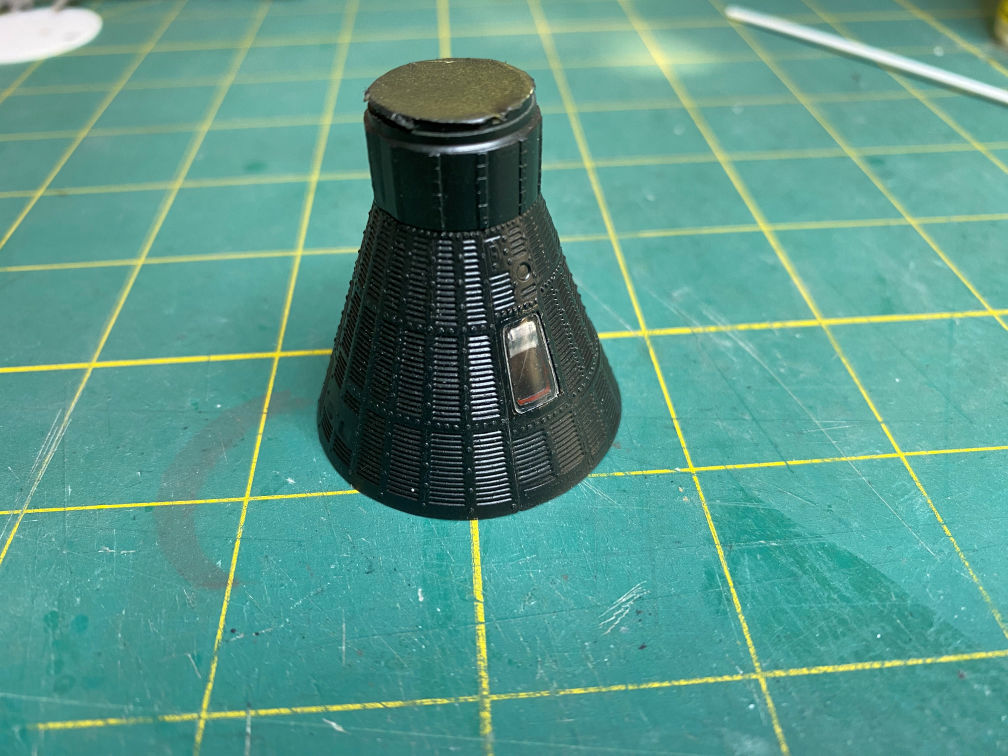
After the Future dried I covered the outer window with liquid mask. This will protect it from the various clear coats that will end up getting applied before this portion is finished.
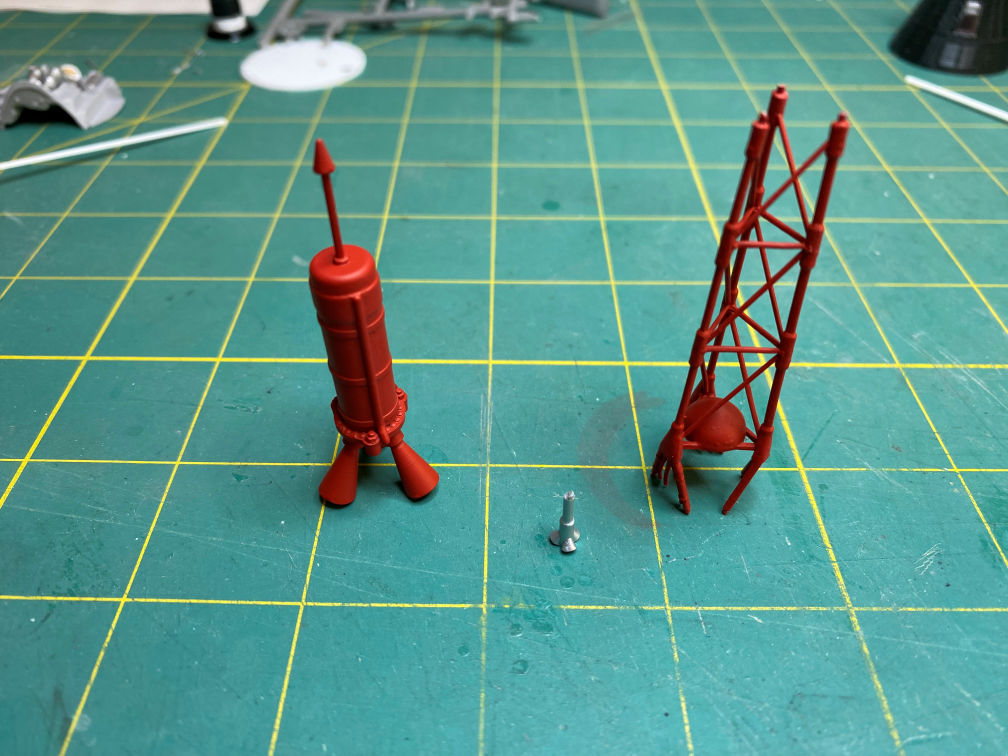
The escape tower and escape rocket were painted with Vallejo Red RLM23 Red. It is a nice shade of red with a hint of orange, which comes close to matching the color seen in many Mercury photos. The jettison rocket was painted Tamiya TS-30 Silver Leaf. When all the painting on the tower is done, I’ll remove the masking to reveal the black cap.
Before installing the capsule back I added a bit of Vallejo Black to the instrument panel, since it is one of the few things that is slightly visible through the window.

Then the capsule back was added.

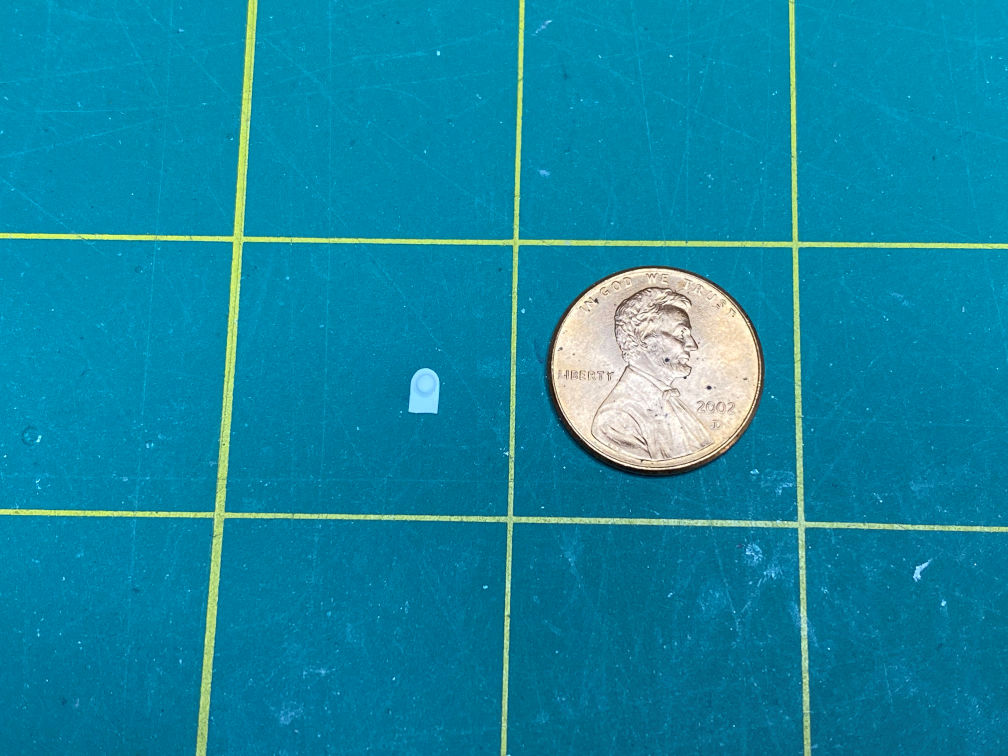
I fashioned a horizon sensor cover out of a sliver of 1/16 inch styrene rod and a small section of 0.005 sheet styrene.
It will be painted Tamiya TS-14 Black and then added to the antenna faring after the tower is attached.
To prepare for the matte clear coat, I removed the masking from the cap. I also put a strip of 1mm Tamiya masking tape around the antenna faring to cover the area that will be glued inside the cap to attach the tower. After the escape rocket was sprayed with matte clear I glued the silver jettison rocket in place.

With the matte clear on the tower, I painted the wires on two of the tower legs Vallejo Silver RLM01. I also started applying decals to the capsule. The view here shows the decals with one application of MicroSol decal setting solution.

You can also see the slight blue tint on the window from the liquid mask.
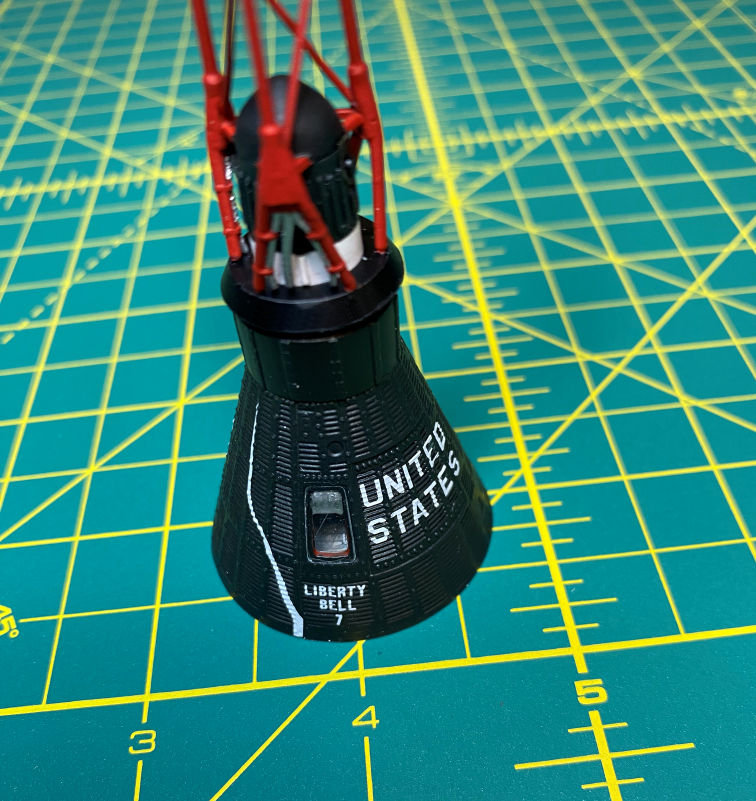
This view shows the decals after two more applications of MicroSol. The decals conformed well. I also glued the tower to the antenna faring.

Finally, I glued the three sections together. The tower was glued to the capsule first and then I added the escape rocket. Here is a view of the completed capsule. I’ve also removed the masking on the window.

Here is a close up highlighting the decals and how well they conformed.
This view shows the horizon sensor cover that was added after the tower was glued to the capsule. I used Elmer’s glue to attach it. It shouldn’t get handled in that area so I’m not too worried about it popping off.
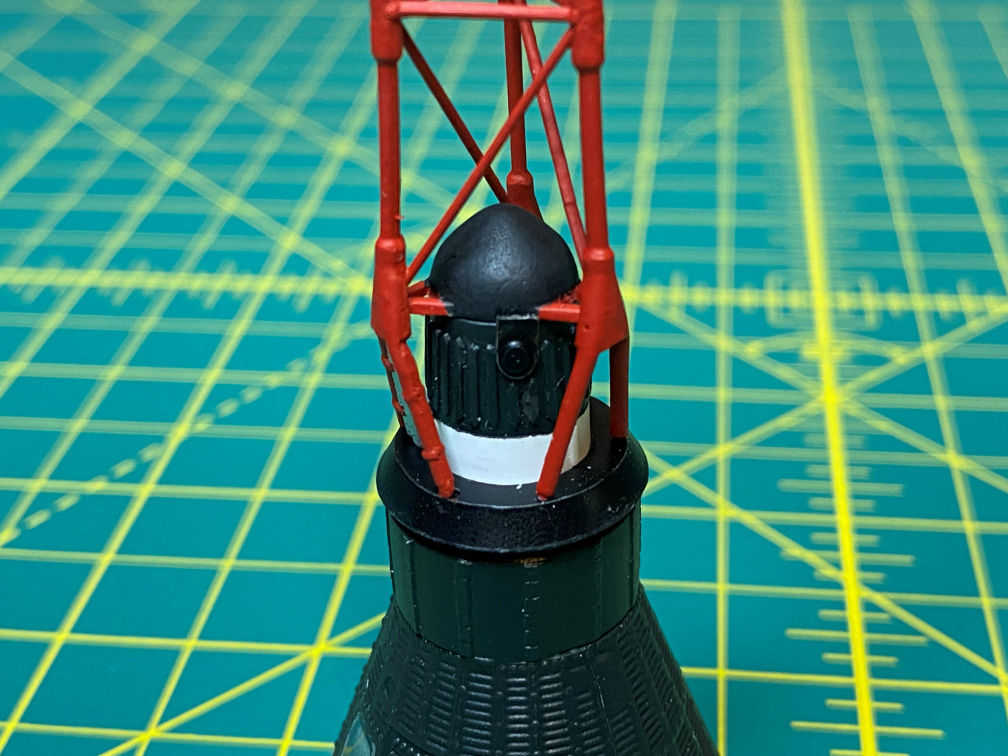
Finally here is a close up of one of the tower legs with the silver painted wiring.

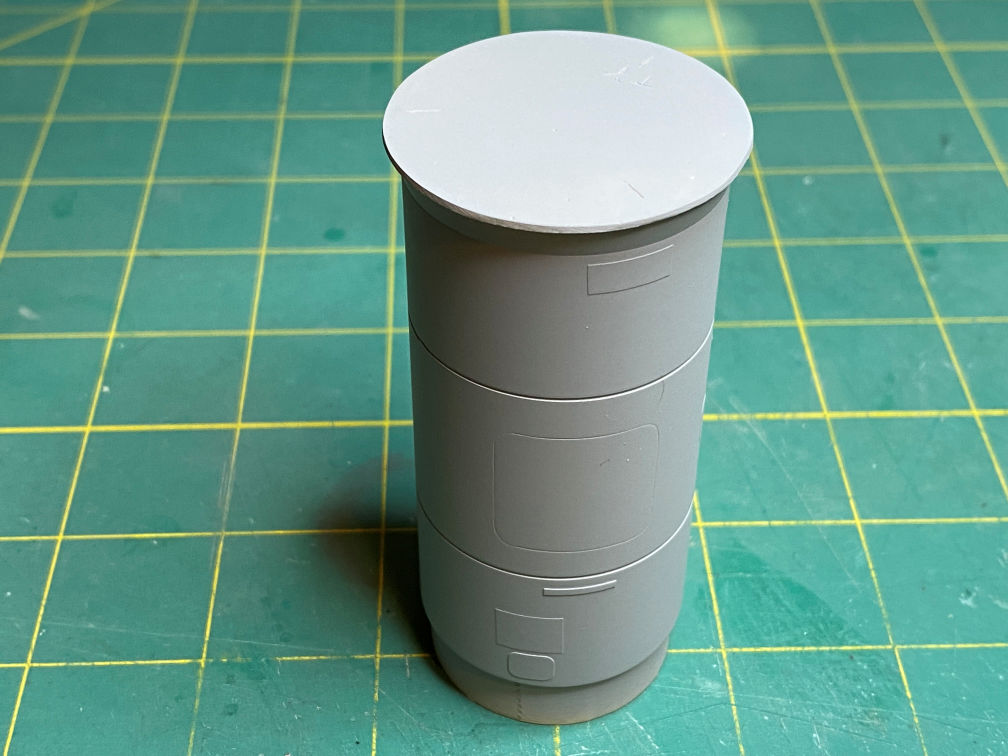
With the capsule finished, I applied primer to the NewWare instrument section. Hopefully you can just make out where I scratched in the alignment marks for the umbilical covers.
I also painted the umbilical covers Tamiya TS-14 Black and then applied a matte clear.

That’s it for this update. It is time to start on the Redstone booster next. You would think that this should go pretty smoothly, but it’s been a long time since I’ve worked with this kit. I’ll keep my fingers crossed.
Thanks for looking. More to come.
