
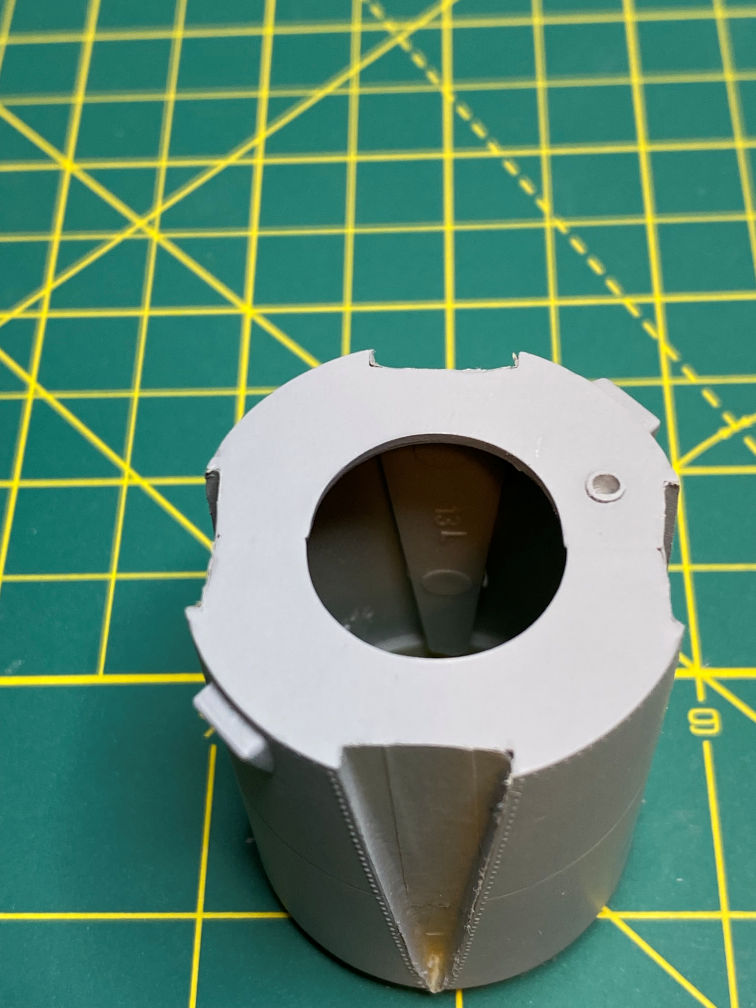
Work continues on the Redstone. I added the turbine exhaust port to the bottom of the propulsion section. I created it with some 1/8 inch tubing and cut a slice out of the side of it to make the diameter shorter so it would fit in the smaller hole of the turbine exhaust. After inserting it into the hole, I pushed in through until only a small section was proud of the base. I glued it into place and when dry I used a couple of drill bits to thin the wall of the tube. When that was done I glued a small piece of styrene sheet to close the hole.
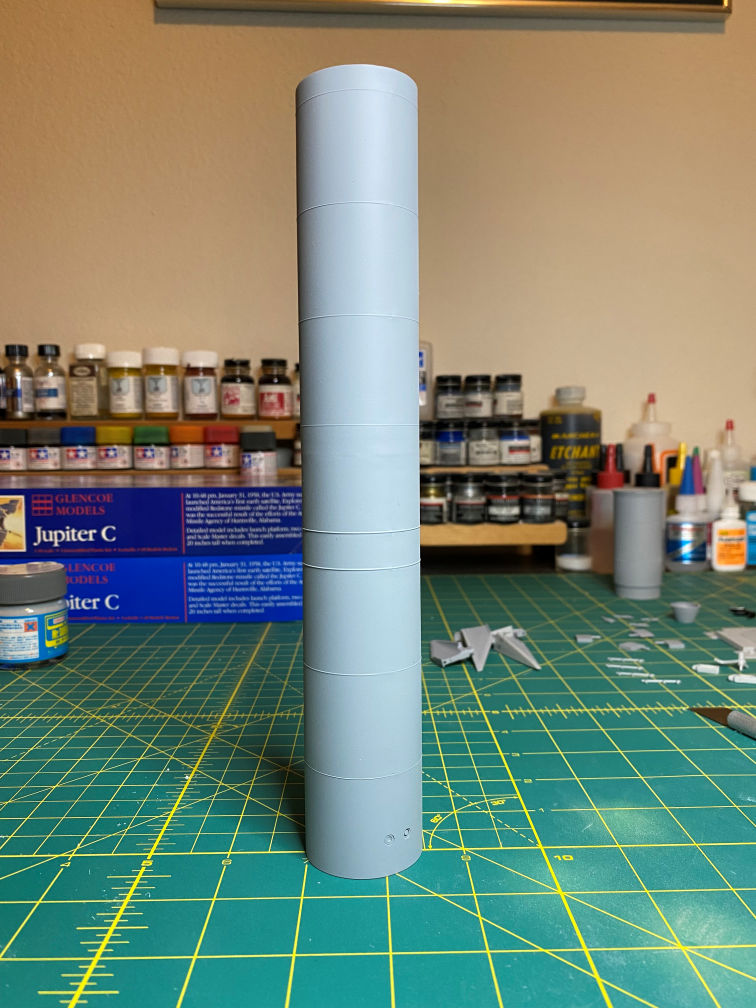
The picture above shows the propulsion section after a coat of primer.
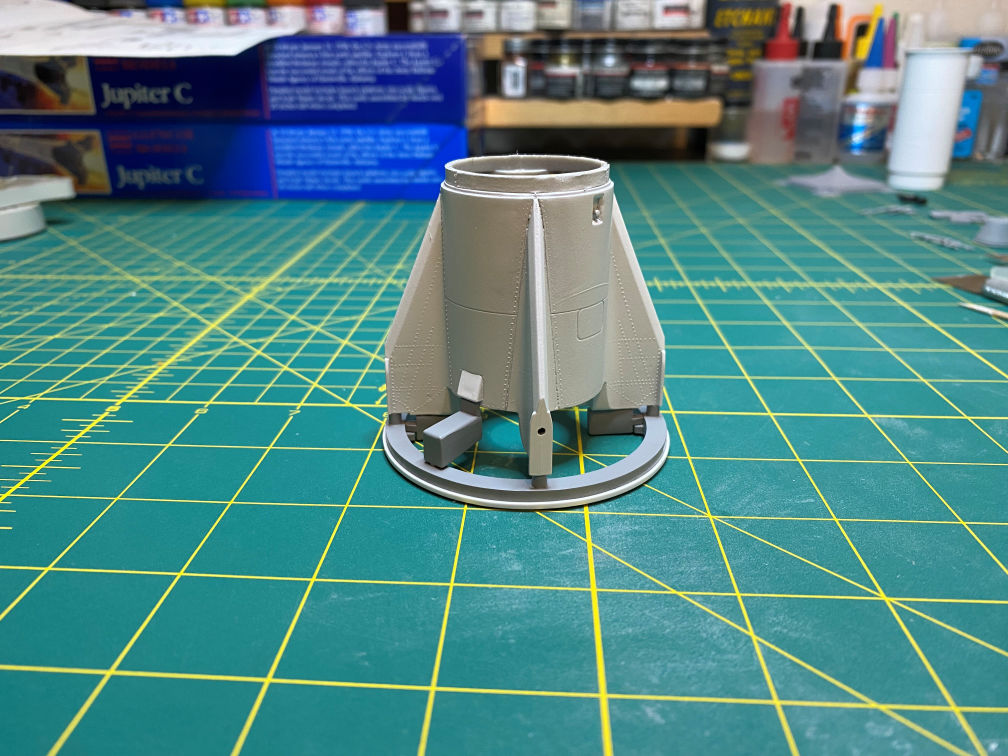
I also sprayed primer on the propellant section. It shows that there are still some areas that will need to be sanded and/or filled.
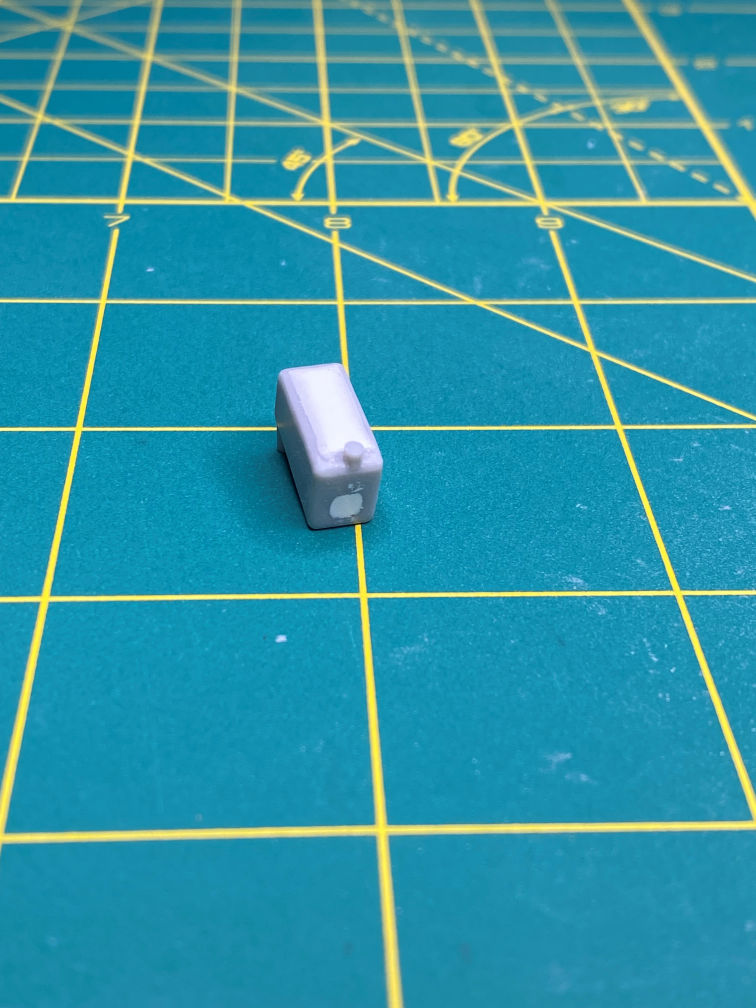
In between sanding and filling the propellant section, I started cleaning up some of the parts of the launch stand. This part had a major sink hole and the part itself is molded hollow. I’m sure it is because there would be a very slim chance that anyone would see it from that angle. Still I felt I should cover it. I used a rectangle of .005 styrene sheet and glued it on. After that set, I sanded the edges down to blend it into the rest of the part.
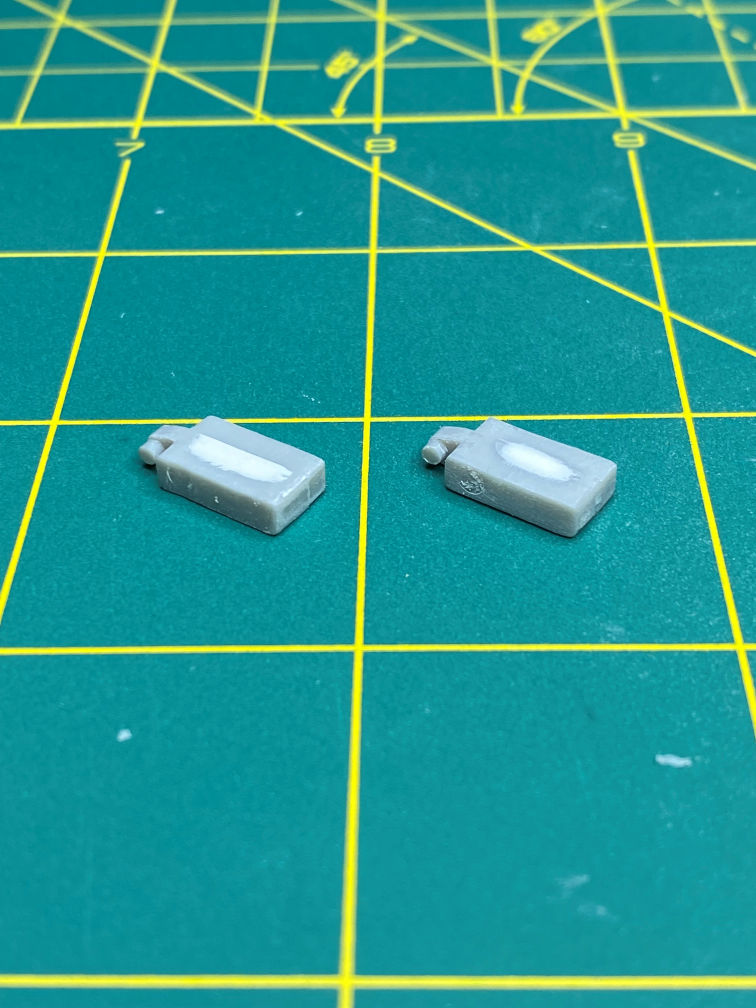
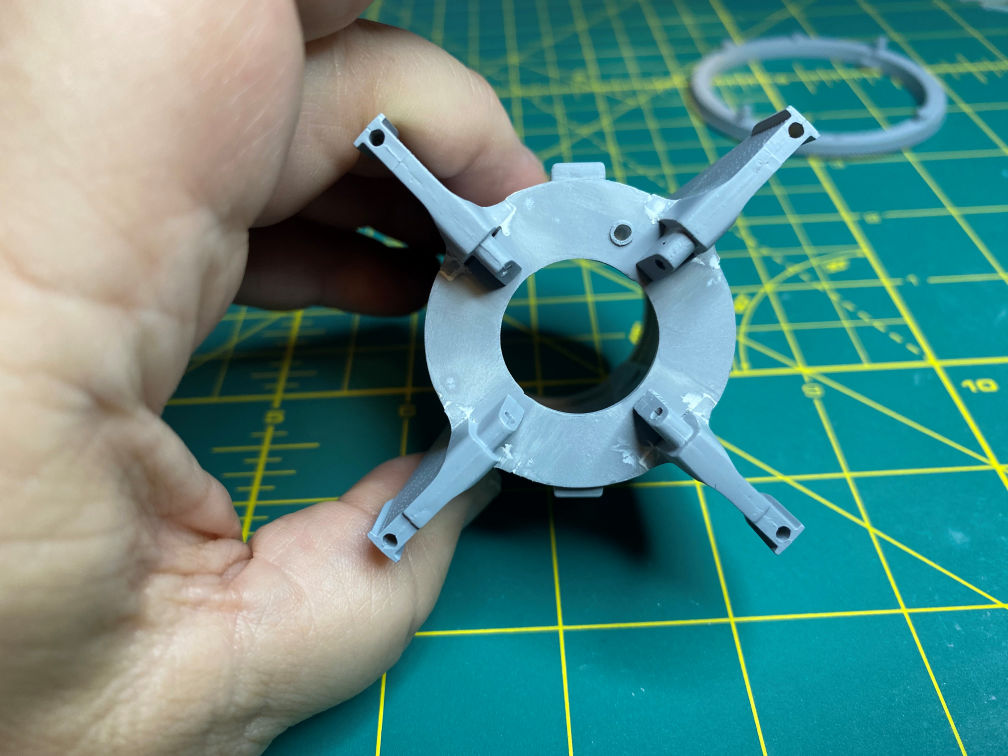
There are some other umbilical connections that go under two of the Redstone fins. They too had deep sink holes and some light ejector pin marks that had to be dealt with.
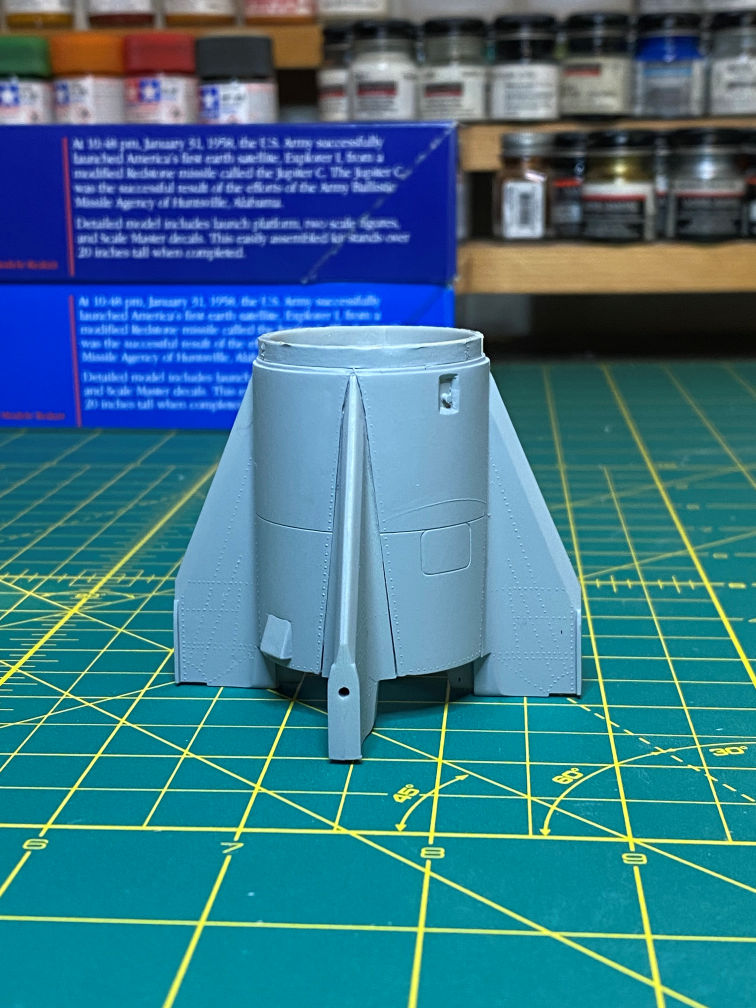
I attached the fins to the propulsion section. It will take a bit more work to get it to look right. Some of the seams are a bit wide.
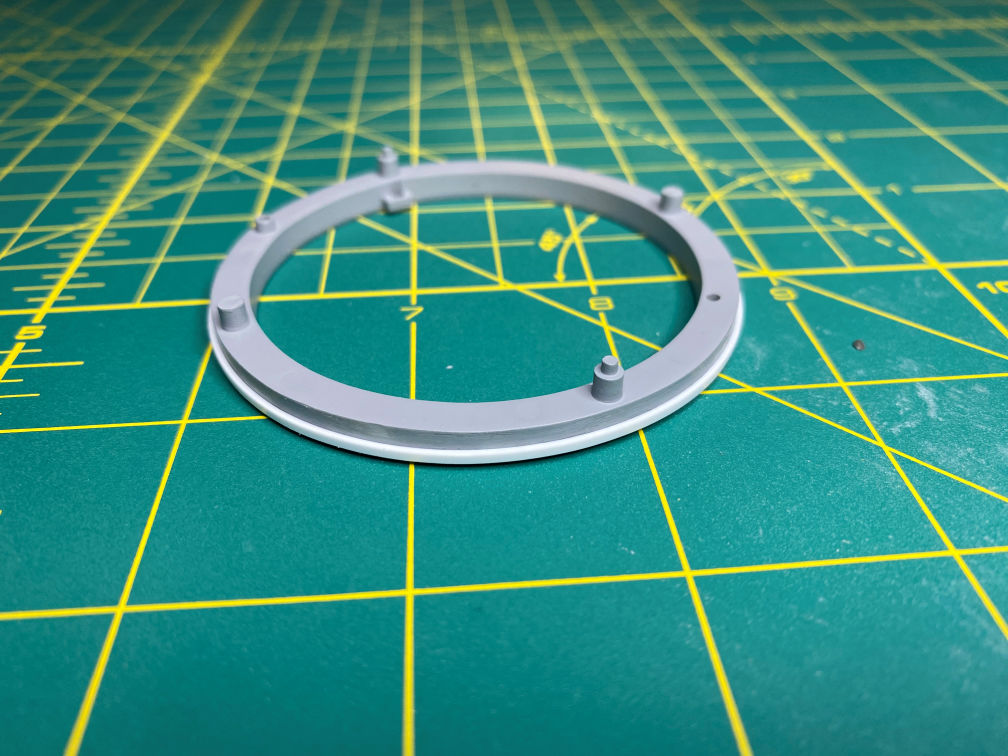
I also worked on the top ring of the launch stand. I added a couple of small circles of styrene sheet, until the propulsion section fit on the ring without rocking from side to side.
I did a bit more filling and sanding to the base of the propulsion section.
I also used a drum on the Dremel to take some more of the excess resin in the instrument section.

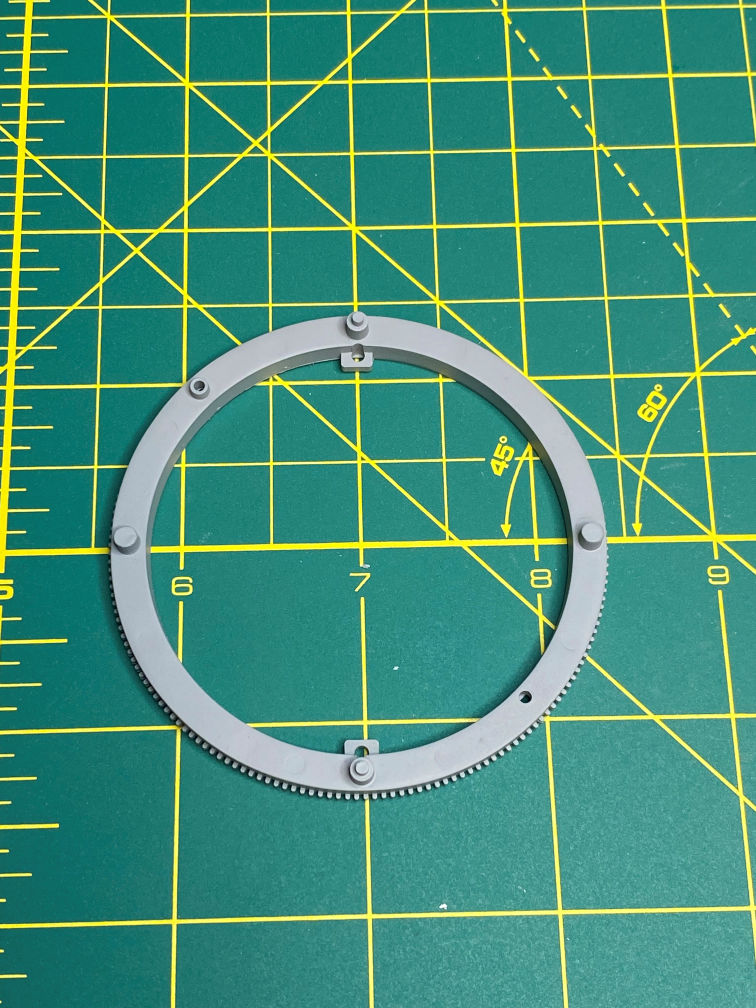
I removed the gear teeth from the upper ring of the launch stand and replaced it with some .020 x .040 strip stock.
To be sure the umbilical parts lined up properly with the body and fins I attached the propulsion section while I was gluing the parts in place.
Here are the parts all glued in place.

That’s it for now. Hopefully painting can begin soon.
Thanks for looking.
