
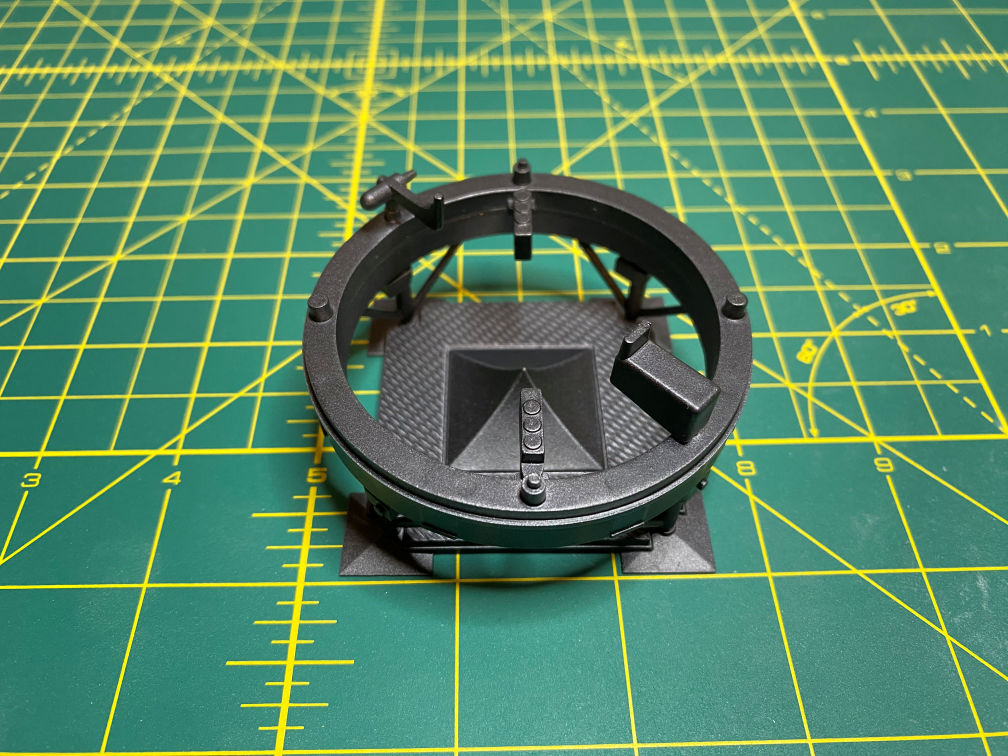
I assembled the launch stand and painted it TS-83 Gun Metal and over coated with Flat Clear.
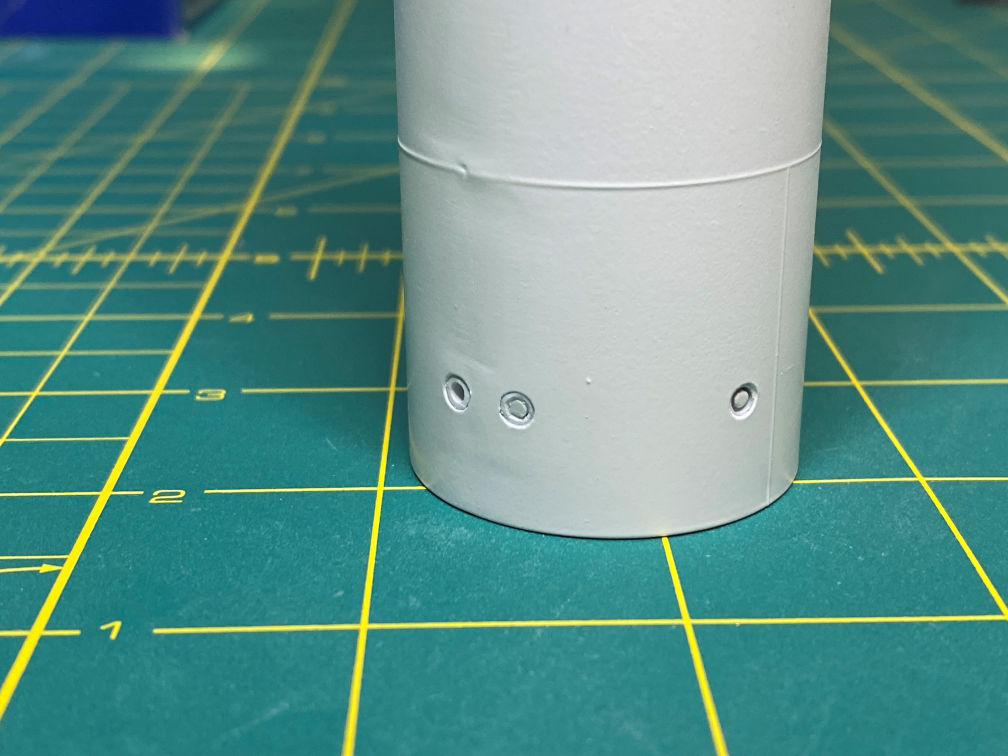
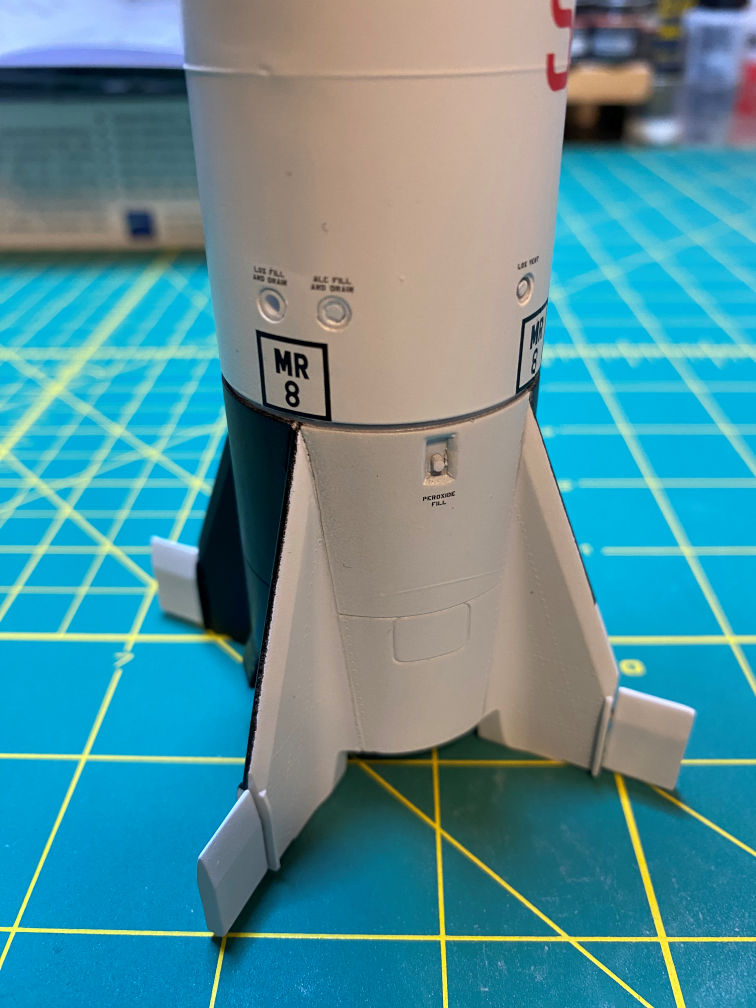
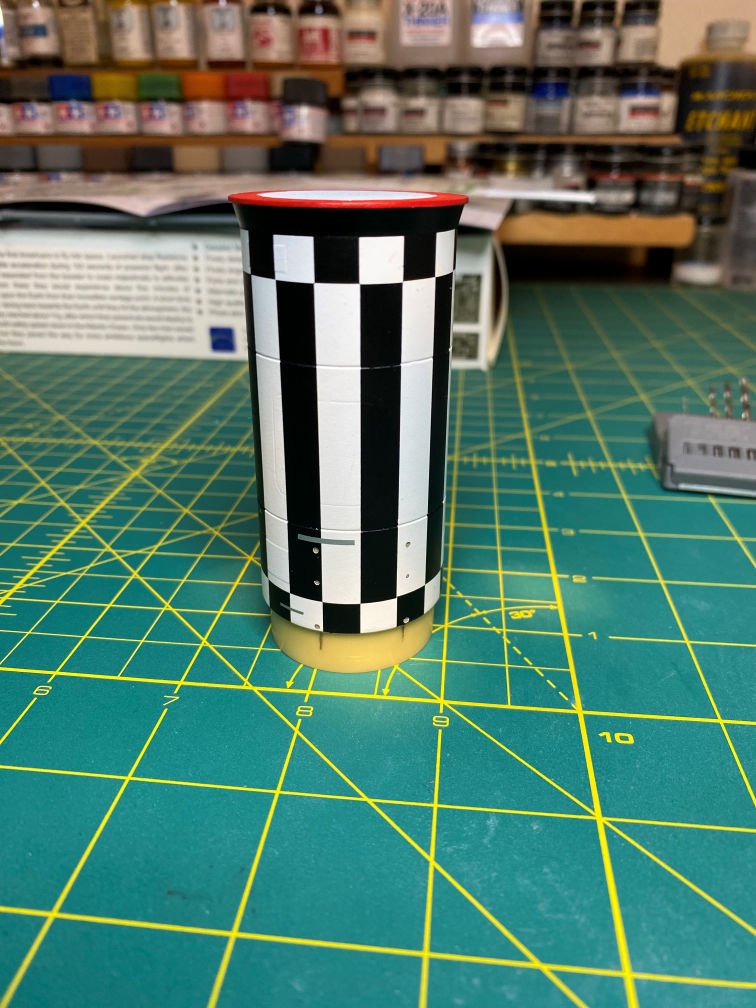
Just as I was about to start painting the propellant section, I realized that my scratch built fill/drain/vent ports were in the wrong place. I put the LOX vent where the LOX fill and drain was supposed to go. The LOX vent was supposed to go where I had put the alcohol fill and drain port. Which made the LOX fill and drain where the alcohol fill and drain was supposed to be. So I drilled out the ports and replaced them with new scratch built ports. Below is the corrected fill, drain and vent ports.
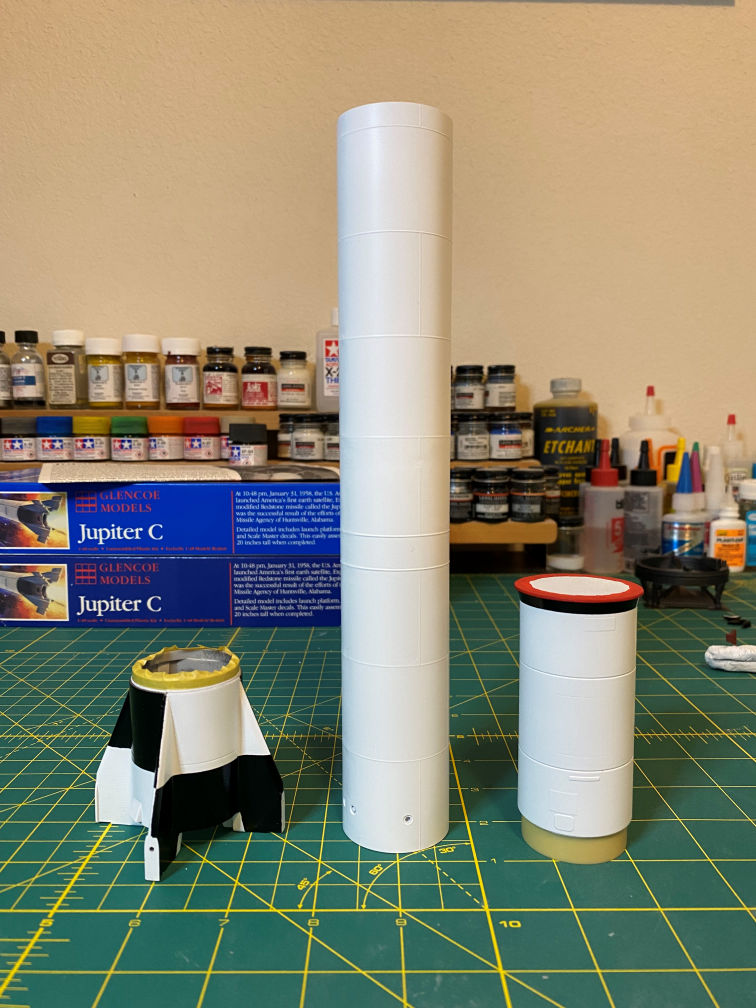
I’m still not completely happy with the propellant section. There are still problems along the seam lines and lumps here and there can be seen with various lighting angles, but I had to finally admit defeat and move on. The only way to really do it right would be to remove all the detail on the tube and sand it down to a smooth round surface and then add back the raised weld lines with lengths of tiny round styrene rod. That was a bridge too far for me right now, so good enough is good enough. Time to move on with the build.
The other parts were painted with a few coats of Tamiya white primer. The propulsion section was then masked and painted with Tamiya TS-14 Black. The instrument section was masked and the adapter part was painted with TS-14 Black and the top ring was painted with Vallejo 71.003 Red RLM23.
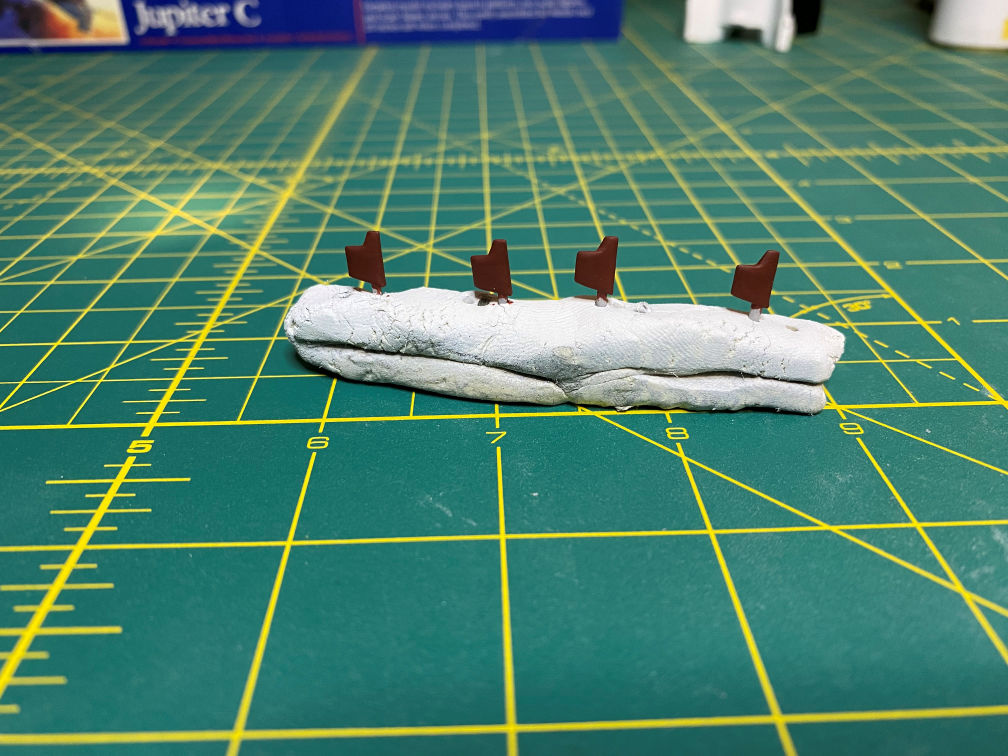
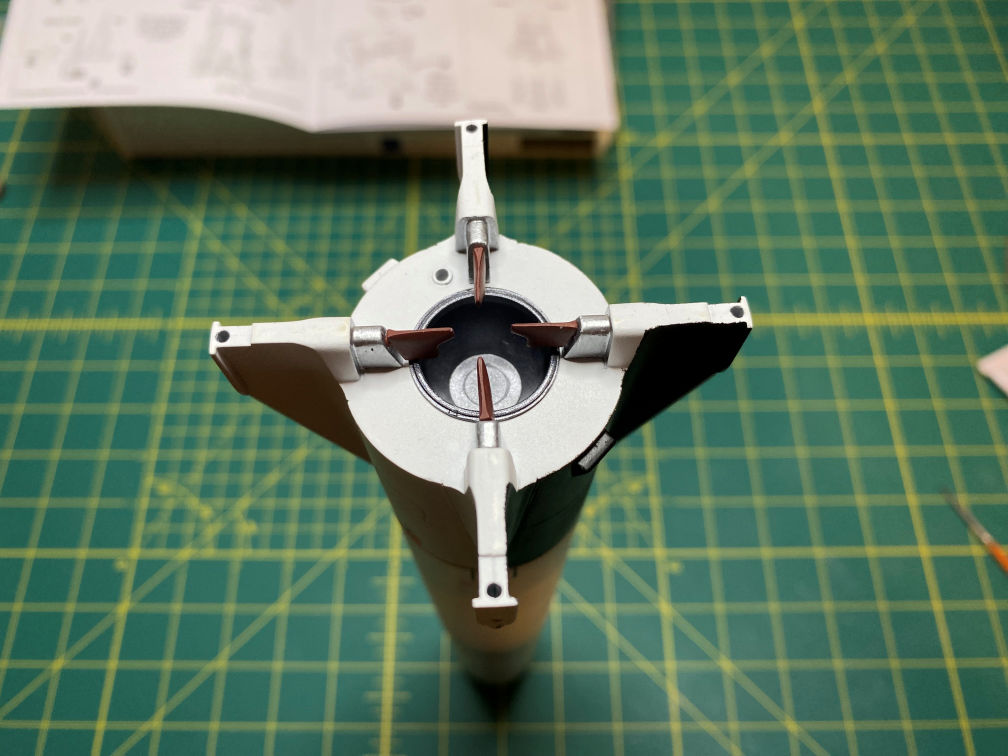
I put the exhaust vanes in some clay and painted them with Vallejo 71.271 German Red Brown.
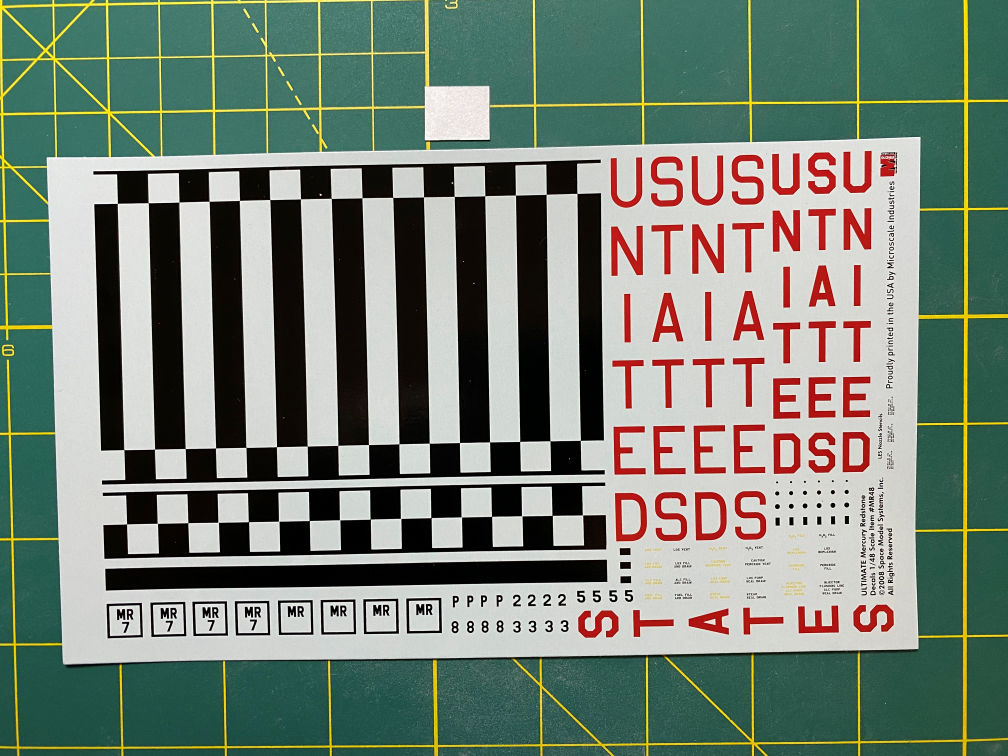
The parts that will need some decals were sprayed with some Tamiya Clear Gloss. I’m using the Space Model Systems 1/48 Redstone decals. Here is a shot of the decals. I won’t be using all the decals since some of them identify details that I did not add to the model.
After applying the few decals to the propulsion section I over sprayed it with Tamiya Clear to protect the decals and then sprayed it with Tamiya Flat Clear. When I had that done I glued in the rocket nozzle which I had previously painted with Tamiya TS-83 Gun Metal. I also painted the flame shields with some Testors Model Master Chrome Silver.

I then added some BB’s to add more weight to the bottom of the rocket to help balance out the weight of the remaining resin of the instrument section. I covered the BB’s with some 5 minute epoxy to keep them from rolling around inside.

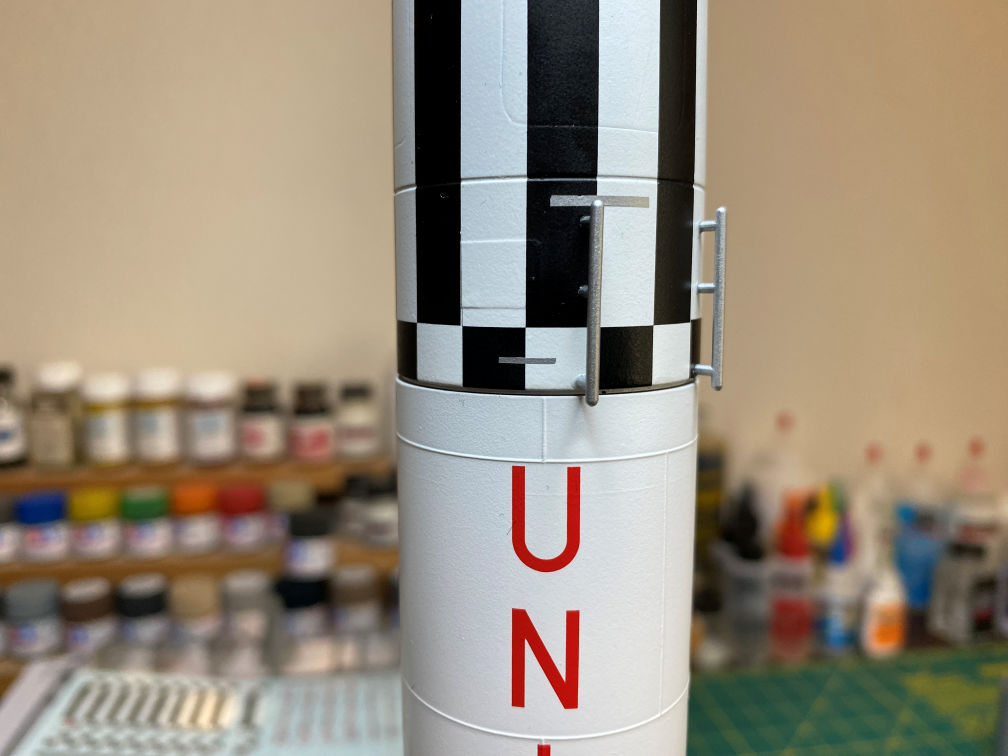
I then started adding the large decal to the instrument section. I cut the large decal into 5 smaller sections to make the application easier. Here it is after a few sections were added.

A couple of the details molded into the New-Ware instrument section were pretty deep and required several applications of Micro Sol and a couple of hits with Walther’s Solvaset. I also noticed that there was not as much overlap of the last section of decal as indicated by the Space Model Systems instructions. It appears that the diameter of the New-Ware instrument section is slightly larger than the diameter of the propellant section of the Glencoe kit. That leaves the last long vertical bar a bit wider than I would have liked, but it is what it is.
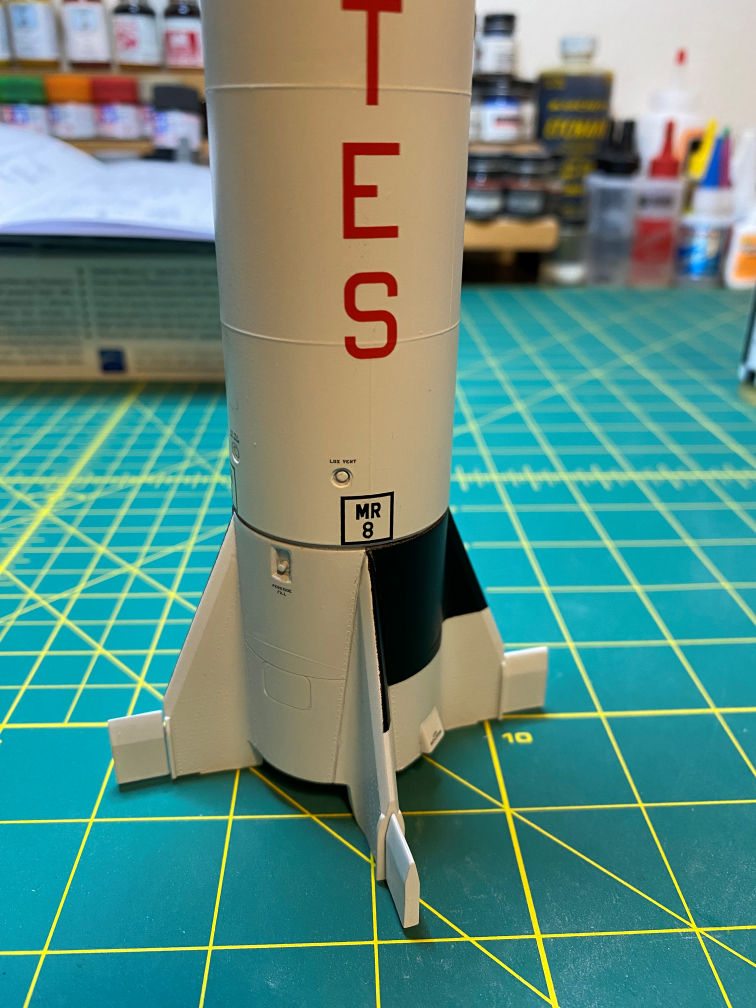
I glued the propulsion section to the propellant section with some Plasti-Zap CA glue. I then turned it over and glued in the exhaust vanes.
I then glued on the aerodynamic guide fins to the ends of the main fins and started applying the rest of the decals to the Redstone propellant section.

It was finally time to add the antennas to the instrument section. I created a jig to help me align the holes (more like shallow depressions) that I was going to drill in order to attach the antennas.

I then drilled the depressions into the instrument section.
I used more Plasti-Zap CA to glue the antennas to the instrument section and then the instrument section to the propellant section.
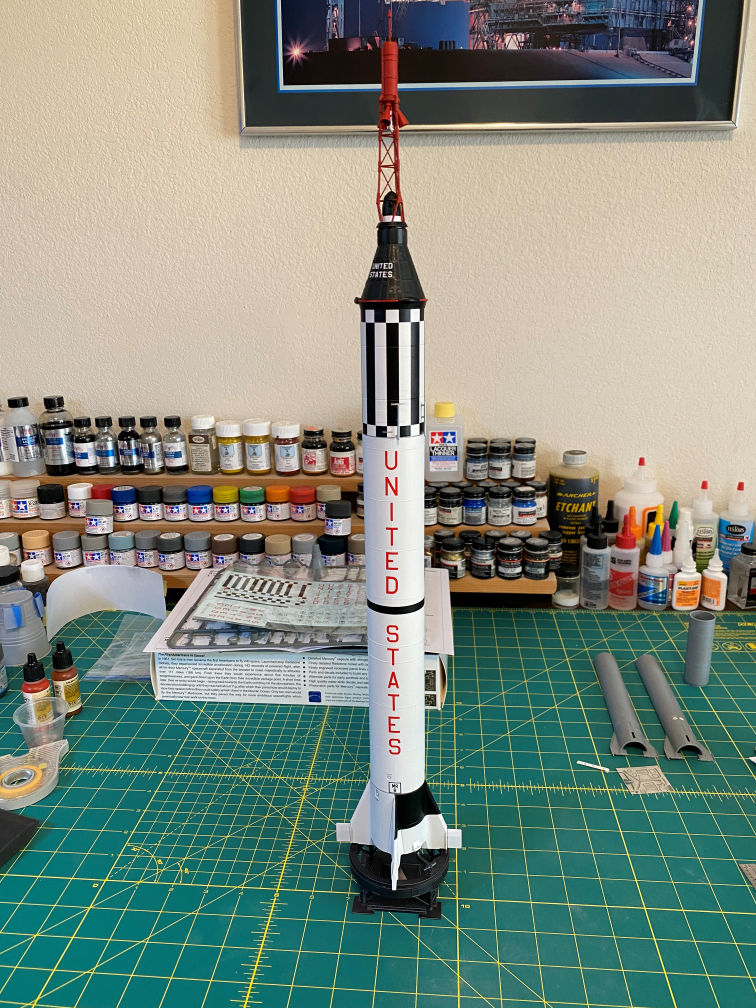
More CA was used to glue on the umbilical covers to the raised section of the capsule adapter. Then the capsule was glued to the instrument section. I then attached it to the launch stand. With that the model is finished.
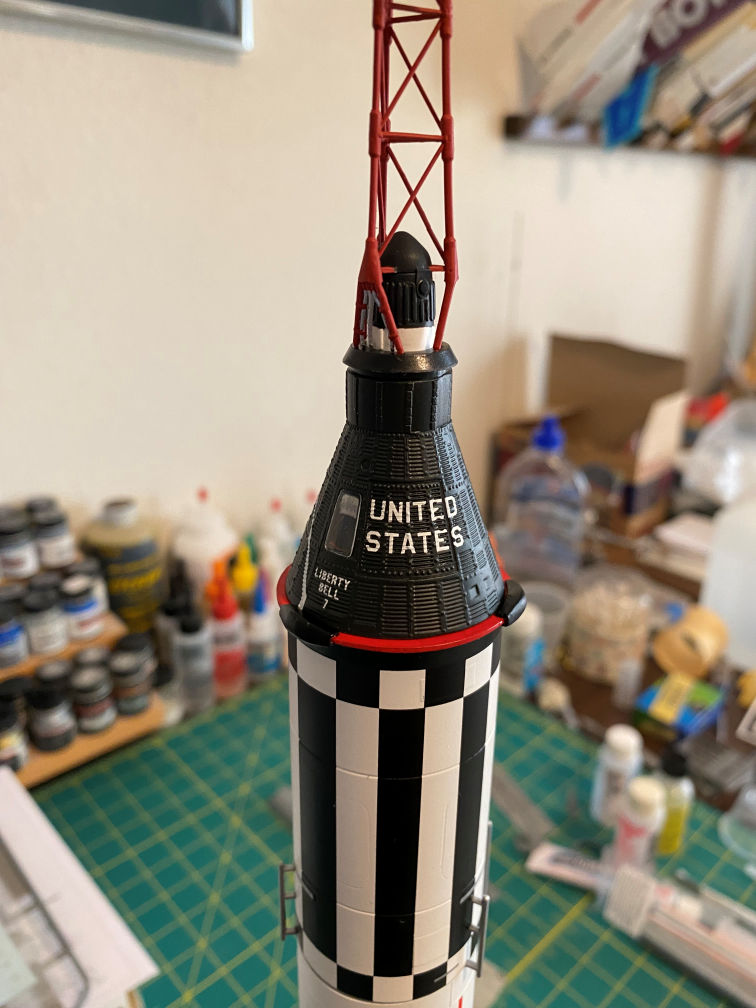
Here are a couple pictures of the finished model.
With that done, it is time to start on the second model. The Horizon Models 1/72 Mercury Redstone.
Thanks for looking.
