
I started building the escape tower by putting two of the three tower sections into the aerodynamic shroud. Then I glued them together at the cross pieces. Be sure the horizontal cross pieces are level to keep tower straight.
Note: the holes in the aerodynamic shroud are too small to accept the pins of the tower sections. I used a very small drill to slightly enlarge them.
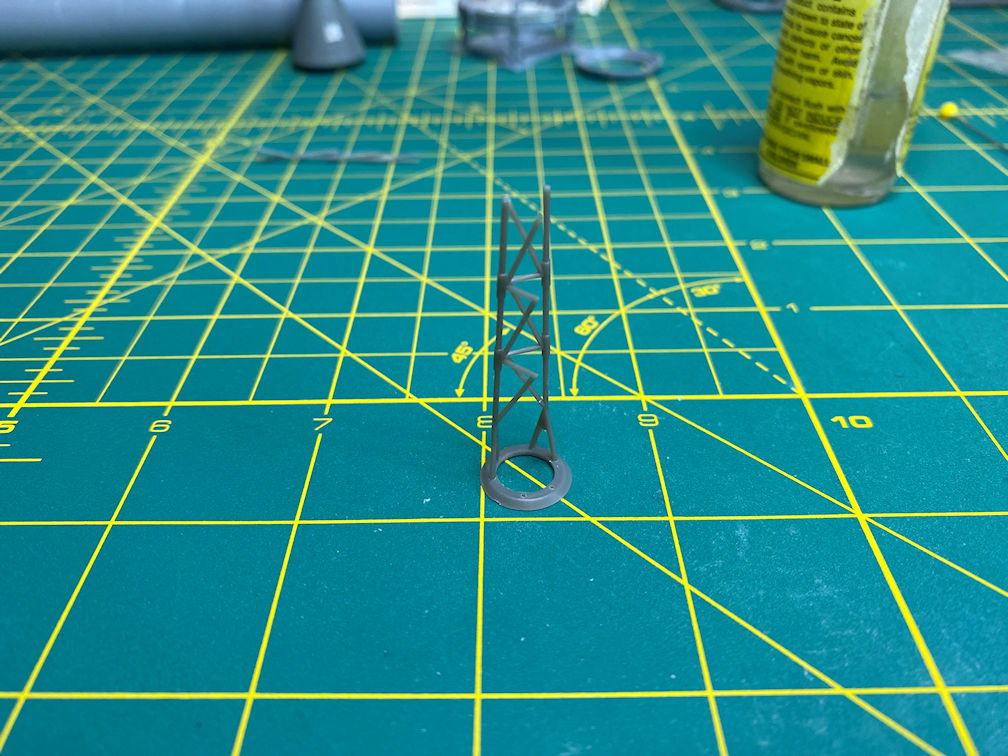
Assembly was completed with the third side. I put it into the aerodynamic shroud with the other two sides that had already been glued. I then checked to be sure everything looked straight and the horizontal cross pieces aligned before gluing the tower sections together. If you don’t get them straight then the ends will not mate properly with the escape rocket. I then glued the tower sections to the shroud. The holes in the escape rocket were also too small for the nozzle pins so I used a small bit to enlarge them. Then I glued the nozzles to the escape rocket. Be sure you get enough angle on them or the rocket will not fit the tower. I dry fitted the rocket several times while the glue was setting so I could be sure they would fit later after painting.

The flow generator will be added to the rocket before painting.
I then removed the nose cap from the tree and started cleaning it up. I didn’t realize how thin the part was molded. While I was holding it and trimming a bit of plastic it broke in half. The part is quite thin and needs very careful handling to avoid snapping it half like I did.
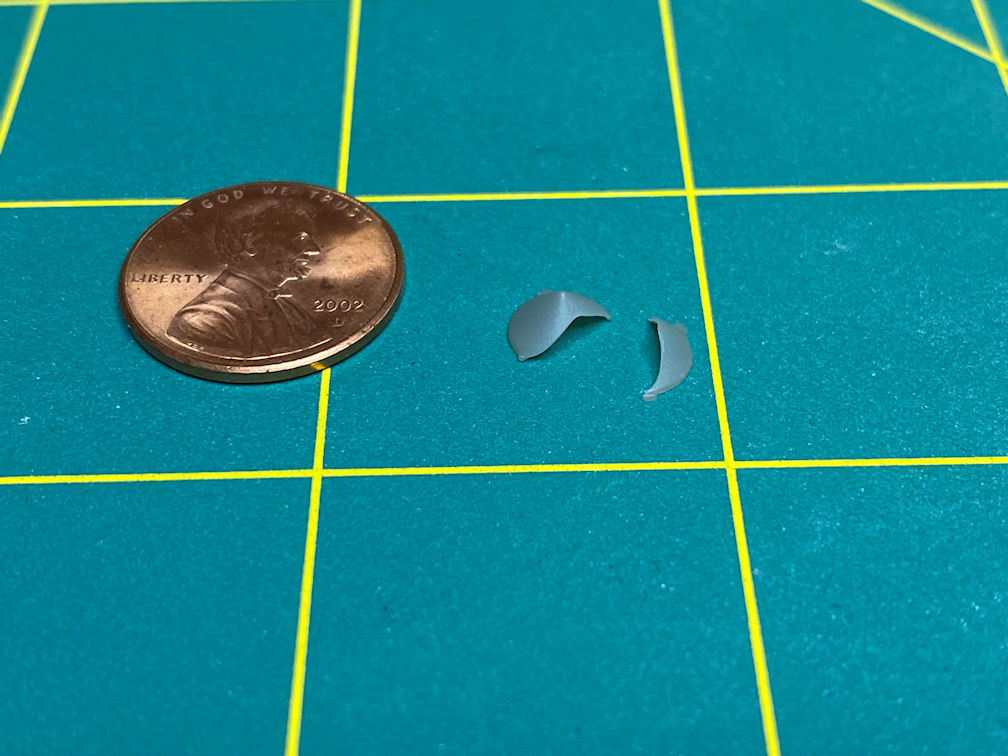
I carefully glued the cap halves back together. Rather, I did after searching the carpet for the small half which I dropped to the floor trying to test fit the two halves together. Here is a shot of the capsule and escape tower parts. You can see the nose cap glued back together. You can also see the line where it broke. Note that the flow generator has now been glued to the escape rocket.

The nose cap was glued on before painting the capsule and before adding the tower.

I noticed that there were some ejector pin marks on the aerodynamic guide fins. I filled them with Tamiya white putty. I’ll sand them smooth before spraying them with primer.

I didn’t get any photos of it, but I primed the capsule with Tamiya white primer. I then masked off the area where the antenna window is and then painted the whole capsule Tamiya TS-63 NATO Black.

You can also see that I painted the three small nubs that align with the escape tower legs.
Once that was all cured, I sprayed the capsule with Tamiya Clear to prepare for decals. I then removed the tape from the antenna window.

Then the decals were applied. A couple applications of Micro Sol got the decals to conform to the small corrugations on the capsule.

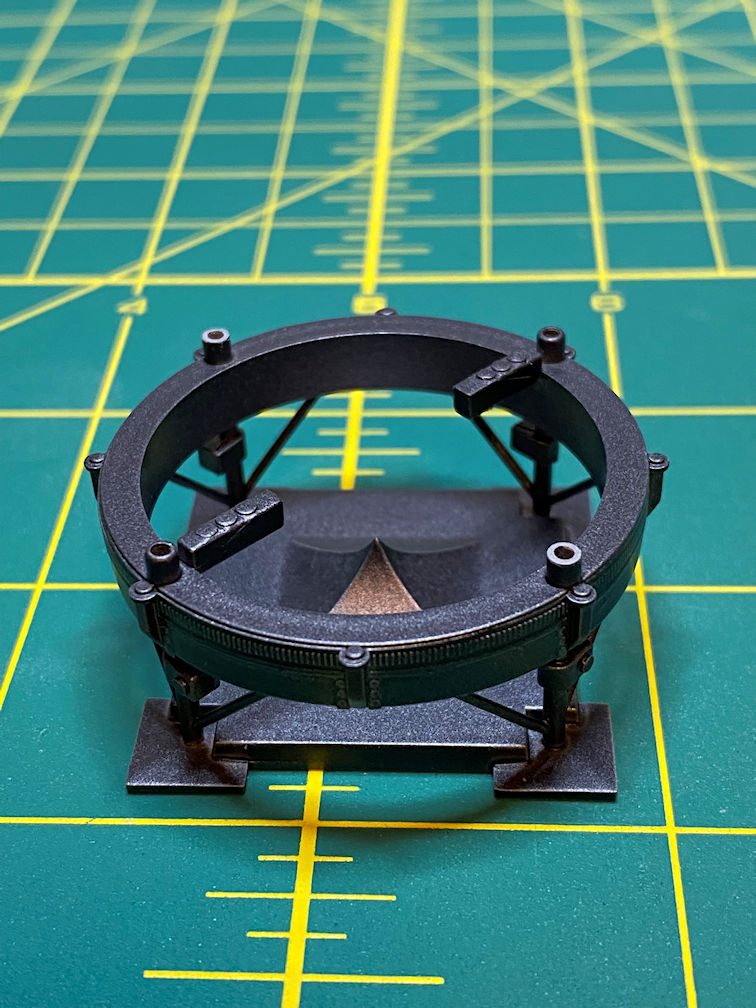
Next up for paint was the launch stand. I painted it with Tamiya TS-38 Gun Metal. When that cured I then sprayed it with Tamiya clear flat.
The escape tower got painted Vallejo 71.003 RLM23 Red. Note the jettison motor on the escape rocket was also painted. I used Vallejo 71.063 Silver RLM01.
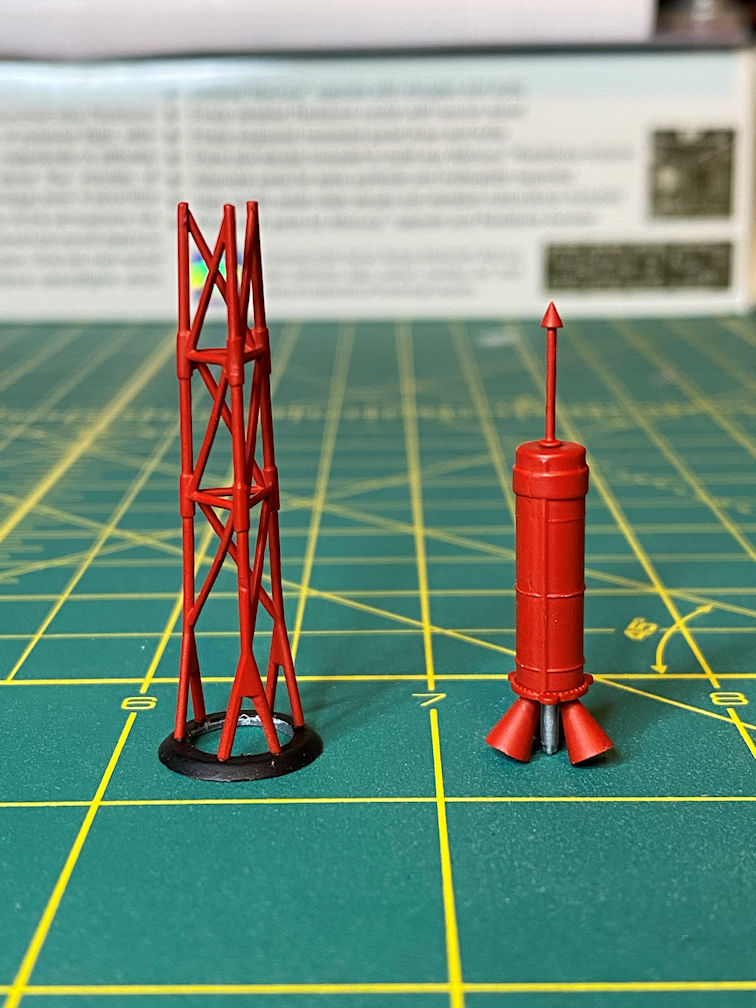
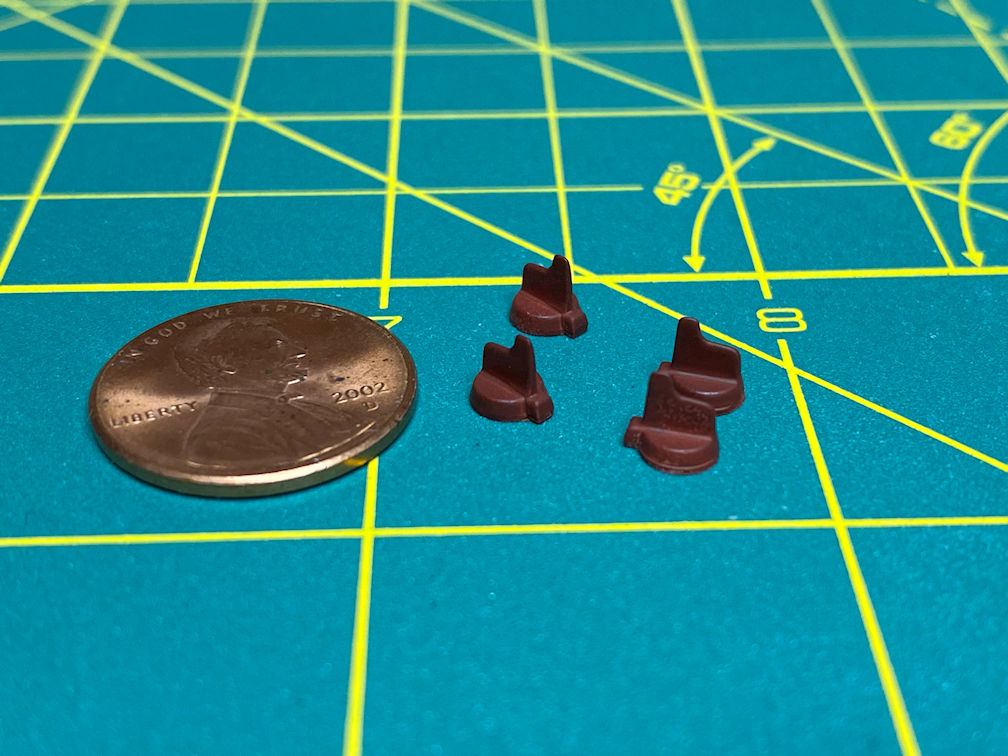
The rocket vanes were painted Vallejo 71.271 German Red Brown.
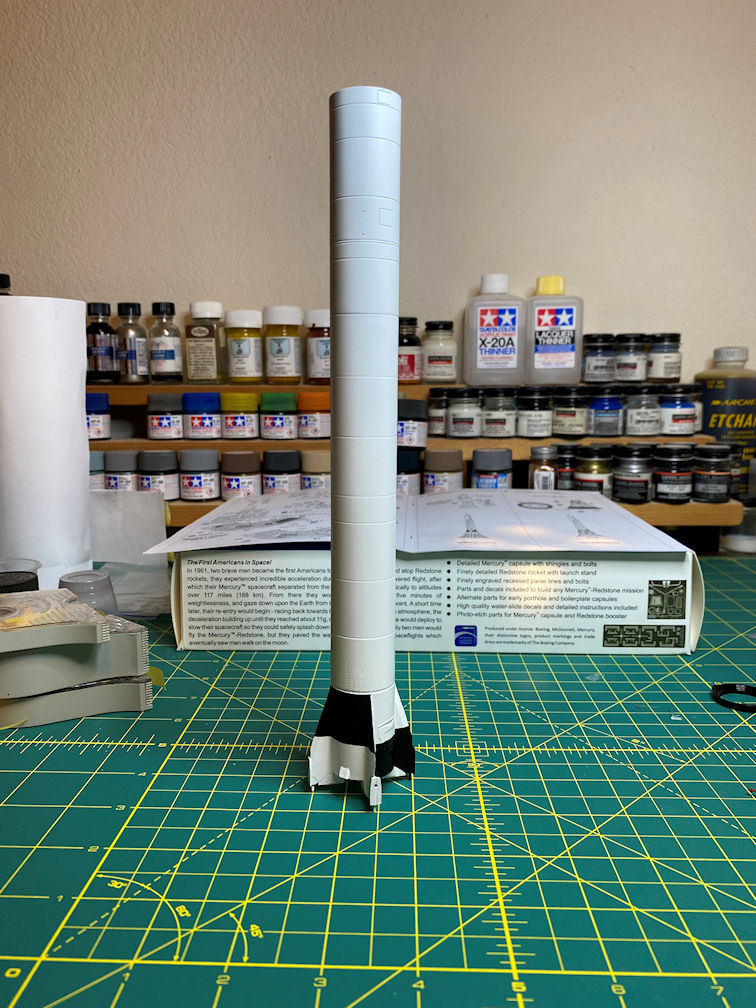
The Redstone rocket was painted with Tamiya white primer and then masked to paint the black areas of the fins. The black areas were painted with Vallejo 71.057 Black.
That’s about it for this week. Next will be to clear coat the Redstone and apply the decals. Then just a few odds and ends before final assembly.
Thanks for looking.
