
Before starting to decal the Redstone booster, I did some more work on the Mercury capsule. I mixed two drops of Vallejo 71.004 Blue and one drop of Vallejo 71.001 White to get a color that will highlight the portholes on the capsule.

I then used Plasti-Zap CA glue to attach the capsule to the booster retention ring. I made sure the capsule alignment was correct. The panel where the window used to be needs to align with the black umbilical cover that is directly over the a flat spot on the part collar. That flat spot corresponds to the TY side of the booster.

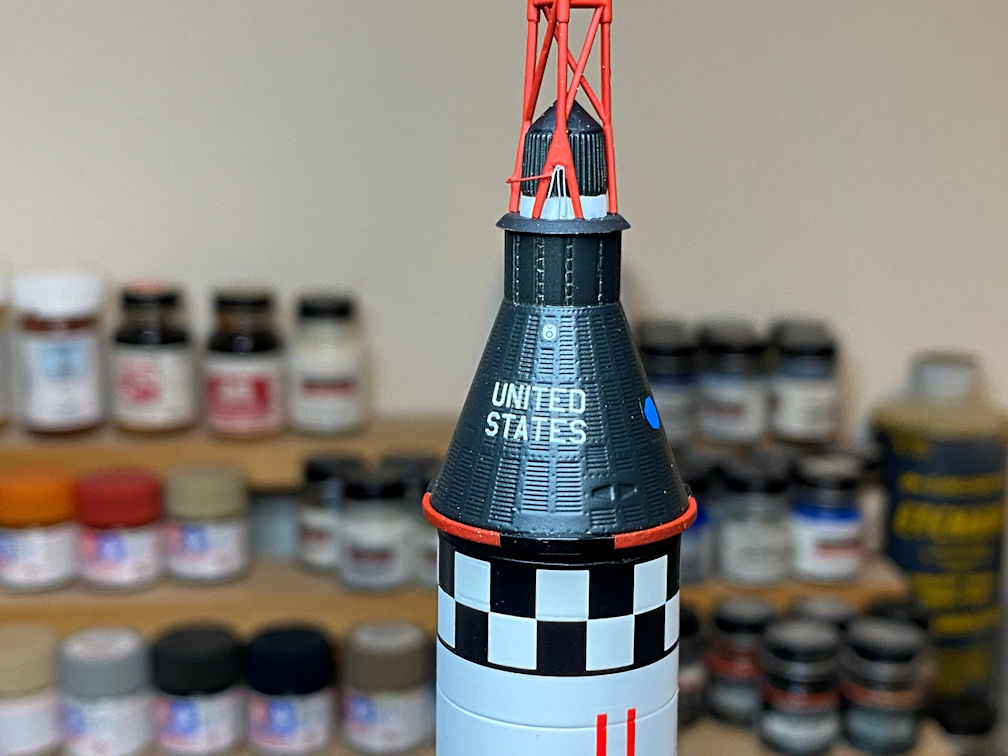
I then added the PE wiring parts to the escape tower. They are quite tiny and it took me several attempts to get them in the shaped properly and then placed on the model correctly so I could apply a drop of CA glue.

I then painted the bit of PE part that runs from the three individual wires around to one of the tower uprights with the same Vallejo 71.003 Red RLM23 that the rest of the tower is painted. I also touched up a couple of spots on the aerodynamic cover with Vallejo 71.057 Black.

It should somewhat resemble what is seen in this photo of an actual Mercury escape tower.

I then started applying decals to the Redstone booster. I started with the checkerboard and United States decals.
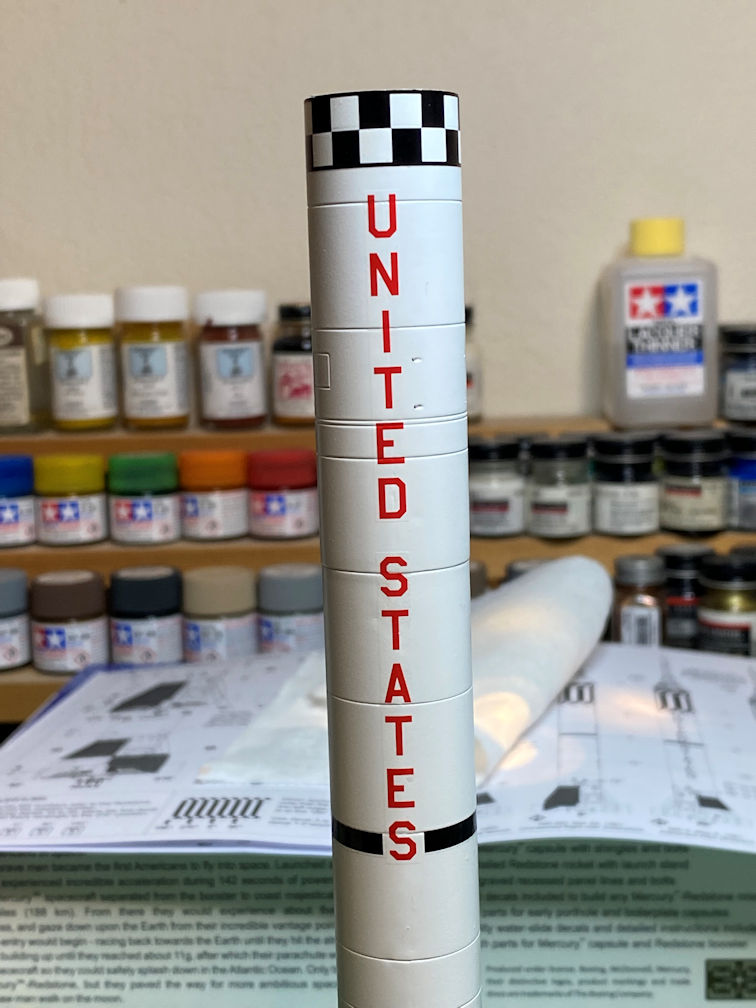
The panel lines are a bit deep and took a few applications of MicroSol to get them all to conform.
Then I added decals to the base of the booster. When they were dried, I sprayed the model with a protective coat of Tamiya Clear.

After the clear coat had dried I added the aerodynamic guide fins to the rocket. Then the booster got a coat of Tamiya Flat Clear.

I painted the flame shields at the base of the booster with Vallejo 71.063 Silver RLM01. I also installed the exhaust guide vanes. Here is a photo after placing the booster on the launch stand.

The tiny PE instrument section antennas were installed next. The dark area on the body under the lowermost antenna post is a decal from the kit.

Finally the assembled capsule section was glued to the top of the booster and the whole rocket was attached to the launch stand with Plasti-Zap CA glue.
Here is a picture of the full model.

This now completes the 1/72 Mercury Redstone model. Next will be the 1/200 model. You can see a few of its parts on the left in the above photo. I’ll start that project soon. I don’t anticipate that model to take too long.
Thanks for looking.
