
The final part of this build is the 1/200 scale Mercury Redstone kit which is part of the AMT Man In Space kit.

It is a very simple kit consisting of only 6 parts. Here is the parts tree.

The extra two parts at the bottom of the picture are from a spare kit in my stash. I’ll be cutting a section off and adding it to the other kit because the AMT model is substantially too short and needs to be lengthened.
I’m starting this build by working on the bottom fin section of the kit.

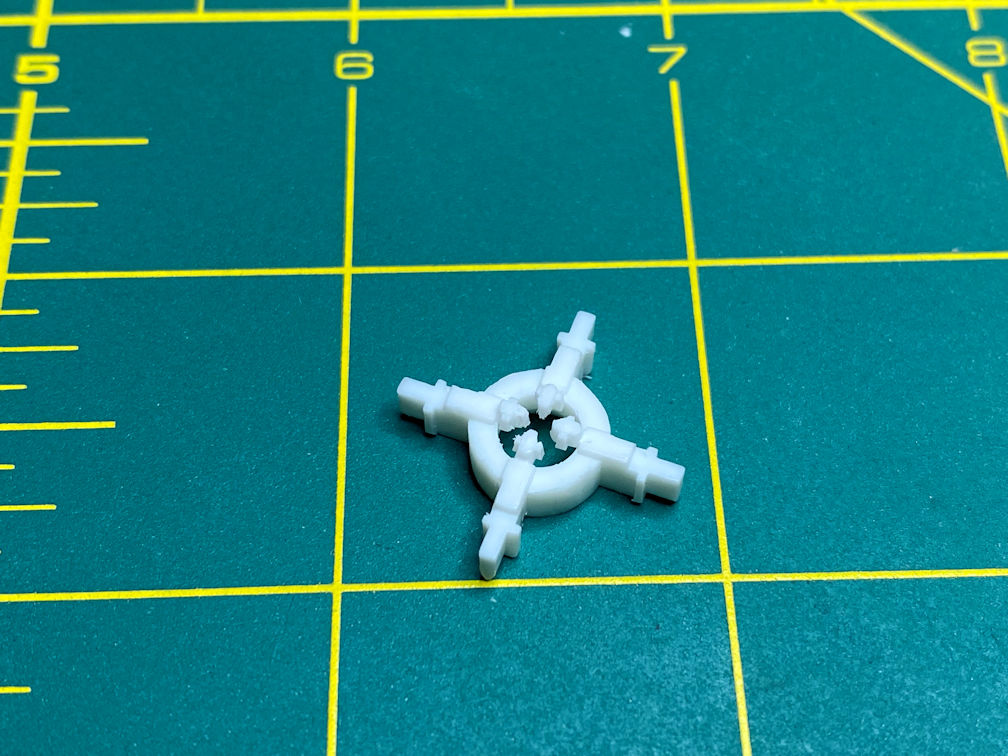
It has some problems. For starters, the lumps between the fins are not on any photograph of any Redstone that I can find. They have to go. I’ll also taper the top of the fin guard that separates the main fin from the aerodynamic guide fin. You can also notice that there is a protrusion at the bottom of the main fin area. Those will be trimmed off as well.
The below photo shows where I have removed the first of the four lumps between the fins.

Here I have removed all four lumps and have also added a taper to the fin guards. You can’t really see it in the photo but I also removed some plastic from inside the part so the main body fits better. Without doing that there was a rather large gap between the parts. Note also the protrusions on the bottom of each fin has been removed.

I also tried to trim some plastic off the exhaust guide vanes on the bottom of the part. There are other problems with this section, but at this scale I’m not going to fix any of them.
The part is quite small so I couldn’t trim as much off as I would have liked but it looks a bit less lumpy.
I next glued the two Redstone halves together and then cut off the Mercury capsule adapter section of one of the boosters. I used tape as a guide for my razor saw to keep a straight line on the cut.

I needed a 9/16 inch section from the donor kit. That measurement does not include the length of the capsule adapter. I cut that section from the spare Redstone rocket. Here you can see the two parts that will create a Redstone of the correct length.

Here is the completed booster minus the lower fin section. The joint will be cleaned up after the parts get primed so I can see the detail better.

I next attacked the escape tower section. It is kind of a hot mess, but the 1/200 scale makes it very difficult to create accurate details without using some high power magnification and steadier hands than I have. Here is a crop from the tree photo at the top of this post so you can see the badly misshapen bottom of the tower.

I trimmed quite a bit off the bottom of the part as it is wildly too large and looks nothing like a Mercury capsule part. I basically trimmed the bottom to a triangular section by following the lines of the upper section of the part. I’ll try and use paint to represent the antenna canister that is between the lower tower legs.

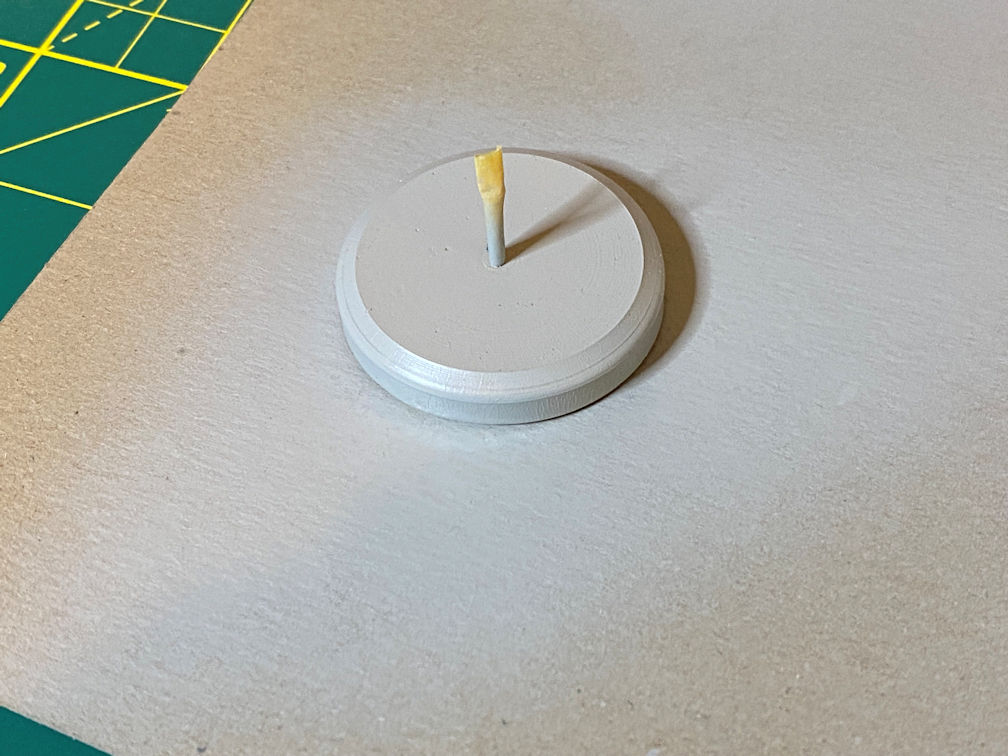
I’ll be using a resin disk that was excess from another kit as the base for this model. I cleaned up the pour plug on the bottom of the disk and then drilled a 1/16 inch hole to hold the short section of brass rod that will hold the rocket.

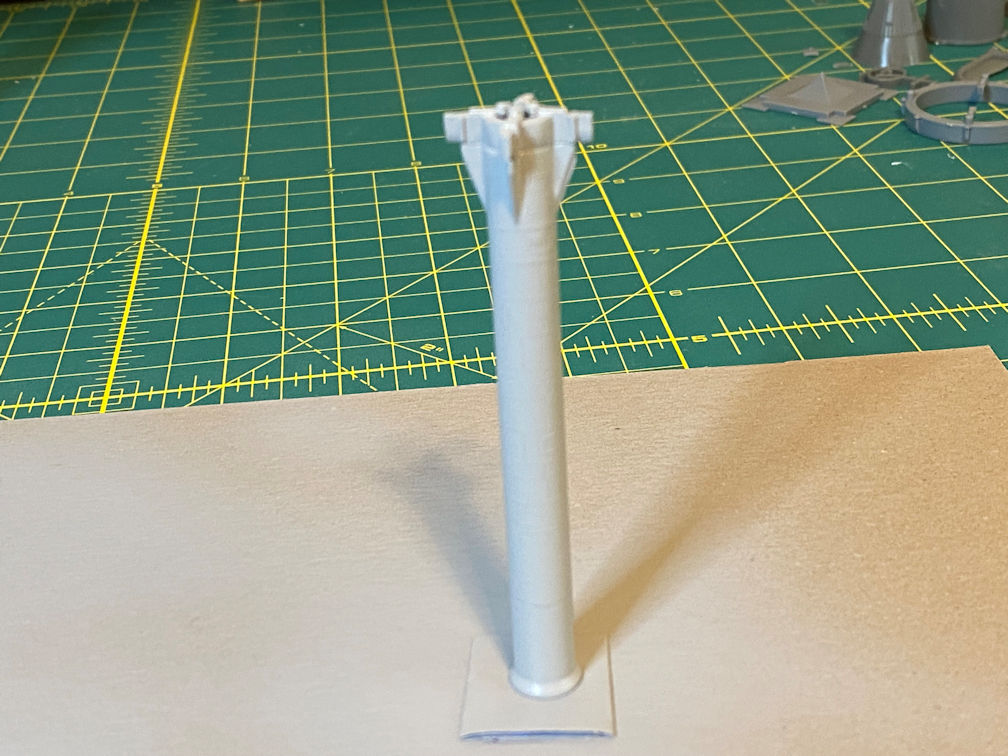
I then dry fitted the lower fin section to the main rocket so I could temporarily put the kit on its kit stand. I mixed some 15 minute epoxy and poured it into the rocket from the top. The below picture shows how much got poured in. I ended up putting in way more than was needed, but it will still work just fine. The model is backlit with a flashlight to highlight the level of epoxy inside the model.
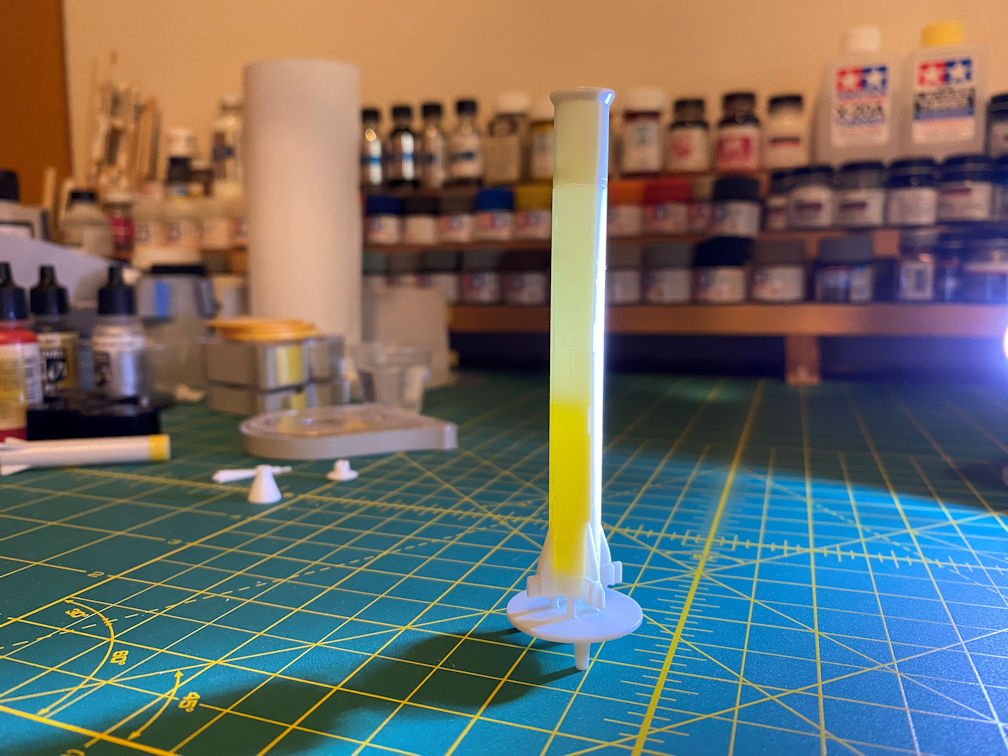
The model is just resting on the kit base until the epoxy sets.
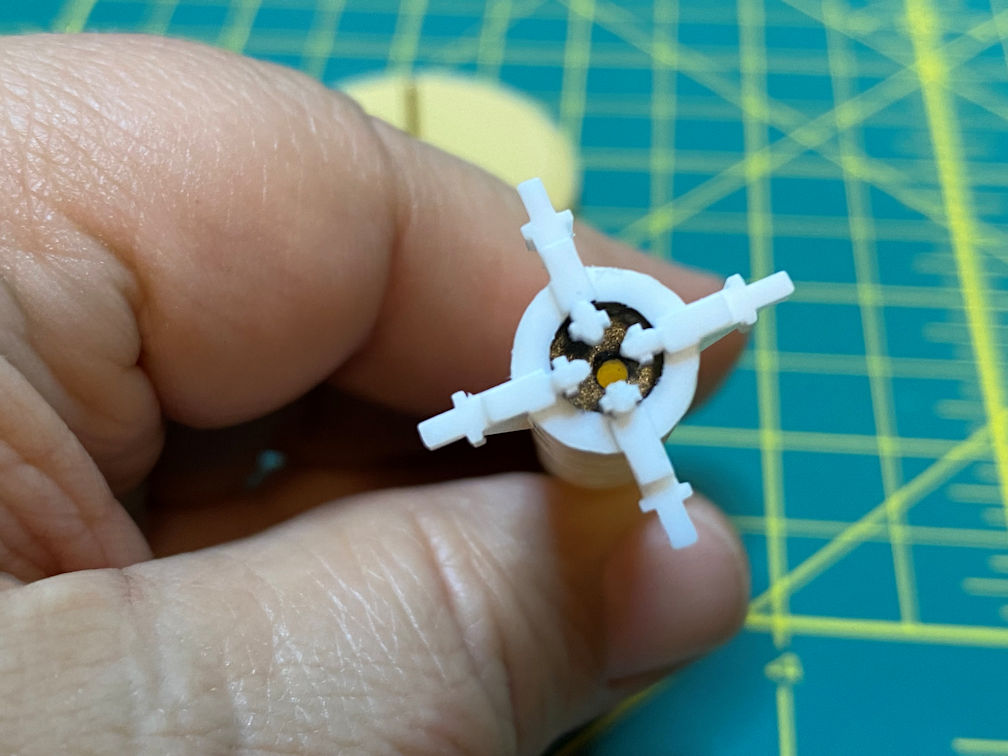
I then drilled a 1/16 inch hole in the bottom of the rocket so it will fit on the new stand. Unfortunately the drill moved on me while it was being drilled and it is slightly off center. I had to cut off a bit of one of the exhaust guide vanes to clear the hole. I really didn’t want to fill the hole and drill it again. Once it is mounted it will never be seen. Note that I also painted the bottom of the booster body with Tamiya X-10 Gun Metal. It would be very difficult to get in there after the base fins were in place as shown in the below photo.
I then glued the lower fin section to the rest of the booster.

Finally, I sprayed primer on all the parts. This will bring out the details better so I can fix any seam lines before painting all the parts. Below is the base. I masked the brass rod because I don’t want paint to interfere with putting the model on the brass rod.
Here are the capsule parts after a coat of primer.

Lastly, primer was applied to the booster. Sorry for the bad focus, but you can still see the visible seam at the fin area. We will see how much of that I can get to disappear by filling and sanding. There is a slight mark around the glue joint where the extra section was glued to the forward part of the booster. That will require a small amount of filling as well.
That’s it for this update. The rest of this build should go pretty quickly. I’ll probably spend more time making the decals than assembling the kit.
Thanks for looking. More to come.

2 thoughts on “1/200 Mercury Redstone Part 1”