

I’ve picked my next project. It’s the Tamiya F-84G Thunderbirds in 1/72 scale. The F-84G was the first plane flown by the Thunderbirds which were officially formed on June 1st, 1953 and stationed at Luke AFB in Arizona. The F-84G was a front-line fighter of the day and was utilized in combat during the Korean War. The kit includes decals for either the 1953 or 1954 versions of the aircraft. The 1953 version utilized a different emblem than in 1954. Also, in 1954 the Thunderbirds performed their first demonstrations outside the US. At that time they added an area below the cockpit where the flags of the nations where they performed were displayed. I’ll be using the 1953 markings.
I’m going to try to build this one pretty much out of the box. I don’t see any parts that are in dire need of modification. Plus, with my limited time recently, I don’t have time to research as thoroughly as I might otherwise.
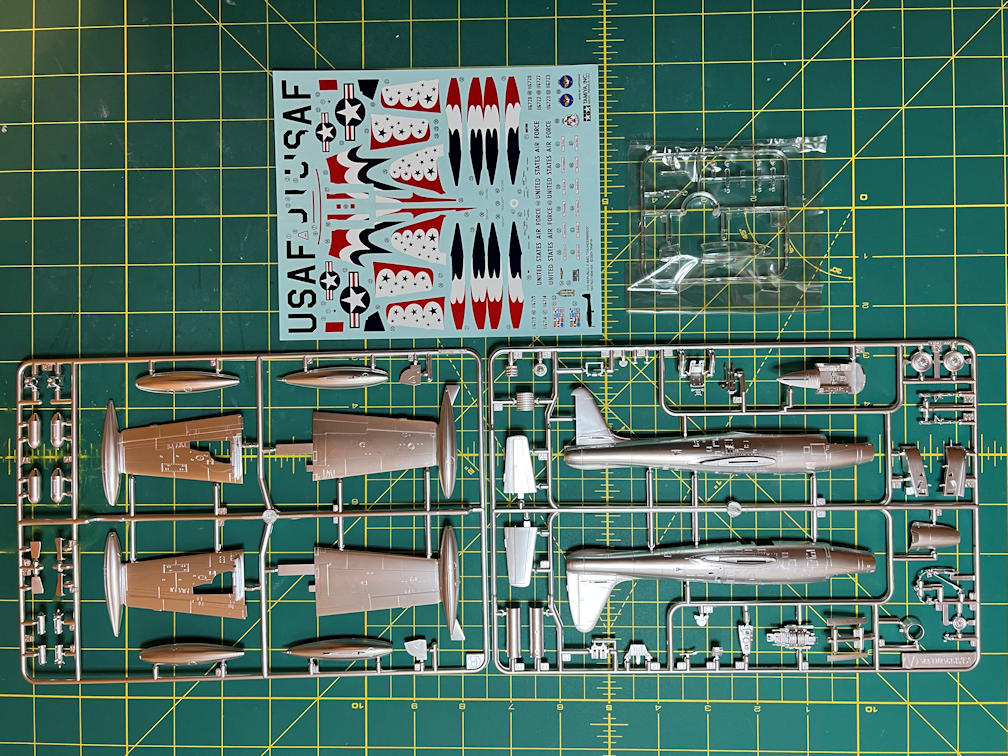
This version of the Tamiya kit has all the parts pre-painted with a semigloss silver color. Normally I’d try to remove all the pre-applied color and paint the model as usual. This time I think I’ll try to keep the applied paint and selectively remove it from parts that don’t really need it. Here is a pic of the parts sprues and the decals.
Construction began with the cockpit seat. I primed the parts with a light gray.
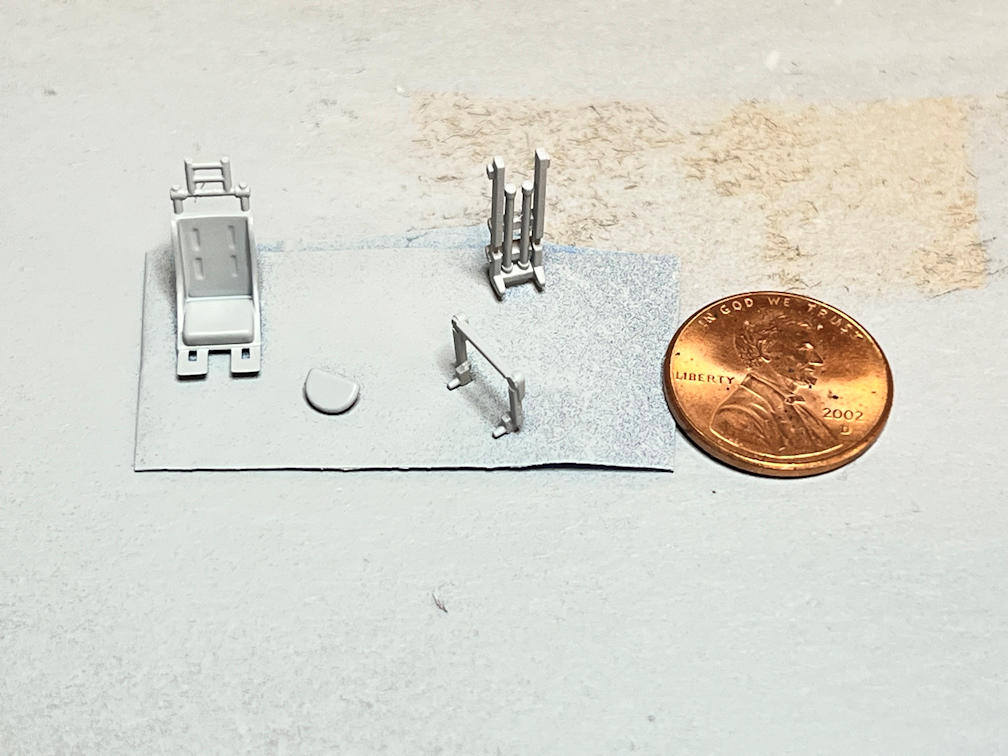
The instrument panel parts got a coat of primer as well.
I also primed the exhaust turbine and tail pipe. The control stick is in the photo on the right hand side.
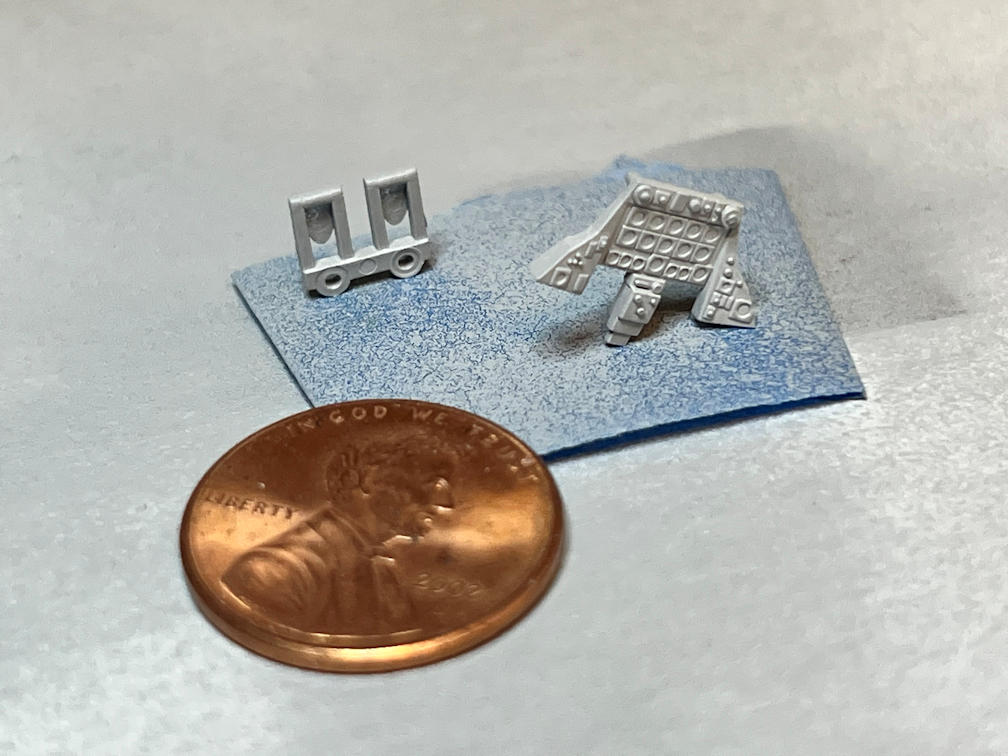
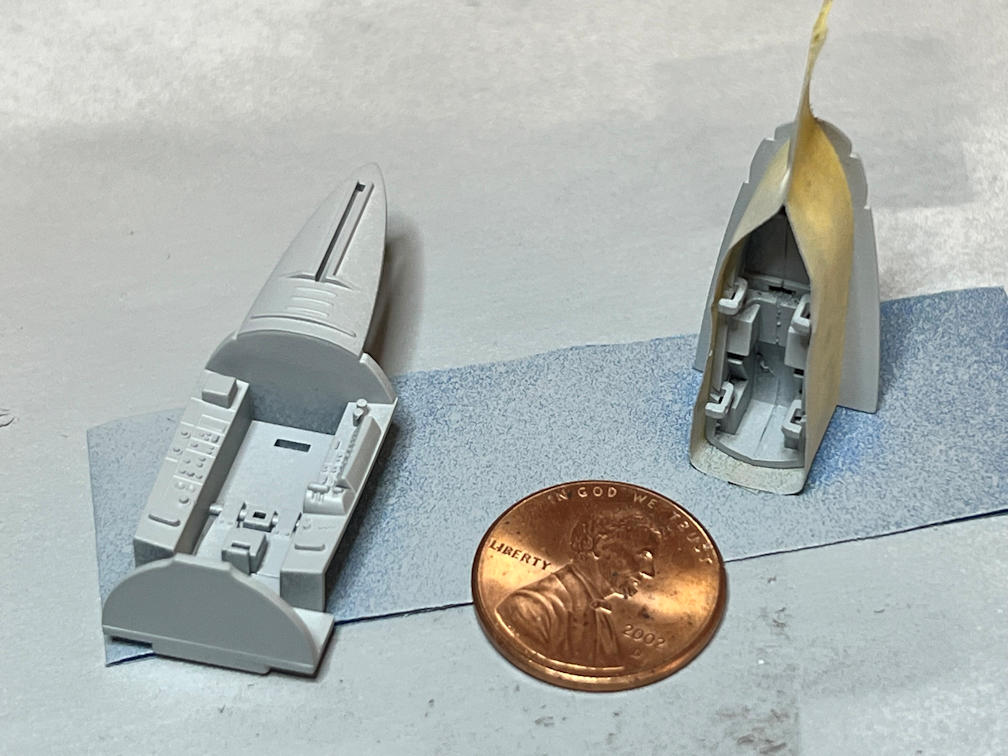
The next part to receive attention was the nose gear bay. It is a two part assembly, which allows some nose weight to be added to keep the model on all three wheels instead of being a tail dragger. The instructions call for 2 grams of nose weight. I about doubled that for safety sake. I did it by filling the hollow upper part of the bay with clay.
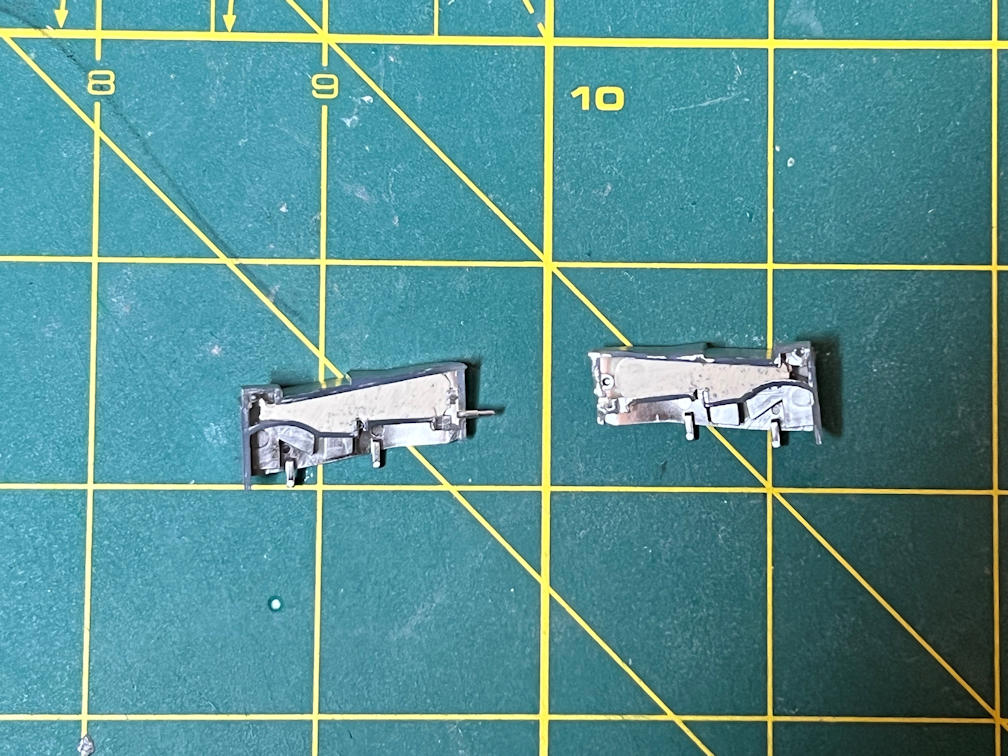
I then scraped off all the paint from the glue surfaces, and glued the two halves together. The area that is in the intake duct should be the same silver as the rest of the plane so I masked it off. Once it was masked, I primed the nose gear bay and cockpit tub.
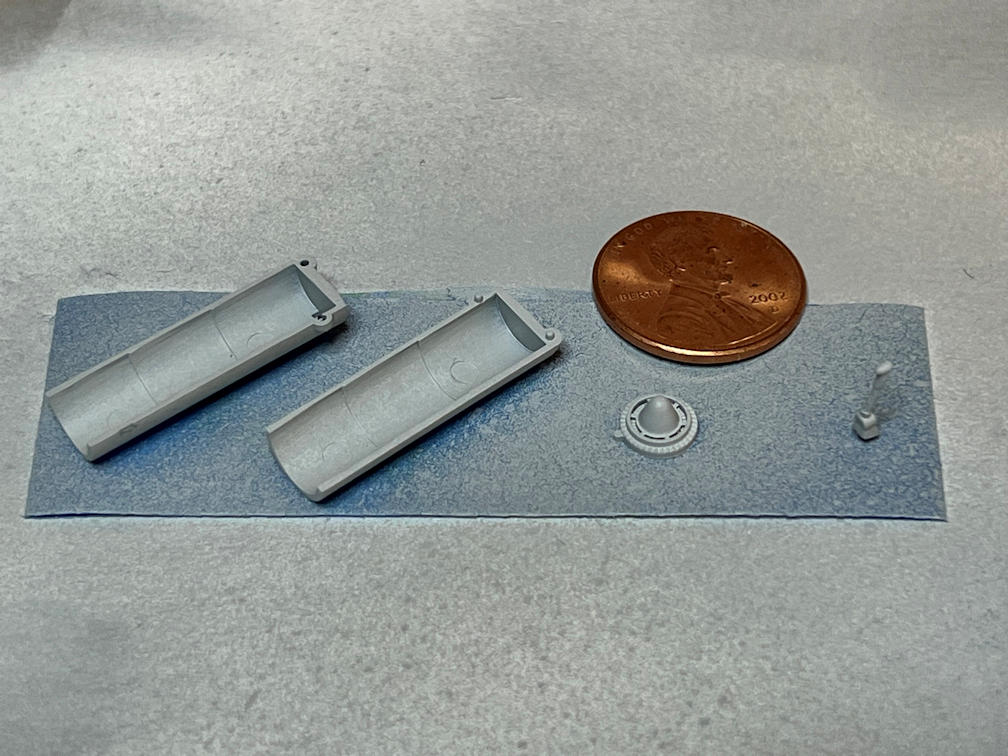
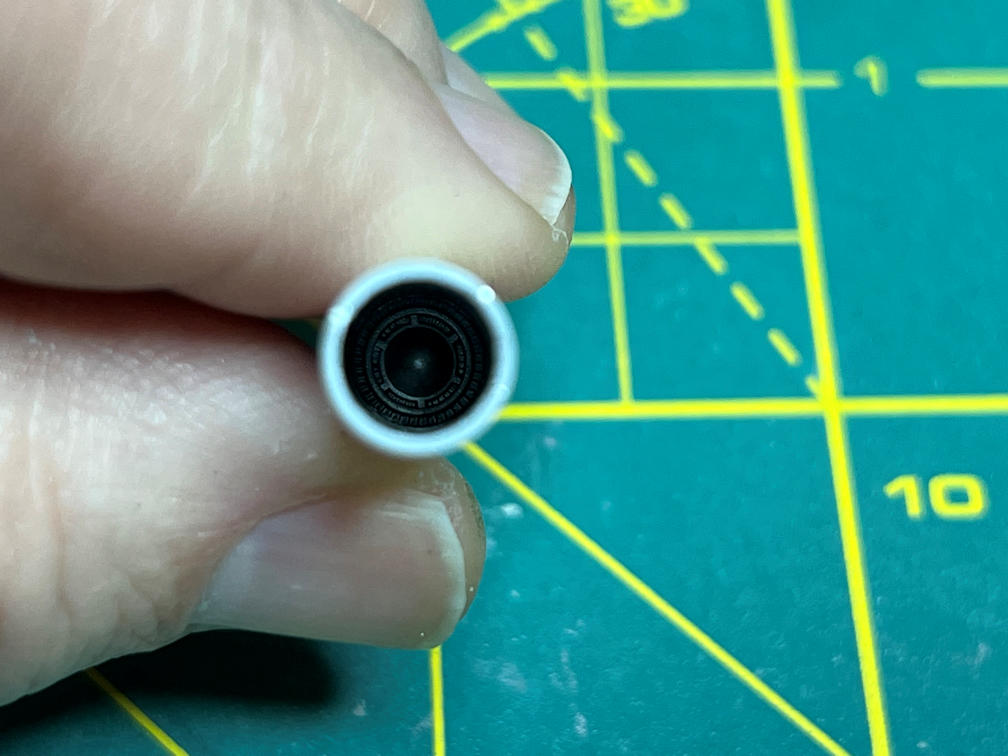
I glued the turbine into one side of the tail pipe and then glued the other half of the tail pipe on. This photo is looking down the tail pipe to the turbine. The turbine is painted Tamiya X-31 Titanium Gold. The inside of the tailpipe is painted Tamiya XF-56 Metallic Gray.
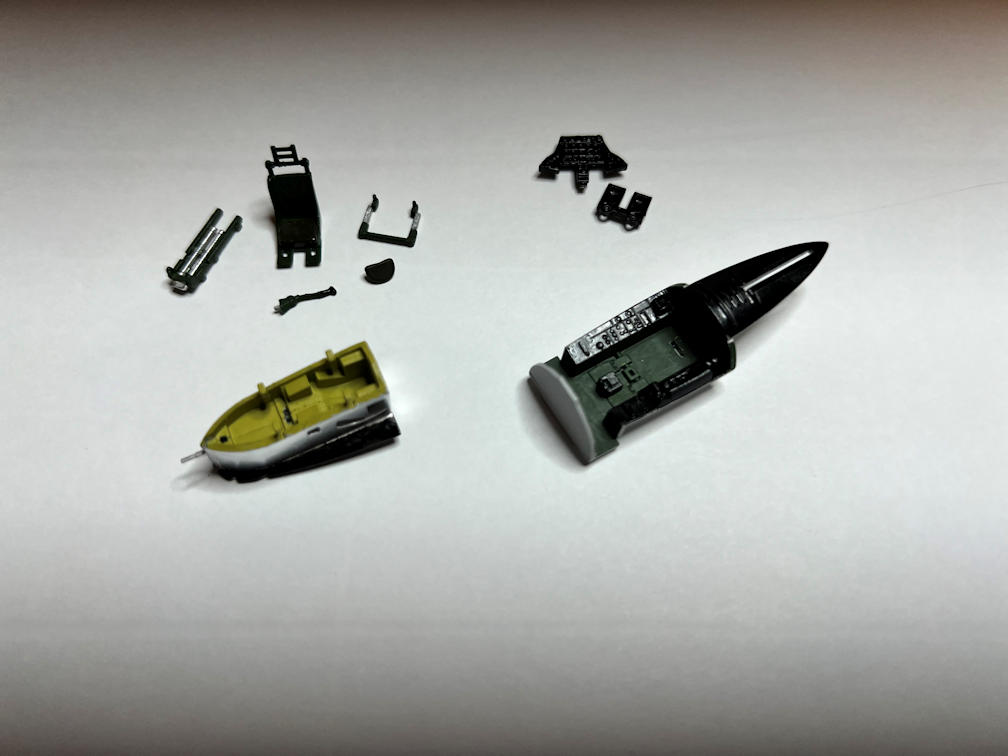
The photo below shows the other cockpit parts and the nose gear bay after painting. The seat parts were painted XF-05 Green. The seat cushion which is molded into the seat was painted XF-62 Olive Drab. The seat back bracket and seat arm rests were painted XF-05 Green and X-11 Chrome Silver. The instrument panel parts were painted X-18 Semi-gloss black. I painted the nose gear bay with XF-04 Yellow Green. The top was painted X-18 Semi-gloss black. The cockpit tub was painted X-18 Semi-gloss black and XF-05 Green.
That’s about as far as I’ve gotten so far. There is much more to come. Thanks for looking in. Click the “subscribe” button below to get notified when a new post comes up.
