

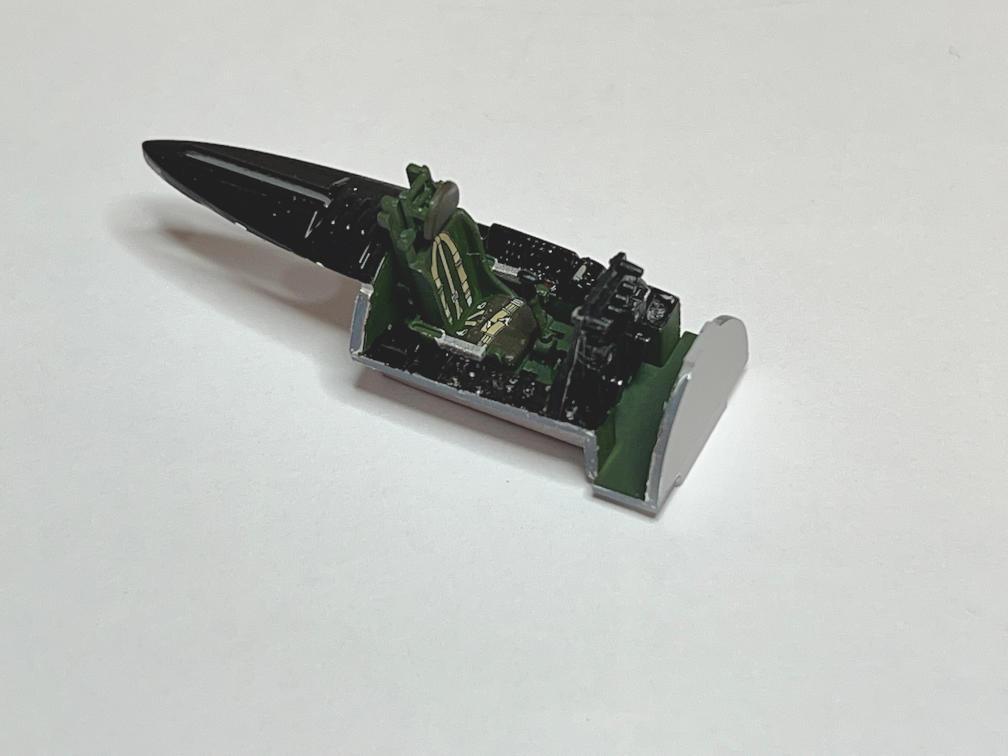
I finally carved out some time to work on the model. As you can see from the featured image above, I added the seat belt decals to the seat. The next thing to do was to complete the assembly of the seat. There were three other parts, the seat back and the head and arm rests. I also added the control panel decal and added a few touches of paint to highlight some of the controls. The control panel decal required several applications of MicroSol and even some Walthers Solvaset to finally get them to conform to the depressions on the control panel.

I then added highlights to some of the cockpit controls. Then the seat was installed along with the joystick and control panel. That completed the cockpit. Note that I scraped some of the paint off the edges of the cockpit so I could get a good glue join when it gets attached to the fuselage.
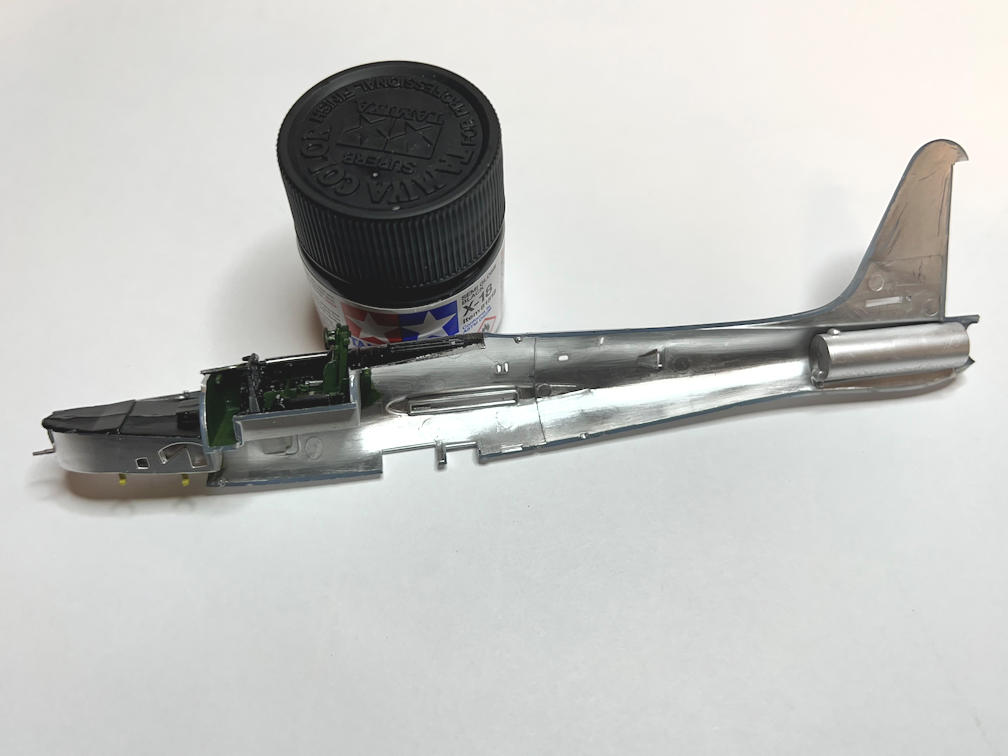
I also scraped some of the paint on the inside of the fuselage half before gluing the cockpit in place. The nose wheel well was also glued into place. In the photo you can see the tailpipe was also installed.
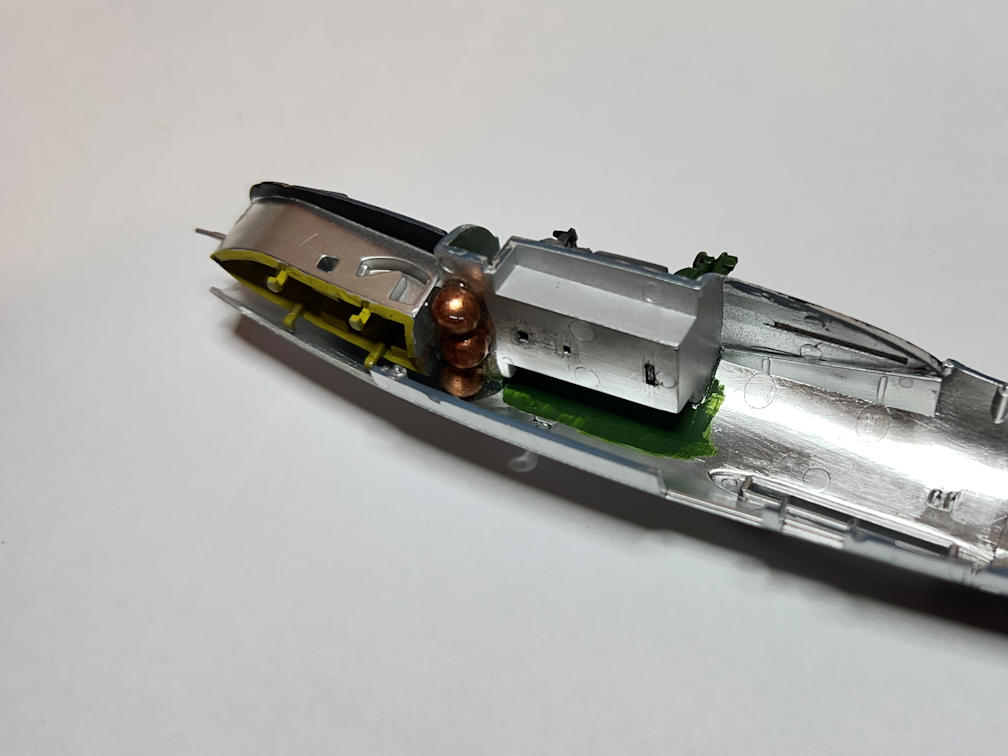
Here is a close up of the nose section showing the parts glued into place.

I then added three more BB’s for some additional nose weight with some 5 minute epoxy.
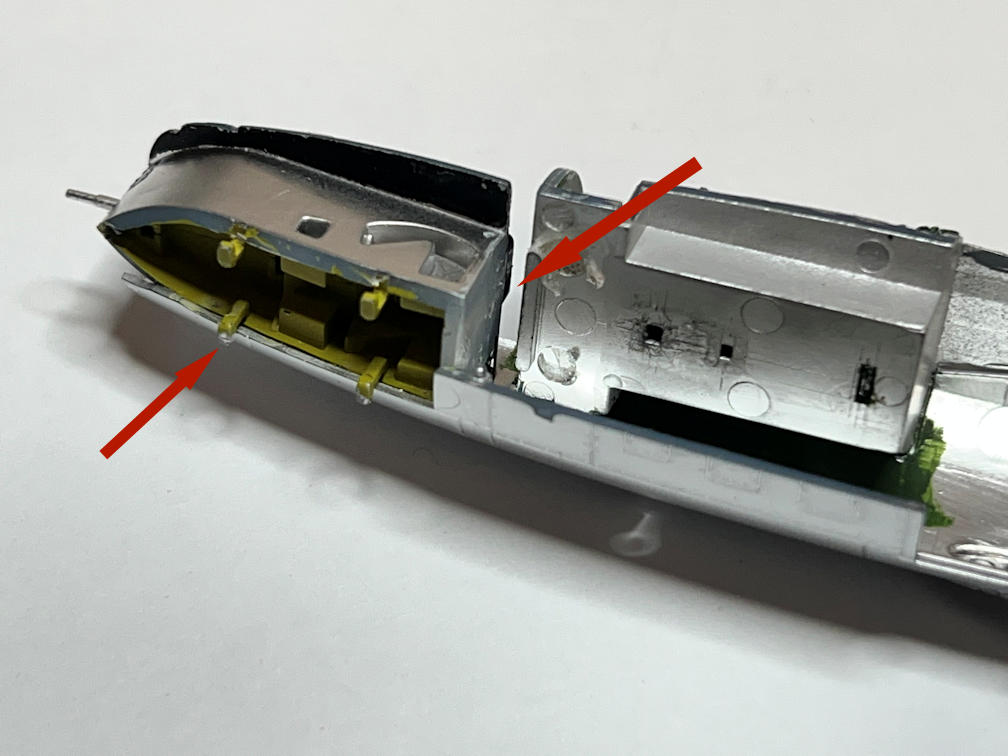
I did a test fit with the other side of the fuselage to be sure all the glue joints would meet. It was at this point that I discovered that I had the nose wheel well glued into the wrong position. The nose section of the fuselage wouldn’t close all the way. I referred to the instructions again to be sure I hadn’t made a mistake. The image in the instructions showing where the nose wheel well was to go was not very clear (at least to me). After looking at the images of the next step, it finally became clear. I did not have it in the right place. The “L” shaped projections on the bottom of the well were supposed to be external to the fuselage.
Now I had to remove parts that were welded into place. I first carefully popped the BB’s off. The epoxy was well bonded, but the silver paint prevented them from forming a super strong bond. After that I slowly popped the wheel well out. Fortunately it came out without any damage to the part or the rest of the model. I glued it to its proper place which not only lowered it, but also gave the top flat part an angle that would allow the access panel to be properly installed in the next step. It also moved the part farther forward. The arrows highlight the changes.
I then glued the three BB’s back in. One disaster averted.

I glued the other half of the fuselage in place. Then carefully applied Tenax to strategic points on the seams so that it would not damage the pre-applied paint. It looks pretty good. A few touch ups along the seam might be needed, but otherwise so far so good.
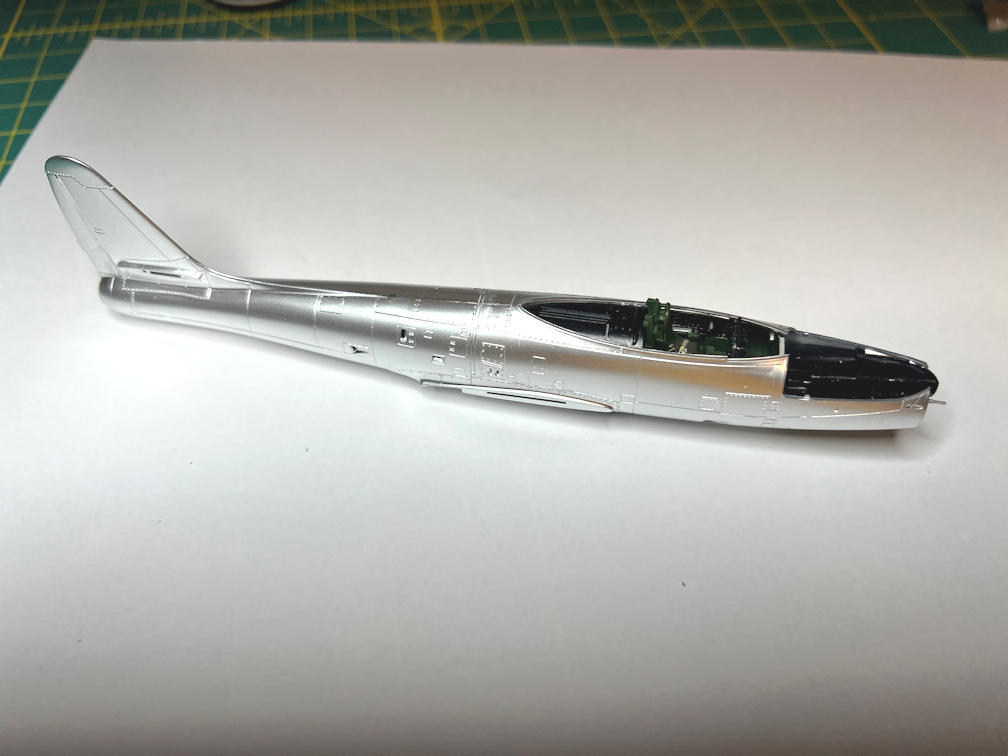
The forward access panel was then glued into place.
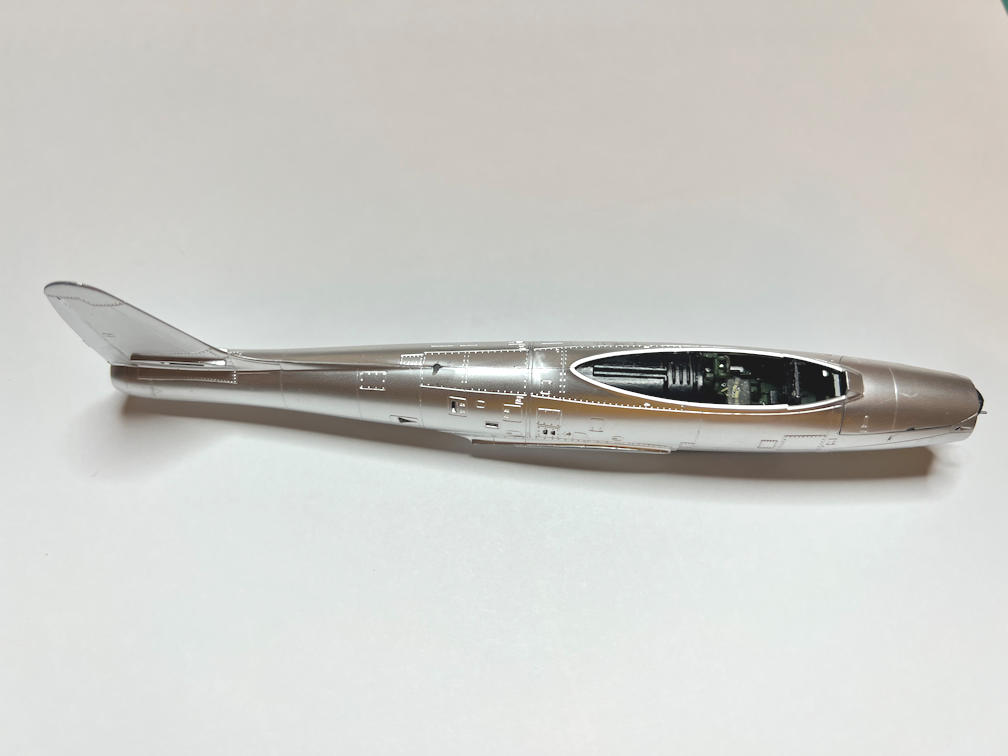
I’m not sure about the seam line. The more I look at it, the more I think I might have to re-paint the entire model. I’ll see what I can do about the seam without damaging the paint. If I can’t do it then painting may be my only option.
That’s it for now. If you aren’t already subscribed, why not go ahead and hit that button at the bottom of the page to get notified anytime I make a new post. Anyway, thanks for looking in.
