

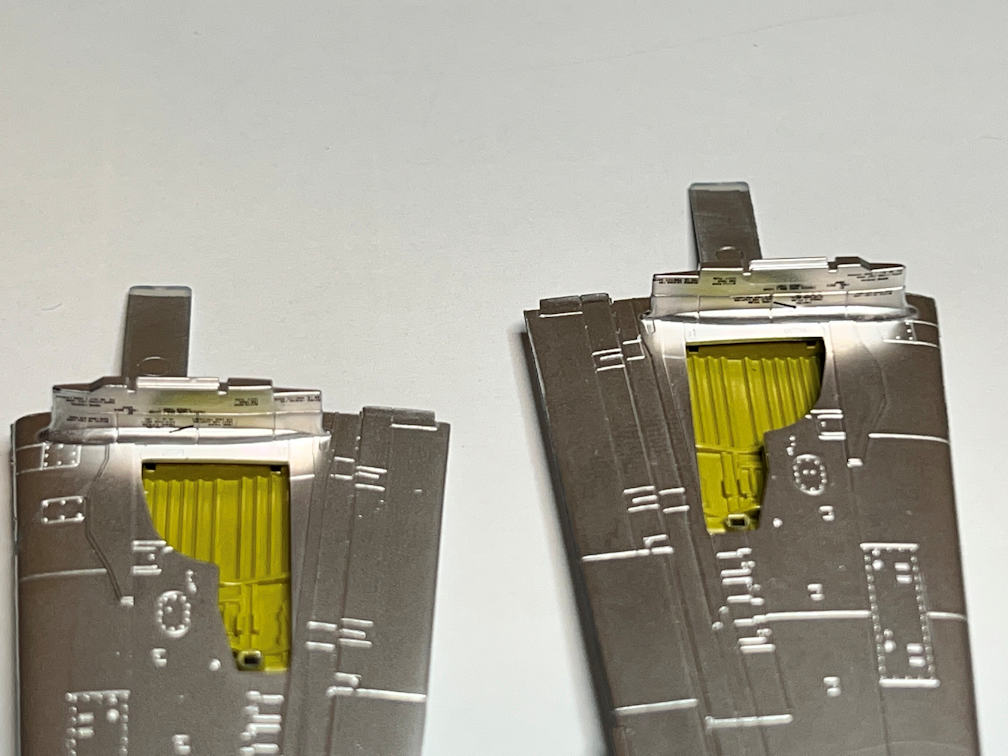
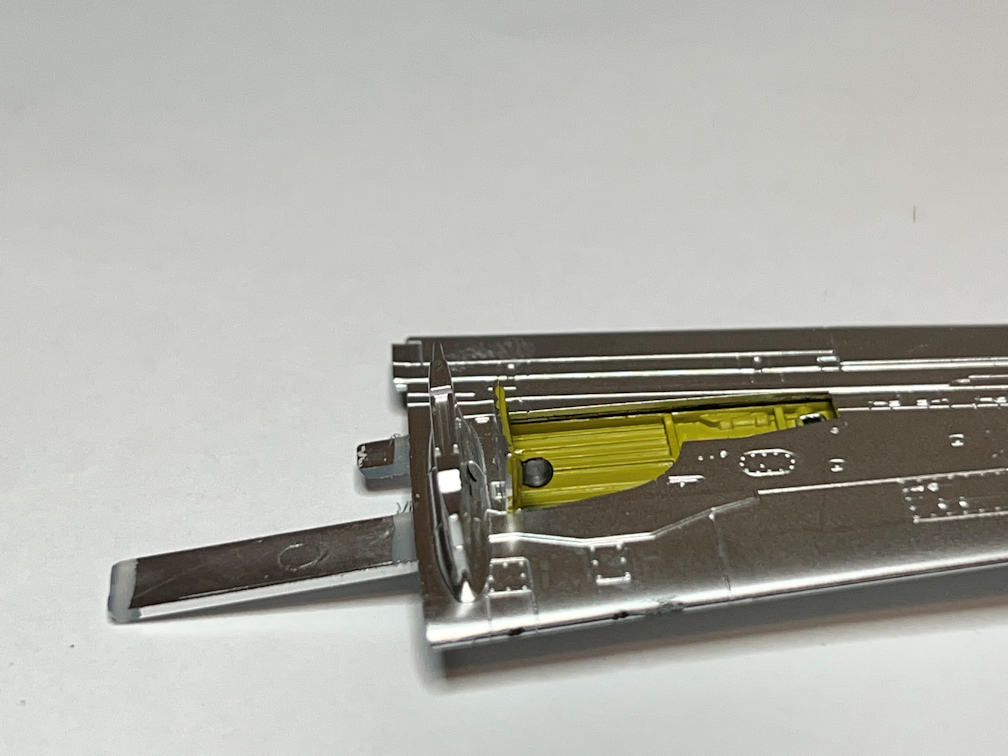
This week’s work began by painting the main wheel bays with Tamiya XF-4 Yellow Green. You might be able to tell from the above photo that I also scraped the silver paint from the glue areas.
In between coats on the gear bays I put masking tape close to the seam on the bottom rear of the fuselage. I needed to do a bit of seam work here and I used the masking tape to protect the other areas.
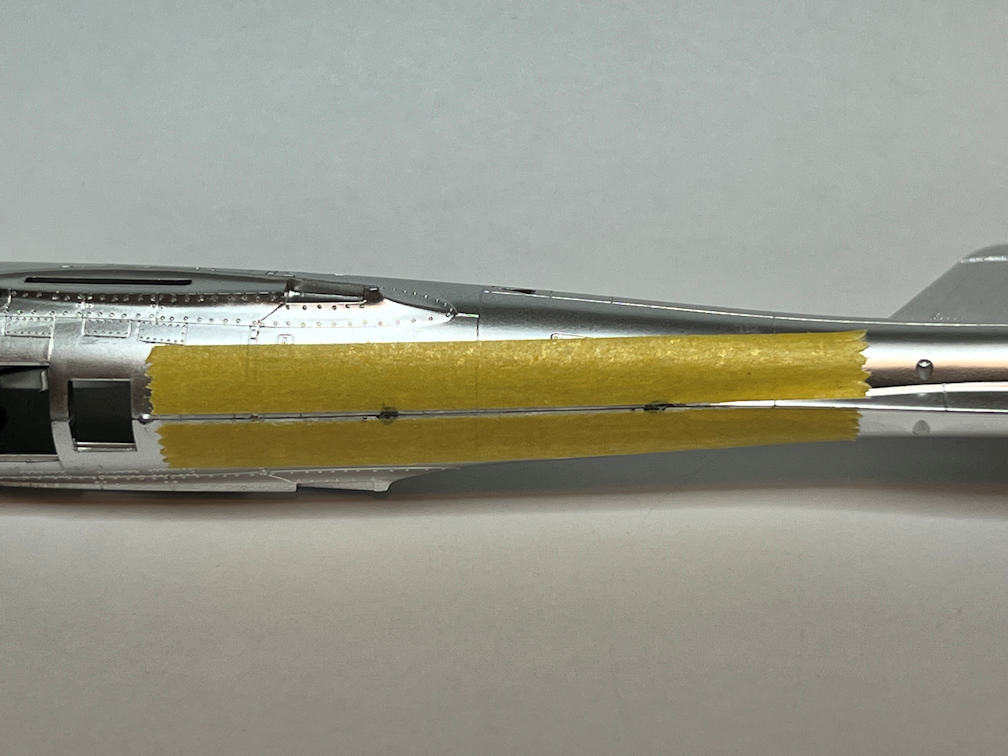
After some light sanding/scraping I applied a bit of Model Master Chrome Silver. It’s not a bad match and looks a bit better by eye than it does in the photo.
I glued the upper and lower wing halves together by applying Tenax liquid weld carefully to the seams. The parts fit was excellent with very few gaps.

I have also scraped the surfaces that will mate the wings to the fuselage. Tamiya did a good job on these parts so that the correct dihedral will be easy to achieve. Test fitting revealed that if you leave off the airbrake on the underside of the fuselage you can access the wing joints from the inside. The airbrake can then be installed later.
That’s my plan anyway. It remains to be seen if it is as easy as it looks.
With the wings assembled, I put some decals on the external mount pylons. These decals need to be added at this point because if you wait until the plane is completely assembled you won’t have much access. The reason is that there is a gear door that mounts right next to the pylon.
These decals were a pain to apply. Not because of their size, but because the decal just didn’t want to stick. Maybe it’s the age of the decals. I’m just not sure. I used my typical routine of applying MicroSet and then applying the decal. Then adding a bit more MicroSet to assure good adhesion and start the process of getting the decal to conform to the surface detail. These decals were having nothing of it. Everything looked good, but when I returned after the decals had dried, I found them curling up from the surface.
I applied more MicroSet and gave them more time to dry. When I returned, they were again curling away from the surface. This time I used MicroSol, hoping that the stronger setting solution would get them to lay down and stay. When I returned the next morning the decals were still in place and looked flat. I touched them and saw no decal movement.
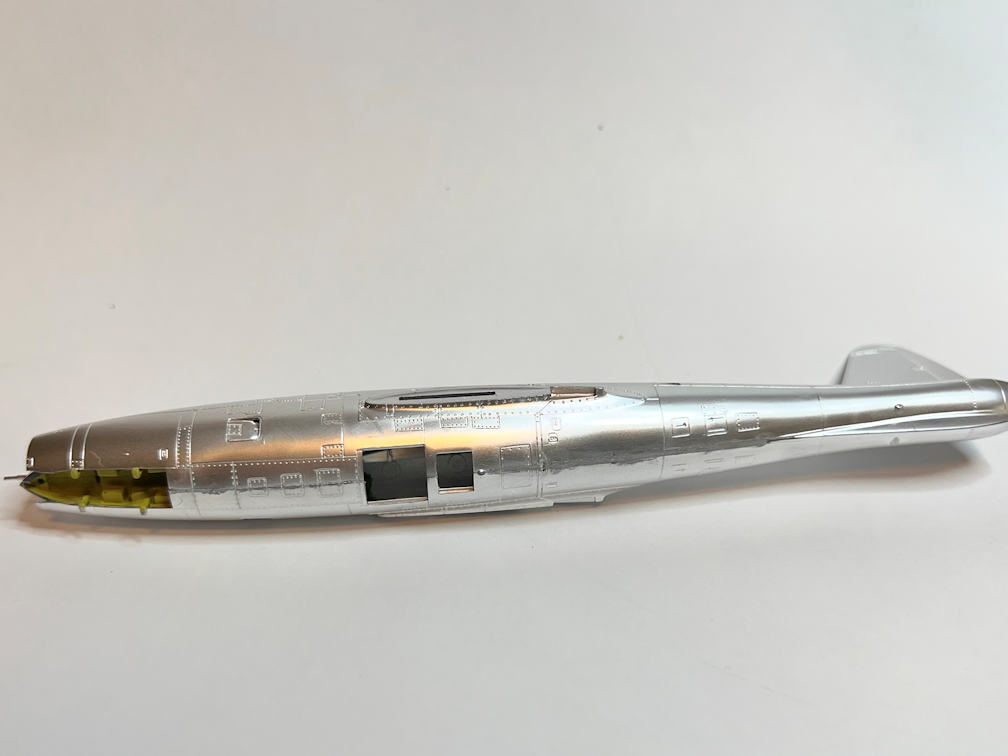
With that problem apparently vanquished, I took a break from the wings and painted the anti-glare panel in front of the cockpit with Tamiya TF-62 Olive Drab.
I decided that for the remaining cockpit parts and landing gear parts, I’d try and remove the silver pre-applied paint. I poured a small amount of bleach in a container and submerged each section of sprue. In just a few minutes of soaking and mild agitation, all the silver paint was removed with no visible damage to the plastic.

I then took the sprue with the cockpit parts and primed and painted them on the sprue. Part 11 got XF-5 Green overall and X-3 Royal Blue for the gunsight projector. Part 13 got XF-5 Green overall with X-18 Semi-gloss Black and X-11 Chrome Silver on the projections. Part 10 was painted XF-18 Semi-gloss Black and one part of it was painted XF-52 Flat Earth. I’ll probably drybrush some silver on part 10 to highlight the details.

I glued the innermost gear door in place on the right wing with Plasti-zap CA glue. To finish the door it needed a landing light added. I located them on the clear sprue and painted the back side with Chrome Silver and when that had dried I painted over that with Tamiya X-18 Semi-gloss Black. I did not paint the front side of the clear part. That way I would have a part that does resemble a light. These parts are quite small.
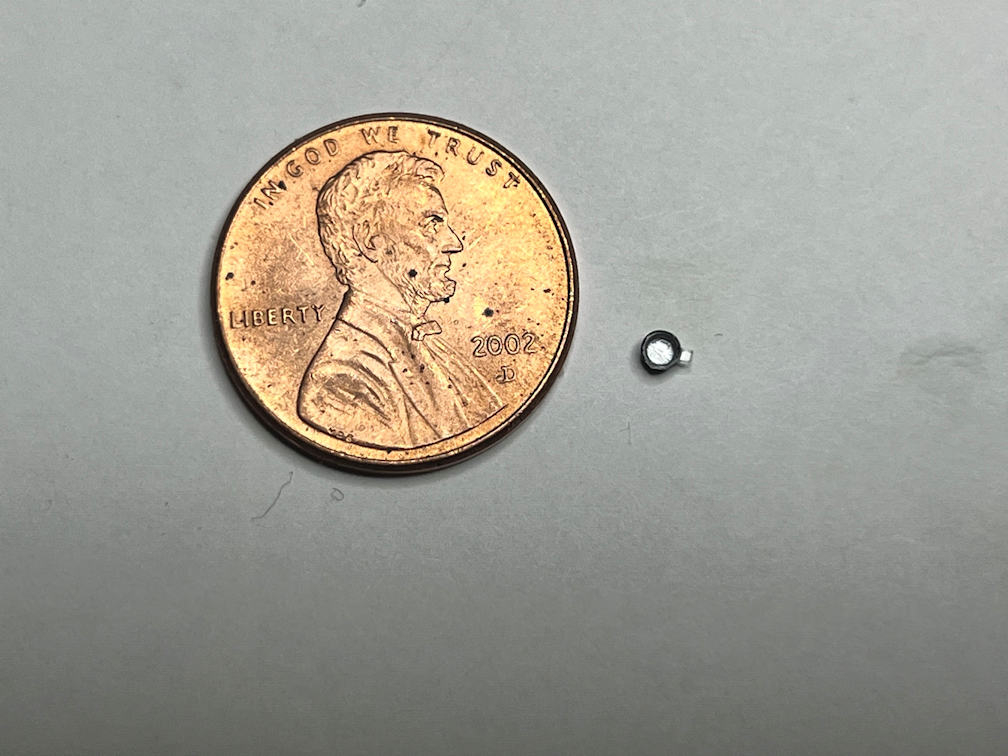
I then glued this to the gear door with more Plasti-Zap.
Before doing the same thing to the left wing, I needed to apply a decal to the outside of the door. This is part of the “U” in the “USAF” wing marking. I went ahead and applied the marking decals to all three main gear doors. Once again the decals would not stick. I had used the same procedure that I had for the pylon decals but for some reason it just would not work for these doors. Each time I returned after applying MicroSol, the decals were either curling up or were flat but not adhered to the part. So I applied Solvaset, making sure that I got some under and around the edges of the decal. When I returned several hours later, the decals had finally adhered to the part. This does not bode well for the remaining decals.
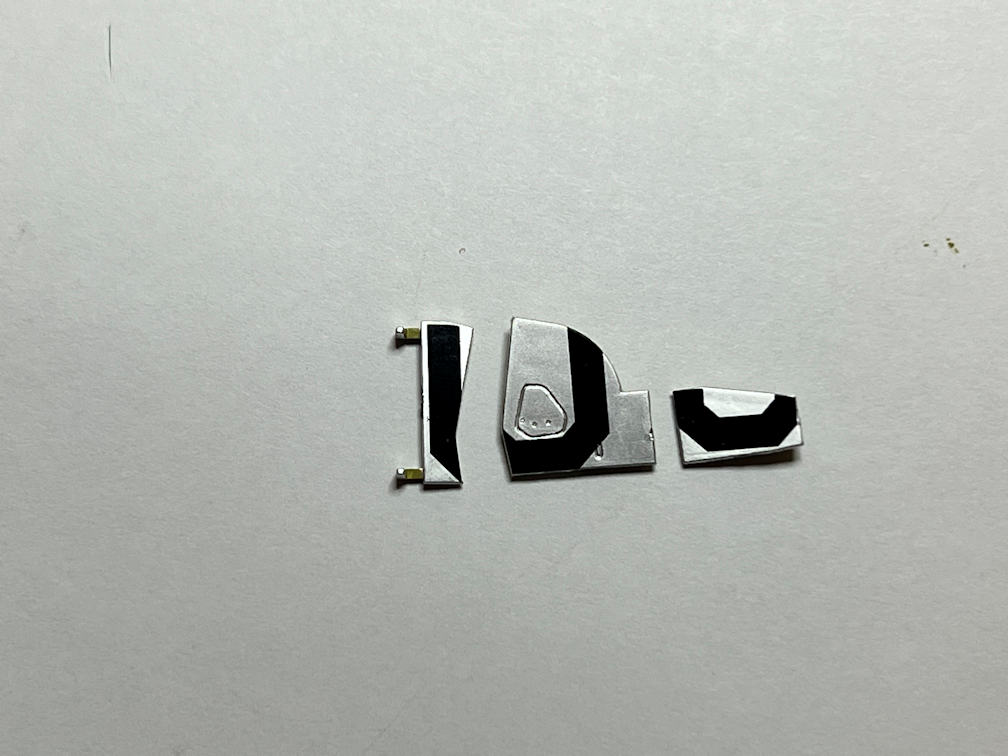
Here is a photo of the doors with the decals applied.
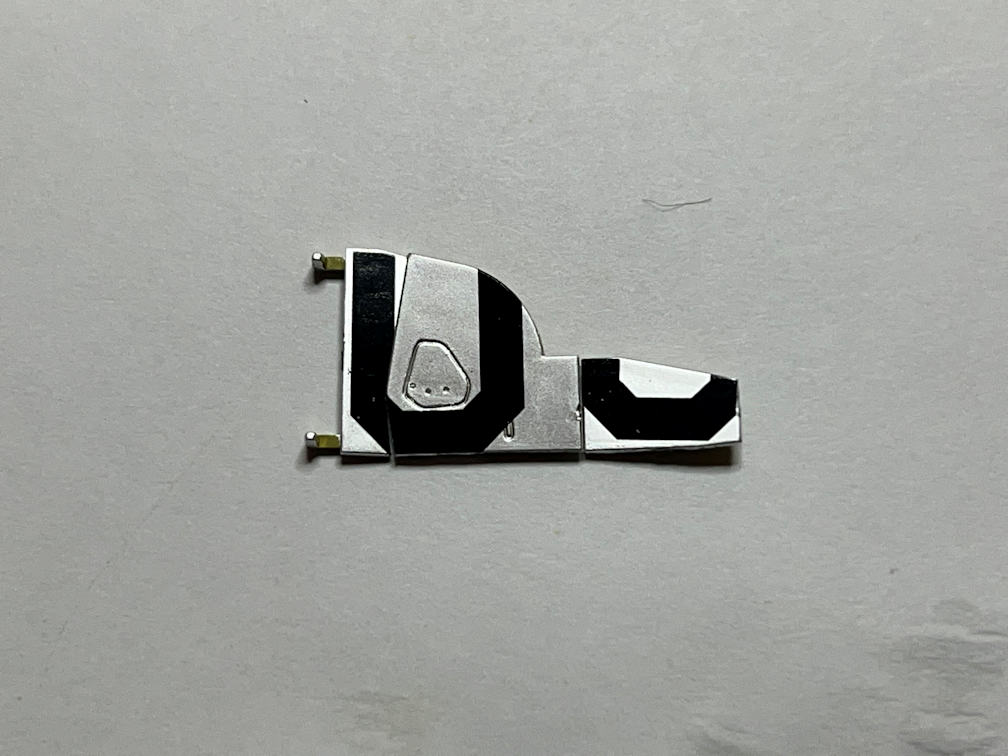
I pushed the parts together to show how the “US” is cut up by the gear doors.
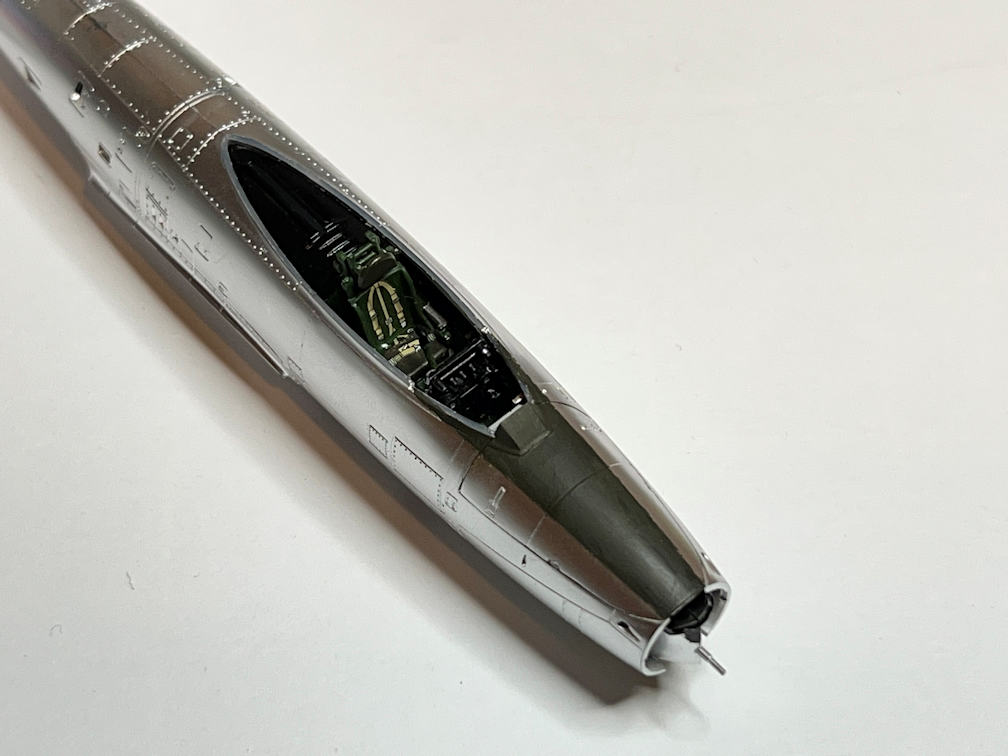
I then applied the inner door to the left wing and attached the landing light to it. If you look closely at the below photo you can see that the decal on the door is barely visible, highlighting the fact that you have to apply the decal first.

That’s about all I was able to complete this week. The next thing should be attaching the wings.
Thanks for looking and if you’re not already subscribed to my blog, consider using the Subscribe button at the bottom of the page to be notified each time I add a new post.
Once again, thanks for following along.
