

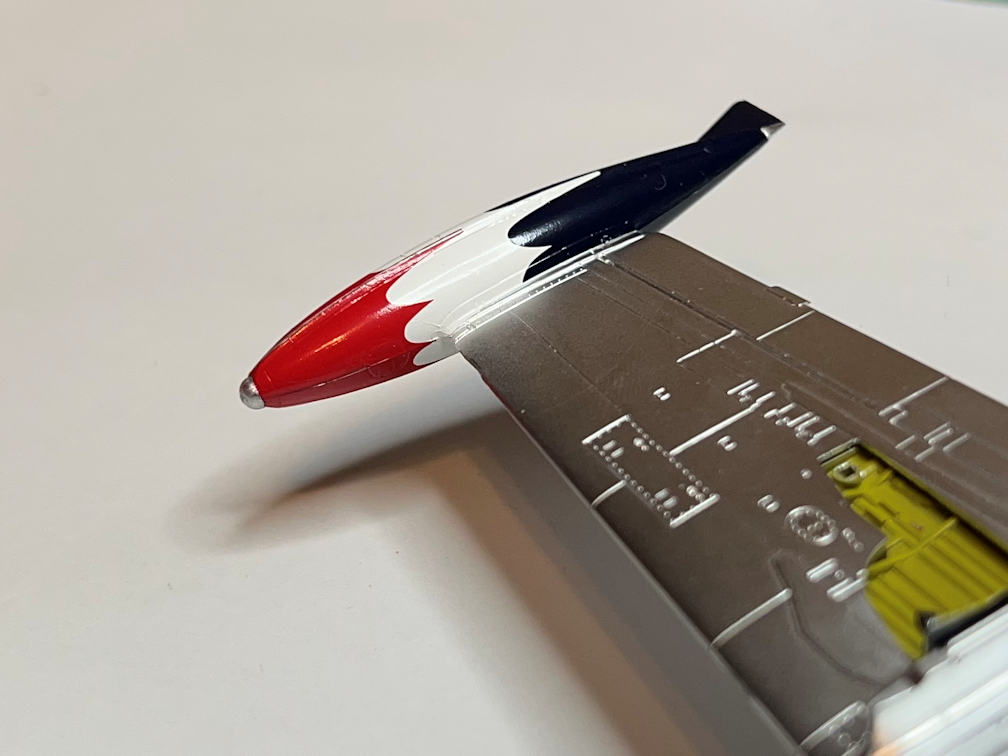
The photo above shows the first few things I got done this week. I glued on the nose/air intake and applied the left and right Thunderbird decals to the nose. These decals are a bit thicker than the black lettering decals that I had applied previously. I didn’t have any problem with curling after the initial application. They did need some Solvaset to get them to conform to the fuselage details. But the decals reacted well and look great. Unfortunately the recommended TS-8 Italian Red used on the intake is just a bit darker than the decal. It’s a close shade so I’ll just go with it.
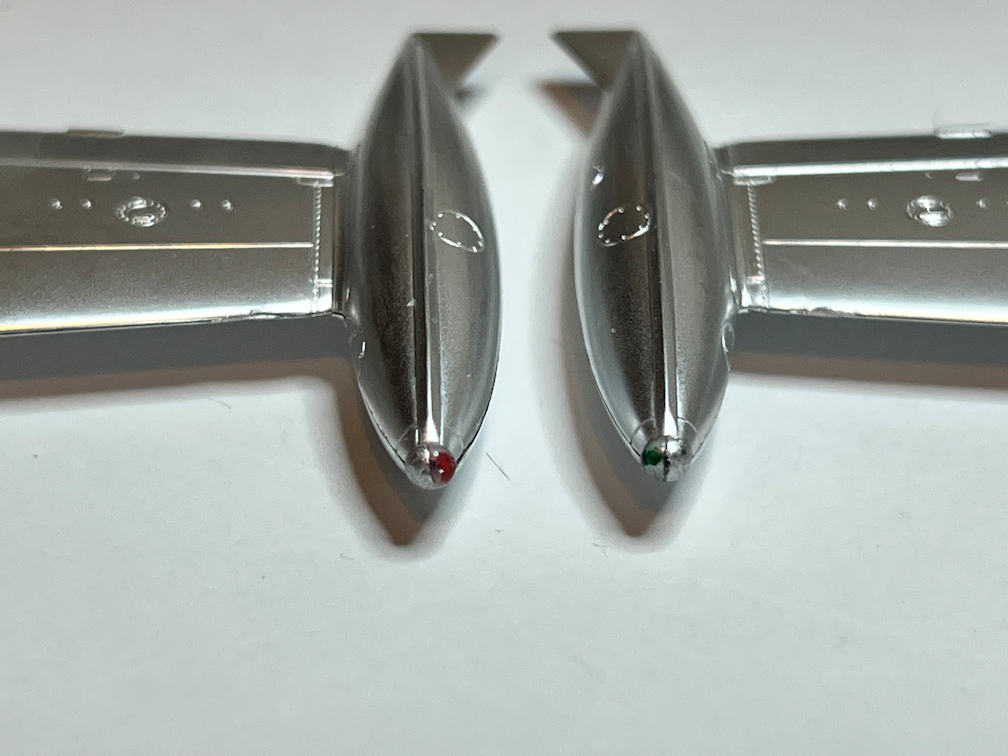
The navigation lights that attach to the front of each wing tank have a glue peg that is off center. This allows you to paint the left and right navigation lights with a dot of X-7 Red or X-5 Green next to the glue peg. I painted the half of the light that is closest to the cockpit XF-16 Flat Aluminum. This was used on the actual F-84G to keep the lights from interfering with the pilot’s vision. Here is a closeup after attaching them to the tanks.
I next attached the wings and horizontal stabilizers. The parts fit on this Tamiya kit is very good. Surprisingly in the decades that I’ve been building plastic models this is the first Tamiya kit I’ve ever built and I am pleasantly surprised. The spars that attach the wings go all the way through to the other side. Tamiya offset each set of spars so that they interleave. This allows you to reach through the bottom of the fuselage through the hole for the air brake and apply cement to them. This creates a solid wide spar that firmly attaches the wings to the fuselage. I also need to extend the XF-62 Olive Drab anti-glare panel onto the nose intake.

One of the tasks I’ve been dreading was putting the four decals on each of the wing tanks. All those curves looked pretty intimidating. Getting a decal to cover a shape like that without something going sideways would seemingly be difficult. I started with the largest decal which covers the outside two quadrants of the wing tank. I used the procedure that I had set with the thinner black decals. I first applied some MicroSet. Then applied the decal, trying to get it to cover the best it could. There were several puckers. Then I gave it an hour or so to dry. It didn’t look great after the MicroSet with large buckles in the decal where it tried to cover the compound curve. Applying Solvaset to the decal and trying to get a bit under the decal in areas was a bit challenging. You don’t want the decal to move while you are applying the Solvaset because the edges of the decal need to cover as close to half of the tank as possible so when you put the other two decals on the tank it will completely cover without leaving gaps. Be sure to let the Solvaset completely dry between applications. It will look very ugly for the first couple of applications, but if you have patience and don’t work the decal too much when it is softened by the Solvaset, it will slowly conform to the shape. Trust the process. It WILL take multiple applications of Solvaset.
Here is a photo of the completed decal application looking from slightly above the tank.

Here is another photo from the underside showing one of the quarter decals and how well it met up with the other two decals. It came out pretty good. There are a couple of spots that will need to be touched up with some X-7 Red or X-3 Royal Blue. The silver bit at the back of the tank near the fin is supposed to remain silver. Also note that there is one small decal that covers the fin. It needs to be wrapped around to cover both the top and bottom. It was harder to apply than I thought it would be, but it all worked out.
In between decal applications I finished painting and assembling the landing gear and applied decals to the nose gear doors.
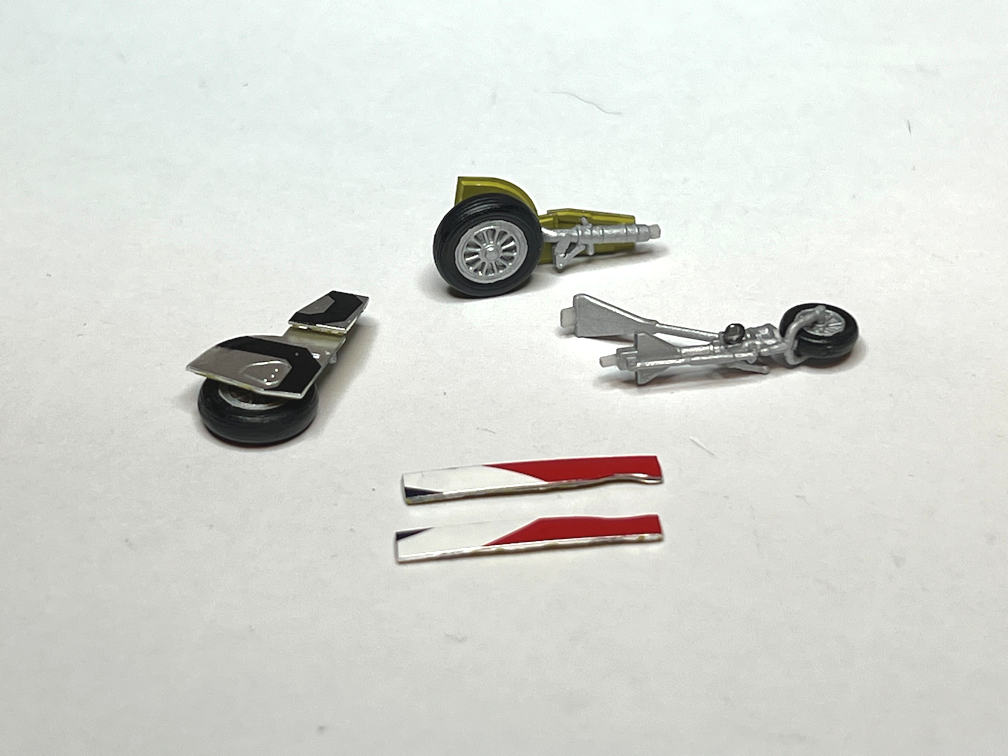
I also cleaned up, painted and assembled the avionics that attach to the canopy behind the pilot. I also painted and assembled the gunsight.

The frame of the canopy has yet to be painted. Some of the framework on the large back section of the canopy is actually white tape on the actual bird. I’ll make some 0.6 mm wide white decal strips and use that rather than try to paint the thin white lines. They are molded so fine that the edges don’t show through masking tape which would make cutting the masking tape very problematic. Therefore decals it will be.
I’ve also spent some time researching some of the decals that need to be applied later. One of them is the plane’s tail number and the pilot name plate that goes on the canopy. You’d think it would be documented somewhere, and it is, but connecting the pieces is the hard part.
I want to depict the plane of the first lead pilot of the Thunderbirds, Major Richard Catledge, as it looked in early 1953. The pilots and the years they flew with the Thunderbirds is well documented. As are the serial numbers of the planes that the Thunderbirds used. But connecting the pilot name with a specific serial number of a plane is the hard part. I found a document that showed which planes were used in the diamond formation, but it didn’t indicate what position in the diamond the plane was flown. There was some photographic documentation that showed serial 116720 was flown by Capt. “Bill” Pattillo in 1953 and 116719 was flown by Maj. Jacksel Broughton (the second leader of the Thunderbirds) in 1954. I used an assumption that Maj. Catledge would have turned his plane over to the new leader, Maj. Broughton. Which would indicate that Maj. Catledge would have flown serial 116719 in 1953. So that’s what I’m going with.
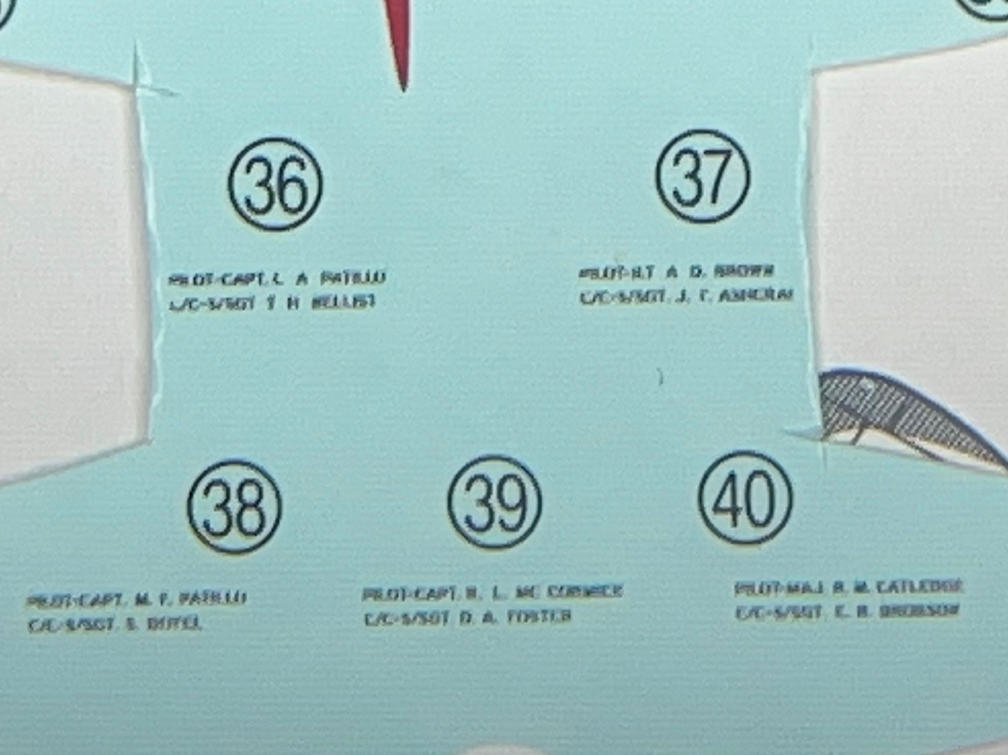
The next thing was to figure out which decal from the sheet that would be. There are two sets of pilot plates. Plain text for the 1953 season and text on a white block for the 1954 season. The Tamiya instructions do not identify any of the pilot name decals so you are left trying to read the very tiny decal. After shooting a photo through a magnifier I was able to identify the decal I needed. It is decal 40. You can see it in the below highly magnified photo.
Of course, this is part of the fun of building a scale model. Deciding what livery to apply and then researching to find out what it is.
Well, that’s it for now, the model is finally looking like a plane. Thanks for looking in. More to come soon.
