

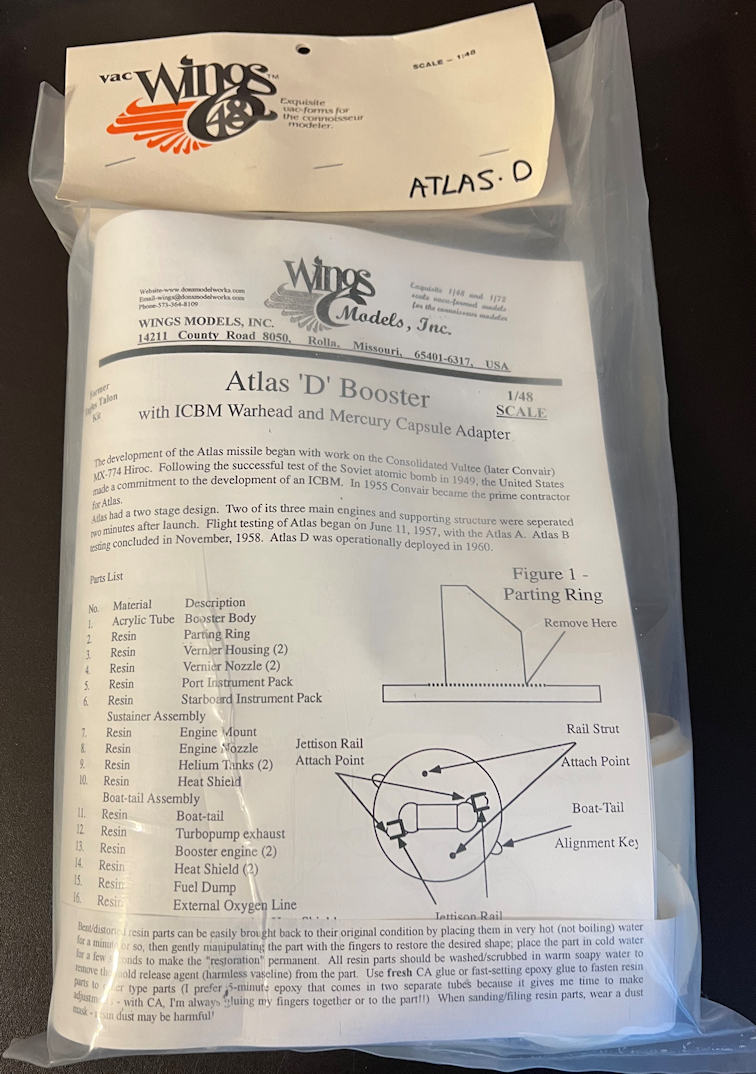
My next model build is a 1/48 scale Atlas D rocket by Wings48. I bought this kit back in 2005 from Don’s Model Works who was producing the kit lines by Wing48, Wings72. This kit was originally produced by Eagles Talon Models. The Don had aquired the Wings48 and Wings72 lines a couple of years earlier. Then in 2004 he acquired the Eagles Talon kits. I had heard of the kit when it was produced by Eagles Talon, but never got around to getting one. When in 2005 I saw that the kit had changed hands and was now put out by Don’s Model Works, I decided that I had better get one sooner rather than later. The owner of “Don’s” died in 2011 and by all accounts none of the kits produced by Wings or Eagles Talon are being produced anymore. You can occasionally find one on E-bay, usually for collector prices.
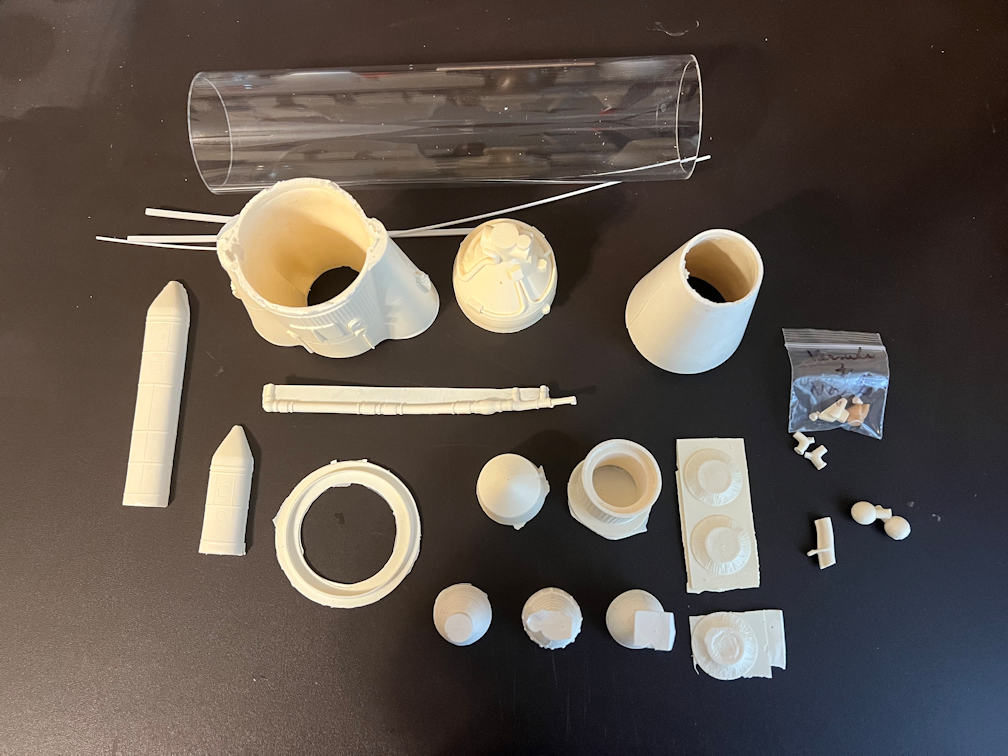
When the kit arrived it was in a plastic bag which was not a huge surprise. After all this is pretty much a garage kit. It was mostly cast resin parts with a clear acrylic tube for the main body. Looking at the parts through the bag, I was a bit disappointed to see that the resin parts were rather rough. It looked like the parts were cast from molds that were beginning to wear out and needed to be remade from their masters. Also there were quite a few bubbles in some of the castings. The parts definitely did not look as good as the ones in the photos on the Ninfinger Quick Look page. I put the kit in my stash and planned to get to it soon.
Well, soon has turned out to be 20 years later. The kit has held up pretty well in the bag. Only two parts will need to have a warp removed. I’ll start by cleaning up the resin parts. This will involve removing pour plugs, sanding off surface roughness, and filling the many bubble holes. I also noticed that the heat shield part for the sustainer engine that was included in my kit was not large enough to cover the hole in the booster boat tail. I’ll have to find some sort of fix for that. No decals are included in the kit so I’ll have to draw and print a custom set.
When I finish the Atlas I’ll open another Revell Mercury/Gemini kit from the stash to supply the Mercury capsule for this build, just like I did on the Mercury Redstone model. I’m building this one as Aurora 7 which was Scott Carpenter’s only space flight.
I began by looking at the boat tail part. I removed the pour plug with my razor saw. It helped that the pour plug began at the top end of the stringers. I was able to get a clean cut. The booster engine fairings had some pretty large wrinkles. If you look closely at the picture you can also see some of the rough surface and pin hole bubbles that needed to be cleaned up.
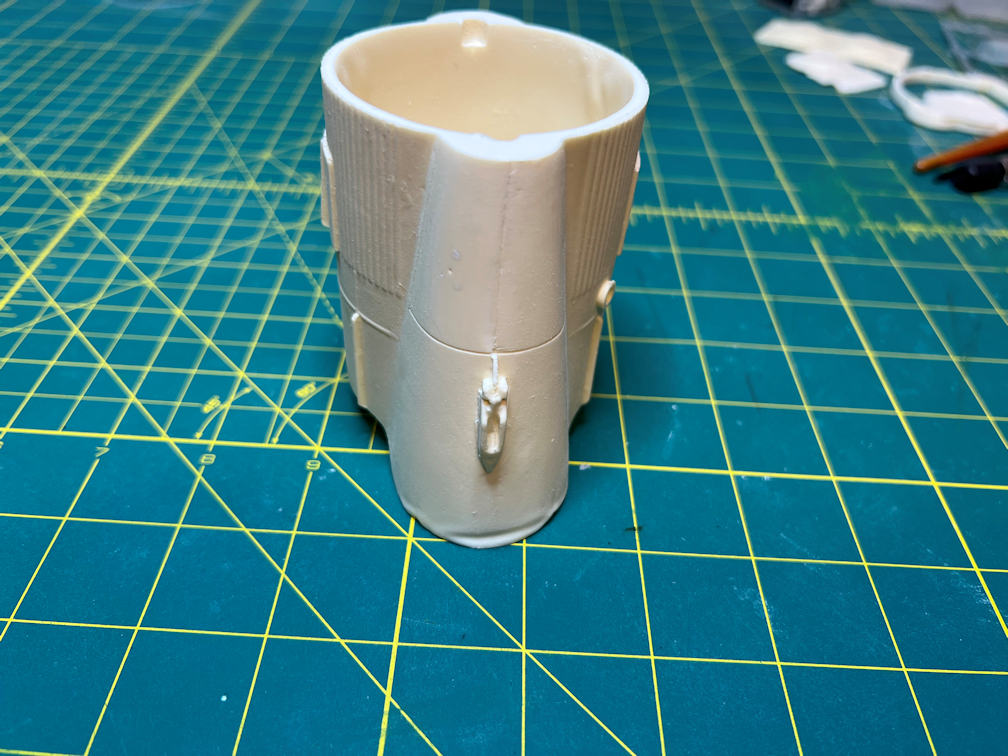
I did some sanding on the fairings and other rough areas. Here is a shot after the first round.

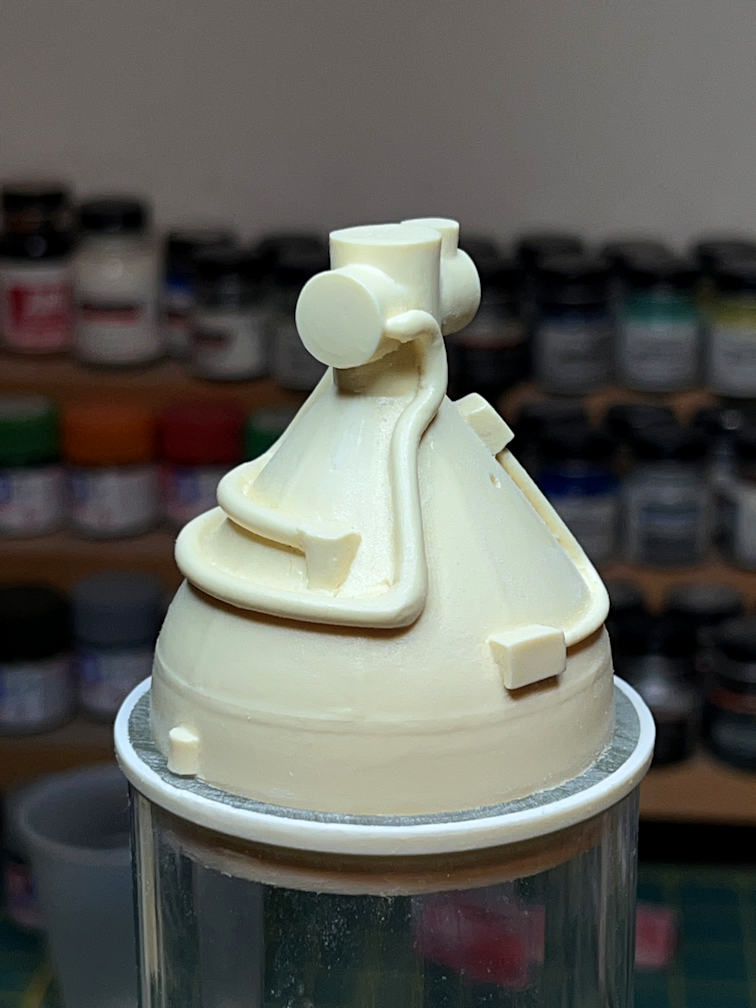
I also started on the sustainer engine. It differs from the booster engines. It has a turbo pump exhaust that wraps around the nozzle. It also has many angular protrusions that have bubble holes in almost every one. Here you can see I’m in the process of trying to fill the holes.

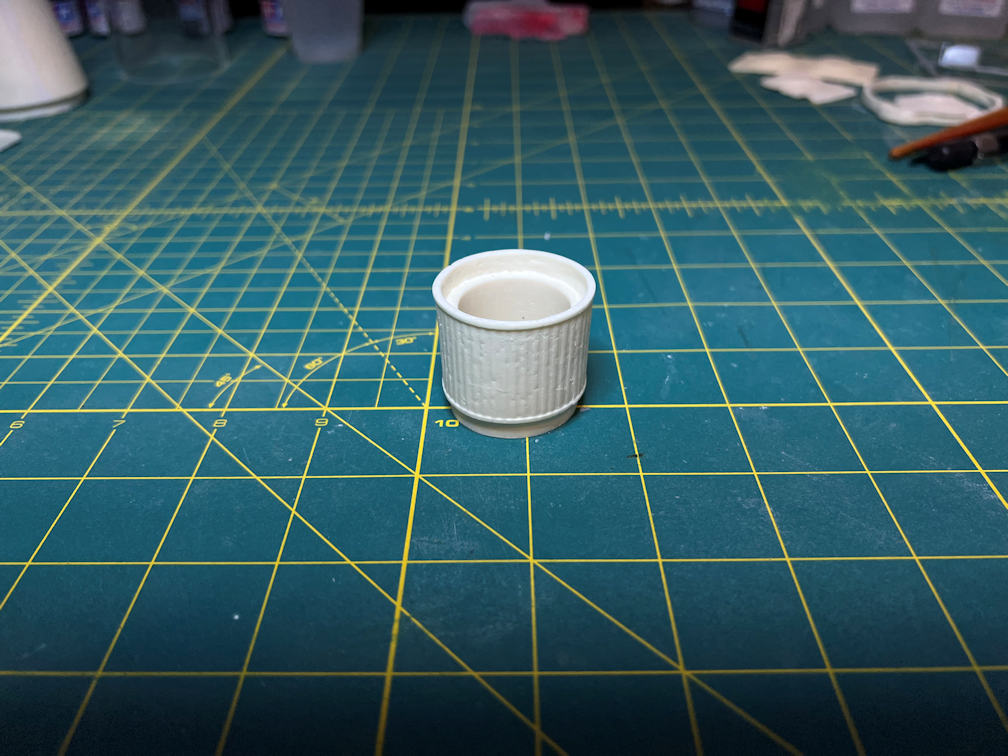
I pushed the acrylic tube into the separation ring and started sanding off the pour plug. It took several sessions to finally sand all the way through. Here is a photo after it was cleaned up.

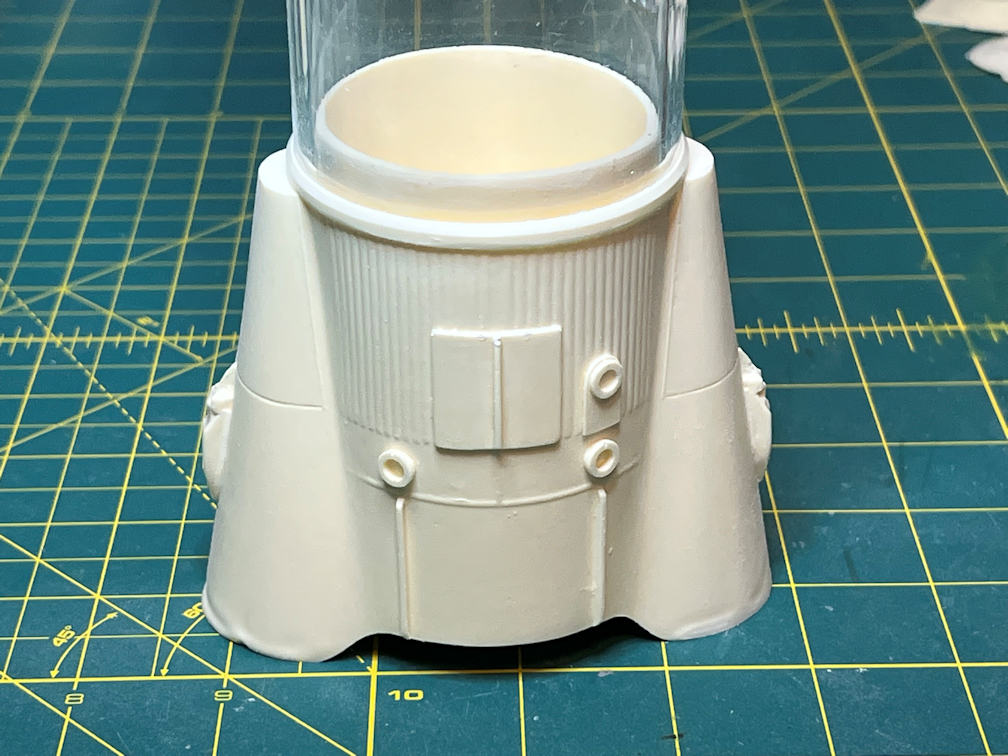
The sustainer bulkhead needed a bit of sanding to get it into the tube. It is a nice fit. There are two protrusions on the bulkhead that key into a couple of depressions in the boat tail. This is how the tube will be attached to the boat tail. I’m not going to do a lot of detail on the bulkhead since it will be completely hidden when the model is finished. It’s a shame because it is one of the few parts that didn’t have a bunch of pin holes in it.
Here is a photo of the tube dry fitted to the boat tail.
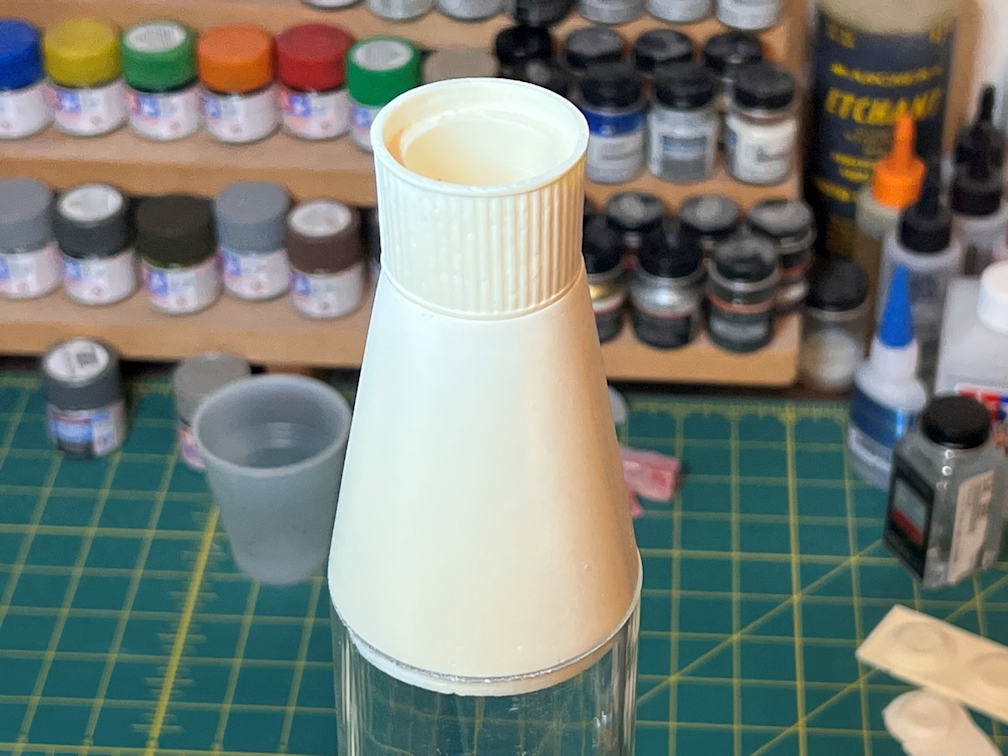
The conical adapter that fits on top of the tube had a very pronounced mold mismatch line that required a large amount of filling and sanding.

I also cleaned up the Mercury capsule adapter. The stringer section of the adapter is very rough and the molded in stringers have very soft edges. There is no provision for the oxygen vent on the side either. Since I have to scratch build the vent and cover, I’ll sand off all the stringers and apply my own. I’ve got a set of David Weeks Mercury Atlas drawings from RealSpace Models, so I’ll use those as my guide for correcting this part.
I did a dry fit of the conical section to the booster body for a fit check. The fit is fine, but on the side with the mold mismatch it doesn’t quite meet the outer edge of the booster tube. Look carefully at the join line and you can see the tube sticking out a bit from the cone. Some putty and sanding will fix this when I get the parts joined. Otherwise, it fits well the rest of the way around.
That’s it for now. Time will tell how long it will take to get all these parts in a presentable state. Thanks for looking and if you want to get notified of new posts click the subscribe button at the bottom of the page.
See Update 1 here.

2 thoughts on “1/48 Wings Atlas D”