

I took some time off from the capsule adapter to drill out the fuel fill and drain pipe. Above is a photo. There were two in the kit, but only one is needed for the model. I put them side by side to show the difference after drilling.
Apparently the adapter is still just a bit too small for a true 1/48 scale. I found this out while I was using Affinity Designer 2 to create a couple of marking guides for the top and bottom of the capsule adapter. I started by making the pattern the length of the circumference of the upper and lower edges. I then put 108 small lines along that length. It was apparent that I just didn’t have enough room for all 108 stringers. I started removing them until I had a better spacing between stringers. I ended up with 102. Missing 6 will hardly be noticed so I’m good with 102.
I drew a vertical line on the adapter and then the top and bottom marking guides were placed with tape. I made sure to place one of the guide marks from each guide on the vertical line when taping them down. Pencil marks were then made to each tick on the marking guide. Then the tape was removed and both marking guides slid off the adapter. The photo shows the marking guides and a couple of 0.020″ x 0.020″ strips that will be attached. You can just make out the guide marks on the adapter.

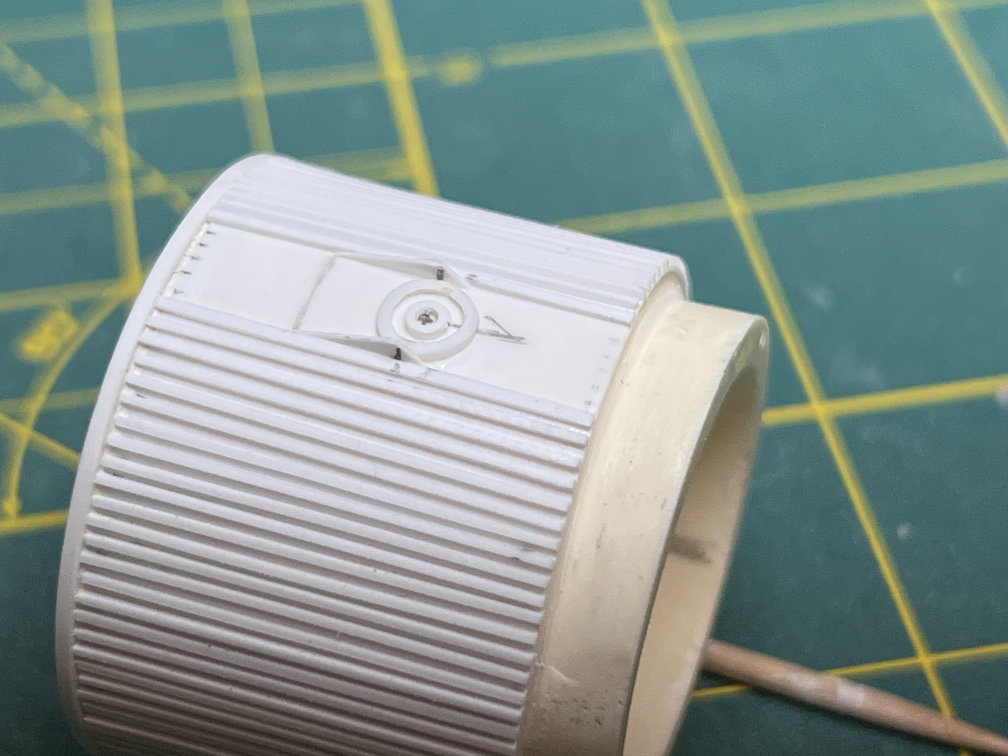
Before attaching the stringers, I cut a thin section of 3/16″ styrene tube to represent the oxygen vent on the side of the adapter. Next the center point of the vent was measured and marked and then the ring was glued in place. Here is a photo of it installed.

Next I began applying the stringers using Tenax liquid weld. Here is a photo after going through the first two 12″ long strips. I laid each strip on the adapter and trimmed it to the needed length. Then I lined it up with the top and bottom guide marks. A small drop of Tenax was carefully touched to each end and the stringer was gently adjusted into position. When it was where I wanted it I ran a tiny bead of Tenax along the length of the stringer.
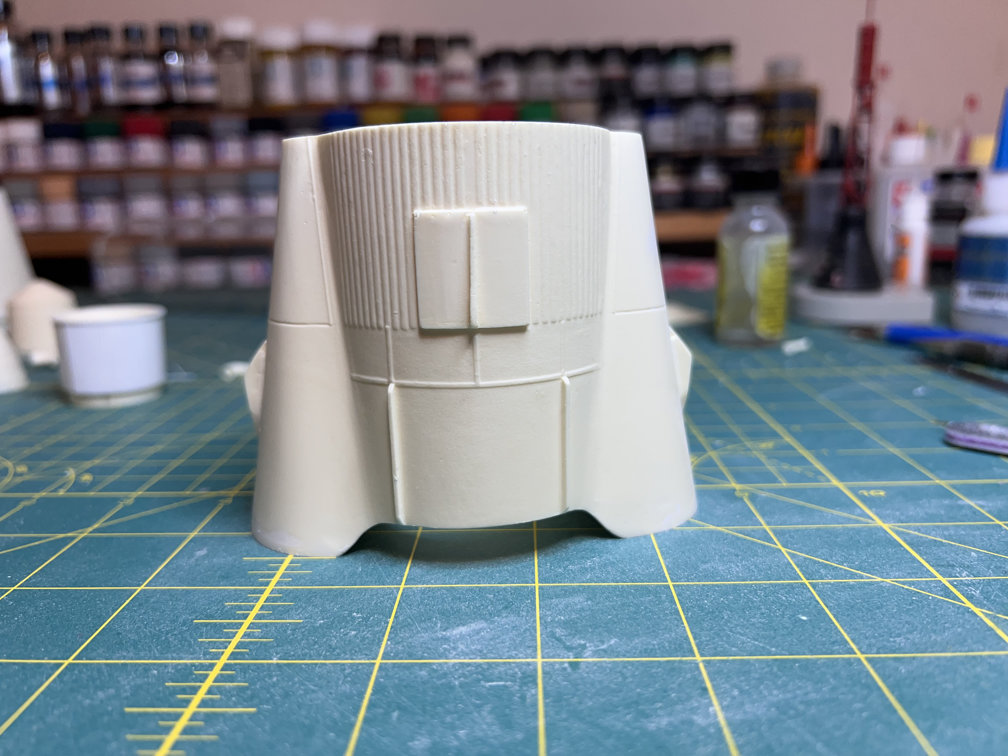
After doing the first 22 stringers, I took a break and went back to my reference photos to try and find a photo that would show the hold down points on the booster engine fairings. I’ve never liked the look of the kit hold-downs that were molded into the skirt. But I hadn’t found a good photo to show what they actually looked like. It took some, time but I finally found one.

I used a sanding stick to re-shape the hold-down points. Here is what I have. They need a bit more clean up but I’ve got the beginnings of the shape I need.

After that diversion, I went back to the capsule adapter to finish applying the remaining 80 stringers. Unfortunately, I didn’t have any more 0.020″ x 0.020″ strips. I made a trip to the local Hobby Town and bought the only package they had left. They are sold in 10 strip packs. Mine had 11. It’s a lucky break for me that there were 11. As I pulled out the first strip and prepared to start putting them on the adapter, I noticed that one end was larger than the other.
The strip would start out as a square of 0.020″ but as I looked further down the strip it got wider. The thickness stayed at 0.020″ but the width varied from 0.020″ at one end to 0.035″ at the other. I checked all the strips and found that two were consistently 0.020″ but the others varied like the first one I pulled out. It seemed that about the first 5 to 6 inches were usable but beyond that they just got too wide. I was lucky and had enough good strip to get the adapter covered.
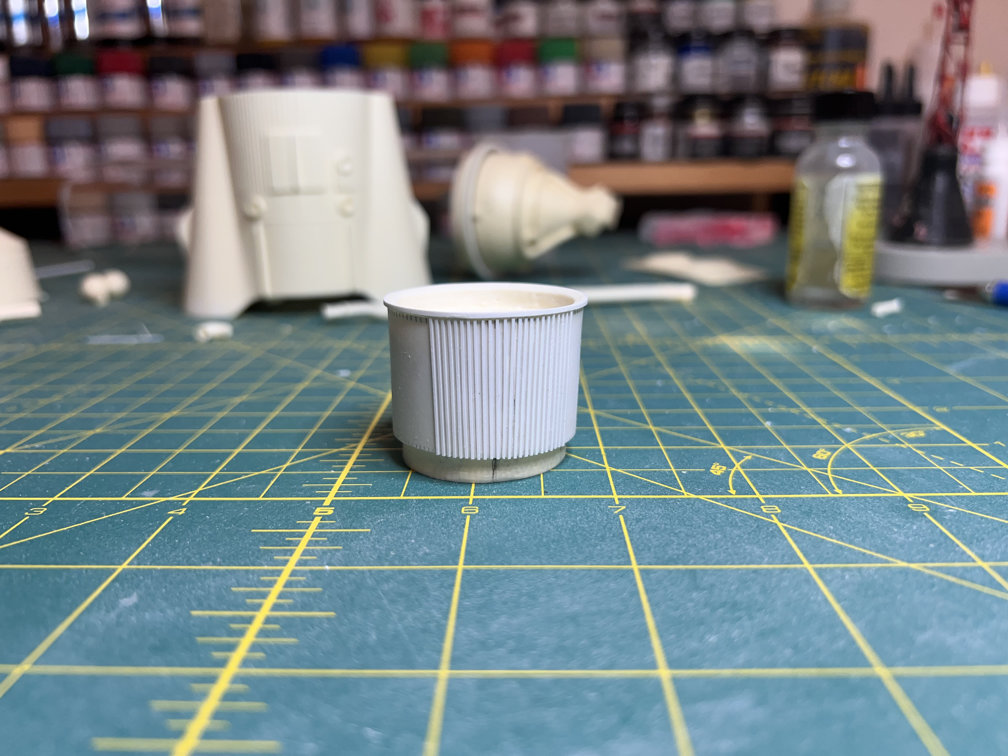
The photo below shows the nearly completed adapter. The last five stringers will be placed after I get the oxygen vent shroud fabricated. I started that by putting a small 3/32″ ring inside the large ring to finish off the vent. Next, I cut two triangular strips from some 0.010″ sheet styrene.
Next I cut a square of the 0.010″ sheet and glued it to the top of the triangles.

Finally, the remaining five stringers were added above and below the oxygen vent.

That’s it for this week. Not as much progress as I would have liked, but we had to get ready for a neighborhood garage sale which always takes longer than you think. Anyway, thanks for looking in. To get notifications of new posts, just use the subscribe button at the bottom of the page.

2 thoughts on “1/48 Wings Atlas D Update 2”