

The above photo shows the main body of the Atlas glued to the conical forward section. I used thin CA to be sure the glue covered all the bonding surfaces of the resin conical section. You can see where some of the CA flowed into the acrylic main tube. That should provide a strong bond with the resin.
After the CA set I applied putty around the join area to fill the seam line and build up any low spots. The white areas around the adapter are the Tamiya white putty that I used.
Next I added extensions to the equipment pods. They were both too short. I made the extension by using blue painters tape around the end. I used the final raised line on the resin section to get the tape even around the part. I then shaped the tape as best I could. The hardest part was the sharp corners where the sides of the equipment pods meet the main body. I made a mark with a black marker on the outside of the tape so I would know when to stop pouring the 30 minute epoxy into the tape form. I placed the nose of each equipment pod into a piece of clay to keep it vertical while the epoxy set. I let them cure overnight and then removed the tape.
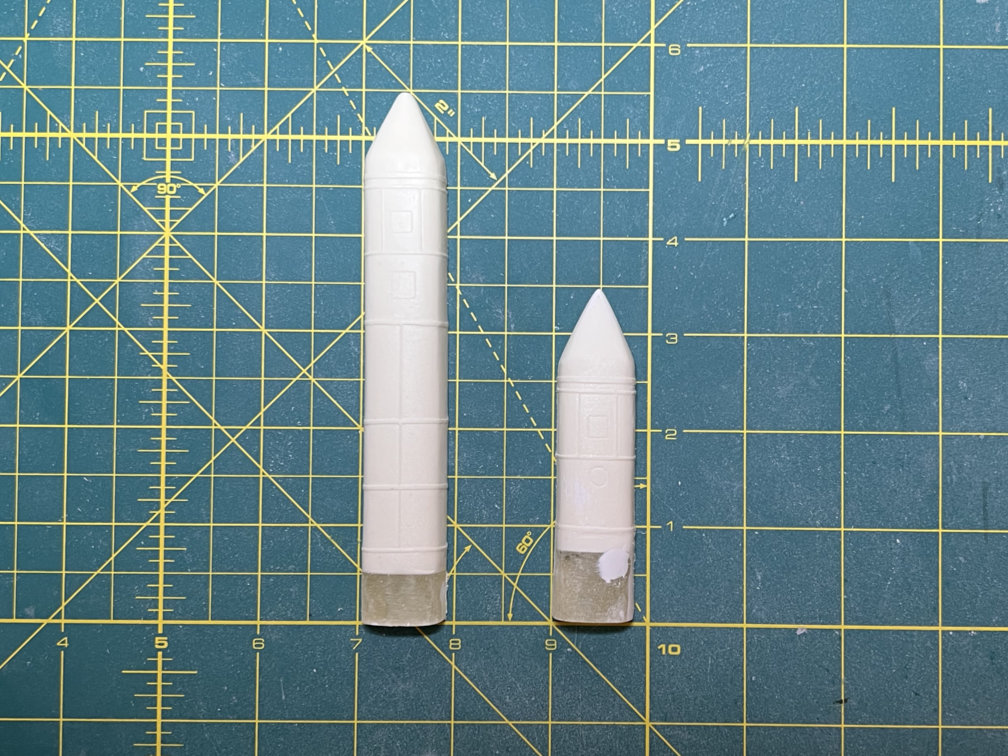
The photo also shows where I have started applying putty to fill in low spots and correct some of the shape of the cured epoxy. There will definitely be more putty used here. Also note that I added putty to the nose of the short pod. It needed to have a sharper tip. The tip of the long one doesn’t need to be sharp since an oxygen pressurization line will run from the tip to the top of the conical section.
The long pod will also have a 3/8″ long smaller diameter section added to the end. I think I’ll do that with some 0.040″ and 0.010″ sheet styrene. I’ll make patterns based on the drawings and then assemble the bits and glue it to the end of the pod.
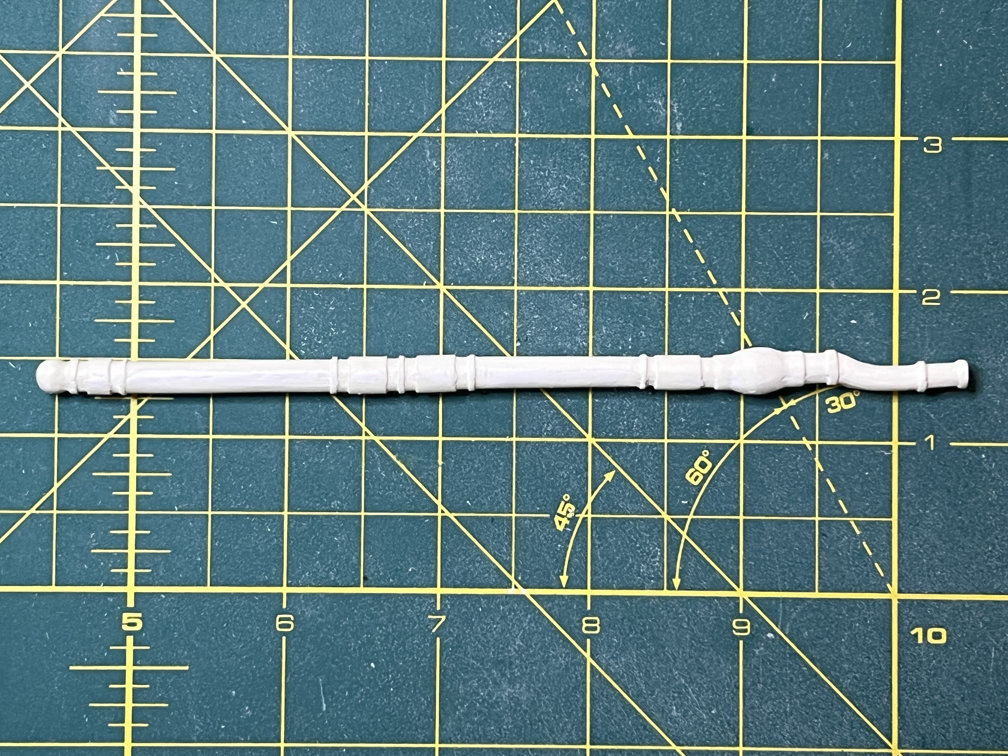
I finally got the curve out of the oxygen feed line. I then started doing some smoothing and filling. I think there will be some more corrections coming for this part.
That’s all that happened this week. It’s been hard finding time but I’m still determined to get this kit done. It’s actually kind of fun fixing some of these flaws. I also think, at least in my case, that it’s better than scratch building the whole thing. If I had to do that, it just wouldn’t happen. It seems that I need a starting point and these old kits provide at least that.
Thanks for looking. Consider subscribing if you haven’t already.
More to come.

2 thoughts on “1/48 Wings Atlas D Update 6”