

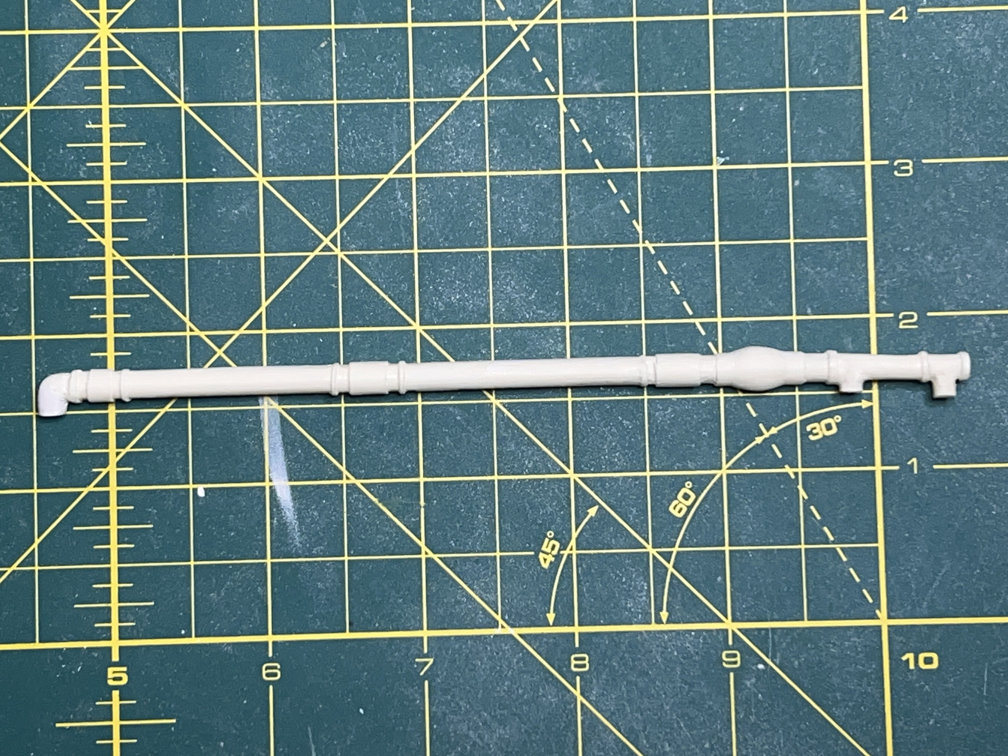
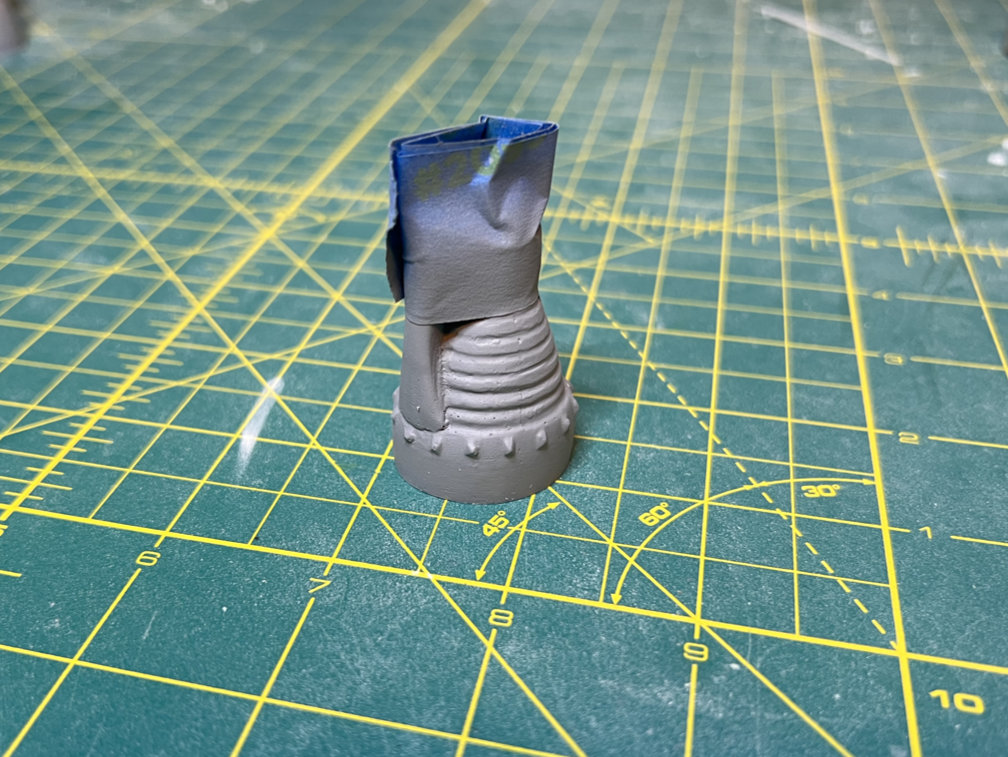
Work continued on the oxygen feed line. The top of the feed line that connects to the oxygen tank portion of the body was just a ball with a small cylinder that attaches to the body. That was definitely not what the part should look like. It needed to just be an elbow. So, to that end, I sanded the ball into a rough elbow shape and then added some Tamiya white putty to finish off the shape. The above photo shows a view 90 degrees from the tank.
The below photo shows the part from the side. You can see the elbow shape better. You might also notice that some of the details on the feed line have been removed. I won’t be scratch building all the details of the feed line but I did want to remove parts that just weren’t there. You can compare this view to the view on the previous post to see what was removed. Obviously more work is needed, but I think I’ll spray it with some primer to better see the condition of the part.
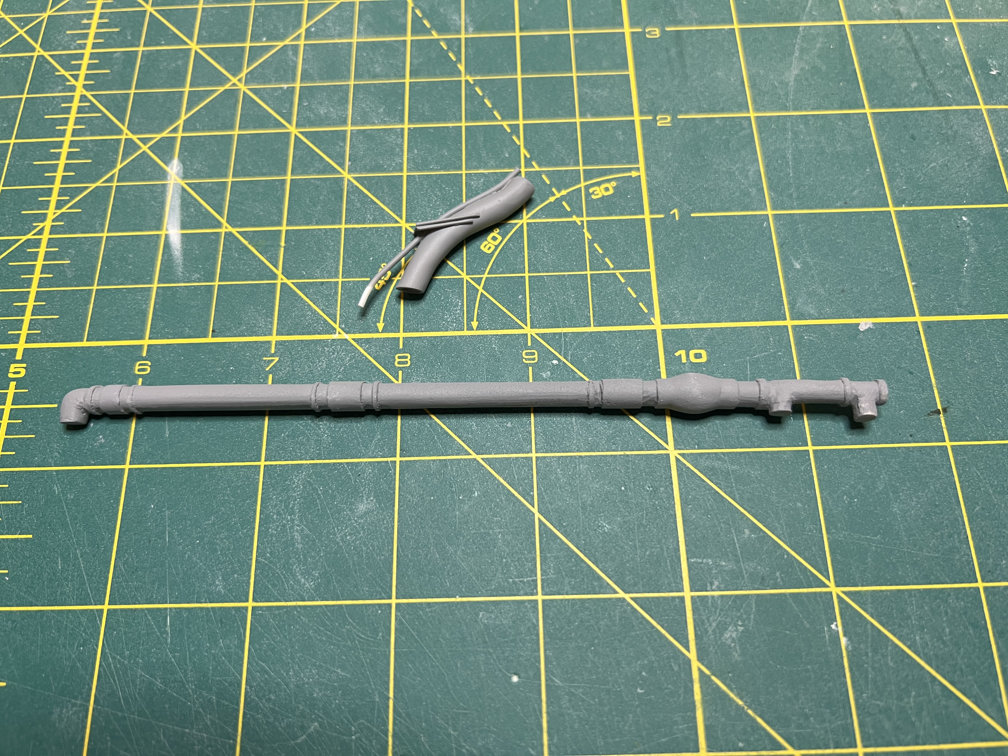
I primed the oxygen feed line, turbopump exhaust, capsule adapter, engine nozzles, and skirt. The oxygen feed line looks better than I thought it would but the primer does show up some areas that need more work. The turbopump exhaust came out looking pretty good.
The capsule adapter looks good with the primer on.
The booster nozzles still don’t look all that great. I’m still deciding what I’ll do about them.
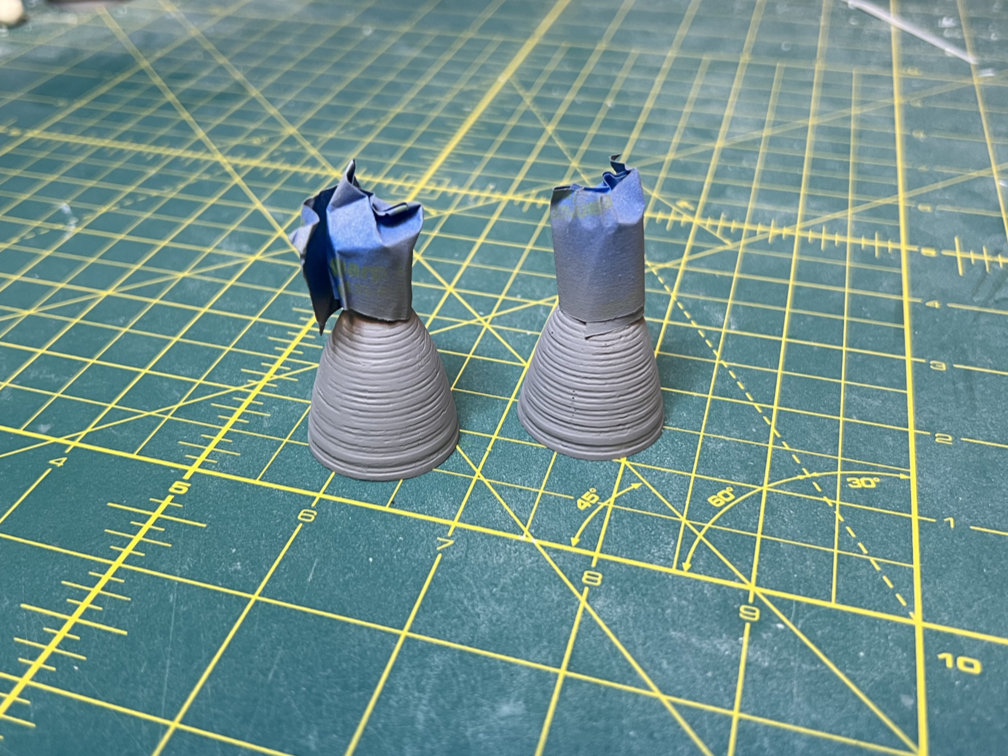
The sustainer nozzle details that I tried to repair came out relatively well. The body of the nozzle is not too accurate though.
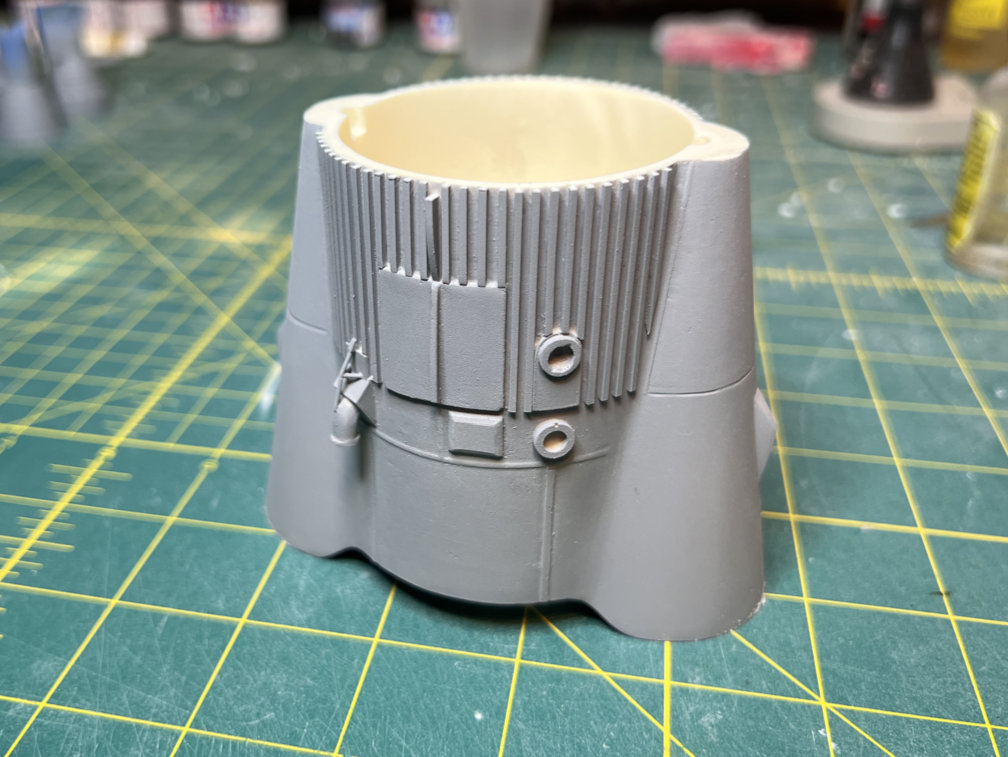
After priming the skirt I’m happy with it so far. You can see that a small curved part above the flat square between the middle stringers was added. I don’t know just what it is but it’s there now.
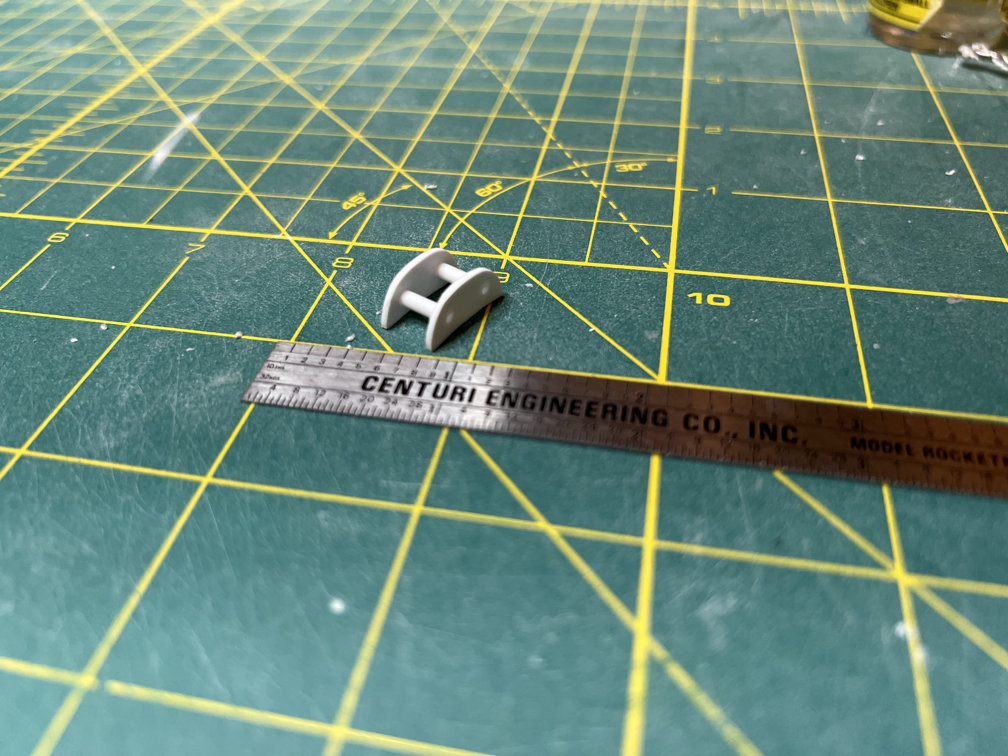
I started working on the small extension to the long equipment pod. I began by taking some 0.040″ sheet and cutting a couple of shapes that matched the contour shown on the Weeks’ drawing. I then attached the two with two sections of 3/32″ tube.
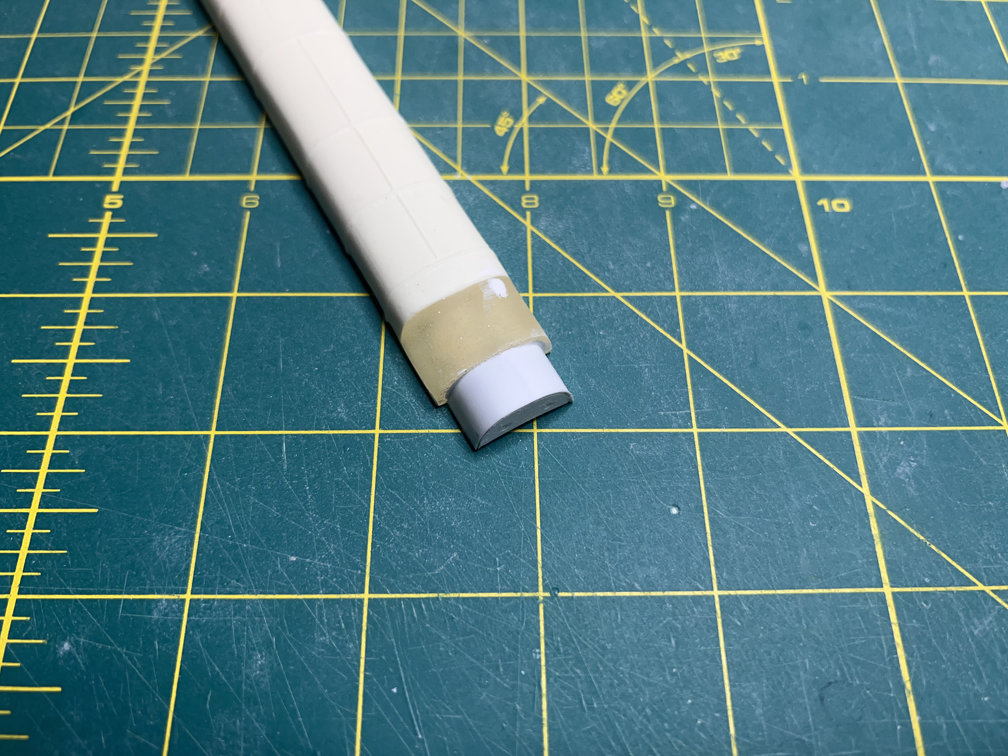
I skinned the outward facing side of the part with some 0.010″ sheet stock and added a second layer on top of that. I didn’t have any 0.020″ sheet on hand so doubling up the 0.010″ worked out fine. I used Plasti-Zap CA to glue the extension to the bottom of the long pod.
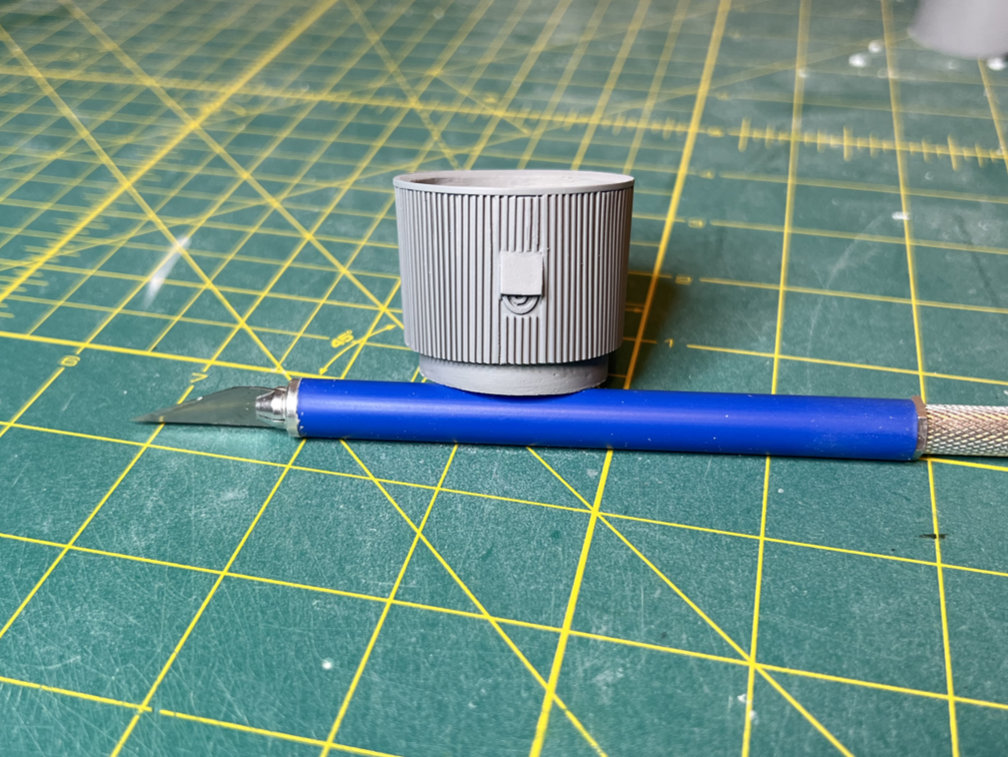
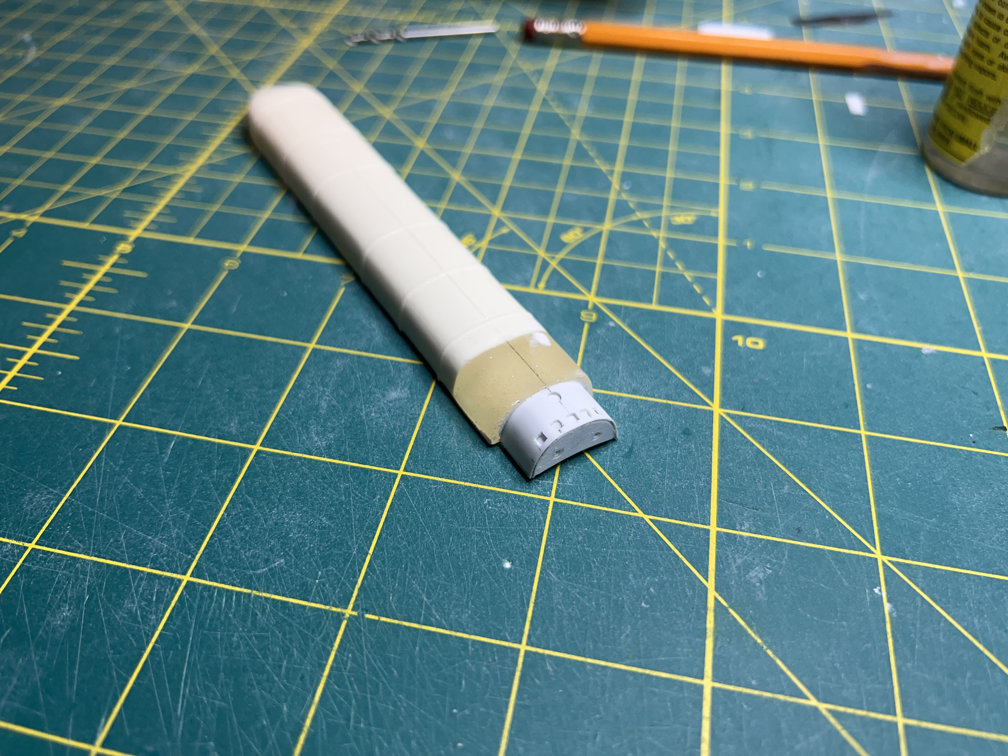
There are a couple of details that needed to be added to the extension. First was a small round port near the top of the extension. I drilled a 3/32″ hole in the proper place and then glued a small square of 0.010″ sheet behind the hole. There are five square ports at the bottom of the extension. To do those I drilled 1/16″ holes and used my X-acto knife to square them up.
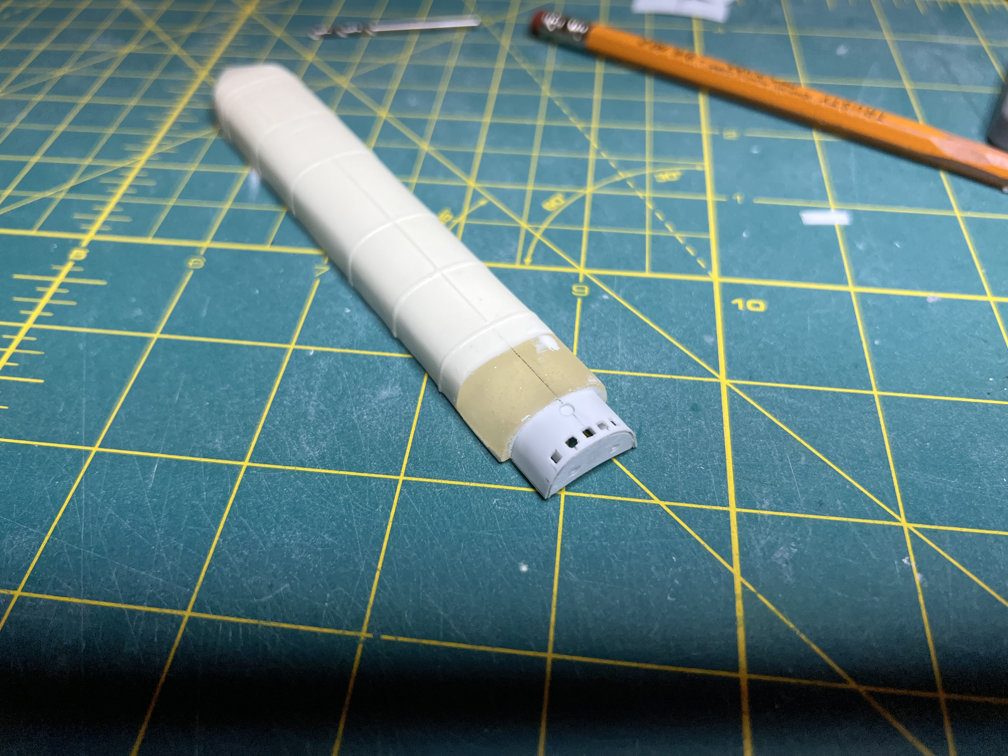
I used some more 0.010″ sheet behind the holes to finish them off.
I’m thinking about sanding off all the raised detail on the pods and replacing it with more accurate recessed lines. It’s always details, details, details. You could go on forever adding details if you have enough documentation. This project isn’t going for 100% accuracy, but enough detail so that if you saw a photograph of the real object it would look like it belonged.
That’s it for now. Thanks for looking in. Don’t forget the subscribe button at the bottom.

2 thoughts on “1/48 Wings Atlas D Update 7”