

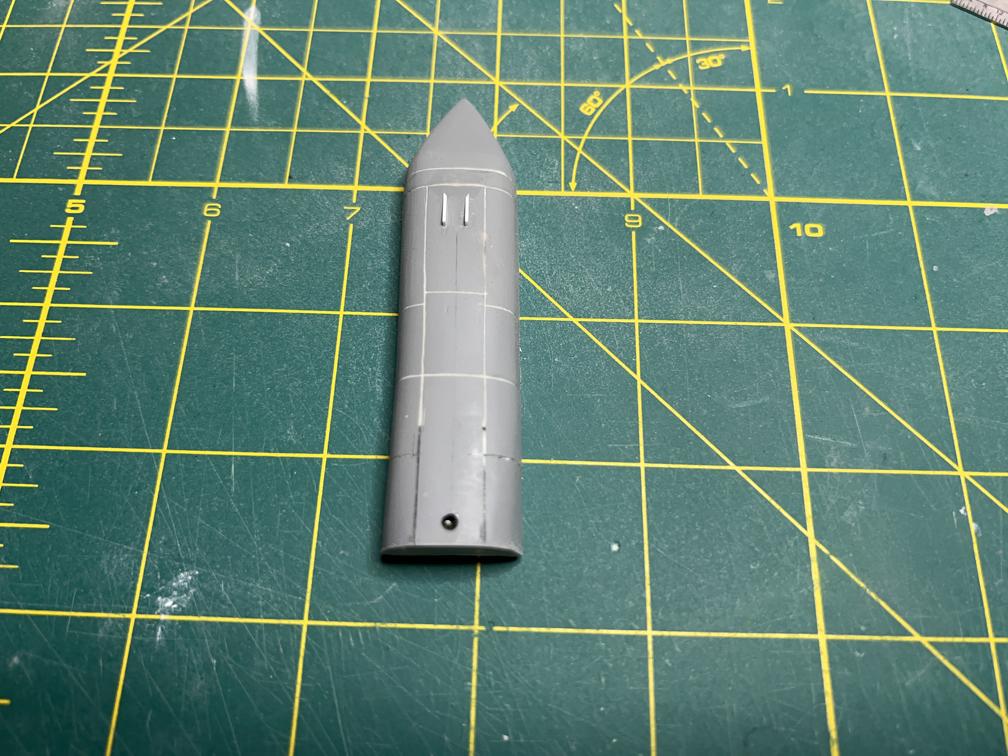
I finally had some time to get back to the model. I’m still working on the equipment pods that are on each side of the booster. I decided that the raised detail included on the pods was too bad to leave in place. I started with the short pod. I sanded off all the details and used filler to smooth out the pod. Then I sprayed on a coat of primer and made pencil marks to guide where I added new recessed panel lines. I also drilled a small hole at the bottom of the pod according to the Weeks drawings.

I also added a couple of small antennas that are on this pod. I used a short section of 0.010 x 0.040 strip stock and cut it on a diagonal to make the two wedge shaped antennas.
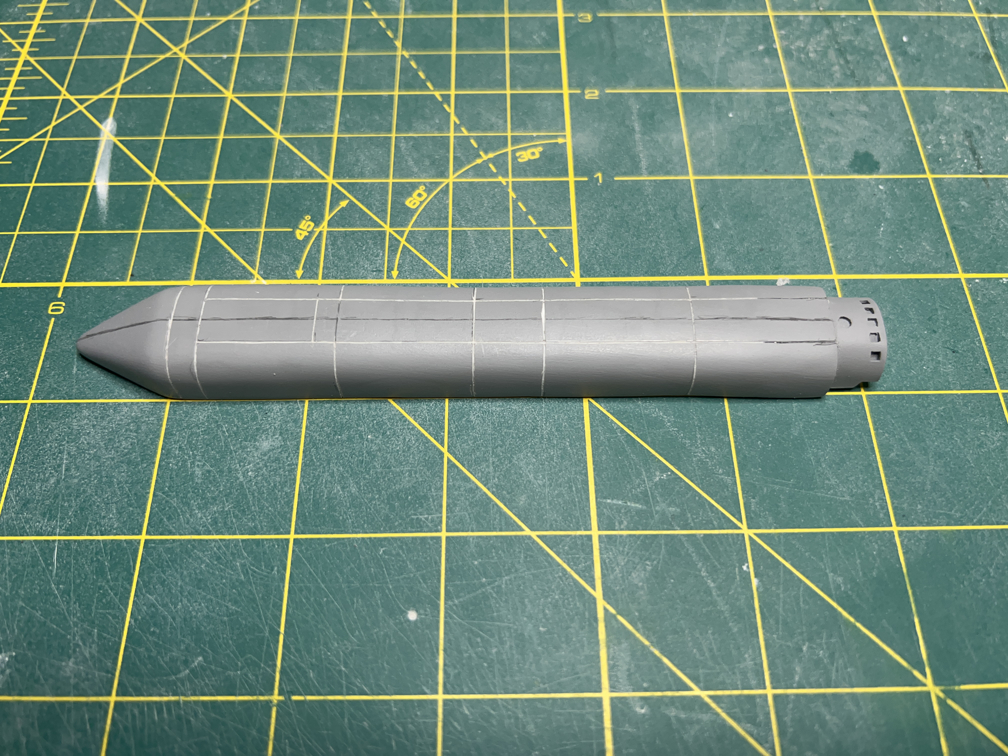
That turned out better than I expected so I moved on to the long pod. I sanded off all the raised details and went through a couple of rounds of filling and sanding until I got a smooth surface. I then sprayed on a coat of primer and drew pencil lines to mark where the recessed panel lines would go. Then again carefully added the recessed lines.
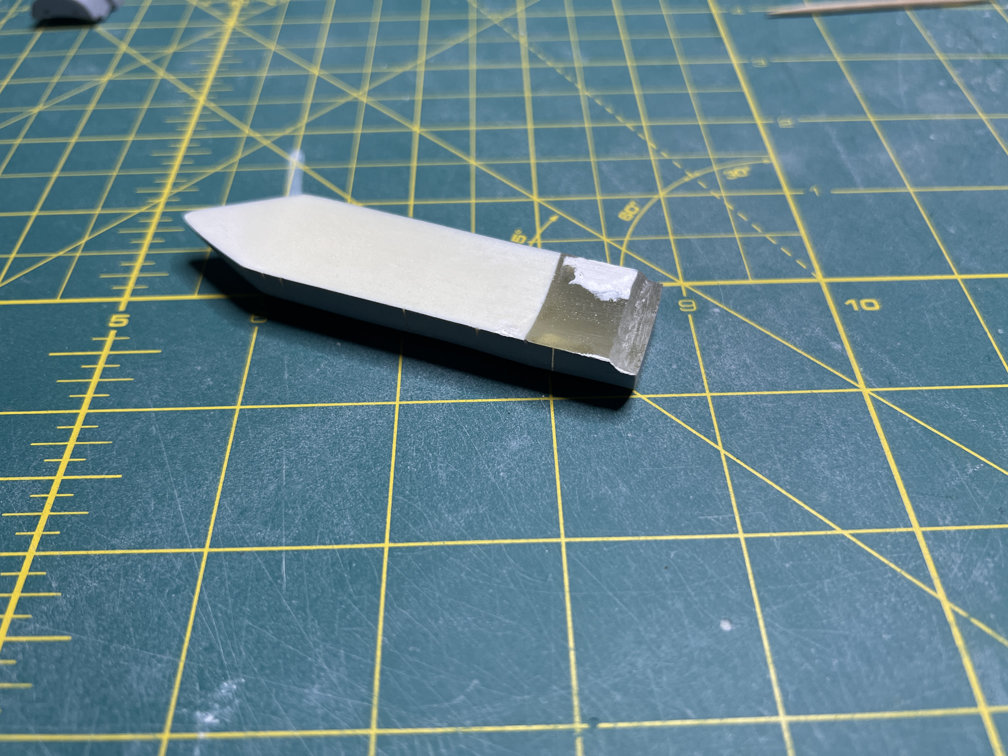
I also added a notch at the end of the pods. This shows the notch on the short pod.
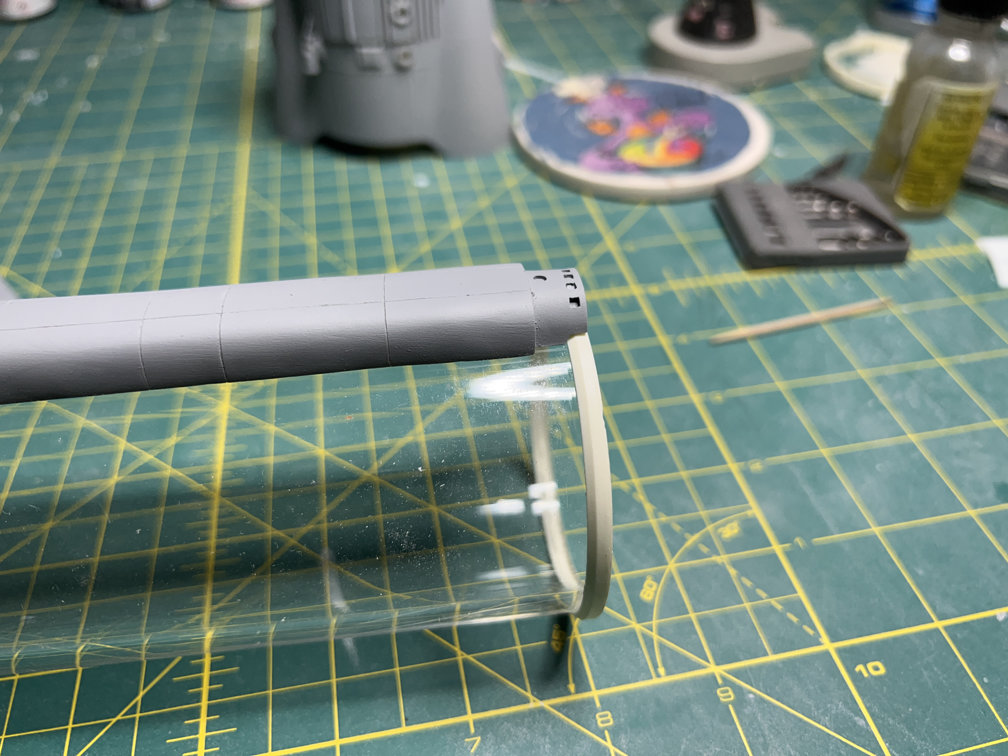
Here is the notch on the long pod in the narrow extension I added earlier.
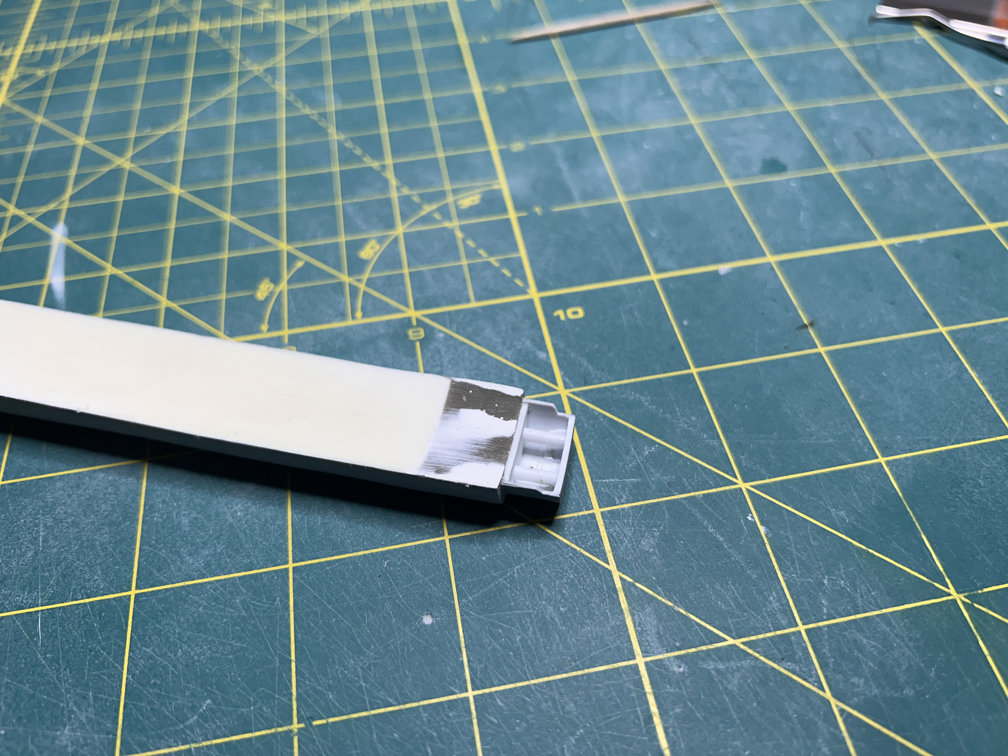
This notch will let the pod extend over the retaining ring at the base of the tube.
The pods are now just about ready to paint. They need a bit more fine sanding to smooth out any scratches created by removing the details. I’ll paint them separately from the body since they have different colored panels from the pure stainless steel that the body will be. Things are getting close to the point where I’m going to have to break out the Alclad II paints and see if I can get a decent look on the main parts.
That’s it for now. Slowly but surely. Thanks for looking.

2 thoughts on “1/48 Wings Atlas D Update 8”