

The above image shows the long equipment pod and the instrument tunnel that I fashioned out of 1/8″ x 1/16″ styrene strip. I rounded the corners of the top and then sanded the tip of the equipment pod so that they matched. Here they are just dry fitted to show the attachment.
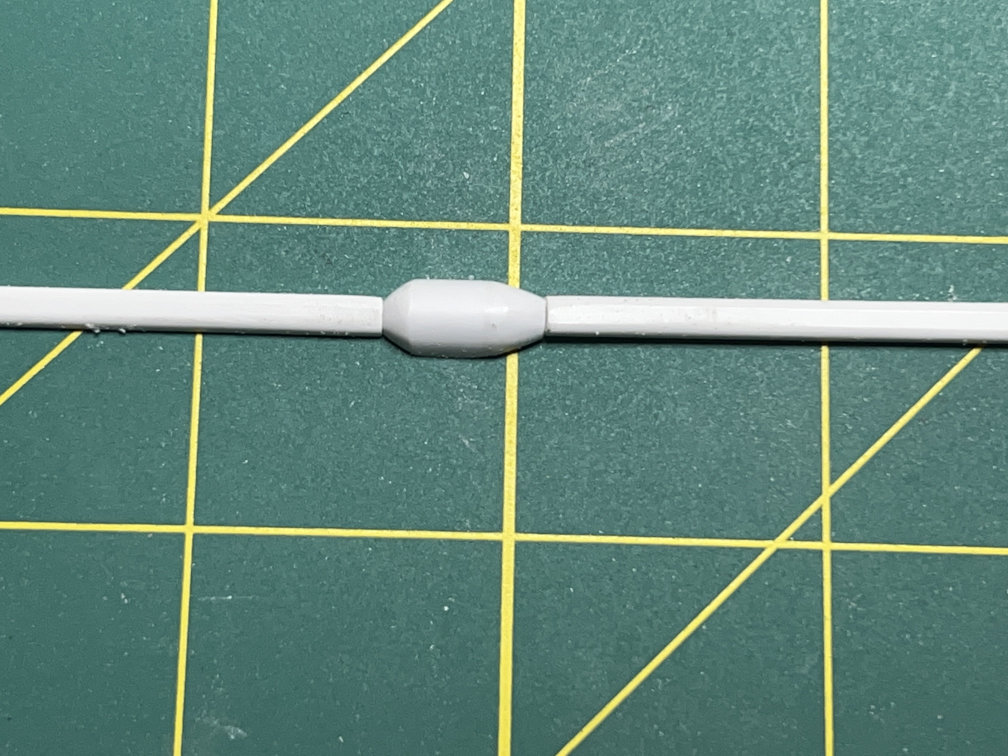
Next I used some 1/4″ half round stock cut 1/2″ long to create a rate gyro housing. I marked where the tapers started and then sanded a taper from the mark to the end to match the instrument tunnel. Here they are just laid next to each other. I also sanded a curve into the back of the rate gyro housing to match the curve of the Atlas body.
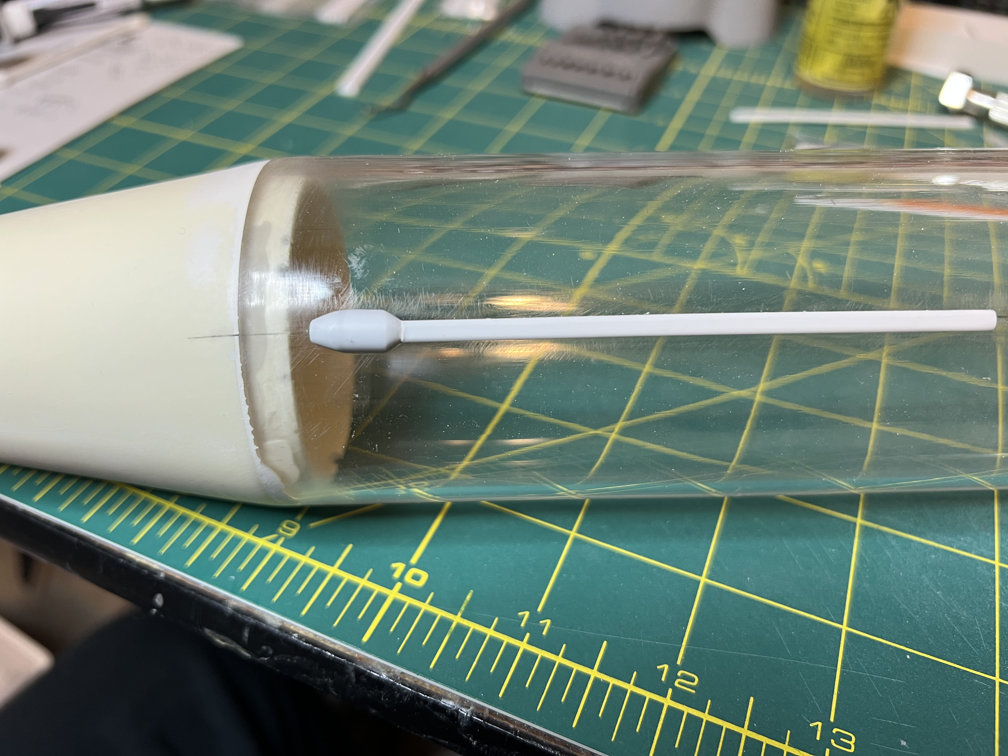
I next drew a line down the side of the acrylic body where the completed assembly will be attached. I placed the equipment pod on the body and taped it in place. Next, I measured and cut the proper length of instrument tunnel and taped it to the body so that one end was touching the tip of the equipment pod. I used Tenax to glue the tunnel to the body. The rate gyro housing was glued to the end of the tunnel. When all that dried I removed the tape and the equipment pod. Here is a photo.
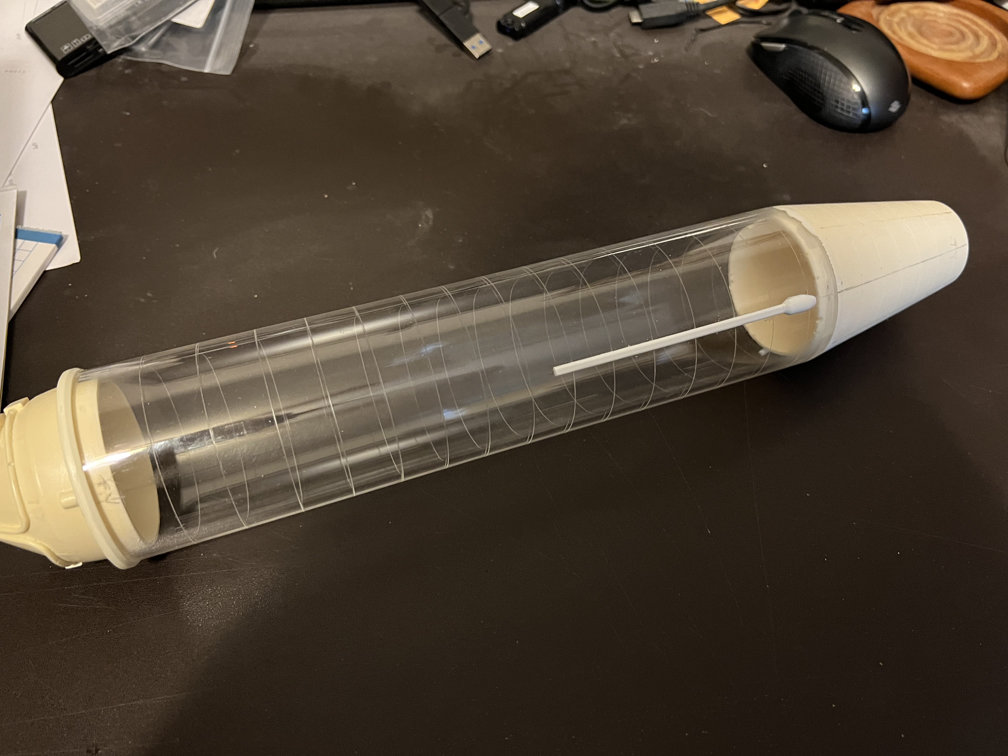
I’d been debating with myself on how to do the stainless steel panels on the Atlas. My painting skills are just not up to snuff to do what I’ve seen in a couple of other builds. So I decided to do what I’ve seen in some smaller scale Atlas models and scribe lines to represent the bands. I measured out the distance between stainless steel bands according to what I see on the Weeks drawing and made small marks. I did this at four places around the acrylic tube. I then used Dymo label maker tape to mark where I need to scribe lines. Here is a pic of the tube after applying the Dymo tape.
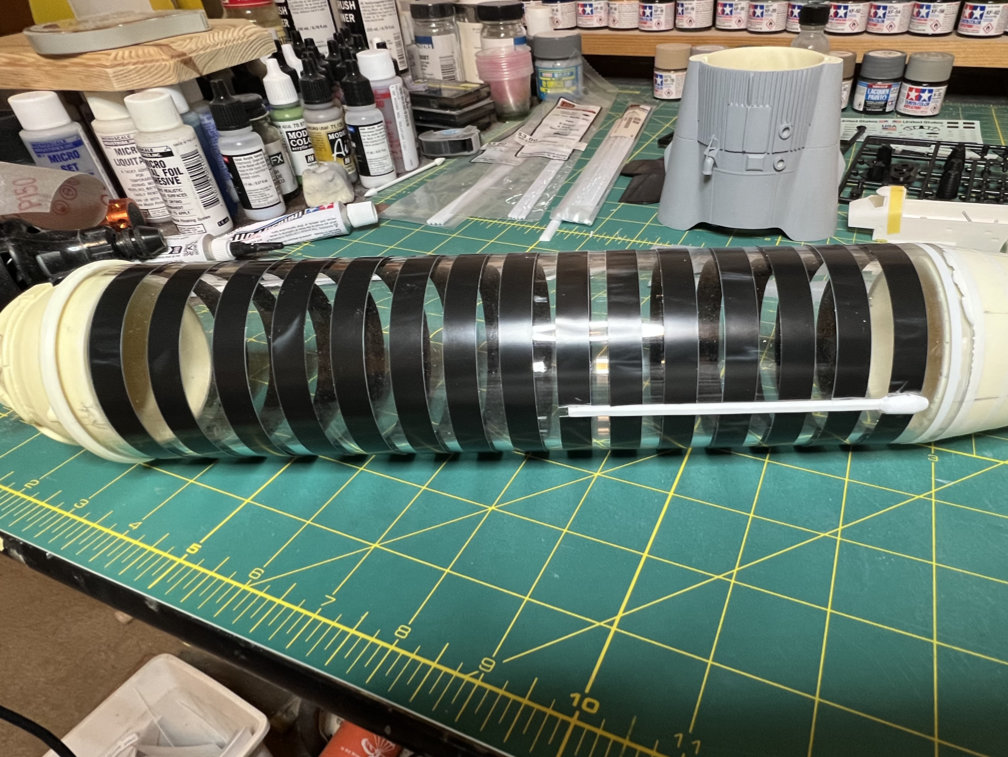
I then regretted attaching the tunnel before scribing the lines. It made marking the tube just a bit more difficult. I’ll be scribing the right side of each tape band. For the tapered cone of the resin section I used Tamiya vinyl flexible tape. That helped me get a more accurate curve on the scribe lines. I also added four additional marking lines to help get the tape to the correct shape. Here’s a photo.
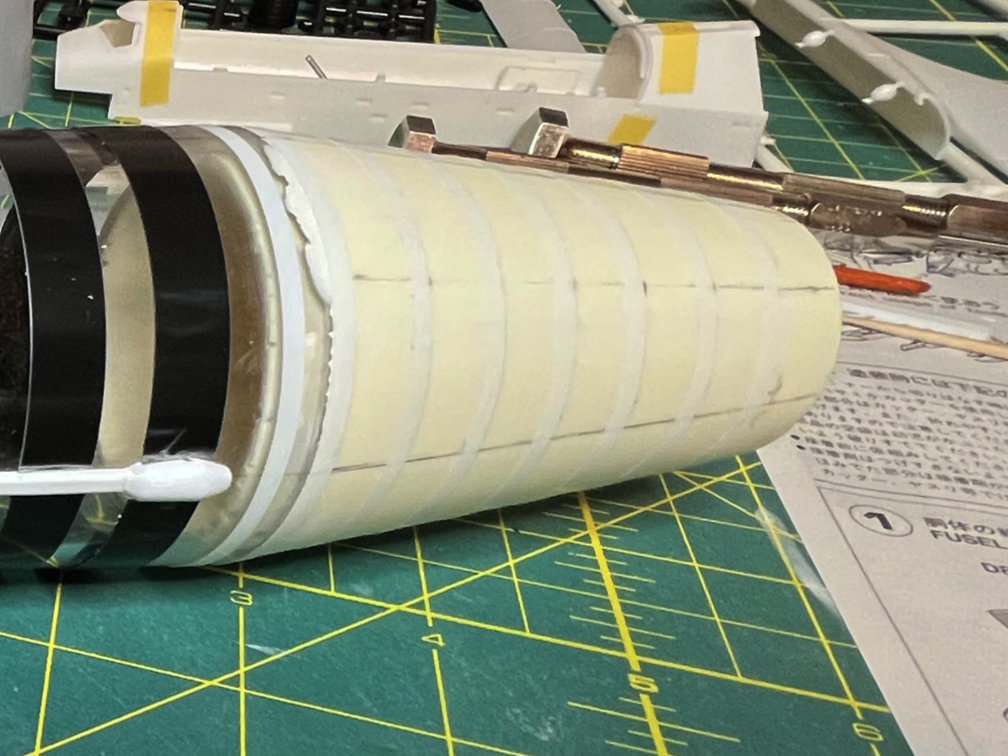
I started scribing with the tapered part. Once again scribing on the right side of each tape line. I tried not to make the scribed lines too deep or wide. I just want hint of where the bands are. Here’s how it came out.
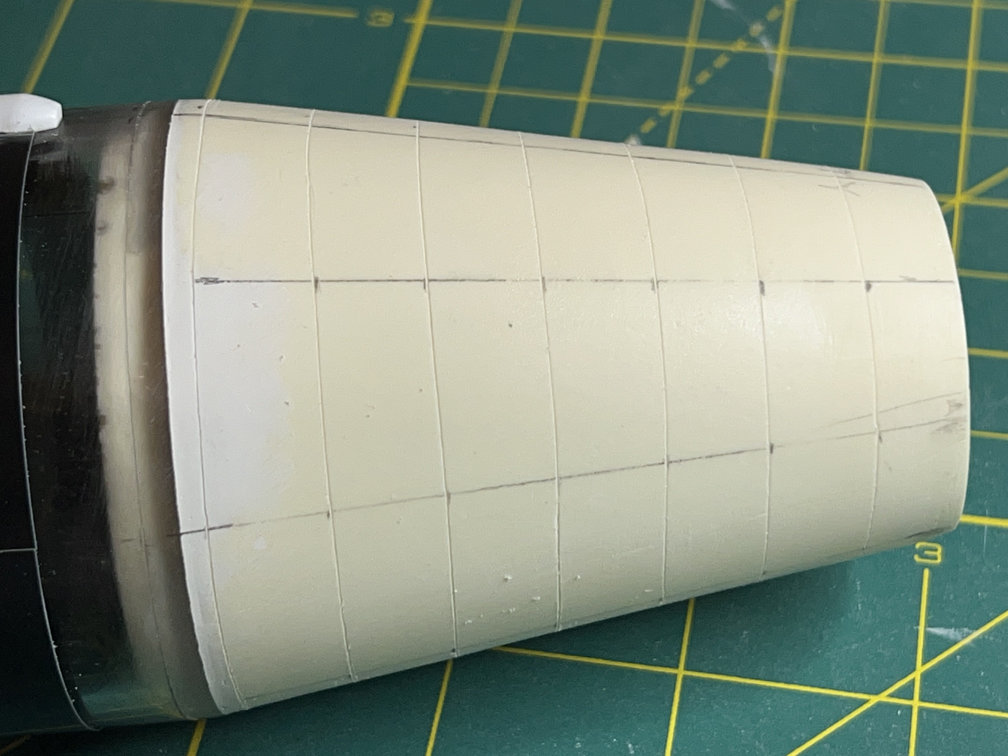
I did the same to the acrylic tube. I’m pretty pleased with both of them.
I then added the remainder of the instrument tunnel. I used Tenax for the portion that was on the acrylic tube and Plasti-Zap CA for the remainder that was on the conical resin part. Here is a photo.

Next I’ll add some more of the details that need to also be painted stainless steel. That’s it for now. Thanks for looking.

2 thoughts on “1/48 Wings Atlas D Update 12”