

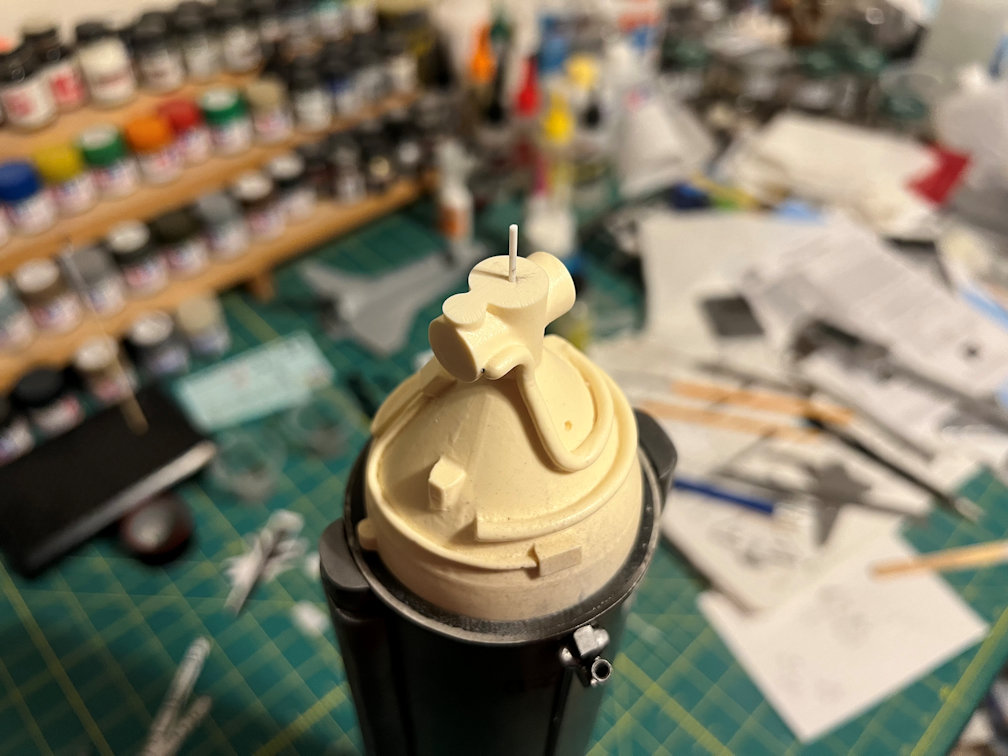
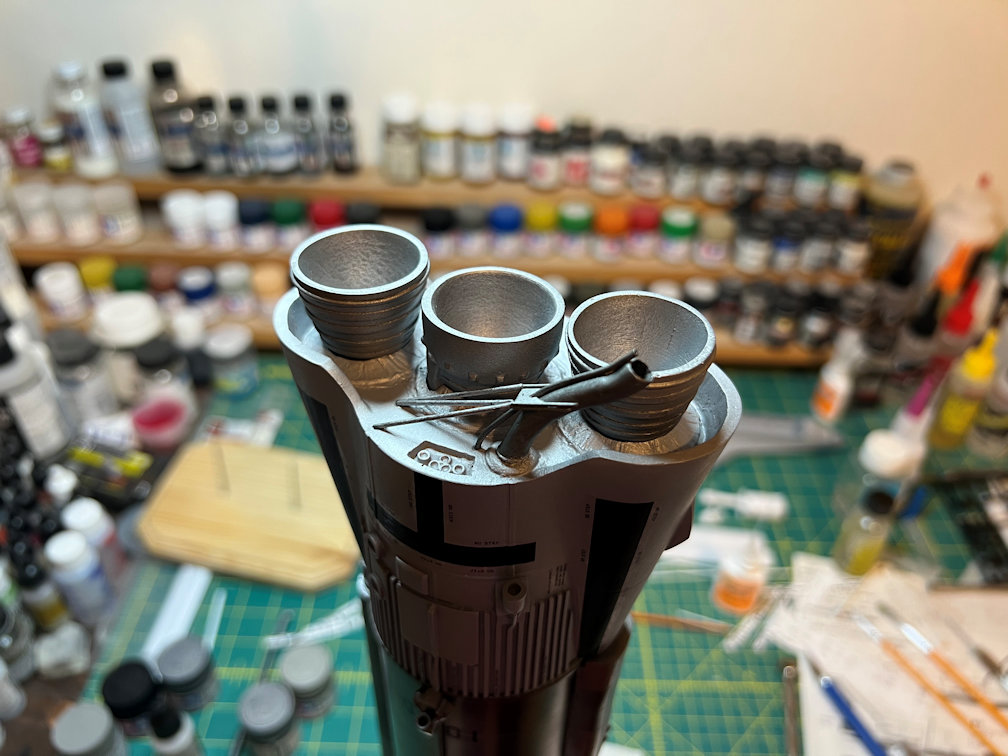
The photo above shows the sustainer nozzle. I’ve drilled a 3/32″ hole in the center. It will mate with a 3/32″ rod that I have glued into the rear bulkhead of the main body of the model. You can see that I’ve also glued the bulkhead into the acrylic main body. I used thin CA to glue that part. Note that the side pods have been attached as well.
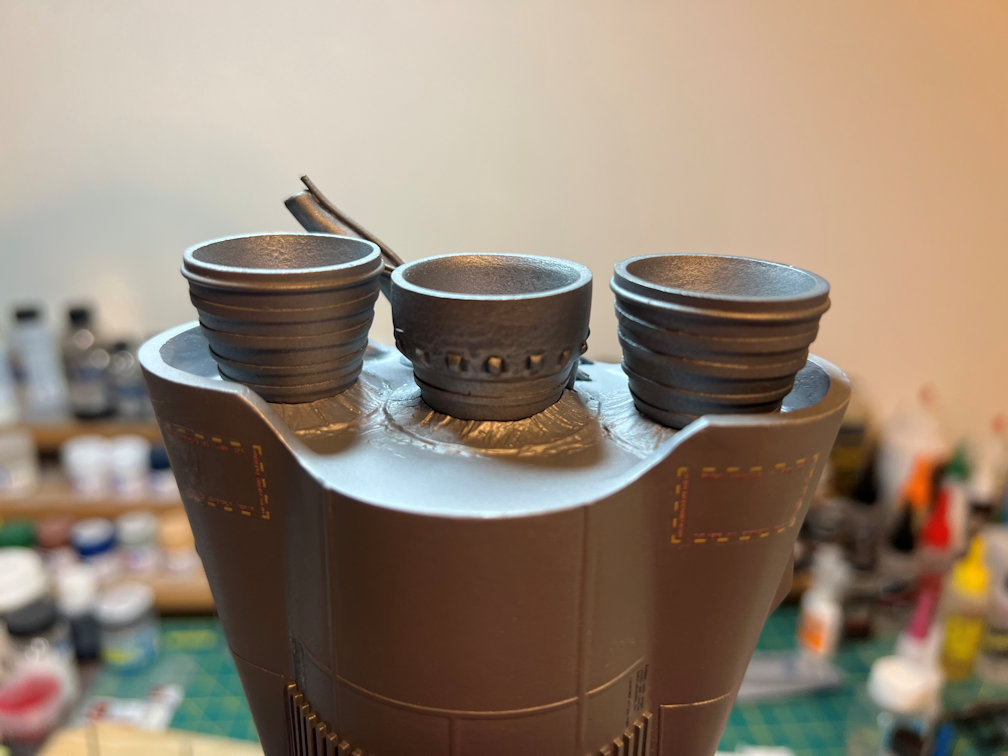
I then mixed up a bit of 5 minute epoxy and put some on the bulkhead side of the join. I carefully put the sustainer nozzle in place. Here are a couple of photos of the nozzle glued into place.
Here is a photo of the model on its side showing the oxygen feed line after it was attached. This also gives a better view of the attached side pods. It will have to rest in this position until I get the base finished. It is resting on a paper towel and a piece of parchment paper. I used parchment paper to avoid anything sticking to the side and possibly pulling off a decal or messing up the paint. Everything is dry to the touch, but better safe than sorry.

The Atlas part of the model is now complete. I’ll attach the capsule adapter when the capsule is finished and I’ve got the umbilical covers made.
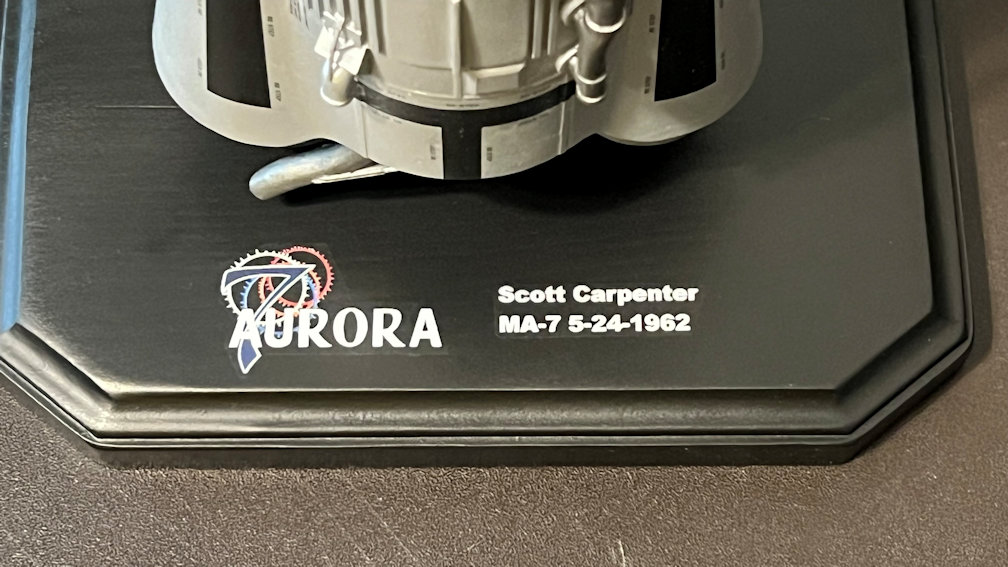
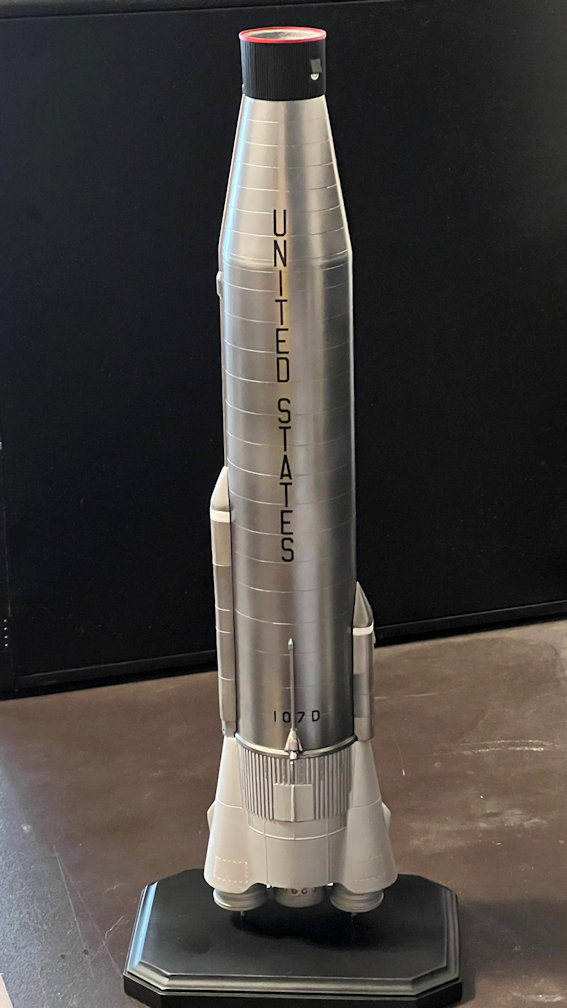
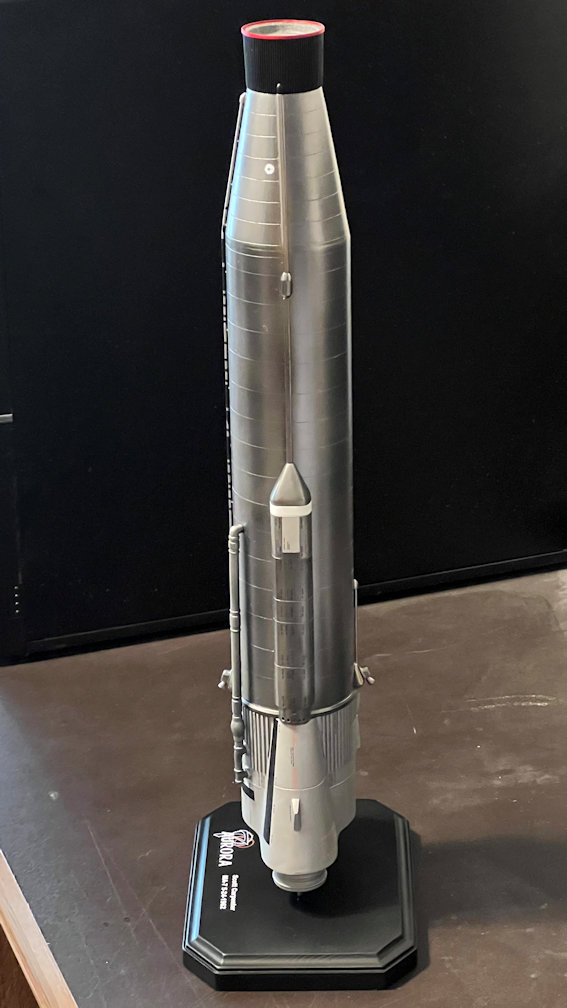
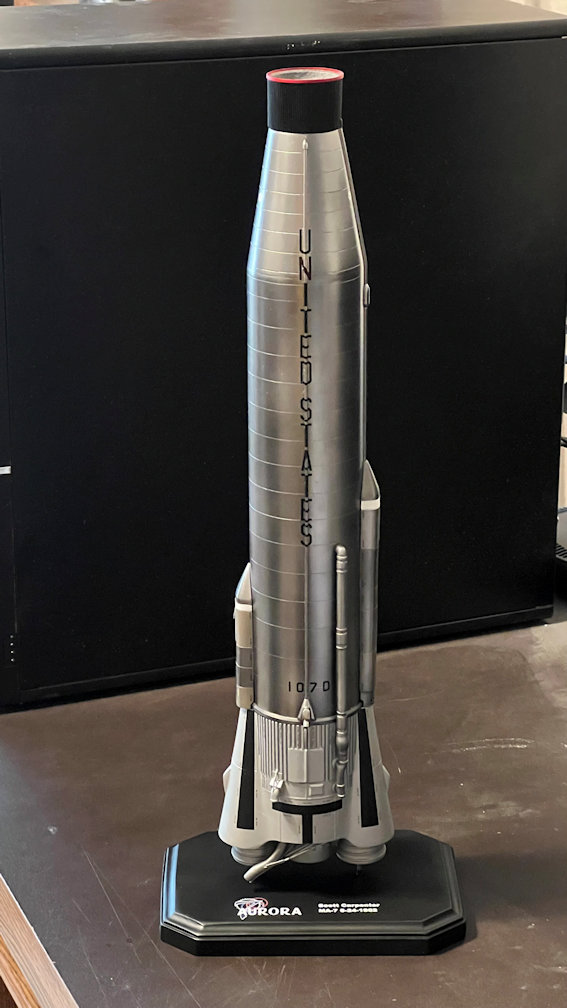
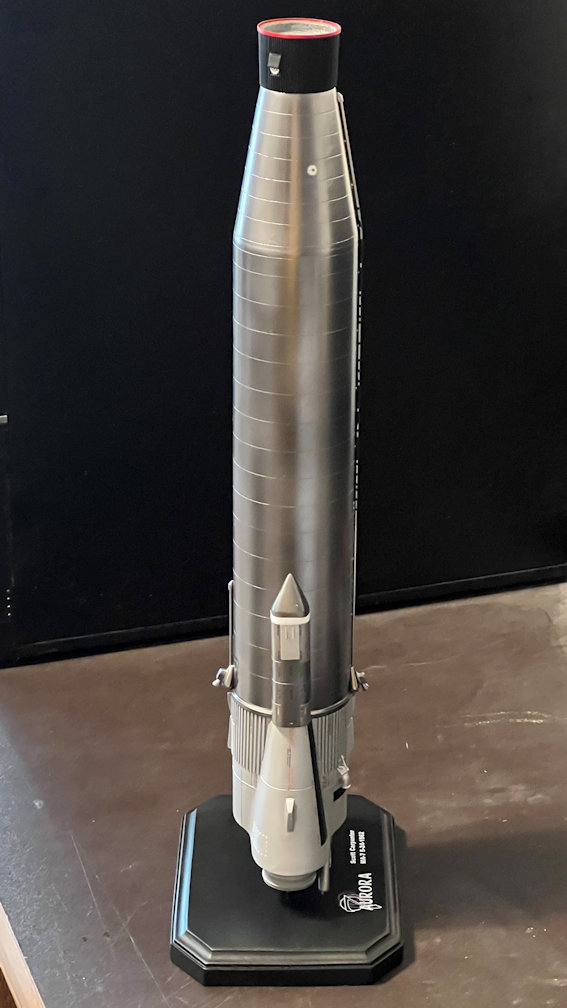
The base is done. Here is a close up of it. I made some decals for the model identification.
Below is a set of photos showing the completed Atlas in four views.
The capsule adapter is only press fit into place. I’ll need to remove it to get the umbilical covers made.
Now on to the Mercury capsule. But I think I’ll spend some time on the shuttle Challenger build first. Thanks for looking.
Back to Update 15

One thought on “1/48 Wings Atlas D Update 16”