

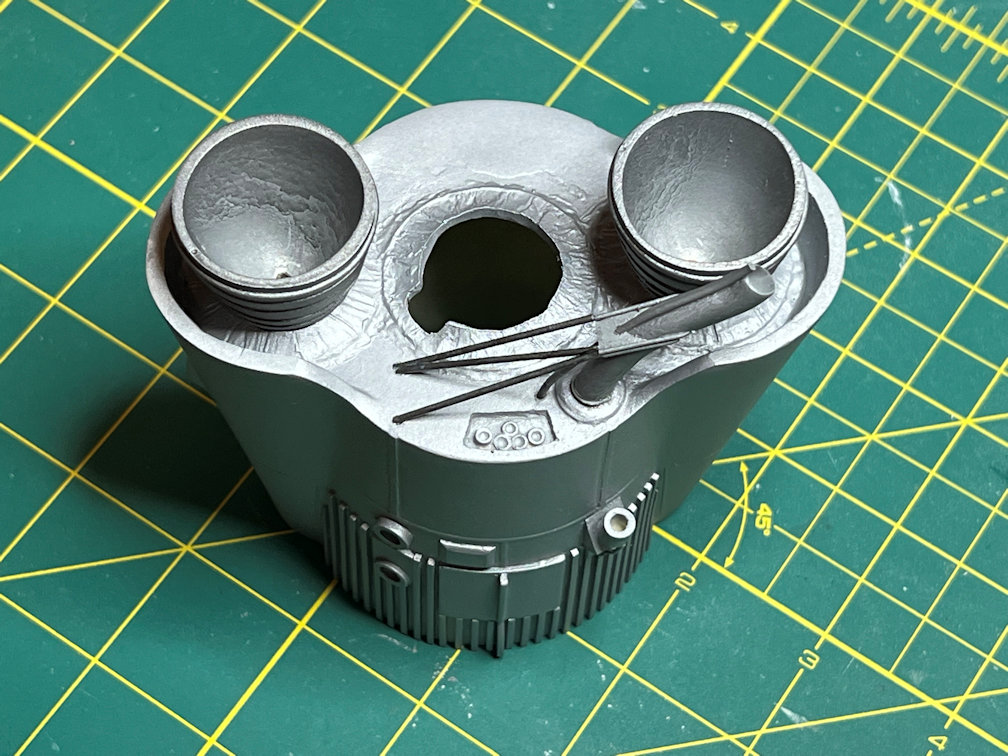
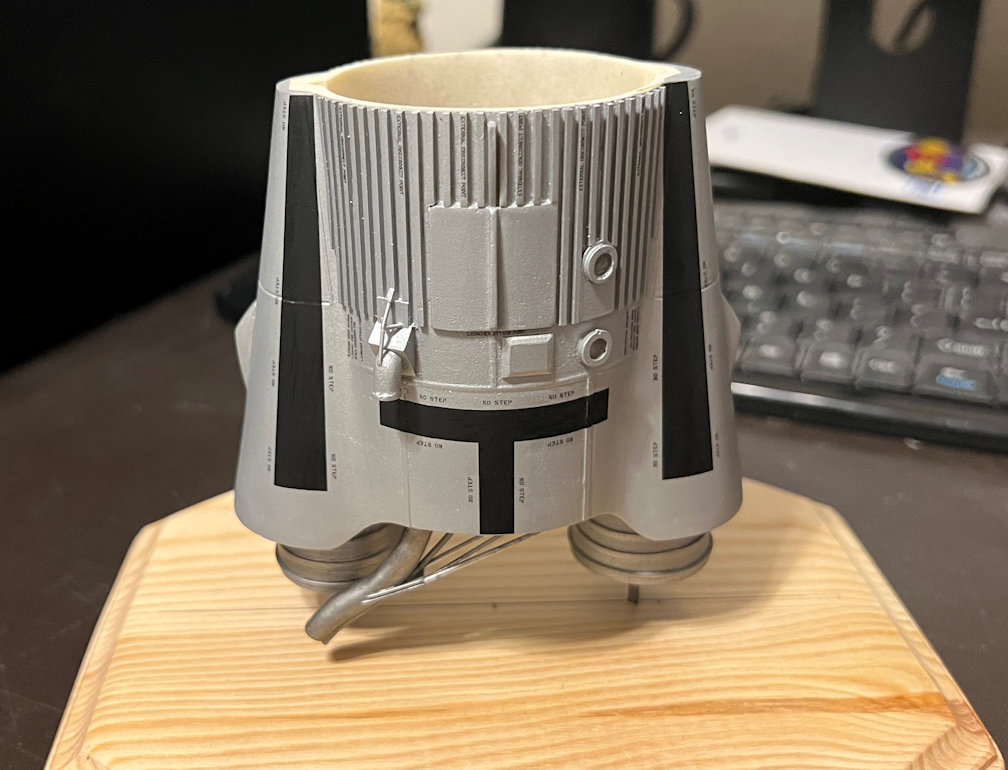
It’s about time I post an update on the Mercury Atlas. Progress has been slow but steady. The above photo shows the booster section of the model. I drilled two holes about 1 1/4 inch deep into the center of each nozzle. This will allow the model to be placed on the base which has two steel rods inserted into the wooden base as you can see below. The camera makes the rods less straight than they are.
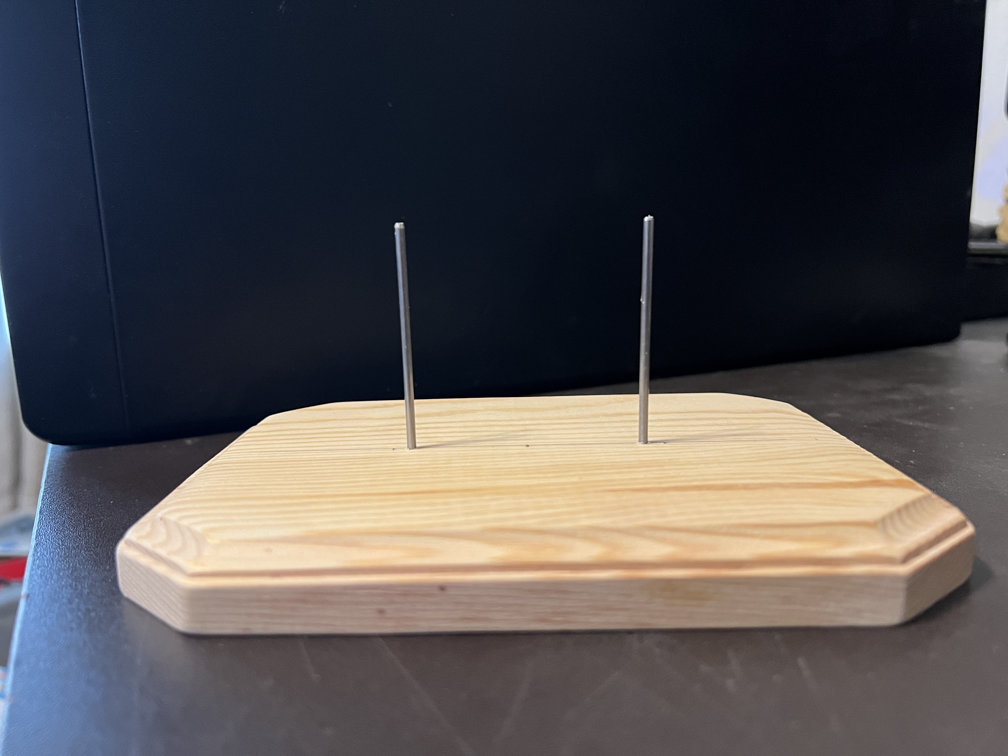
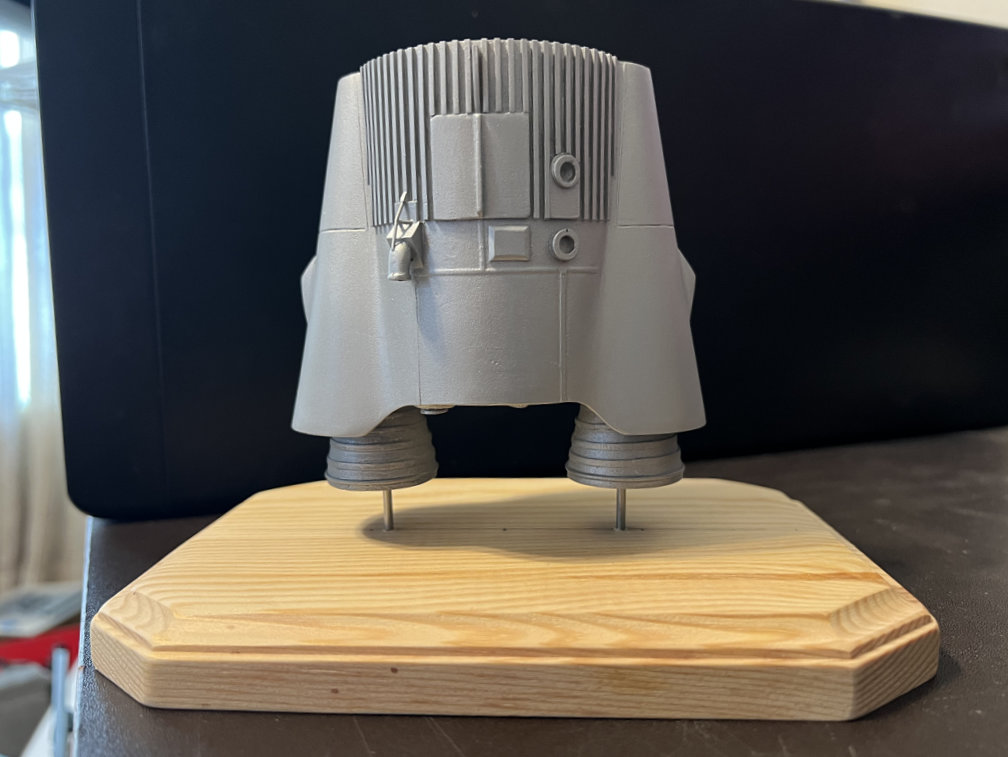
Here is a photo of the booster section attached to the base. The base will be sanded, primed and then painted flat black. The two rods should be strong enough to hold up the weight of the rocket. The model will sway a little bit if it is pushed, but it will remain securely attached to the base.
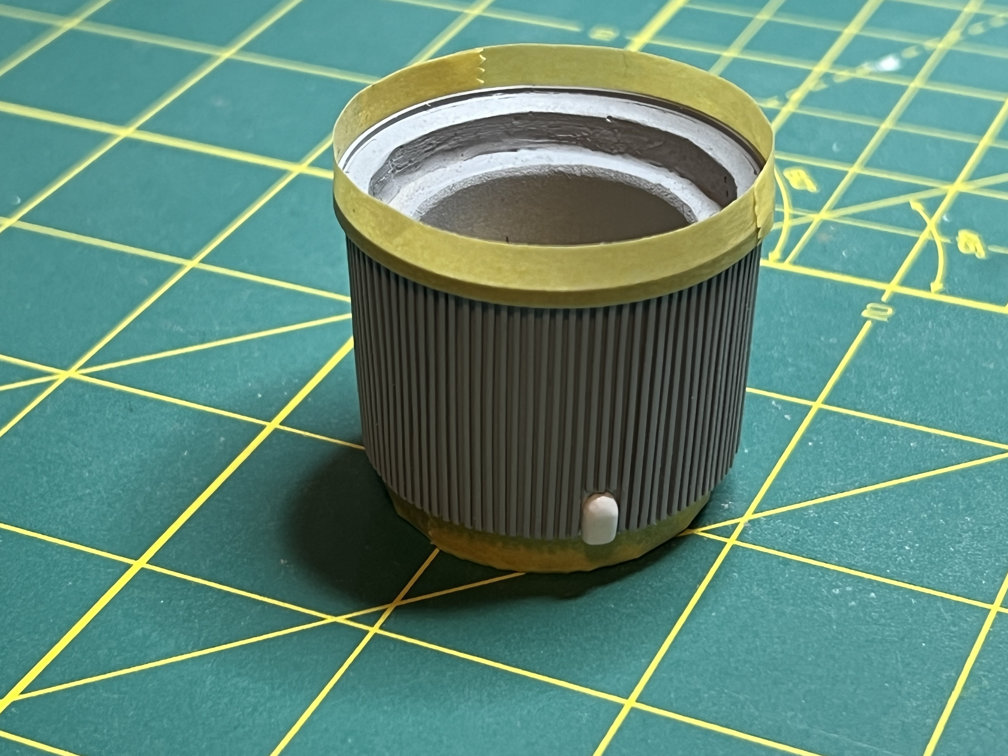
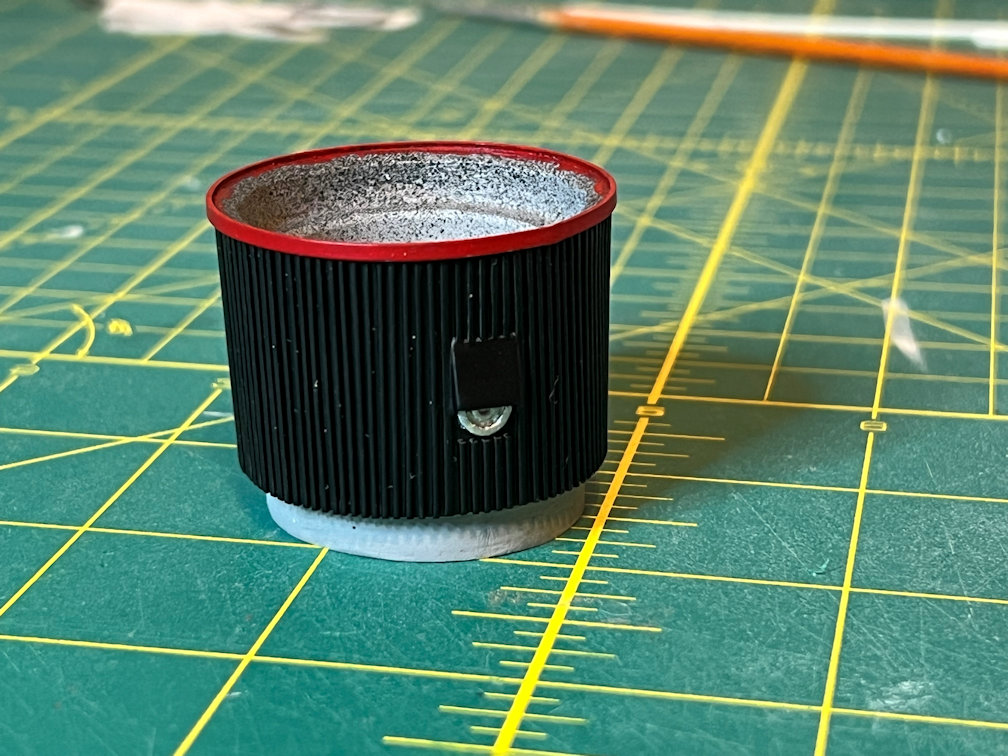
I finished the capsule adapter by cutting part of three stiffeners off to allow the upper part of the tunnel to be added. Here the part has been added and the whole assembly is ready for final primer and then a coat of Tamiya Black to be sprayed on.
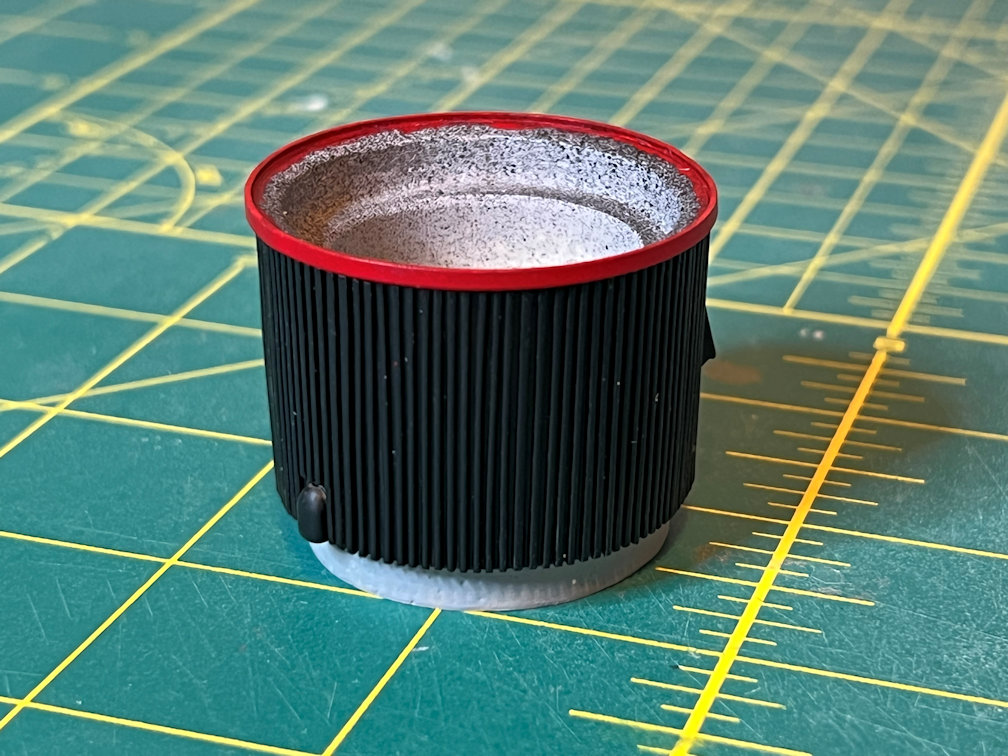
Here are two views of the completed capsule adapter. One shows the top of the tunnel and the other shows the oxygen vent after I painted it with Tamiya Aluminum.
Then I added the turbo pump exhaust. It was attached with epoxy.
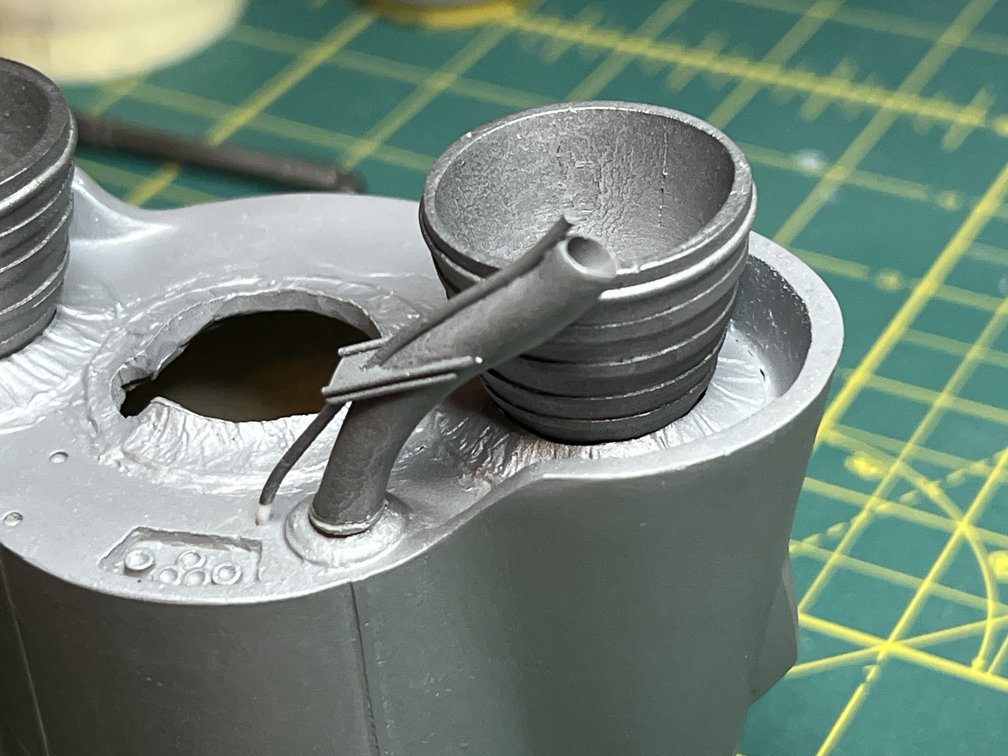
Some 1/16″ plastic rod was added for the framework that braces the turbine exhaust to the base of the rocket. That completes construction of the booster section.
I’ve been spending quite some time drawing the decals for this model. I started by scanning the Horizon 1/72 Mercury Atlas decals at 600dpi. I then enlarged them to 1/48 scale. I loaded that into Affinity Designer 2 and started drawing my decals in layers above the background Horizon decals.
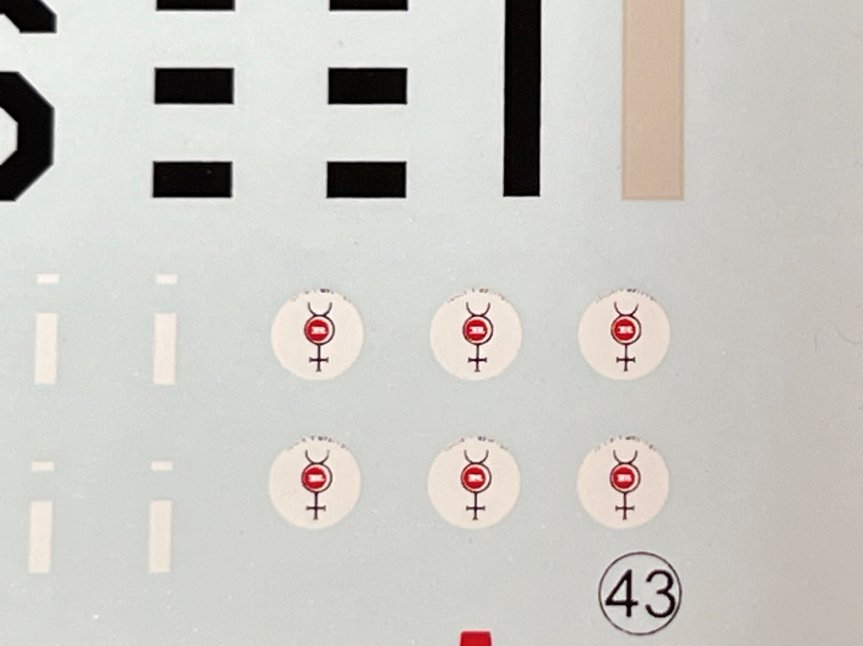
While I was drawing them I noticed a decal on the Horizon sheet I had not seen before. It was a white circle with some design inside. The 1/72 image was too small to fully make out all the features, even when blown up to 1/48 scale. It did look like it was the symbol for Mercury with a red circle inside and something in white inside the red circle. It also looked like there was some text around the edge of the white circle. I needed to find a photo of that marking so I could properly draw it.
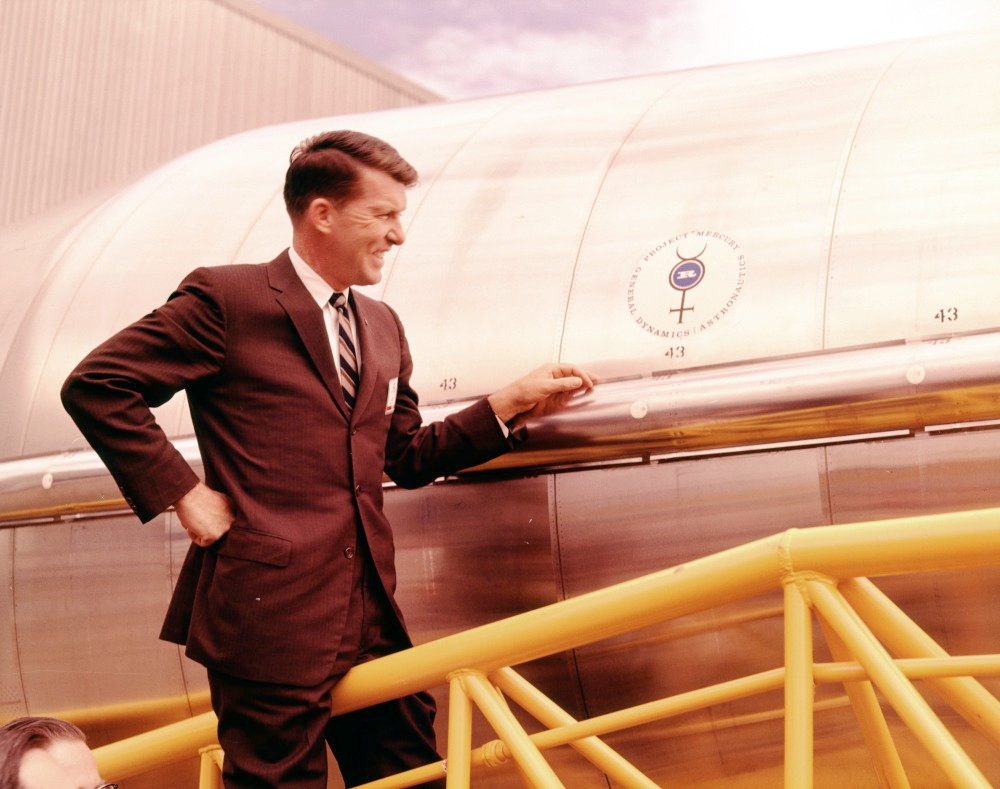
I first looked at all the images I had on hand to see if I missed it when I was looking at them before. I did find a couple of images that appeared to show something resembling this decal, but it too was too small to give any indication as to what it was. I started searching the internet and finally found a color image on collectSPACE messages under “Patches & Pins/Origin of Project Mercury (Mercury 7) logo” that showed Wally Schirra next to the symbol.
The same thread had an image from General Dynamics that showed the symbol in good detail, but in black and white.
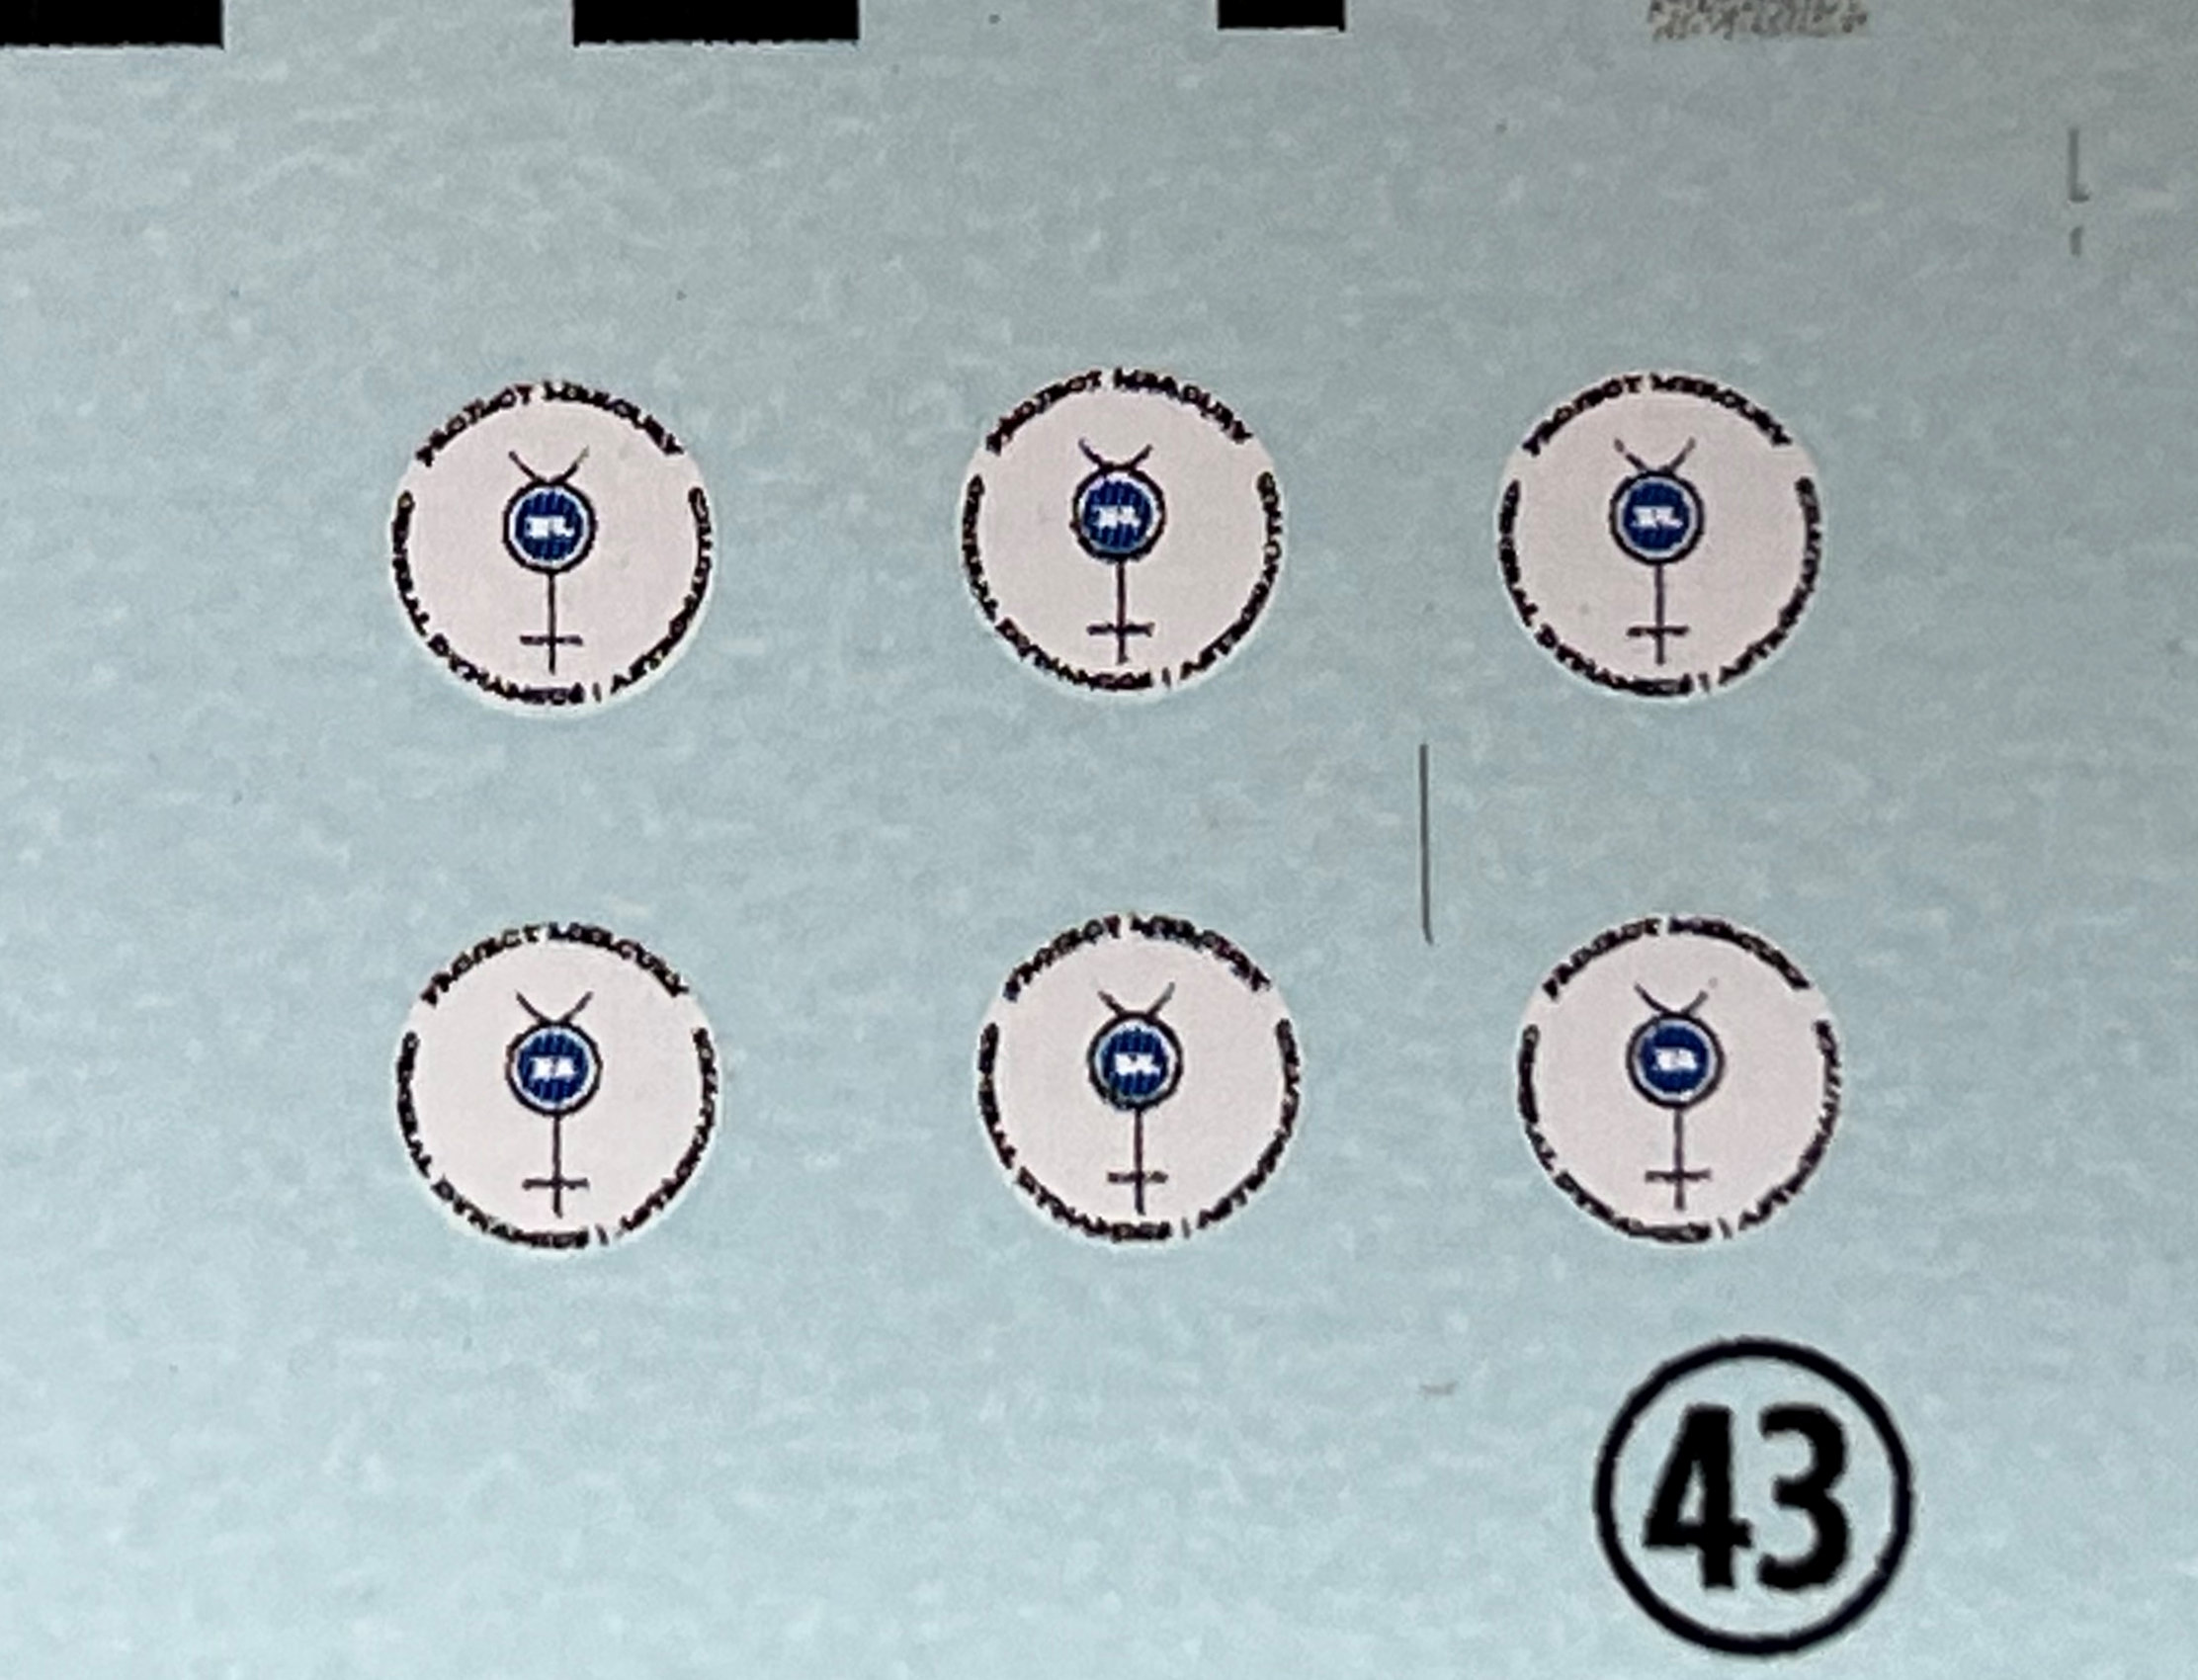
The photo next to Wally shows the inner circle to be blue. The Horizon kit decals have it as red. The General Dynamics B/W photo shows the center to be a capital “R”, I believe for Rockedyne, inside the blue circle. It also shows that the edges of the blue circle are actually a saw-tooth rather than a simple circle. I drew mine with a blue center with the saw-tooth edges and a white “R”. It took a while to find a font that would come close to matching the “R”. Of course, even at 1/48 scale the colored circle doesn’t show the saw-tooth pattern. I drew the original at a much larger scale and then reduced it to the size needed for the decal. The text around the white circle is “PROJECT MERCURY” and “GENERAL DYNAMICS ASTRONAUTICS”. The Horizon decal only had some partial text so I added the correct text. You can see that even at 1/48 scale the details are hard to see. These are tiny circles around a quarter of an inch in size.
And as things normally go, after all that searching, I saw a post on ARC Forums that pointed to a HUGE collection of photos from General Dynamics on Flickr called Atlas Negative Collection. That collection included the photos I found on collectSPACE as well as a ton more. It really is a good source and has photos of lots of other space related stuff.
As far as the positioning and number of those logos on the vehicle, except for one photo of a test flight, I can only find definitive evidence for two being on the vehicle. For two of the manned flights there was one located as shown on the Schirra photo and another positioned similarly on the opposite side. The caption on the Flickr photo indicates that this is vehicle 107-D. Schirra was the back up for MA-7 so the photo with Wally and the logo would be for Carpenter’s flight, MA-7, which is the one I’m modeling.
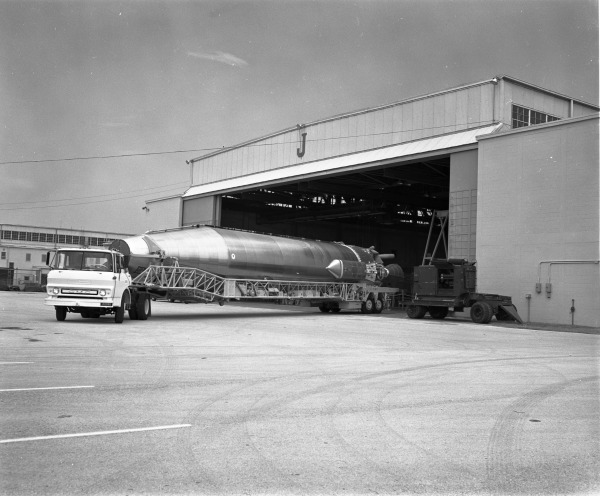
The two that are placed on the conical section of the Atlas rocket seems to be true of at least the first two manned flights. It appears that the last two Mercury flights, MA-8 and MA-9, had them lower down near the top of the cylindrical section. Here are a couple of photos that show the lower position of the logo. The Mercury astronauts had a tradition of the primary and backup astronaut for each flight to sign the logo before flight. Note the MA-9 logo can be seen to have already been signed.

The Horizon decal placement sheet shows where to apply all six decals. They give the correct position for MA-6 and MA-7. They are missing separate placement for MA-8 and MA-9. They show two more logos placed inside the “CUT HERE FOR EMERGENCY RESCUE” boxes on one side of the booster section. Then another two with one on each side of the booster engine fairings just off the center line. I can only find one photo that shows possible additional logos (MA-1 Atlas 50-D) might be there. I’m not saying that Horizon was wrong, just that I haven’t yet found any evidence that they were there.
I went through a lot of the photos on the Atlas Negative Collection and saved quite a few. Another detail that I found was that most of the text on the Atlas was not in a font like Horizon used. It was actually a stencil font. I happened to have a font that was a very close match to the photos so that was used for most of the text as seen in this close up.
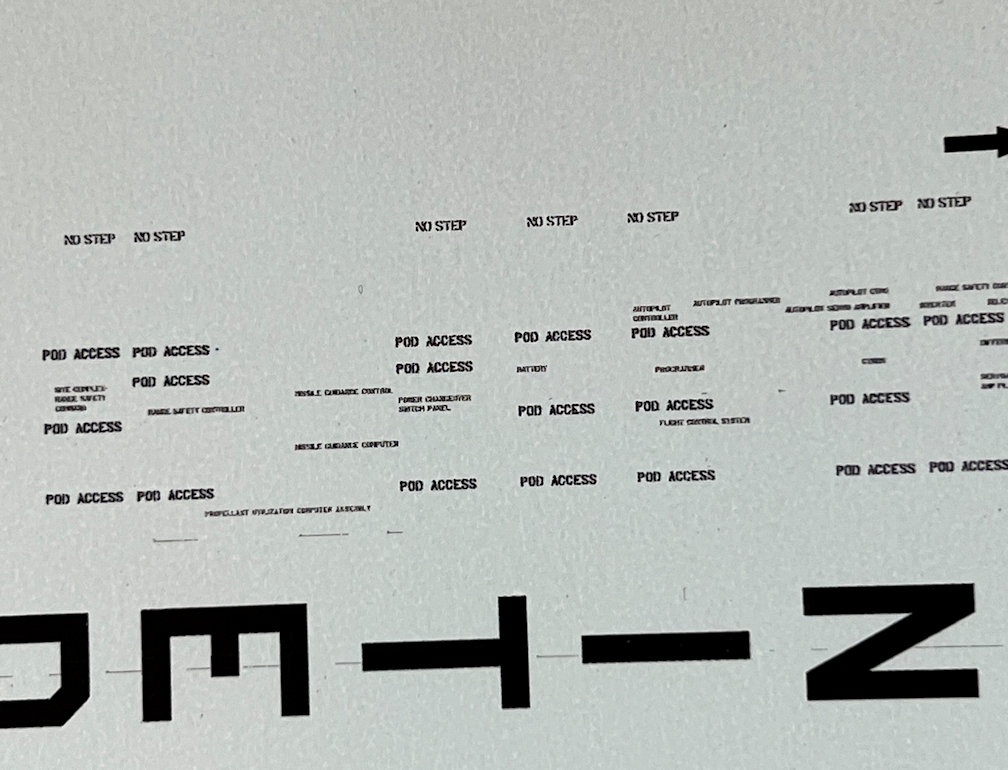
The large “UNITED STATES” and the vehicle numbers are in the Amarillo font that the Air Force uses extensively.
I also finally realized that the black marks on the side of the vehicle with the oxygen line (LX side) were not roll pattern marks, but instead they highlighted areas that were safe to walk on. That was apparent when I saw that all around the black marks were “NO STEP” stencils. Horizon seems to be spot on with these. I do have to hand it to Horizon for obviously doing a good amount of homework for all these markings, especially the equipment pod decals.
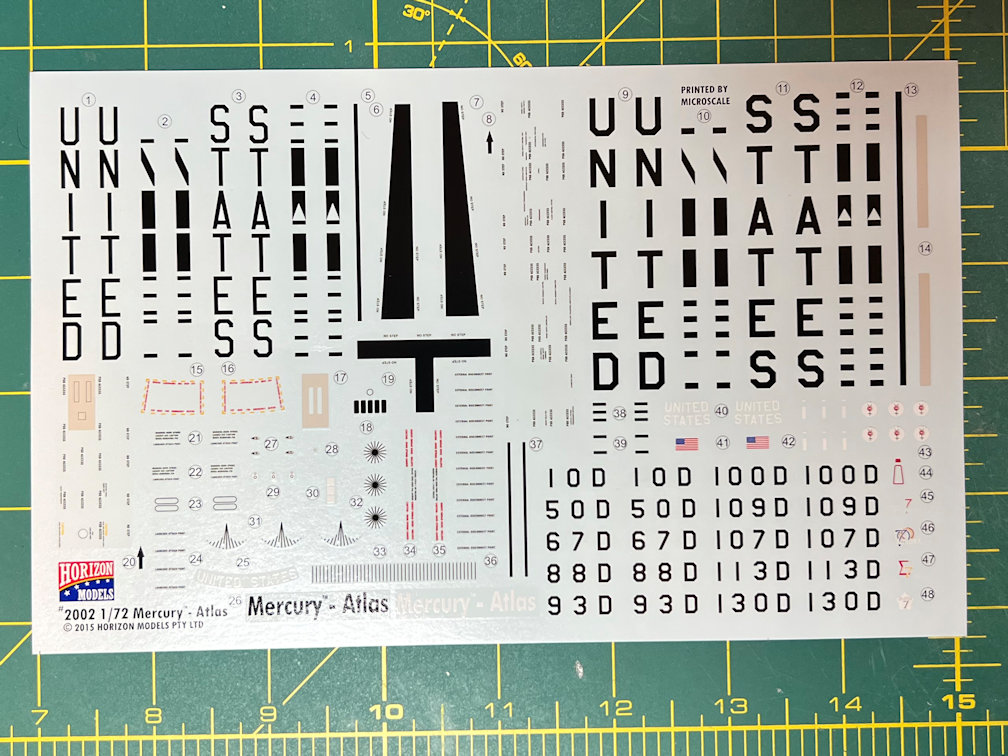
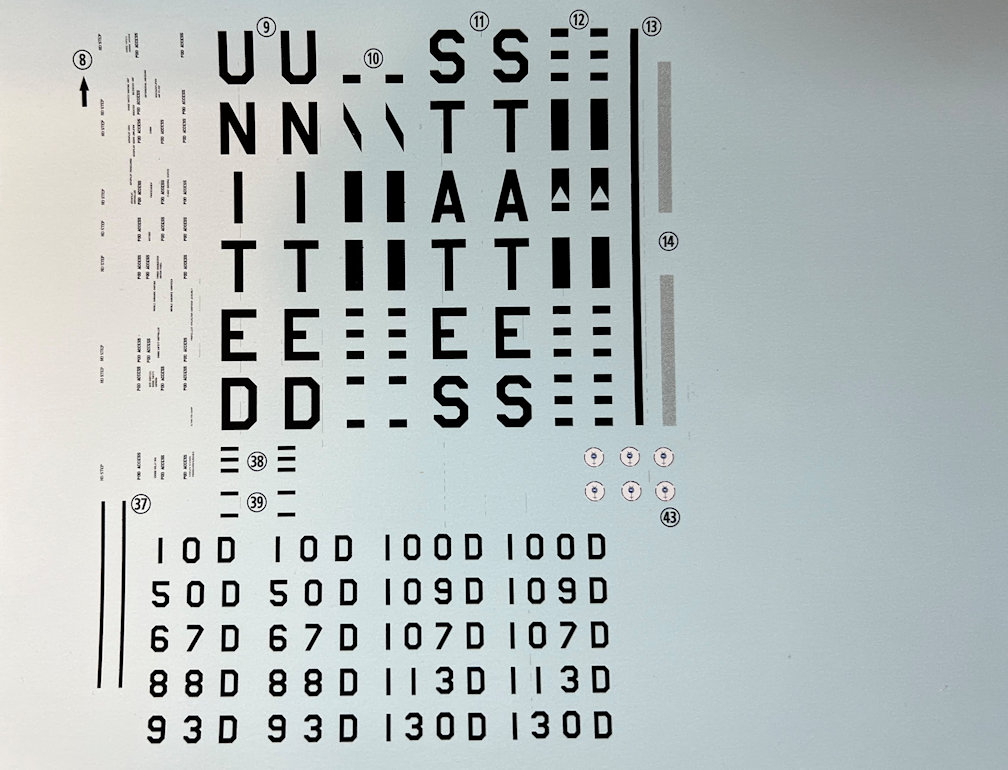
To get my decals to print properly I had to break the page up into two parts. Here is a photo of one half of the decals. This half does not have the walkway patterns. I kept the decal numbers so I could use the Horizon decal placement call outs.
Here is a photo of the LX side of the booster section showing the decals in place.
This is a photo of the TY side and part of the RX side with decals applied.
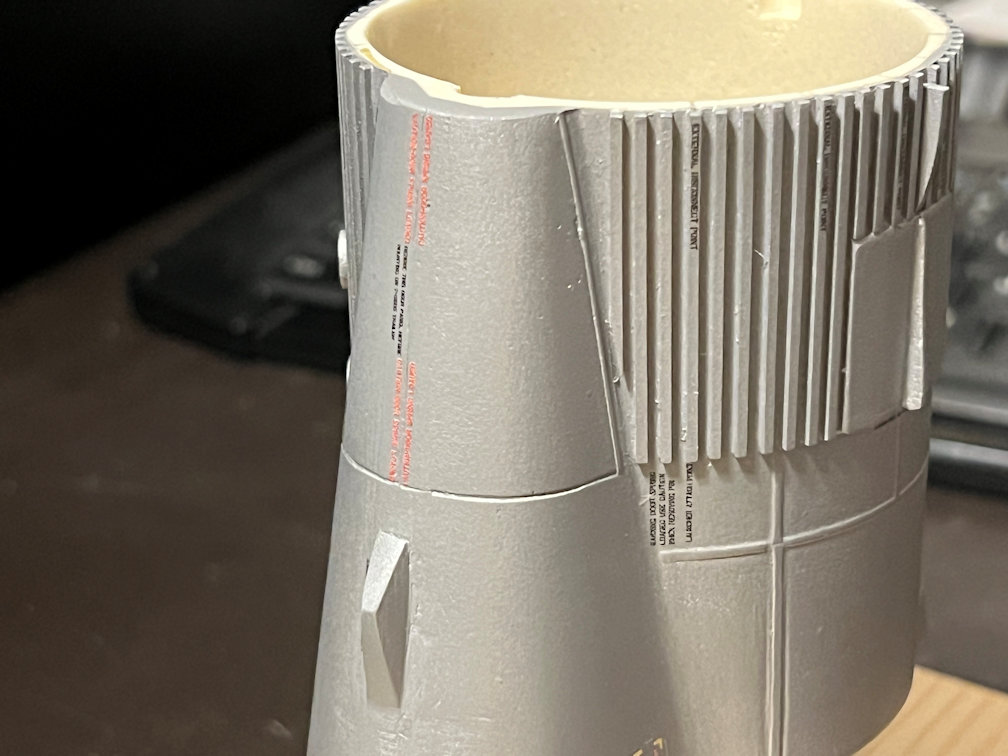
I first applied the “UNITED STATES” decal to the RX side since there was no pressurization line in the way.
The other side was not so easy. I had to apply the letters one at a time and a few had to be creatively cut to fit around the stand-offs. They came out much better than I had anticipated. A little more MicroSet should got them to snuggle down the rest of the way. Fortunately, nothing special needed to be done to the rocket number since it was four characters long and all that was needed was to center it with the pressurization line.
The pressurization line decals were small strips of black to fit around the 1/16″ rod. I had some trepidation that they might give me trouble curling round the rod. I cut them out one at a time leaving as little carrier around the decal as possible. I then put some MicroSet on the rod. I placed the decal as close as I could in the right spot to match the decal below it. A little extra MicroSet caused the decal to curl around the rod with just a gentle press of the brush. I was then able to nudge it into alignment with the decal below. I followed the same procedure all the way down the line. A couple needed small cuts to fit around the stand-off. The process was far easier than I had anticipated. Here is the result.

I then put the two “Project Mercury” decals on.
I also put a bunch of BB’s in the sustainer base and poured some epoxy on to keep them in place. My main reason for this was to add more weight to the bottom of the model to help damp out any swaying that might happen if the model is touched from the side.
Finally, I took some time and painted some panels on the side pods. Each one had a flat white band at the top. The center top panel was painted with Tamiya Flat Aluminum. Some photos seem to show a lighter colored panel with a flat sheen at that spot. I then masked off a few panels and painted them Tamiya Titanium Silver. Then I protected that with a clear coat. The decals have yet to be applied.
That’s all for now. Thanks for looking in.

2 thoughts on “1/48 Wings Atlas D Update 15”