
The next part of this build will be the 1/72 scale kit from Horizon Models. I’ve built their Mercury kit before. You can see that build here. It is a good kit for its scale. There are, of course, some detail problems with the Mercury capsule, but it does build up into a nice model. We’ll see how the Redstone part fares. I’m going to build this one pretty much out of the box rather that adding a bunch of scratch details or correcting minor nitpicks.
Here is a view of the parts trees.
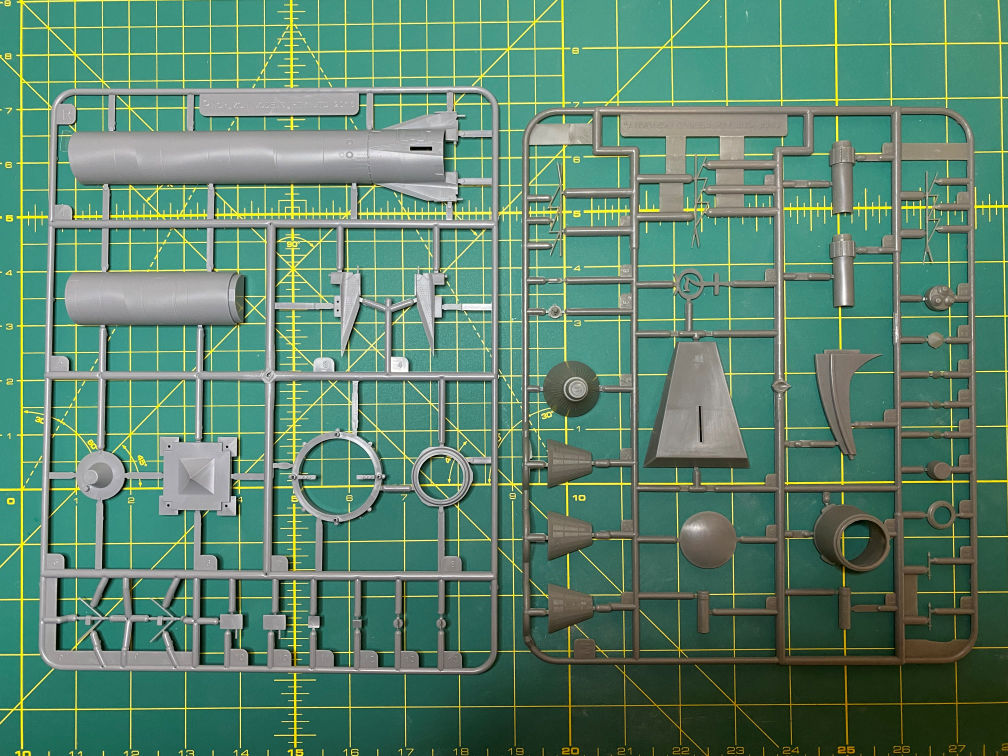
Note that there are two identical Redstone trees that build into one Redstone vehicle. It also includes two frets of photo-etch (PE) parts. One for the Mercury capsule and one for the Redstone rocket.
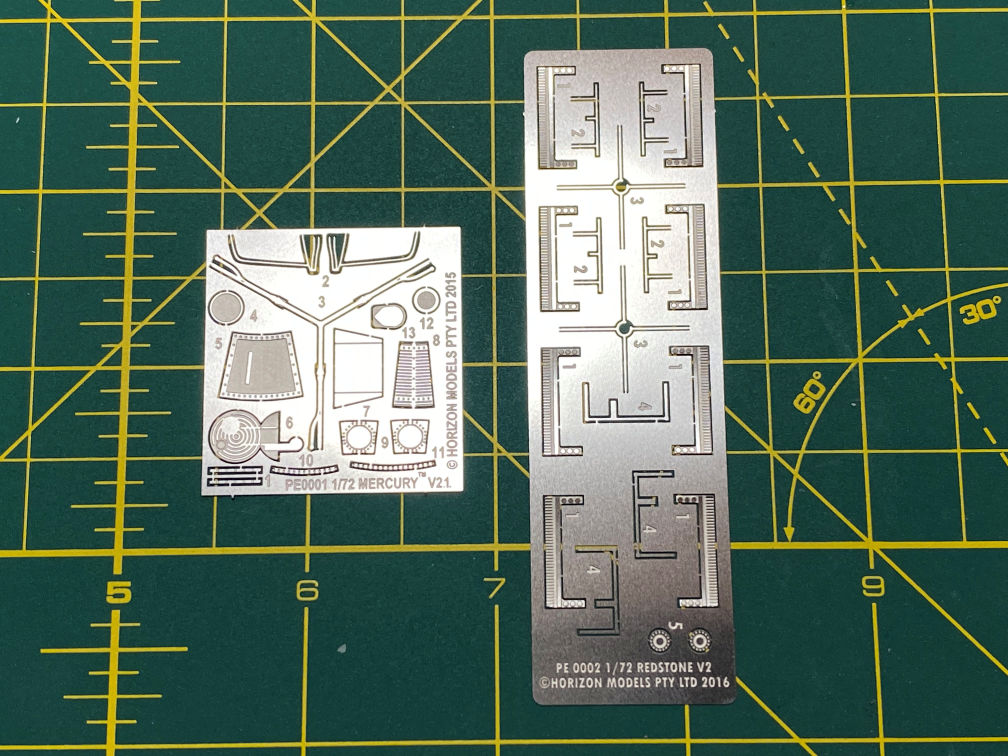
The Mercury fret has parts that will modify the kit capsule from a window version into a porthole version. Since I’ve decided to build this kit as MR-1, the first unmanned flight of the production Mercury capsule, I’ll be using those parts.
You may have seen a video of the MR-1 flight. It’s the one where the Redstone engine ignited and the rocket rose about four inches when the engine abruptly shut down and the rocket settled back on the launch stand. Then the escape tower flew off. A few seconds later the antenna canister jettisoned and the parachute popped out and laid on the ground next to the rocket. It wasn’t a long flight, but it did leave the pad. Besides that, it has unique markings so that is the one I’m modeling.
Most of the parts on the Mercury fret will not be used since they either won’t be seen or are only used to build a version of the capsule in-flight. The Redstone fret contains parts for the launch stand, antennas, a LOX fill and drain port, and some parts that fit to the capsule/booster adapter.
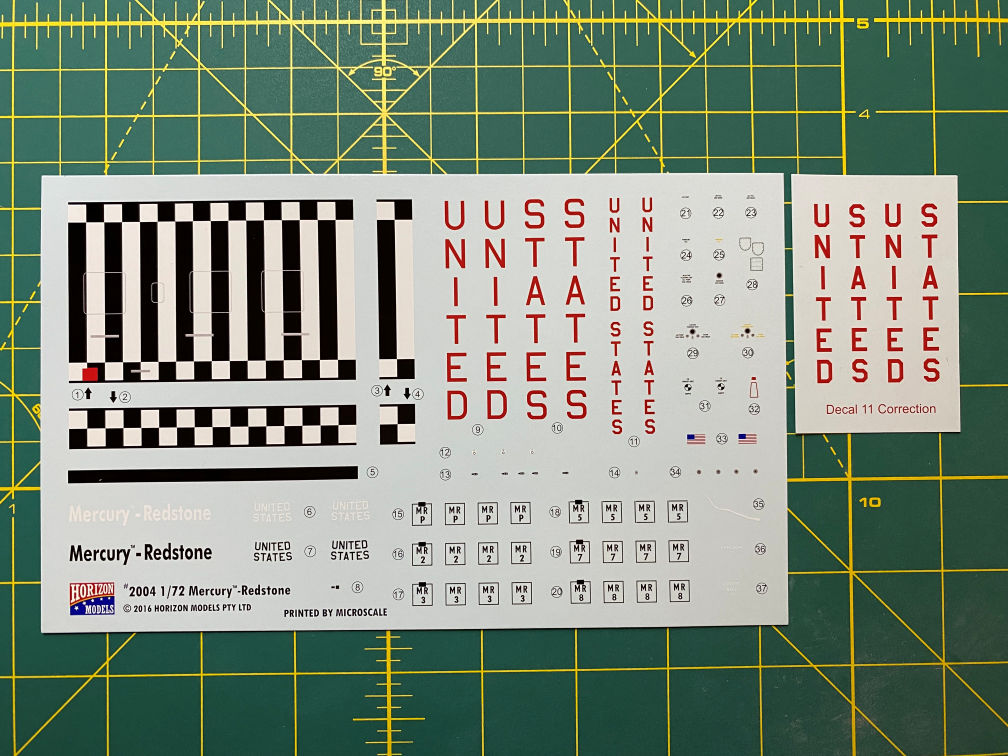
Since I’ll be doing MR-1, I’ll be using the short checkerboard decal and the smaller “UNITED STATES” decal. The “UNITED STATES” decals I’ll be using are on the small extra sheet. The much smaller ones were printed in error so they shipped the kit with a separate sheet for the medium sized one. Here is a shot of the decals.
My construction begins with the Redstone rocket. The first thing I did was fill and sand the extra set of fill and drain ports on one side of the rocket. The kit contains two identical halves and you need to remove detail that doesn’t belong. The other part I installed was the backside of the hydrogen peroxide fill port on the lower part of the rocket. I then also filled in the peroxide port on the other side.

I also drilled some .3mm holes in the instrument section to accept the antennas later on in the build.
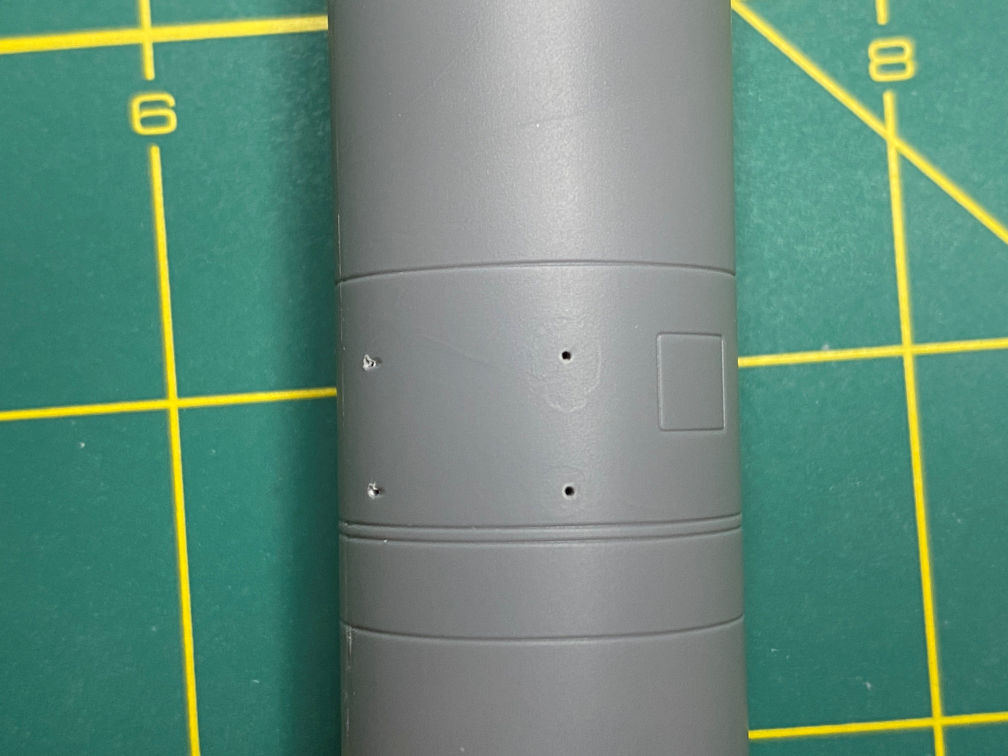
Both of these procedures are called out in the instructions.
After gluing the two halves of the Redstone together, I added the PE LOX fill and drain port.
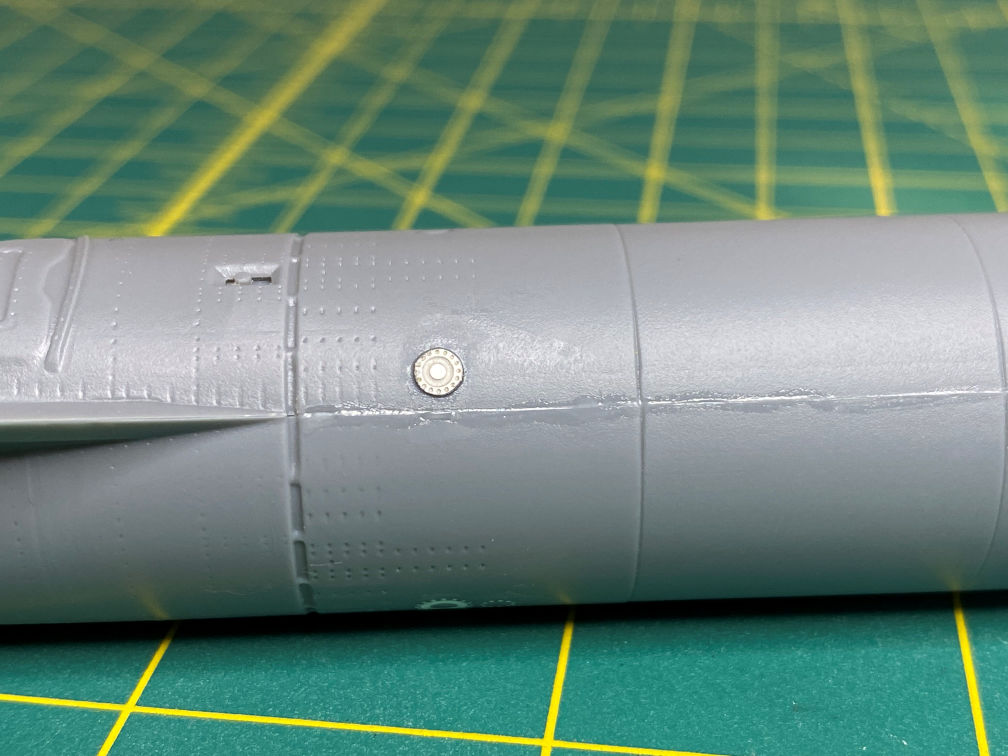
The halves fit together fairly well and will not require much filling. The seam is small and there are only a couple of shallow sink holes in the body.
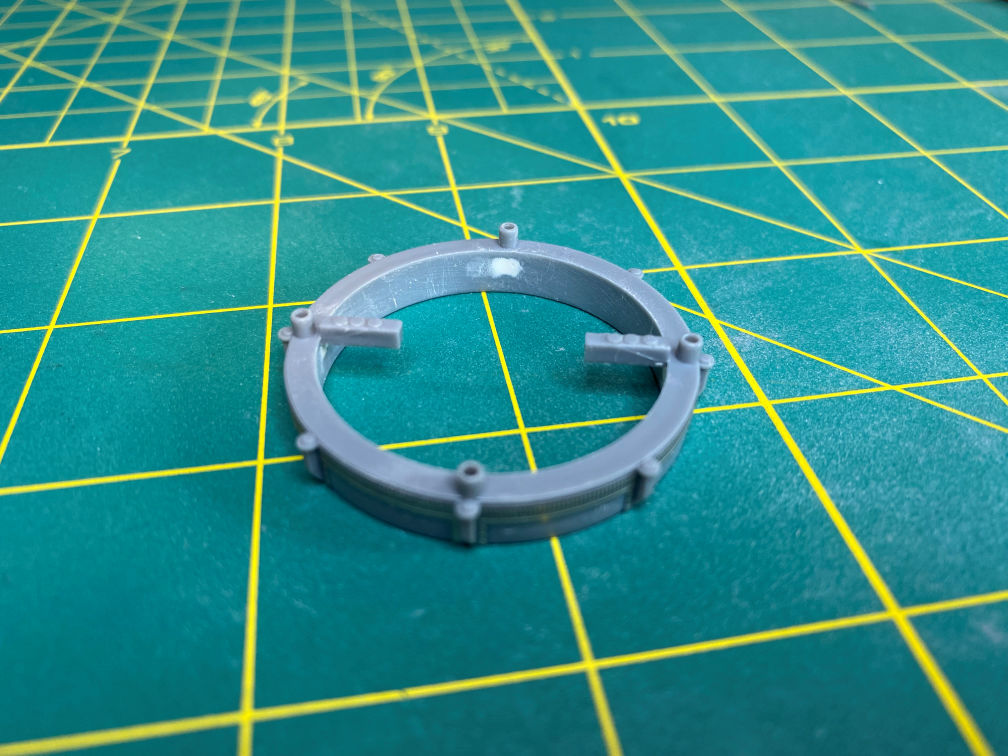
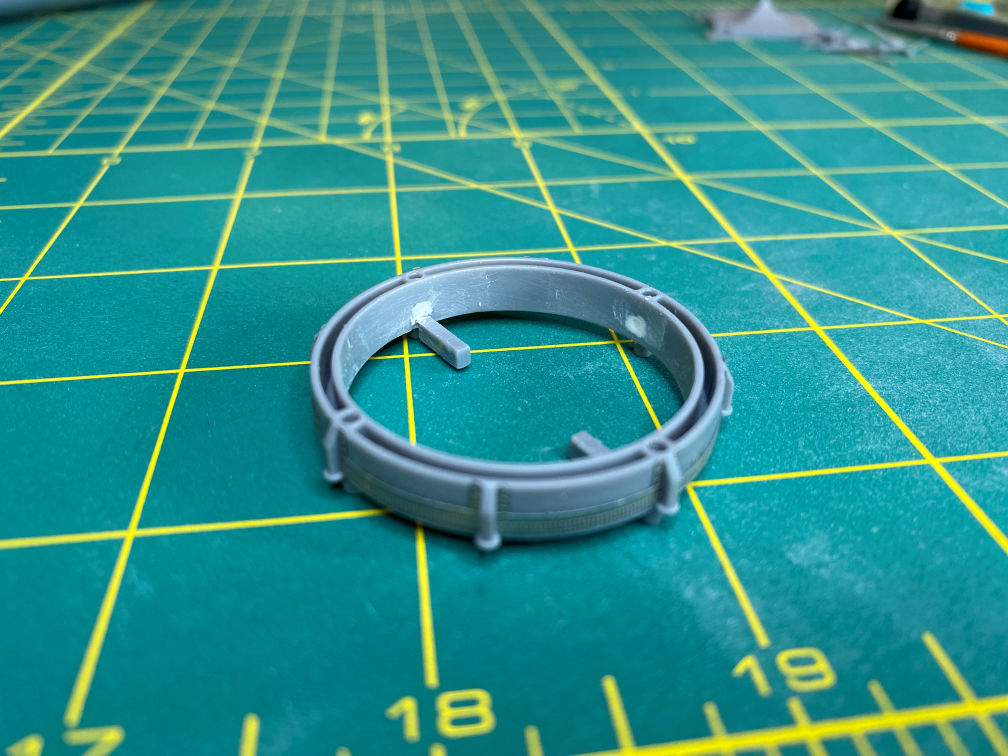
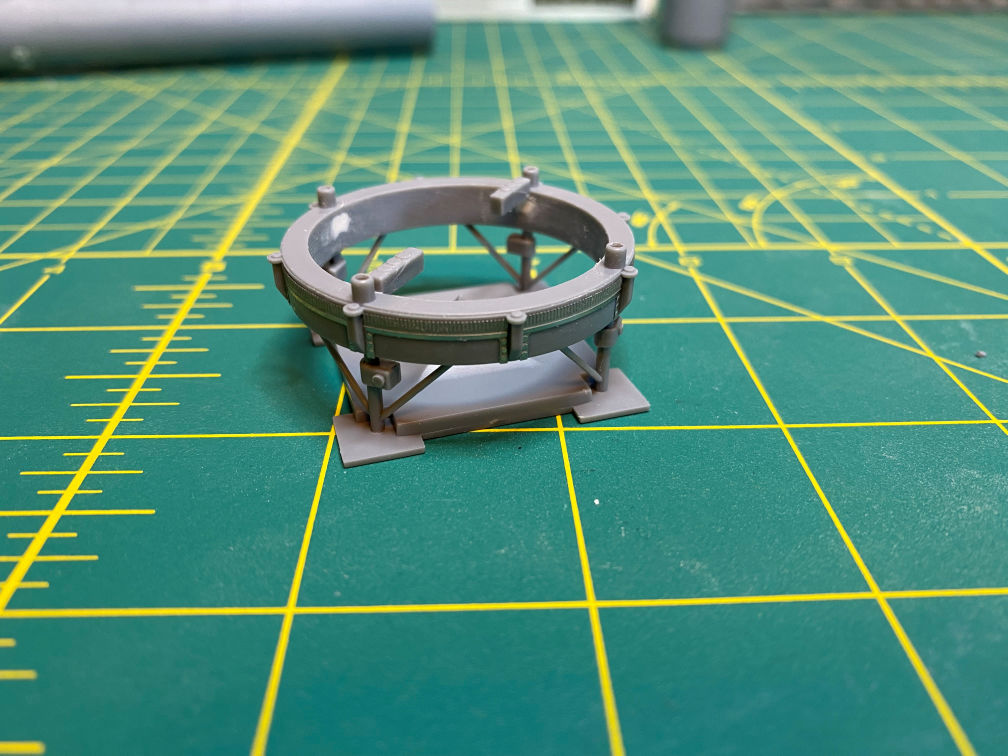
I then moved on to the launch stand. The first thing I noticed is that the rocket did not sit squarely on the launch ring. There seemed to be a small rocking back and forth. It looked like the launcher to rocket connections were a bit too high. I sanded them down shorter and then the rocket sat on the launch ring much better. Here is a look at the modified ring and the kit ring.

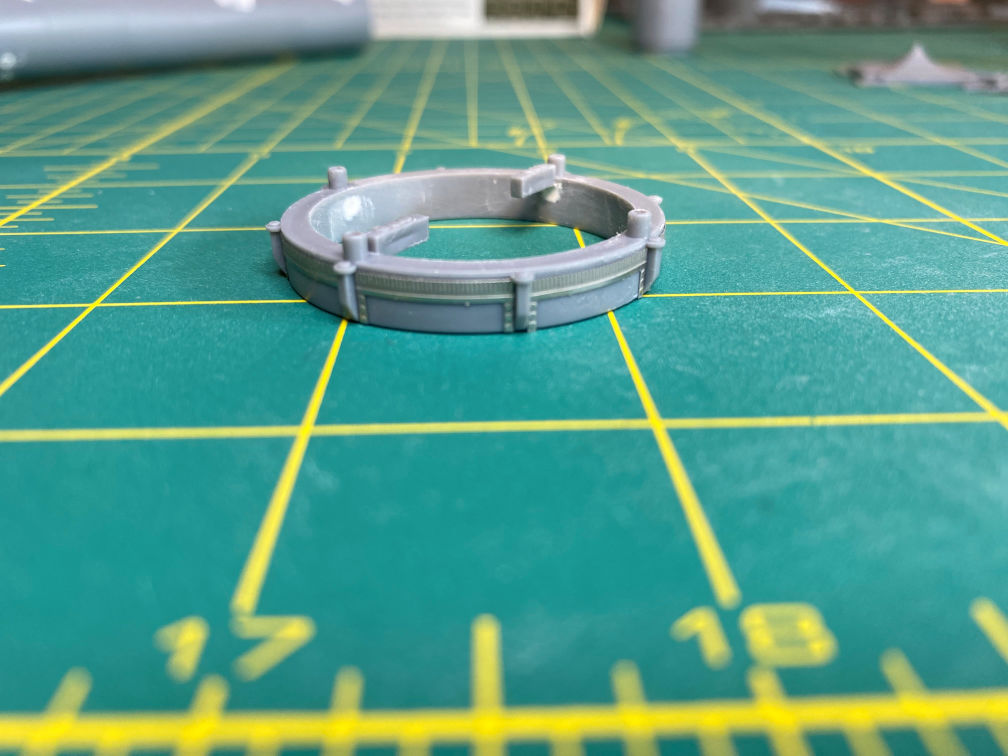
There were some pretty deep sink holes on the ring that needed to be filled. Here are a couple of views of them filled in.
I also added the PE details for the launch stand.
I then finished the assembly of the launch stand.
Next it was time to start on the capsule. It’s somewhat unorthodox and it doesn’t lend itself to doing an interior for the capsule (which I’m not), but it does keep the parts in alignment pretty well. Here is a photo of the start. The antenna canister is the ribbed part on the right. More on that part later.
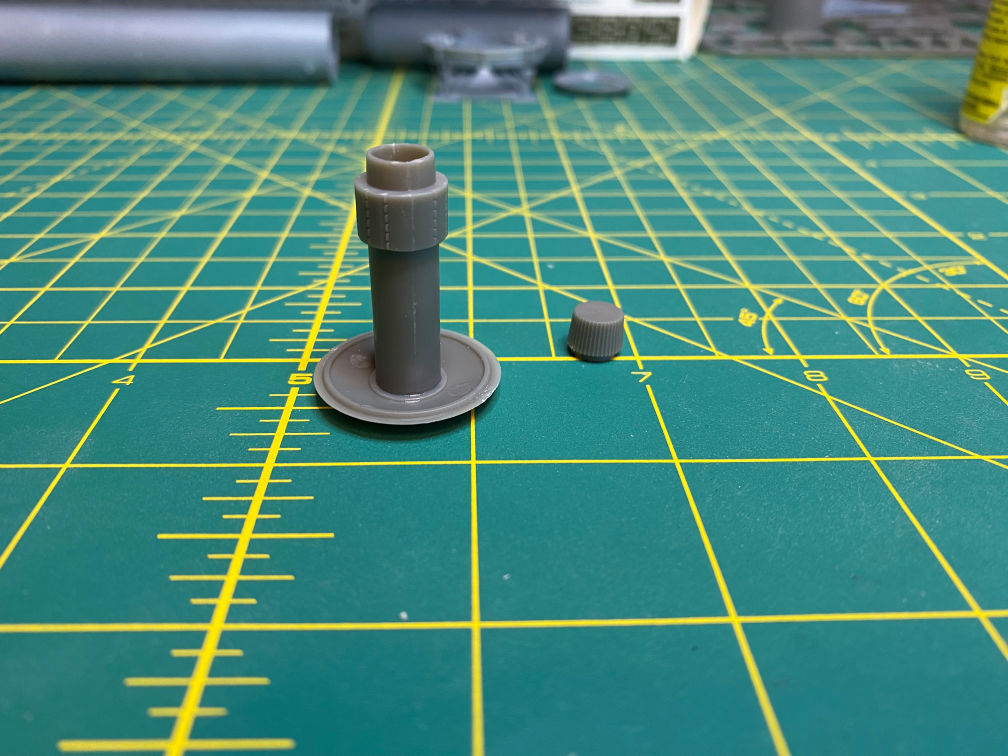
The three capsule exterior parts are glued to the heat shield and the recovery section at the top of the stalk. You do need to add a bit of pressure while assembling the sides to avoid small gaps in the capsule.
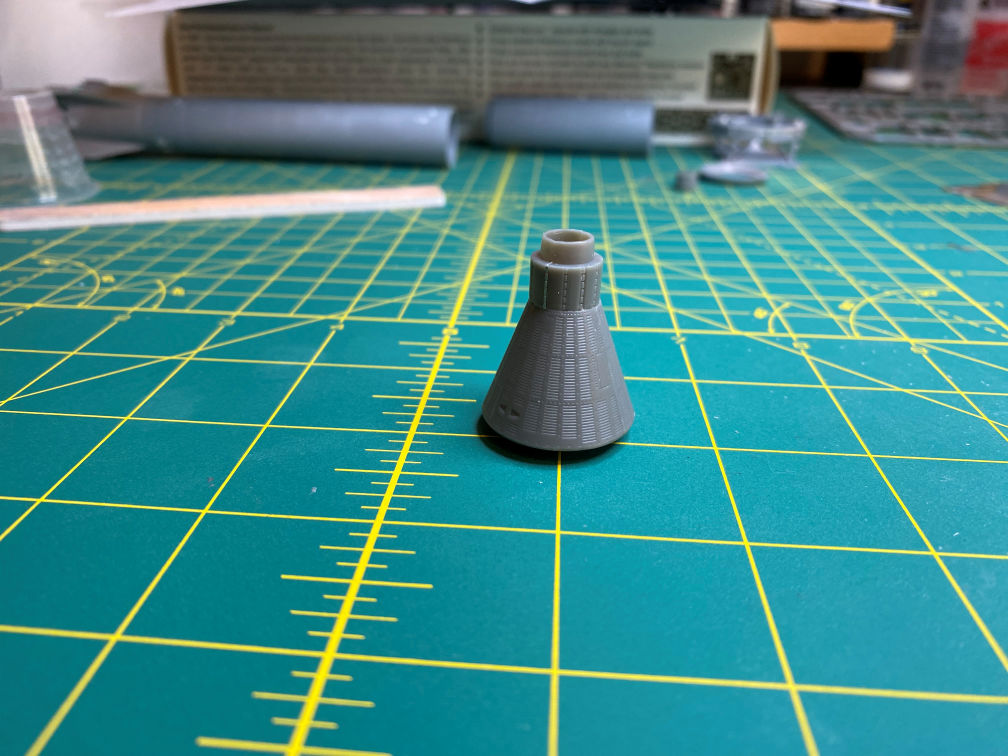
There are some PE parts that cover the seam on the recovery section. I carved a shallow spot on each seam line and then attached the PE parts with Plasti-Zap CA glue. Unfortunately the PE parts are in the shadow so they are hard to see in this photo.
Converting the capsule from the window version to the porthole version requires some PE parts from the Mercury fret. The largest one is used to cover the window, and the other two add the portholes.
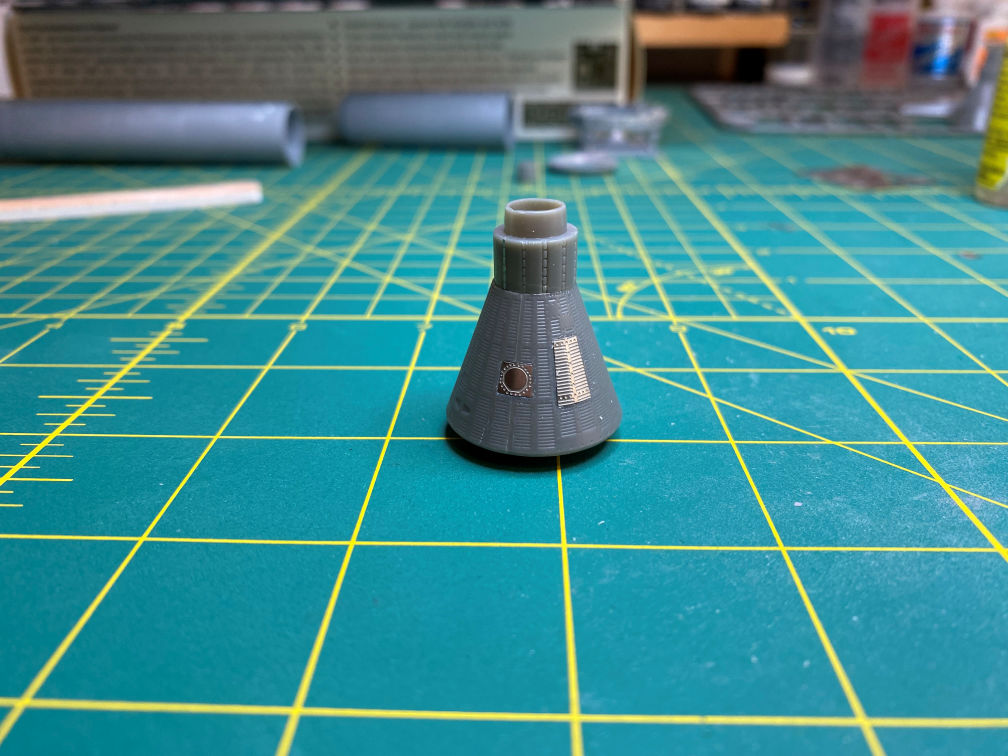
To really blend the parts, you need to scrape away some of the plastic details and then glue the PE in place. In the below photo you can see the depression I’ve carved in the side of the capsule to add the second porthole.

It also helps to roll the PE parts with the handle of a paintbrush or some other appropriately sized cylindrical object. This will add a curve to the part which will be needed to blend the PE part into the surrounding plastic.
I next got ready to add the antenna canister to the top of the capsule. This will be the first time I’ve attempted to build the escape tower for this model. The last time I built a Horizon Mercury capsule I was doing an in-flight version and didn’t need the escape tower.
So to be sure things were going to fit properly, I placed the antenna canister on the capsule and then tried to slide the escape tower ring over it. It was a good thing I did, because the ring will not slide over the antenna section. The rib detail sticks out too far and won’t let the ring slide on.
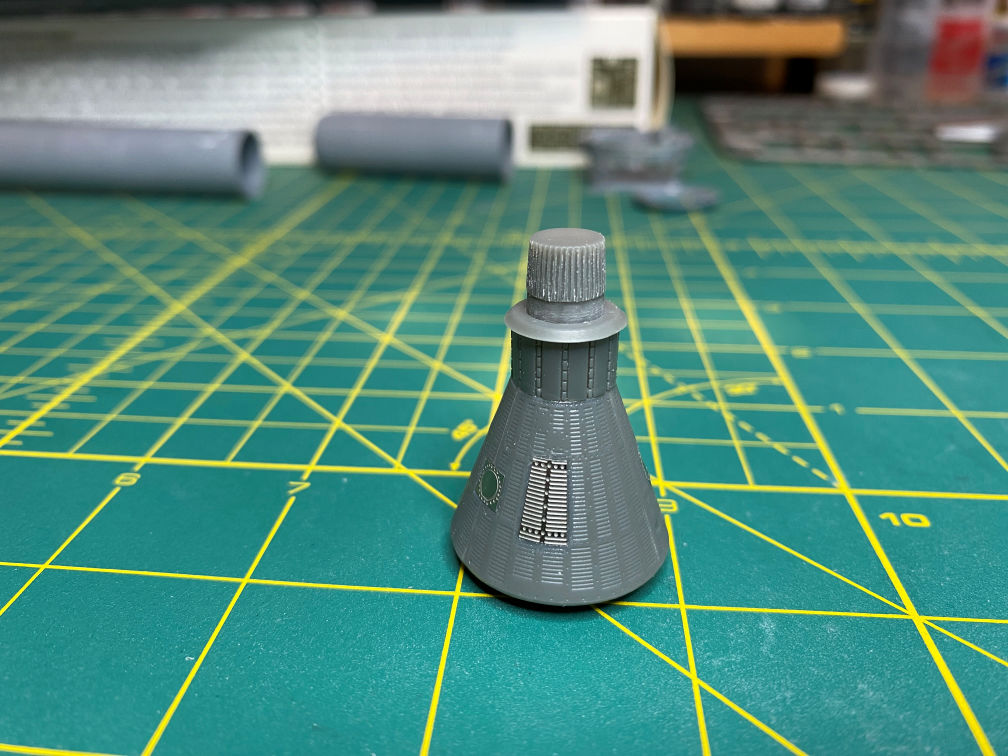
I sanded the ribs down a bit. This actually made the part look better that what was molded. Here is a picture with the sanded antenna section.
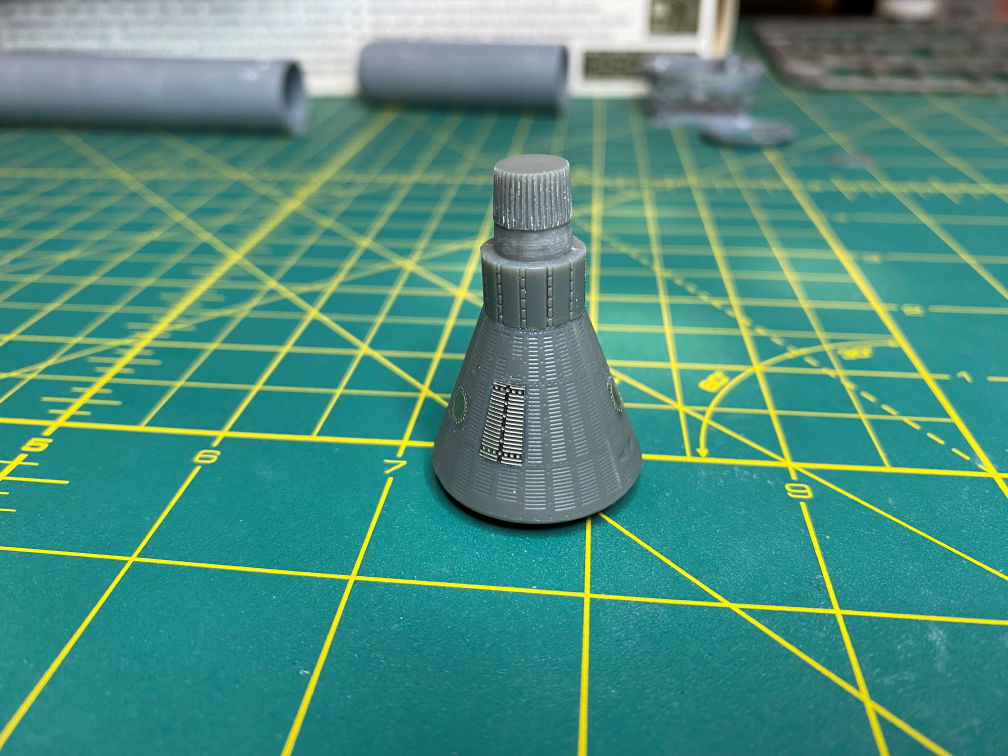
You can also see that I have sanded the antenna window section directly below the antenna canister. I did this because I test fitted the ring without the antenna section and noticed that it was a bit tight there as well. After sanding and test fitting the ring would almost go over smoothly. There was still just a bit of a hard push at the end. So I lightly sanded the inside of the ring and that did the trick. you can see in the photo below that the ring fits nicely now.
That’s it for this update. The last of the assembly items will be the escape tower. Then everything will get a coat of primer to see how much more clean up needs to be done.
Thanks for looking, more to come.

2 thoughts on “1/72 Mercury Redstone Part 1”