
While I’m contemplating what to do about the fins on the Pegasus XST, I started building what should be a simpler kit that has been in the stash for a while. I bought the Horizon 1/72 Mercury Spacecraft kit when they were first announced back in 2015.

The kit contains parts and decals for two spacecraft. It even includes parts to build the boilerplate test versions if you want. There are only two heat shields included so you can build only two of the possible four versions in the kit. The molding is great with no flash on any of the parts.
For this build I’m going to do the porthole version that was flown by Alan Sheppard on MR-3 Freedom 7. I’ll also do the window version to represent the MA-9 Faith 7 flight piloted by Gordon Cooper. The kit parts are molded so that the window version needs very little PE parts to be added. The porthole version has four additional areas that need to be changed by the addition of PE parts.

The above image shows the parts tree and PE for one of the two models. The decal sheet contains markings for both kits and has markings for the flight versions as well as the boilerplate versions.
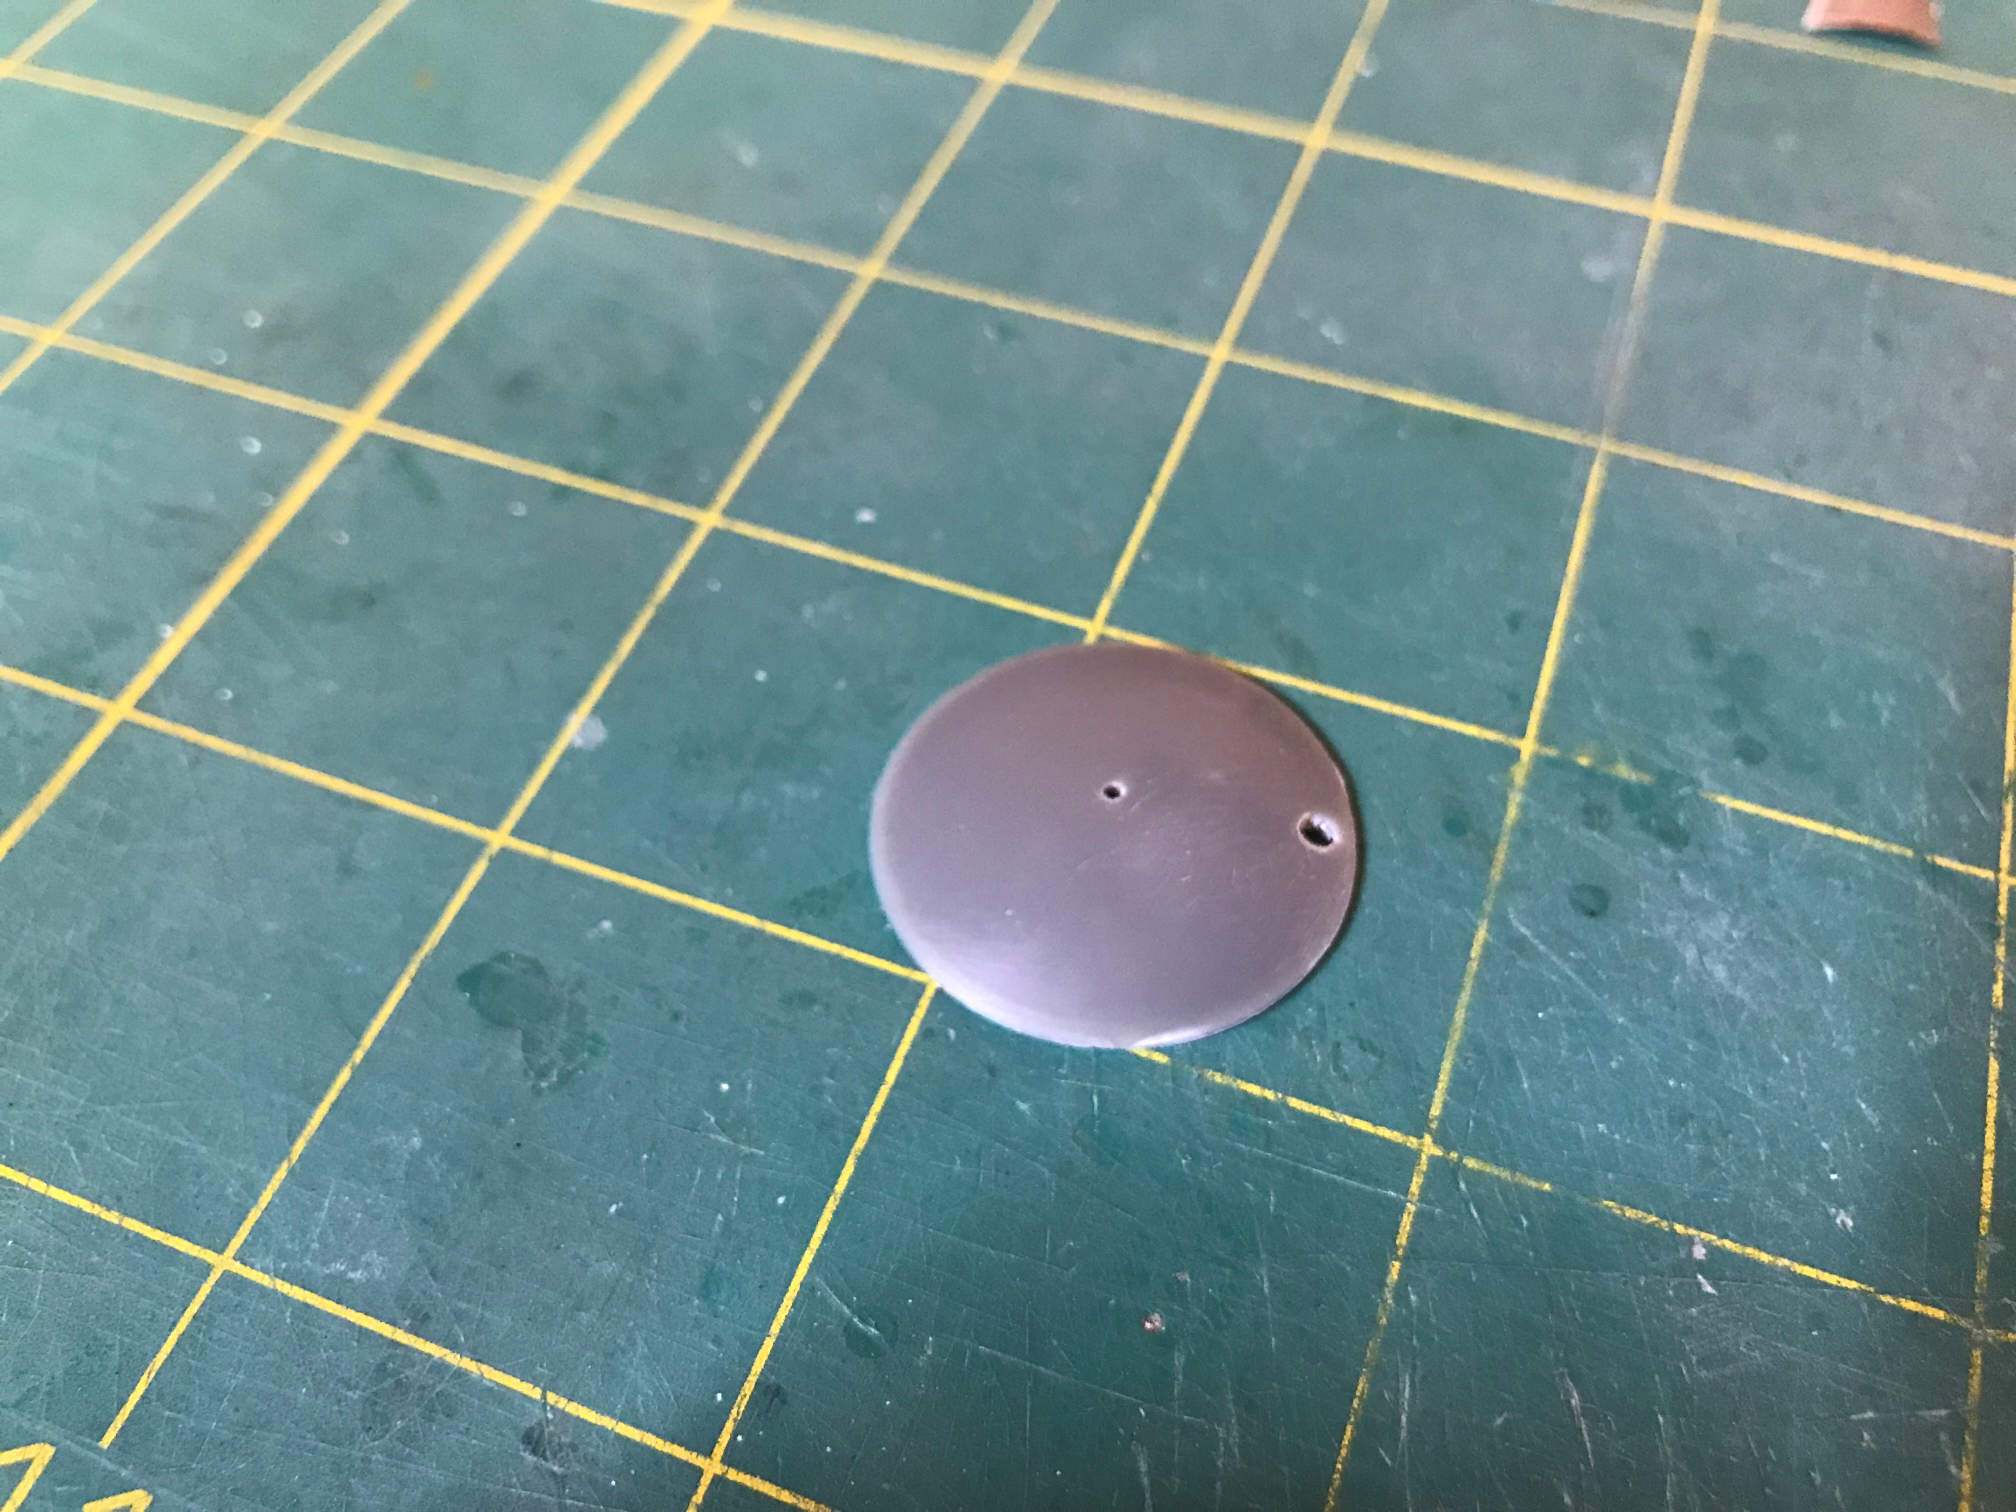
I started construction with the heat shield. Since this will be a flight version, a hole needs to be drilled in the center of the heat shield so that the retro-rocket pack can be attached. There is a dimple on the inside of the part showing where to drill the retro-rocket hole. Since I will be using the included stand, I would need to drill another hole in the heat shield to allow attachment of the stand. There is a marking on the back side showing where to drill that hole as well.
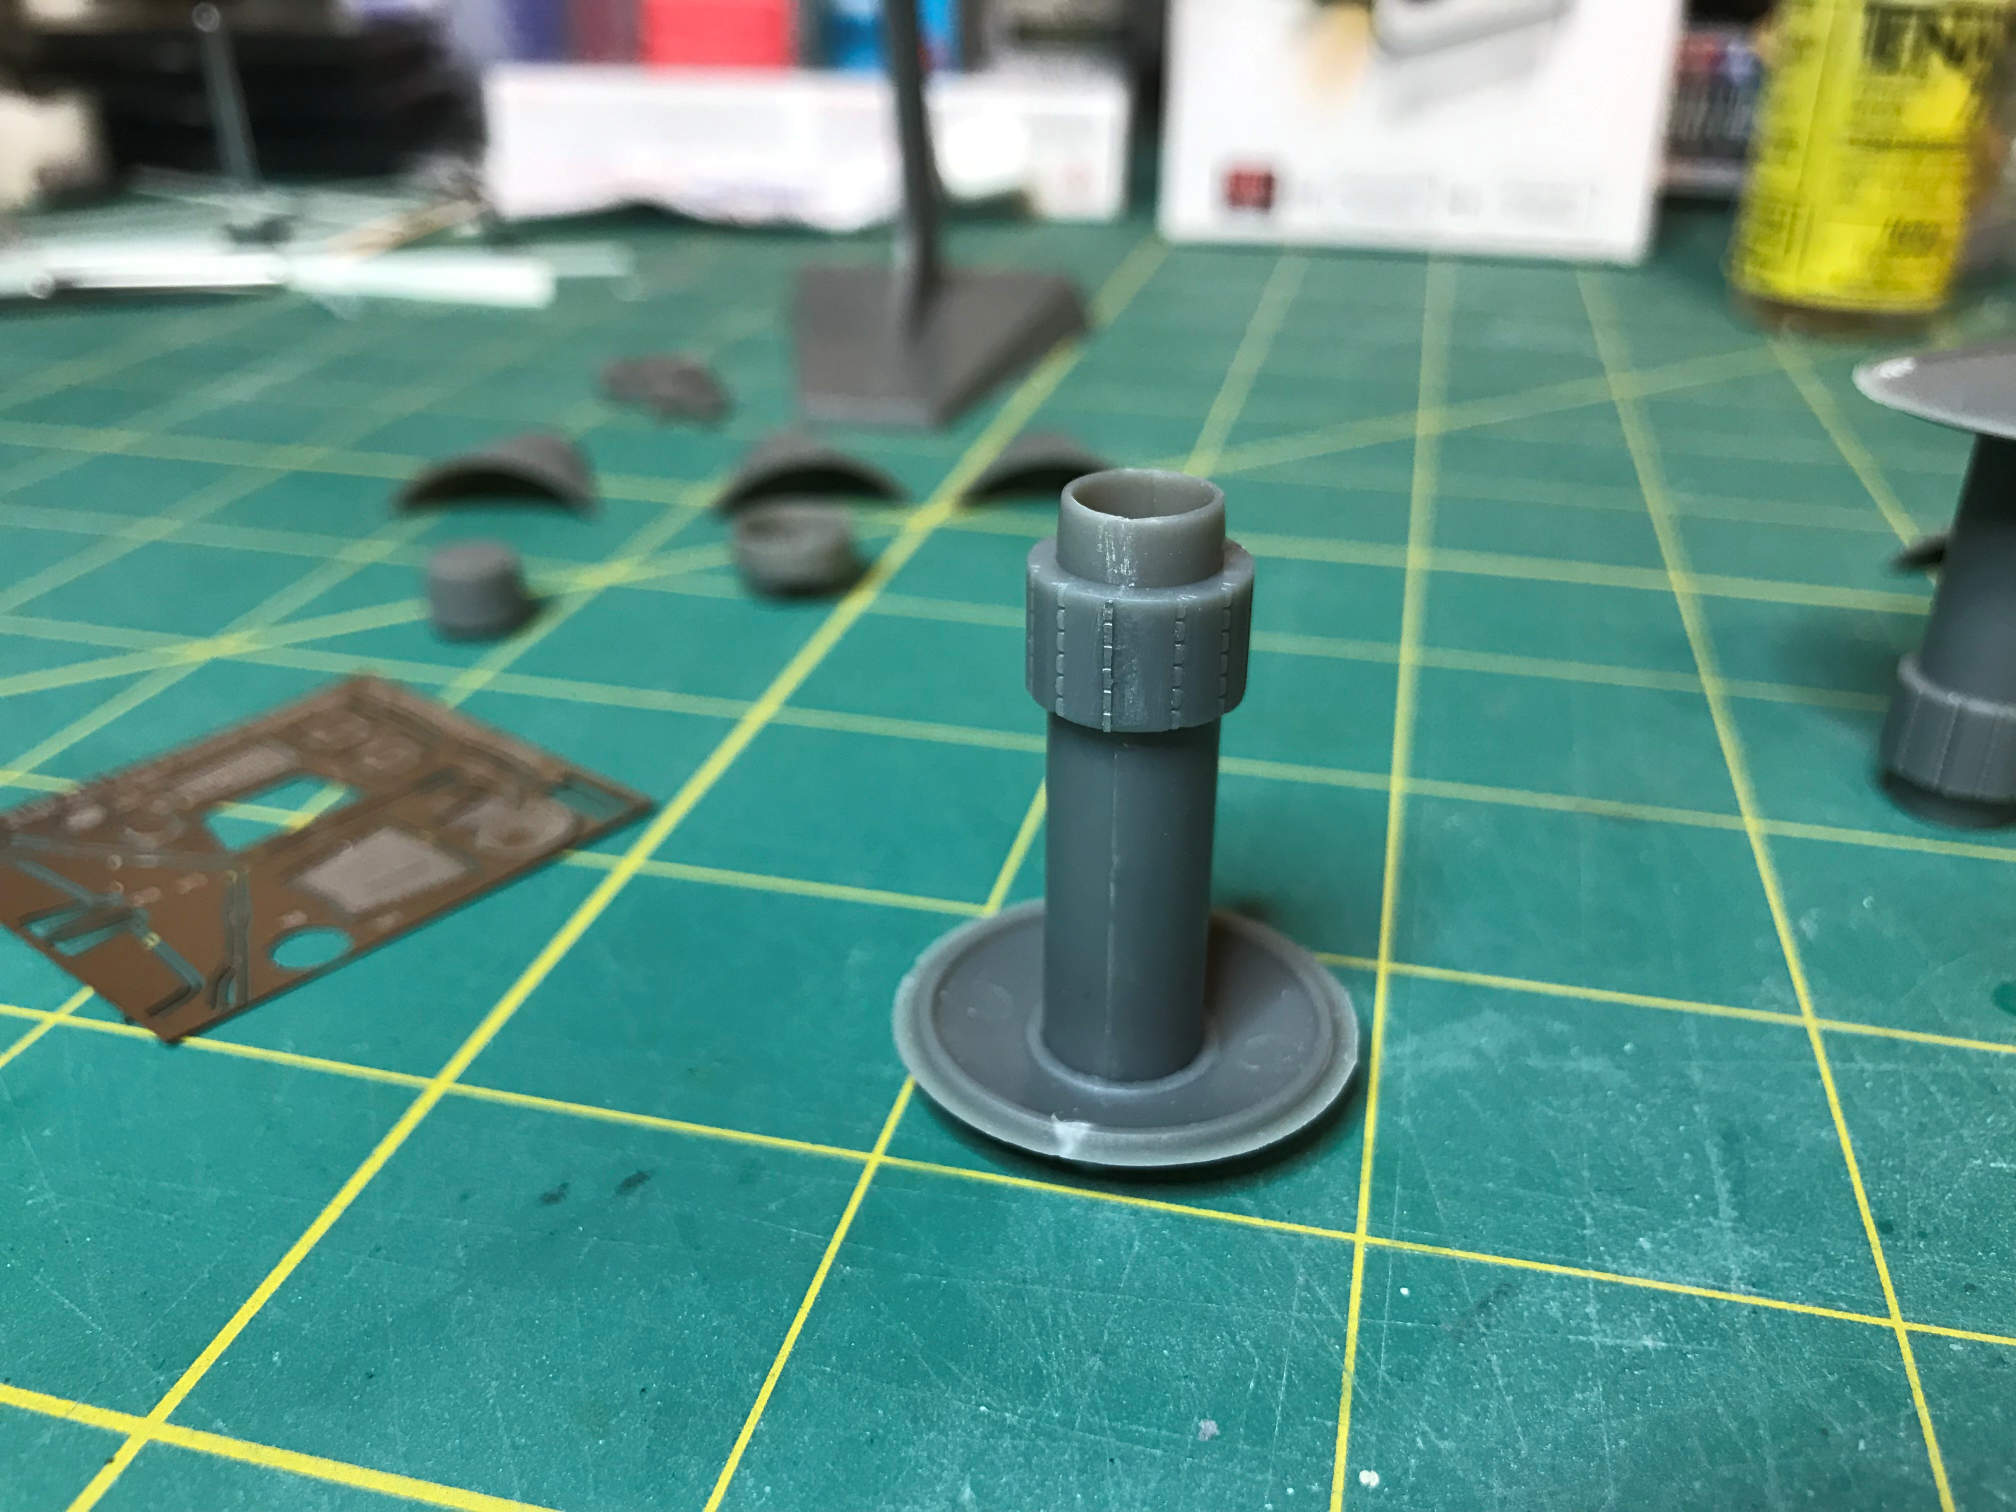
I then glued together the part that contains the cylindrical portion of the capsule. This part is also used to align the capsule’s conical sections. There are two small PE parts that cover the seam lines.

This part is then glued to the heat shield.
With that in place, the three conical sections can be glued on. You should take note that the vertical details on the cylindrical section need to line up with every other panel line on the conical sections. There are no keys to maintain this alignment. It is up to the modeler to do this. Also note that the three conical sections are not the same and you will need to keep their arrangement correct while gluing them on. The instructions on the back of the box will help you get things in the right place.

Once that was done I took the MR-3 capsule and started preparing it for the PE add on parts.

I removed some of the molded on details and recessed the areas slightly. I then used CA glue to attach the PE parts.

Next I’ll prime and paint the white area at the top of the capsule (and antenna cover) and then mask it and prime and paint the rest of the capsule. But that will have to wait for the next update.
Thanks for looking. More to come…

2 thoughts on “Horizon Models 1/72 Mercury Spacecraft Build”