
My next project is the F-117 Nighthawk in 1/72 scale by Hasegawa. As best I can tell the kit is not currently in production. I didn’t have one in my stash and I needed it to go with the “Have Blue” model I built a while back. I checked my local hobby shop and all my main online sellers and some I haven’t bought from. No luck. I then went to E-bay. Prices can be outrageous so you have to be careful buying from there. But, when you don’t have any other options E-bay it is. I knew which version of the kit I wanted. The first release of the F-117 Hasegawa put out had problems. The second time around it was better. Most regard this model of the F-117 as one of the more accurate versions. I did quite a bit of searching on E-bay and after a week or so of looking one popped up for a decent price, so I snagged it.

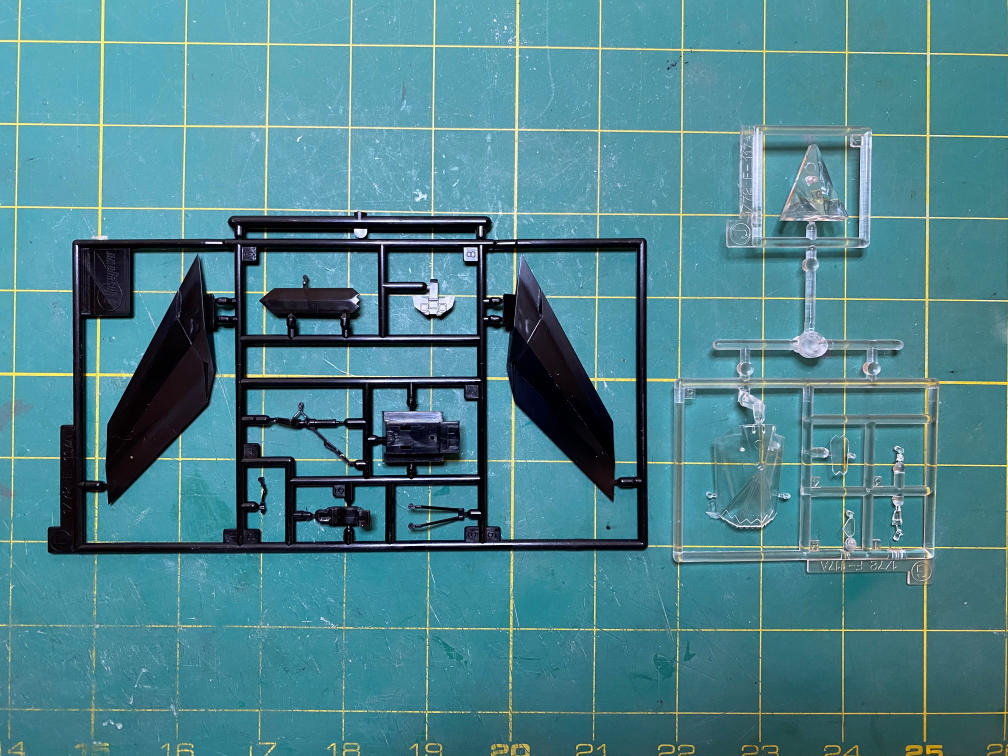
I also picked up a set of aftermarket decals (a few years ago when I was working on the Have Blue kit) to use with this kit. Here are the contents of the kit. I was very pleasantly surprised that none of the parts were broken and the clear parts did not have scratches.
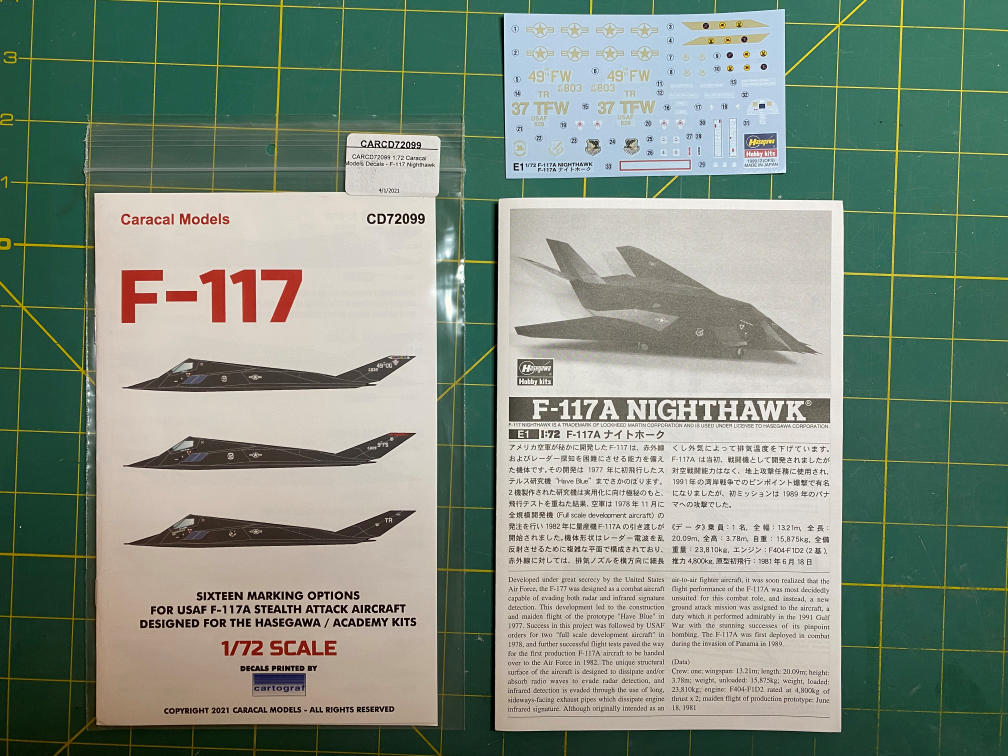

There aren’t a lot of parts and there is no bomb bay to pose open. That came in a later version of this kit. I also picked up a 3D model of the ACES II ejection seat for the F-117 from Cults-3D. My first print failed but I used some newer resin and slightly increased the exposure time for each layer and got a very good print on the second try.
I started by painting the exhaust diffuser fins that are molded into the back of the lower half of the kit with Tamiya XF-84 Dark Iron. I then added 5g of weight to the front as per the instructions. And, no, I’m not exactly following the instruction sequence for this kit. But I did go over all the instructions carefully before I started to be sure I don’t make an irreversible mistake.

The fuselage is split top-bottom rather than left-right like most aircraft kits. The very unusual shape of this plane very much lends itself to that type of split.
I then started on the cockpit. It is rather simple, which is one reason I decided to do the 3D printed ejection seat to add a bit more detail. I primed all the parts and painted them using Tamiya XF-69 NATO Black and XF-20 Medium Gray, including the seat base colors. I applied decals to the cockpit tub and and main control panel. It took several applications of Micro-Sol to get the main control panel decal to conform to some of the raised details.

The small black part between the control panel and the joystick in the above photo is also part of the control panel, it goes at the top of the control panel at the small notch. There is a part of the main control panel decal that needs to go on that small black part. However, the way it is printed it won’t work. So I cut that part of the decal off and will apply it after I glue the kit part onto the control panel.
For the oxygen bottle on the side of the seat I used a base of Testors ModelMaster 1790 Chrome Silver and then painted Tamiya X-25 Clear Green over that. The buckles were Vallejo 71.063 Silver RLM01. The belts were XF-54 Dark Sea Gray. The yellow handles were 71.002 Medium Yellow. I also did a light drybrush of the details on the seat with the Vallejo Silver. Here is a photo of the 3D printed seat and the seat that came in the kit. (Sorry for the out of focus photo.)
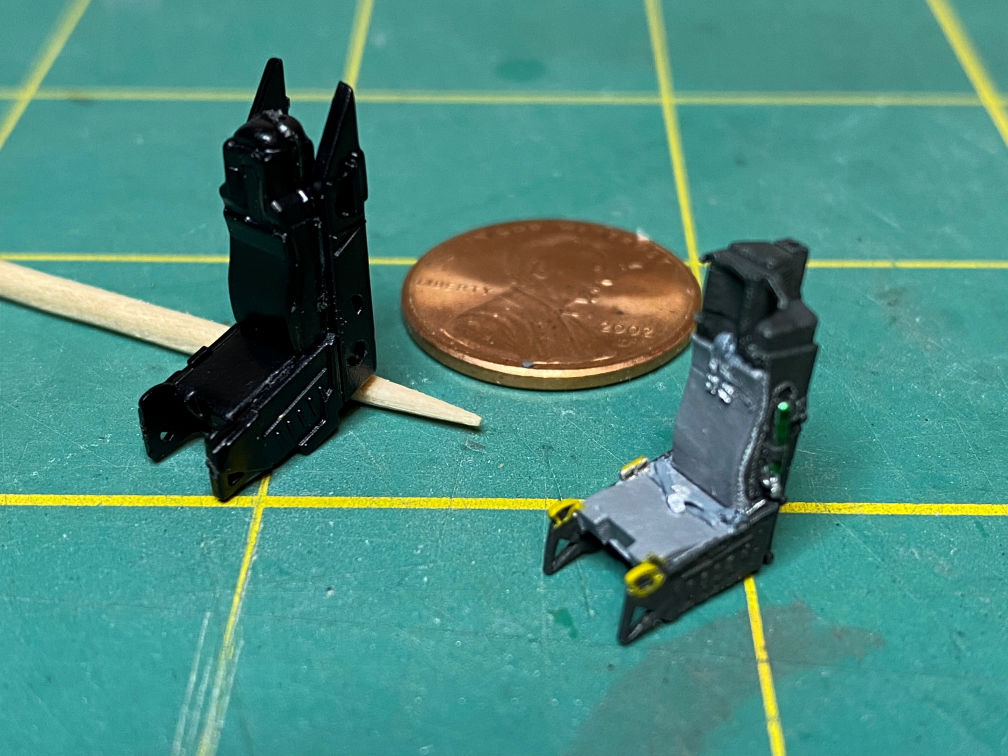
It is hard to see but there is not a lot of detail on the kit part.
Here are the parts of the cockpit before they are assembled. Note the white decal on the control panel extension that was cut from the main decal. I also have sprayed the parts with decals with some more clear to protect them from the clear matte that I sprayed over all the parts.

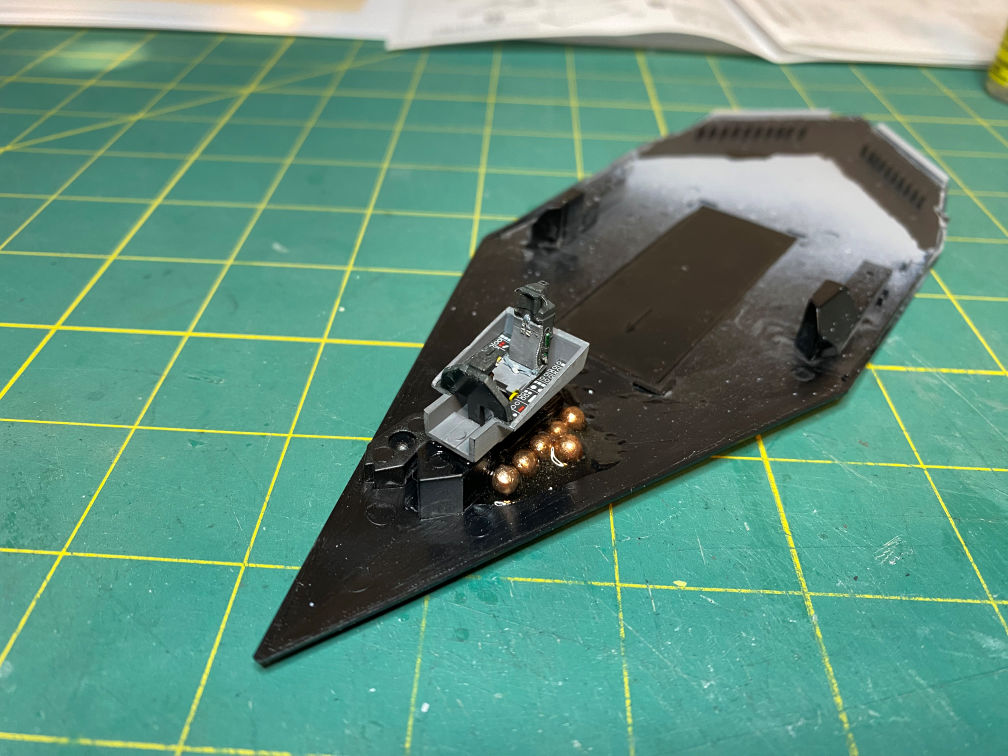
Once assembled, the cockpit doesn’t look bad for an 80% stock assembly. I’m not sure yet how much will be visible through the canopy windows.

I then glued the cockpit into the bottom half of the fuselage as per the instructions. A dry-fit of the top half of the fuselage shows that it will fit rather well over the cockpit tub.
Next I’ll have to paint the area of the cockpit on the upper fuselage before I glue it into place. I need to do that before I paint the whole fuselage since I’ll be installing the cockpit canopy in the closed position. I’ve dipped the canopy in Future/Pledge/Kleer floor finish. When it is completely dry I’ll have to mask it and then glue it into place. I think I’ll assemble the fuselage and add the wings before I paint whole plane. That way I’ll be able to do all the filling and sanding that will be needed before I prime it. It appears that there will be a lot of filling needed on the bottom of the fuselage and where the wings join the fuselage.
At least that’s the plan for now. Thanks for looking and more to come.

One thought on “Hasegawa 1/72 F-117 Nighthawk Build”