
The build continues. I masked off the cockpit area of the upper fuselage and then sprayed it with primer.

After the primer cured I sprayed the area with Tamiya NATO Black and removed the masking.

I then glued the cockpit into the lower fuselage and then the two fuselage halves were glued together.

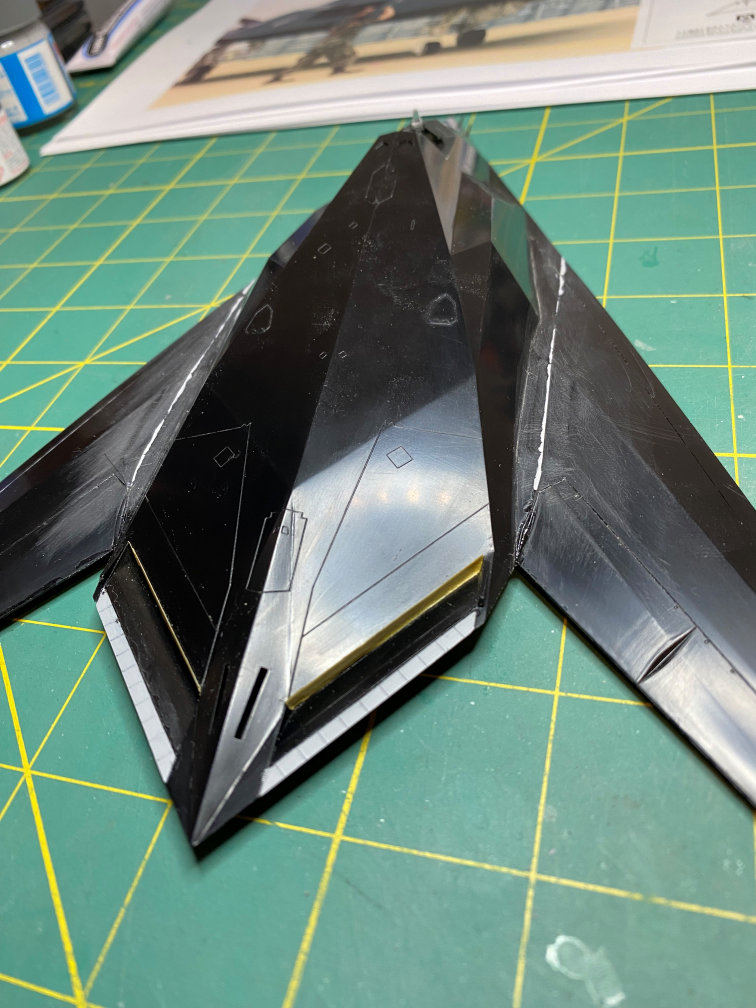
Here is a look at the underside showing the large gaps that will need filling.

The area of the joint should be smooth. One side has a slightly larger gap than the other. I wouldn’t call them canyons, but they are larger than they should be.

For the gap on the right, I applied Mr. Surfacer 500. The left gap was larger and I filled it with some styrene strip glued into place. You might also note in the above photo that I have glued the wings in place.
Here is a shot of the upper fuselage and the wing joints. If you look closely you can see the HUD has been added to the cockpit.
I’ve already done a first pass of filler and sanding. You can also see the masking tape applied to the exhaust diffuser to protect it from the primer and paint to come.
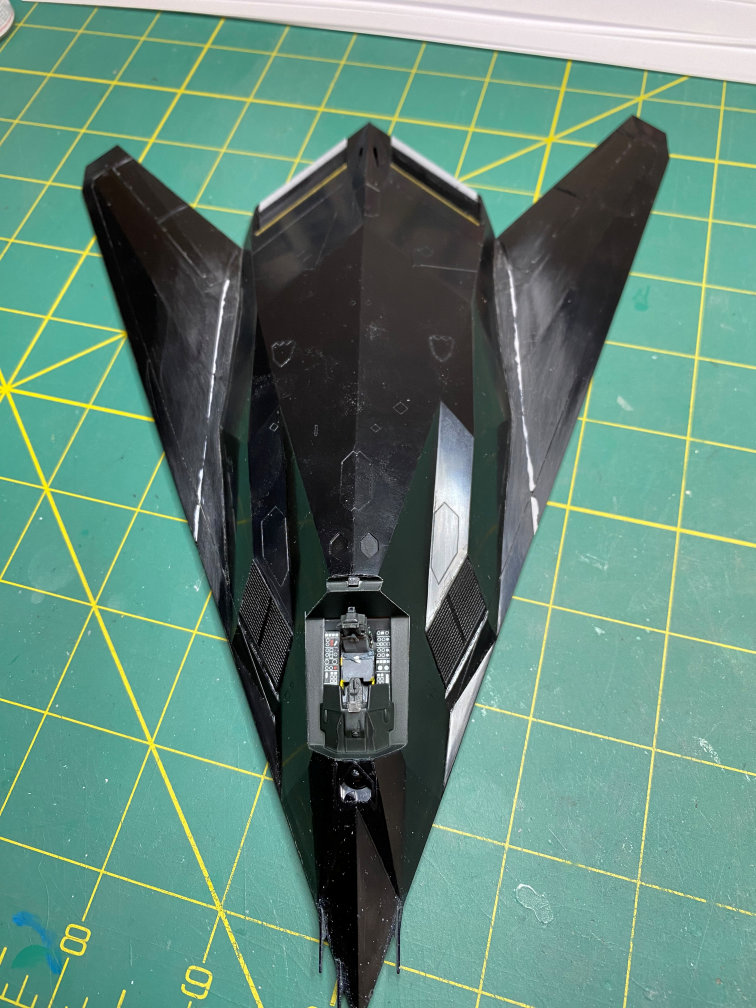
This is a front view so you can see the cockpit. If you look at the cockpit closely you can see that I had to cut the HUD down just a bit. It was not allowing the cockpit canopy to fit in place. The original part did seem a bit tall when I installed it.
Meanwhile, the bottom has had more filler added to the wing half joints. Again, the wing on the right had wider gaps and I filled them with styrene strip. The other side got more Mr. Putty 500. I also needed to add some Mr. Putty to the right fuselage side to fill in the rest of the gap that the styrene didn’t quite fill.

I masked the canopy with a combination of Tamiya masking tape and some Micromask liquid masking film. I had to use Micromask on the side windows because some of the saw-tooth areas of the windows would not show through the masking tape and I had no idea where to cut. The Micromask is clear enough that I could see the edges and was able to use a sharp #11 blade to remove the excess mask. The canopy was glued in place with some liquid plastic cement. It helped that the canopy has large areas of framing around the windows so I didn’t have to worry about any crazing of the window areas.

I then sprayed the canopy with some NATO Black rather than gray primer so when you look through the large side windows you will see black framing rather than gray framing. Everything will get gray primer later.

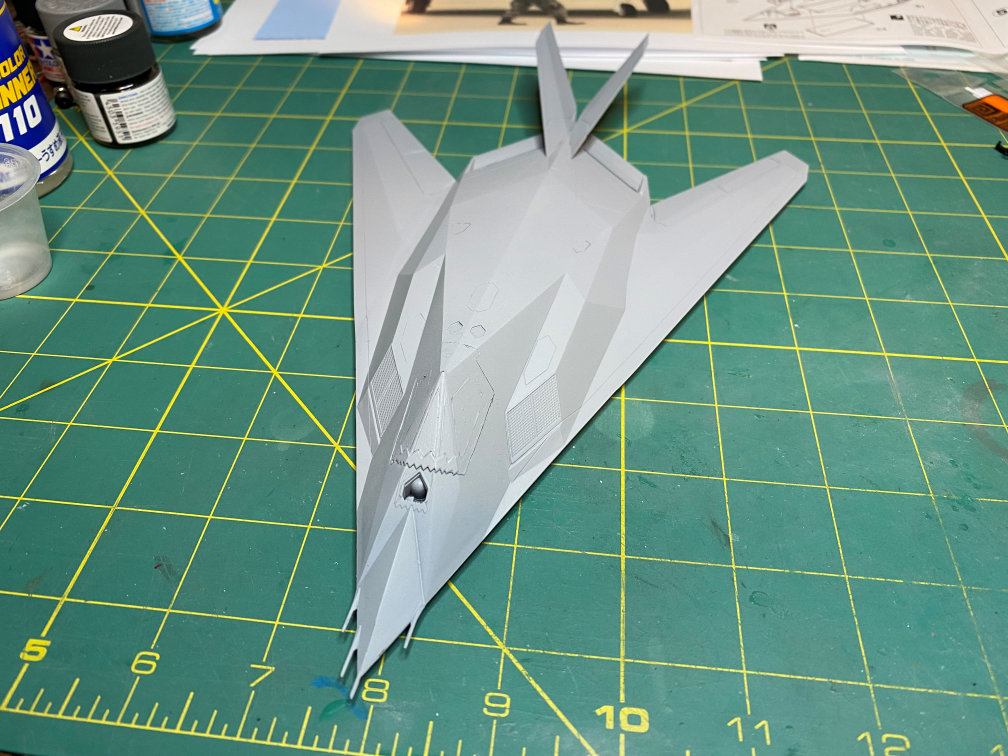
I put the tail parts on and then sprayed it with primer. That showed up some areas that needed a bit more filling and/or sanding.

A couple of more rounds of filling and sanding were needed and then a final coat of primer was added.
Here is the bottom. All the joints seem acceptable to me.

Now I need to work on the landing gear parts and then get a coat of NATO Black over the whole thing.
More to come.
