
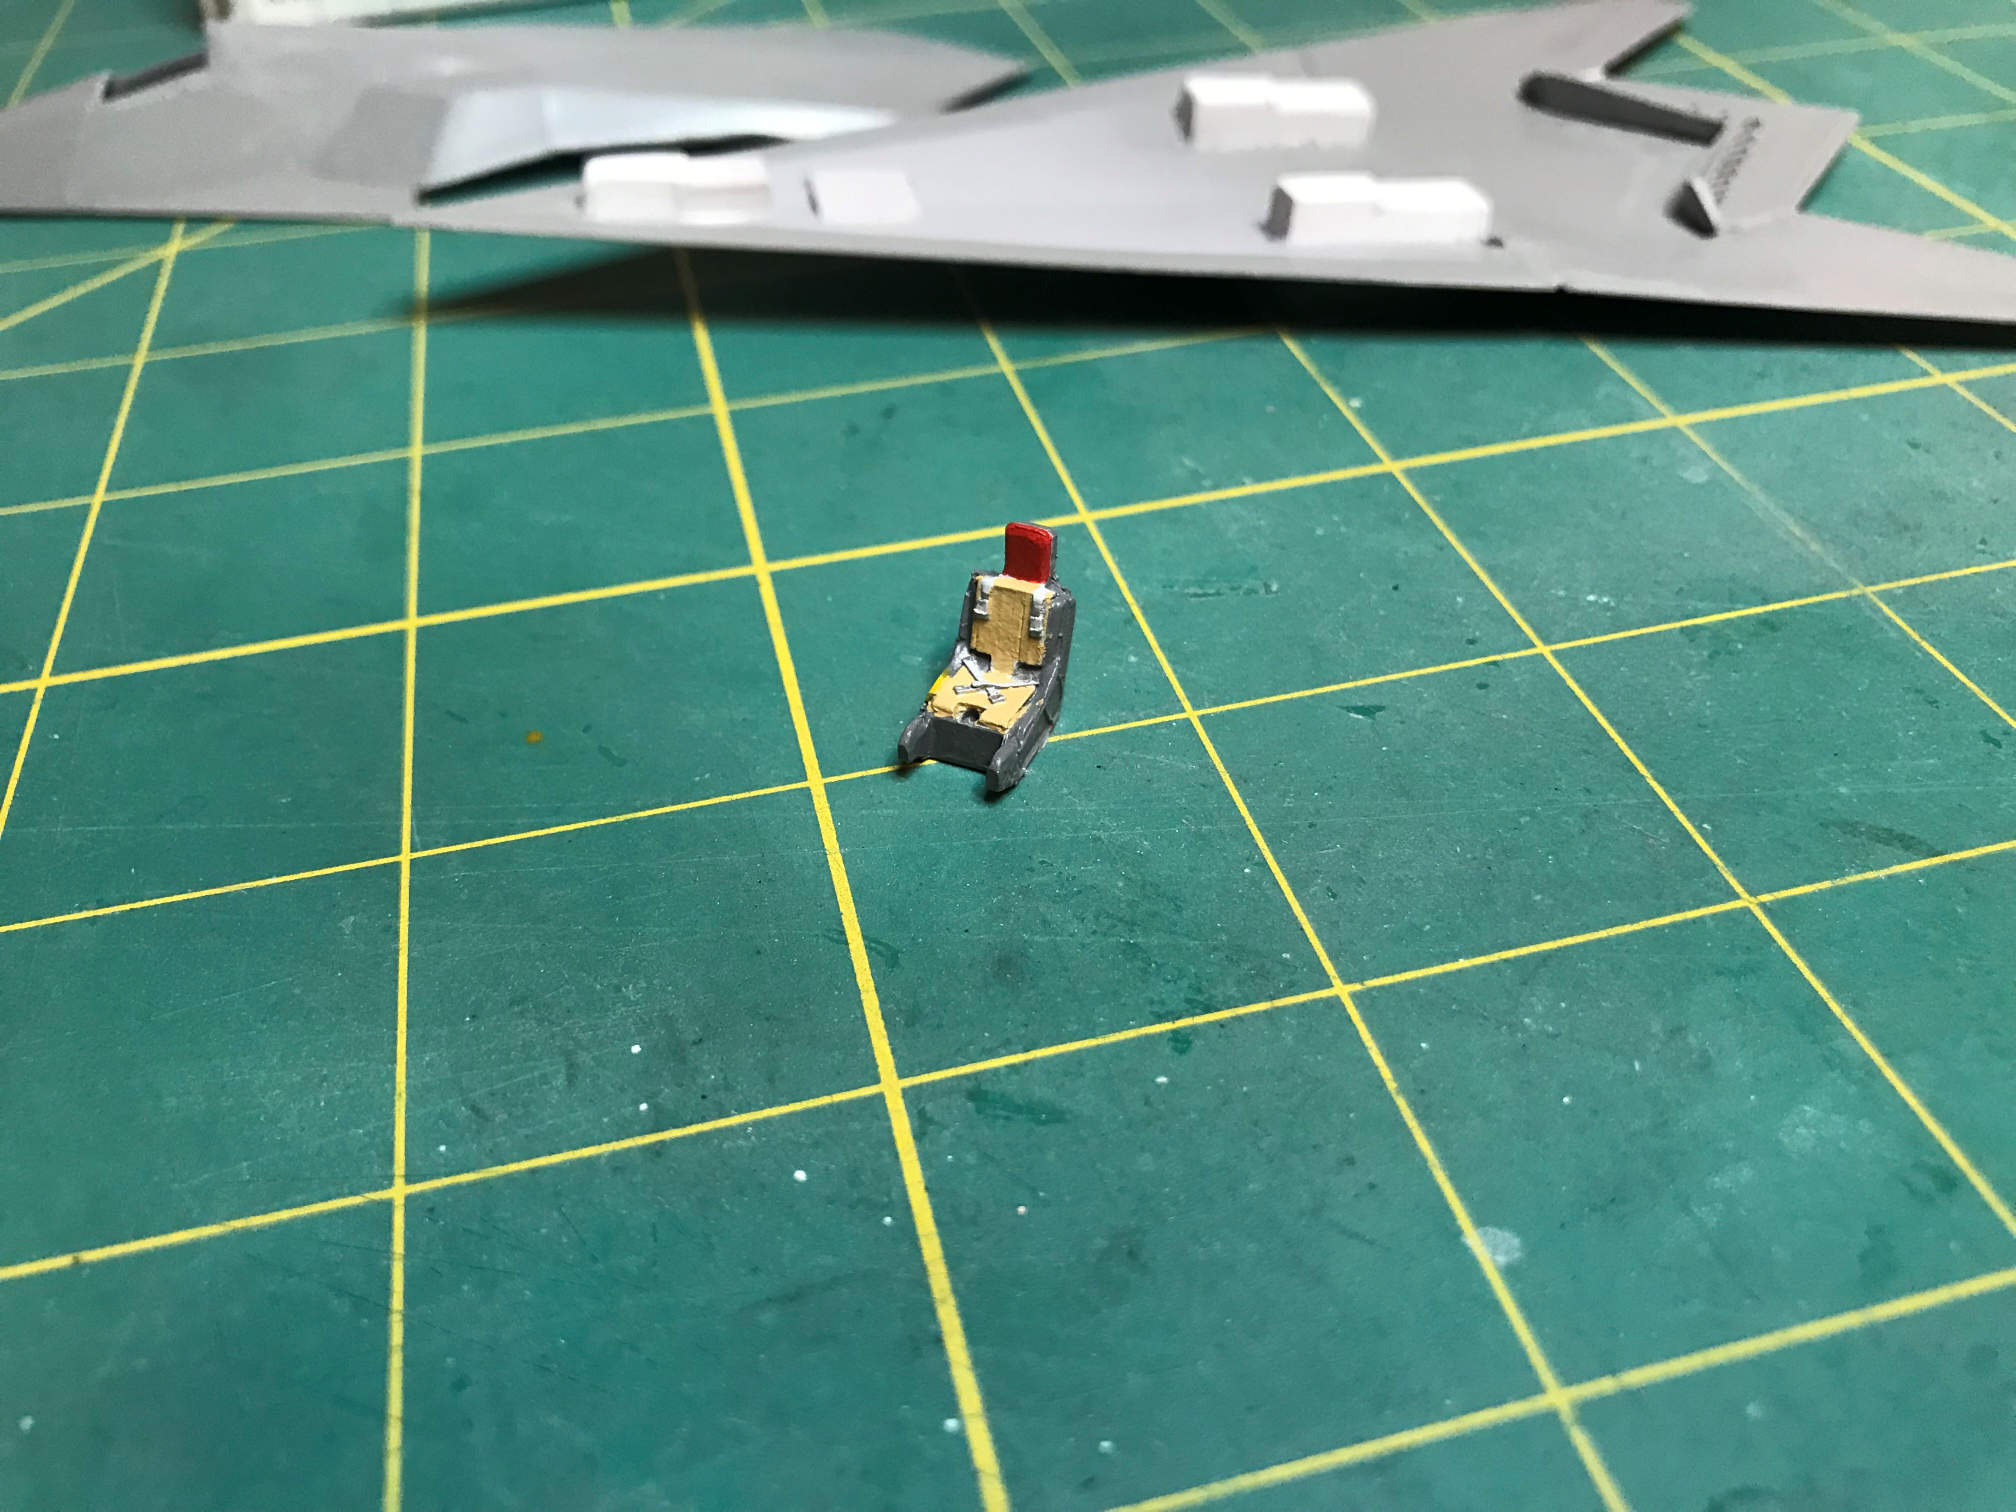
Work is continuing on the XST build. I have painted the ejection seat. I didn’t add any details to it since the cockpit will be closed. I did have to shorten the headrest section so that the canopy piece would fit.
I’ve been wondering what I was going to do about the intakes on the plane. The kit just has an engraved patchwork to represent the screens that covered the opening. I thought about some brass screen but I wanted to use something that I already had on hand. I searched all over the house for some scrap of metal screen to no avail. Failing that, I went through my spare parts boxes (three shoe boxes full) but I didn’t find anything that would really work. Then I noticed the box of Walther’s Factory Ventilation parts. I had used some stuff from those on a steam punk rocket a few years ago. I looked through the part trees and found some wall parts that had a molded in screen. They weren’t perfect but they were close to what I was looking for. I then carefully cut the existing patchwork from the model. The plastic was VERY thick. I ended up using my Dremel to hollow out from the backside and then used my X-acto knife to cut the patchwork out from the front side.


I then cut out a section of the screen wall to fit my hole and glued it into place. It isn’t perfect as I would rather not have had rectangles for the grill, but it looks far better than what the kit had.
Next, I glued the upper fuselage to the lower fuselage and then glued on the wings. The fit wasn’t great but the wings fit their openings far better than I had anticipated. They would require just a bit of filler to cover some small holes. What would require more work is the right wing that was just a bit short.

I also added about four BB’s to the nose just to be sure that it would not be a tail dragger when the landing gear went on. I then glued in the ejection seat and started adding putty to the top and bottom.


You can see from the bottom view that there are a few depressions that will need to be worked on. Either more sanding or more putty or both. Notice the large gap at the tail of the bottom. It require a lot of putty and some major sanding to get it to an acceptable shape. Also notice the extra putty where the rear lower fuselage and the front lower fuselage meet.
It is progressing nicely and is looking better than I thought it would. One thing I still need to make a decision about are the fins. They are too short. I can either ignore it or I can try adding an extension to get a better length. I’m still not sure which way I’ll go.
That’s it for now. Thanks for looking.
