
When spraying primer on the escape tower I noticed that the side where you could see the mold line had no diagonal braces molded in, even though they were on the other two sides, as seen here.

I searched through my inventory of styrene rod and found a close match, 0.3mm (about 0.010). I cut short sections and glued them to the blank side. It matches the other side very well.

Next, I masked the aft end of the Redstone where the white areas are supposed to be and then painted Vallejo 71.057 Black. The body is Tamiya White primer.

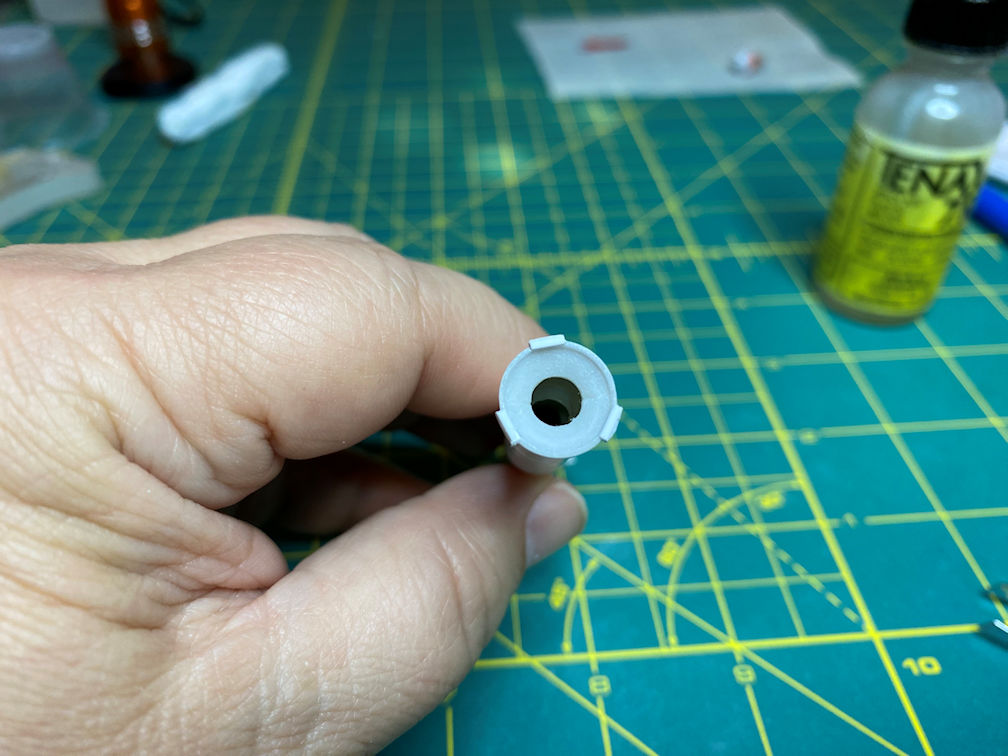
The more I looked at the adapter end of the Redstone the more I felt I had to do something about the umbilical covers that go around the clamp ring. I consulted my photos of the MR-BD flight and it did indeed have the umbilical covers. I found that the clamp ring area of the adapter on the model is about 0.030 wide. I took some 0.020×0.030 styrene strips and cut six short sections. One of which is shown below.

I removed a bit of paint where the umbilical covers will be attached for better gluing. I also put a slight curve in three of the strips and then used Tenax to glue them to the clamp ring area. I then glued the other three to the top of the clamp ring with the wide side parallel to the clamp ring.
Here is a view from the side.

When the glue had set, I used my #11 X-acto and sanding sticks to shape the rectangles into something that roughly looks like an umbilical cover. The tape in the below photo is to protect the rocket body from the sanding sticks.

Here is a view from above.

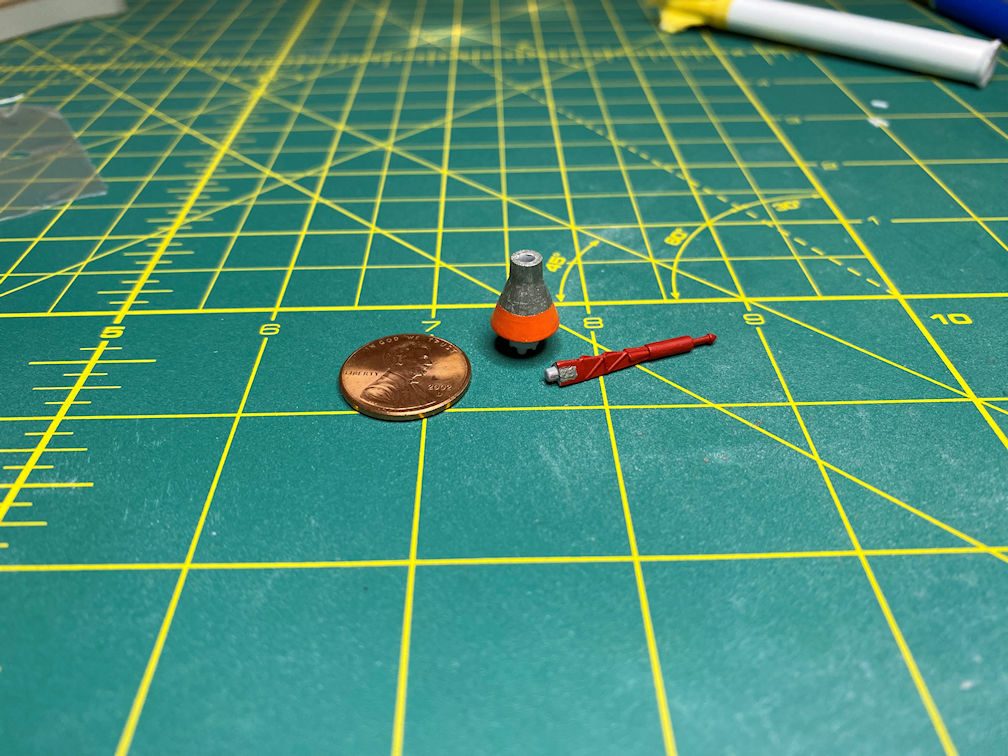
I took a break from the umbilical covers and painted the capsule and escape tower. The capsule used on the MR-BD flight was a refurbished boilerplate from the Little Joe 1B test flight. I painted the lower section of the capsule with Vallejo 70.851 Bright Orange. The upper part is painted with Model Master 1780 Steel. The escape tower was done in the same Vallejo 71.003 Red RLM23 that I used on the previous two models. Note the small silver patch on the capsule end of the escape tower. I added it so that from a typical viewing distance it would look like the antenna adapter of the boiler plate capsule.
I took a few days drawing a set of Mercury Redstone decals that could be used for any flight. My old ALPS MD-1300 printer did a good job printing them and I coated them with Microscale liquid decal film.
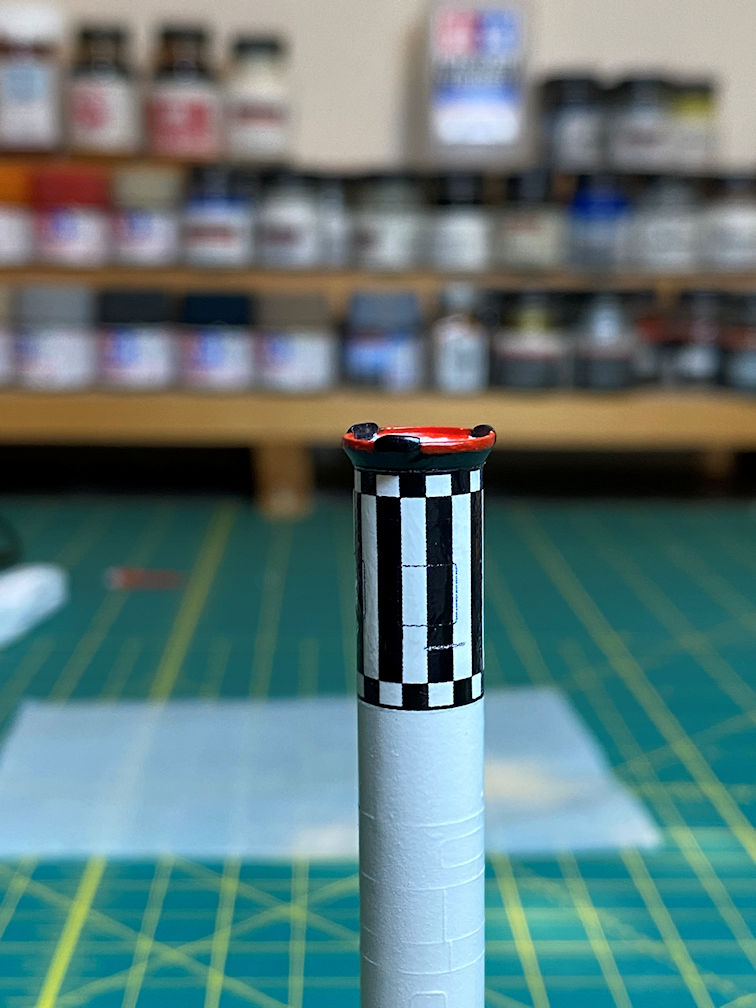
I painted the capsule adapter and umbilical covers Vallejo 71.057 Black and the clamp ring Vallejo 71.003 Red RLM23. I also applied the Instrument Section decal to the model.

The decal needs an application of MicroSol to get the decal to smooth down on the model. There was a tiny white halo at the top of the decal where I didn’t quite have the decal pushed all the way to the top. I covered that with a bit of Vallejo 71.057 Black.
Here is another view from the side.
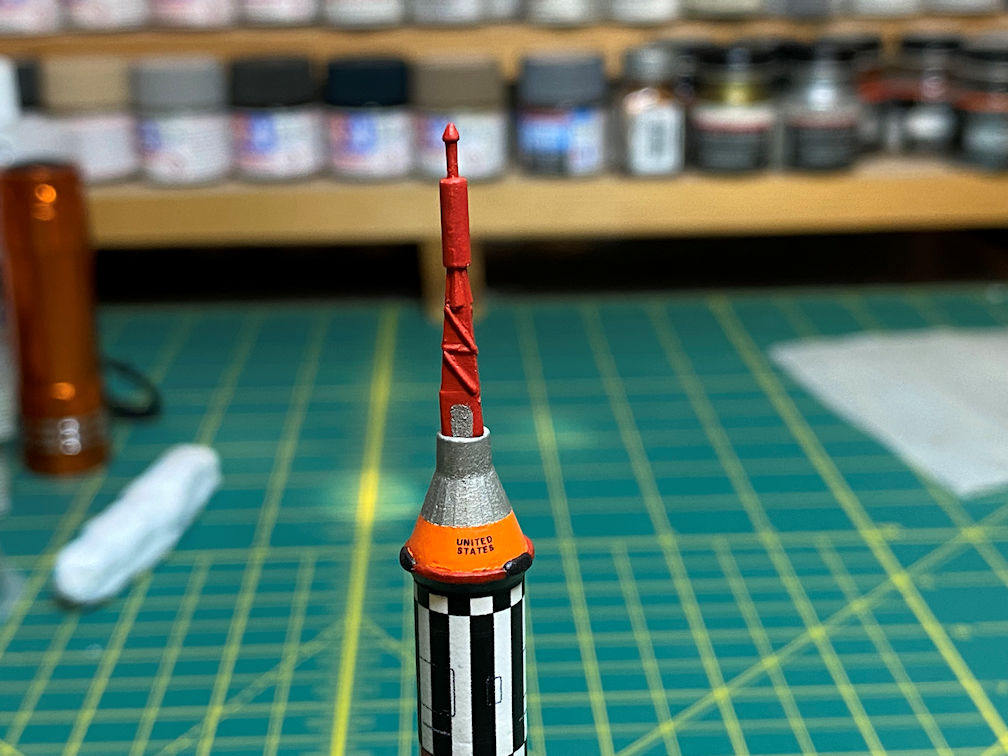
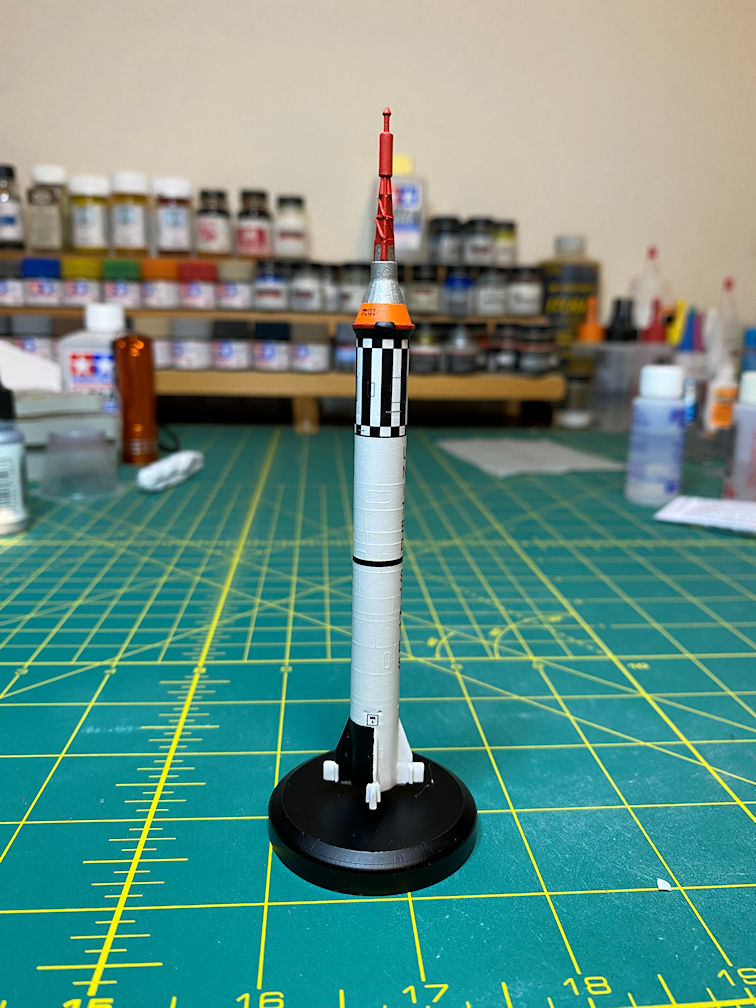
Here is a view after I applied the other decals and glued the capsule in place.

I then painted the remaining details at the aft end of the Redstone.

Next the escape tower was added.
Some of the decals were quite small. They pushed the resolution limits of the printer. The two examples are the “UNITED STATES” on the capsule and the MR-5 booster serial number on the aft end of the booster.

A few of the areas look a bit rough when viewing very close up, but at half an arms length they look fine. Here are a couple of views of the completed model.

Below is a photo of the complete family of Mercury Redstone models. Here they are from left to right. 1/48 Mercury Redstone featuring the Hawk kit, NewWare conversion set, and Revell capsule depicting the MR-4 Liberty Bell 7 flight. Then the 1/72 Mercury Redstone featuring the Horizon Models kit (2/3 the size of the 1/48) depicting the MR-1 4-inch flight. The 1/144 Mercury Redstone featuring the RealSpace Models kit (1/2 the size of the 1/72) depicting the MR-3 Freedom 7 flight (this model was built about 15 years ago). Finally the 1/200 Mercury Redstone featuring the AMT Man In Space kit (60% the size of the 1/144) depicting the MR-BD booster development flight that immediately preceded Freedom 7.

This was an interesting and at times challenging build. I hope you enjoyed following along.
Thanks for looking.
