
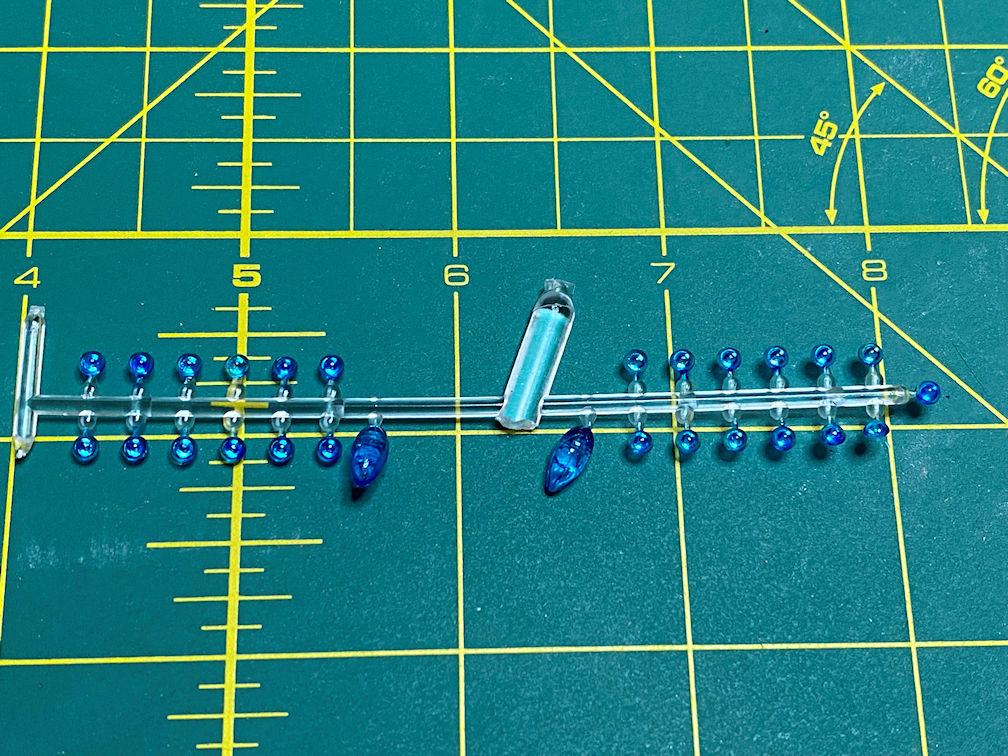
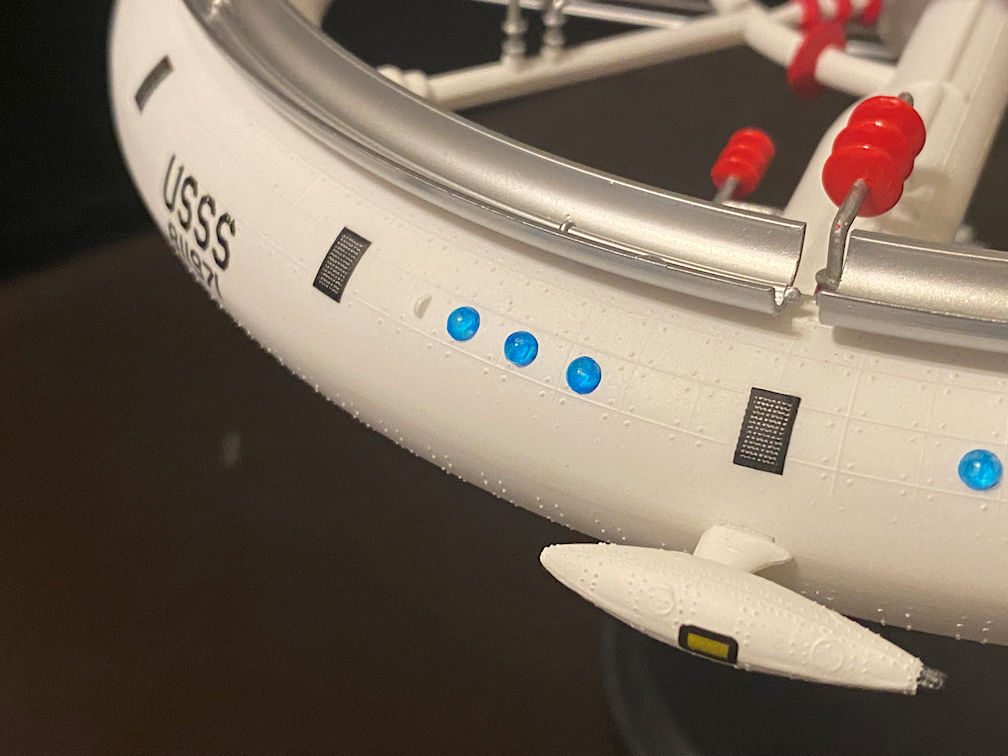
I got time to get back on this build. I continued painting with the clear parts. I wanted to have windows that would have some color to them. I used Tamiya X-23 Clear Blue and painted the outside of each window and the cockpit windows for the two space cars. The color looks great. It is glossy and should really make the windows pop. I painted them on the sprue because they were far too small to hold and paint.
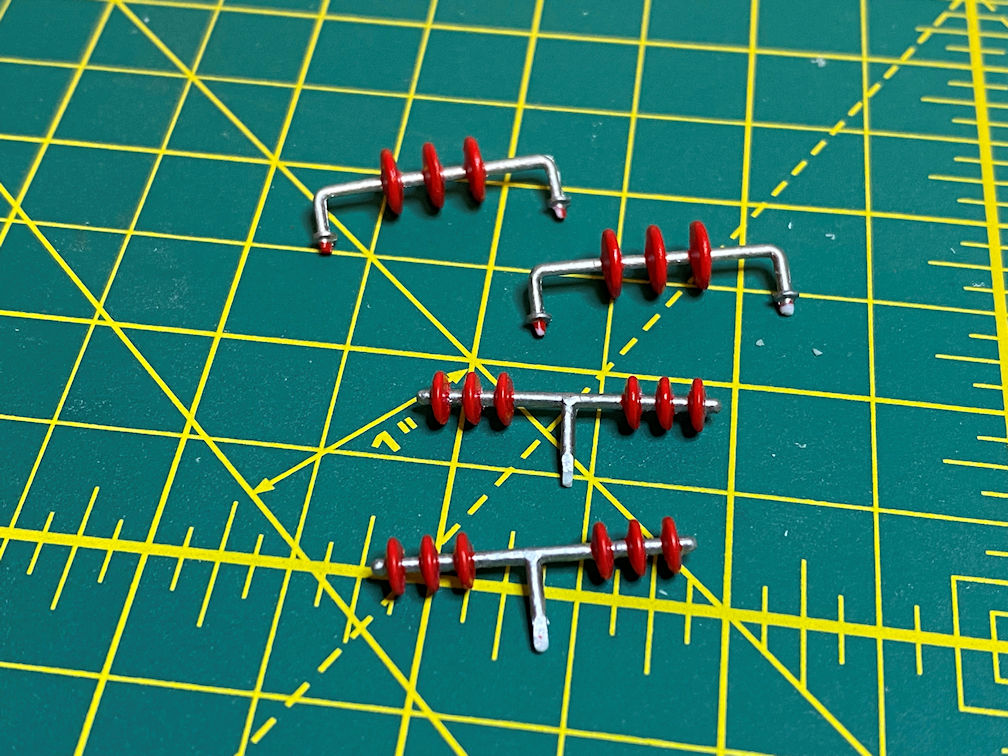
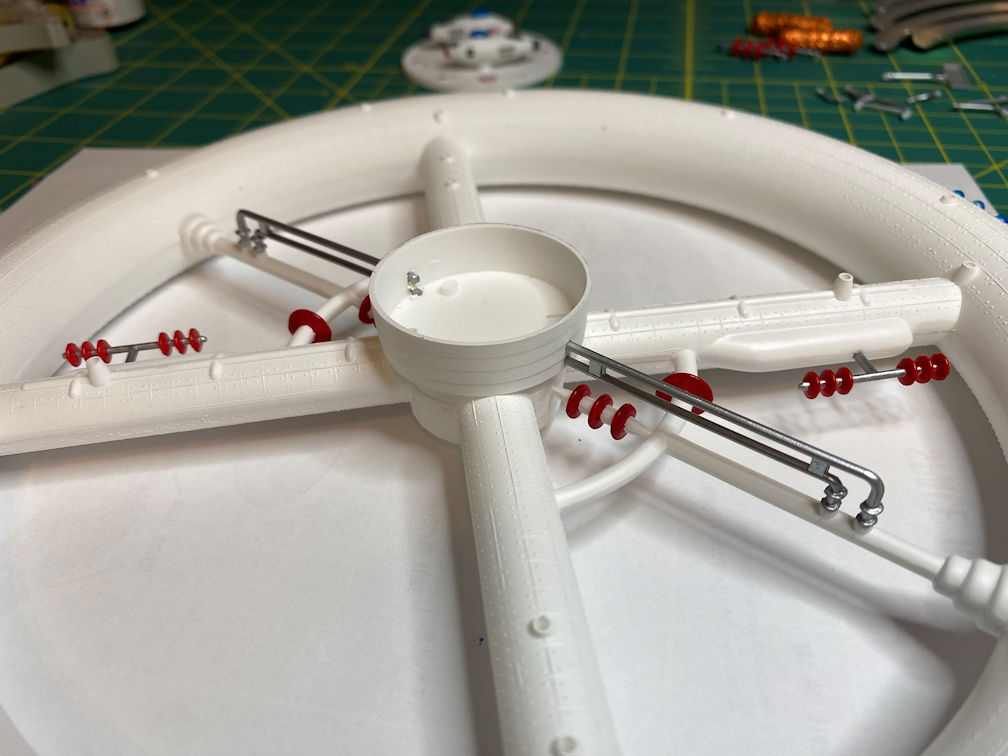
I then moved to the Gas Condensers (bottom two in the photo below) and Solar Heat Exchangers. I started by painting them with Tamiya XS-86 Pure Red. I then used Vallejo 71.063 Silver RLM01 to paint the pipes.
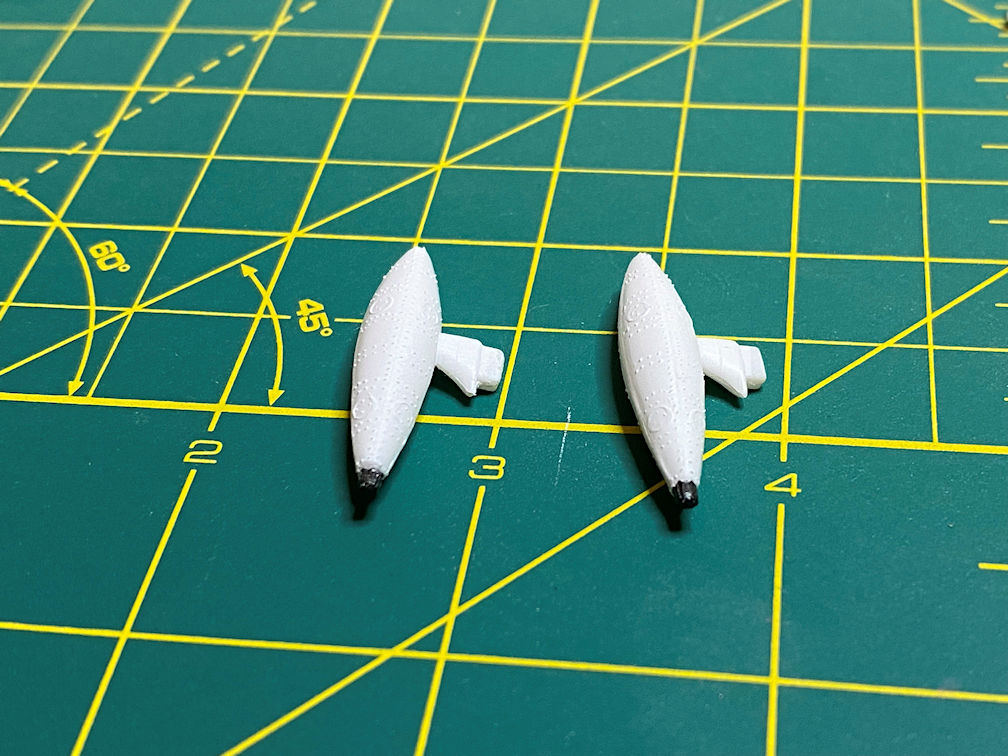
Next up were the details on the Space Cars. The rocket nozzles were painted in Tamiya X-10 Gun Metal. I painted the fin-like protrusions with Tamiya XF-56 Metallic Gray. For the nose I used Vallejo 71.102 Red. The photo shows them on the landing platform but they are not glued in. It was just a convenient place to put them while they dried.

I also painted the nozzles of the stations rocket engines. I used the same Tamiya X-10 Gun Metal that I had used on the space cars.
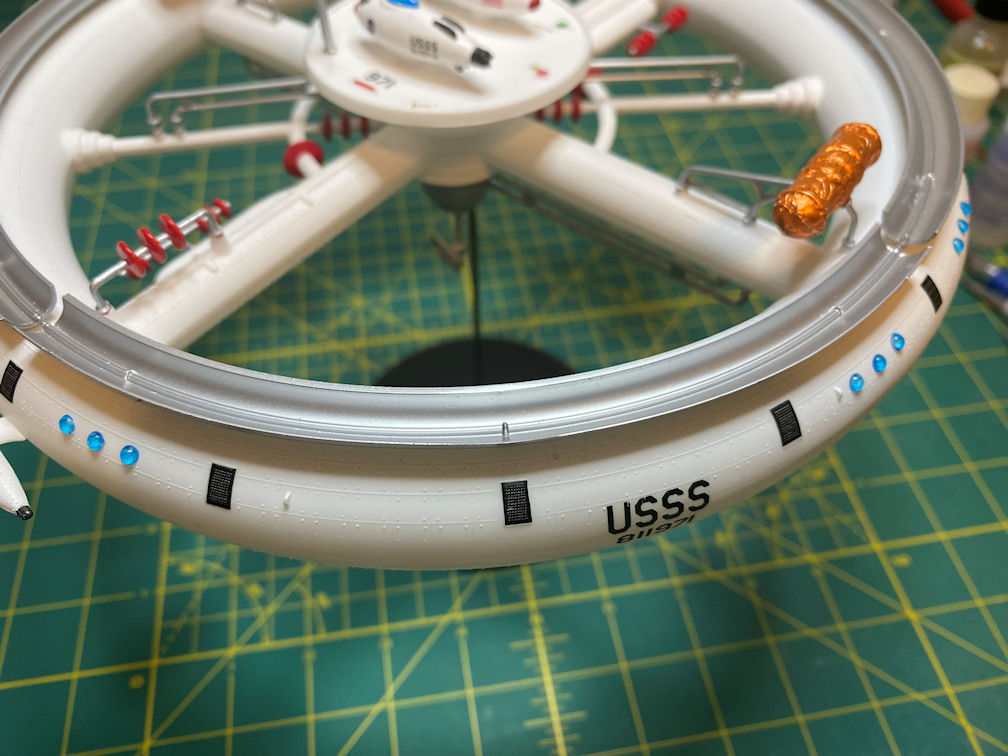
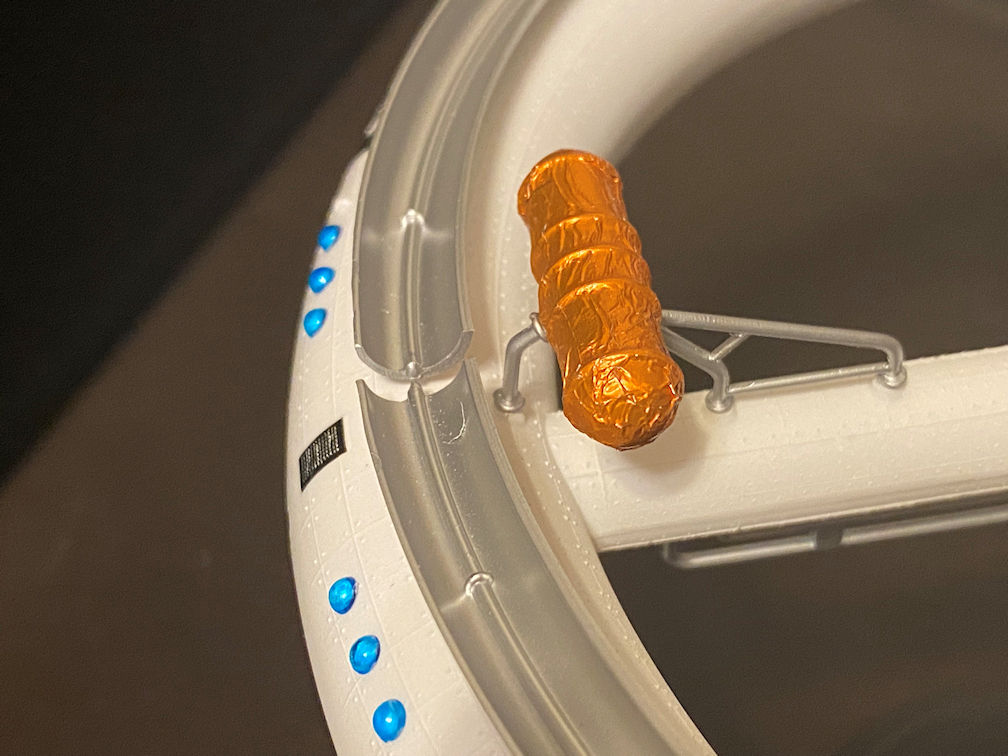
For the storage tanks I decided that I wanted a different look. I used some gold foil from some Reese’s Easter Peanut Butter cups. I covered the back side with some MicroScale Micro Foil Adhesive. I then used some strips of that to cover each storage tank.

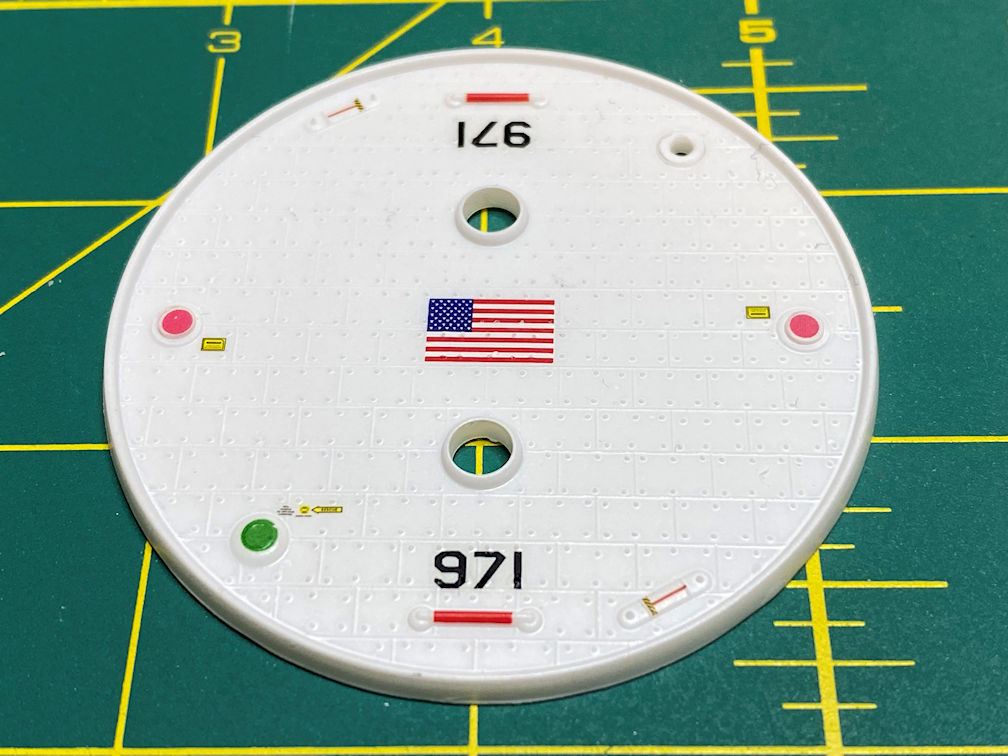
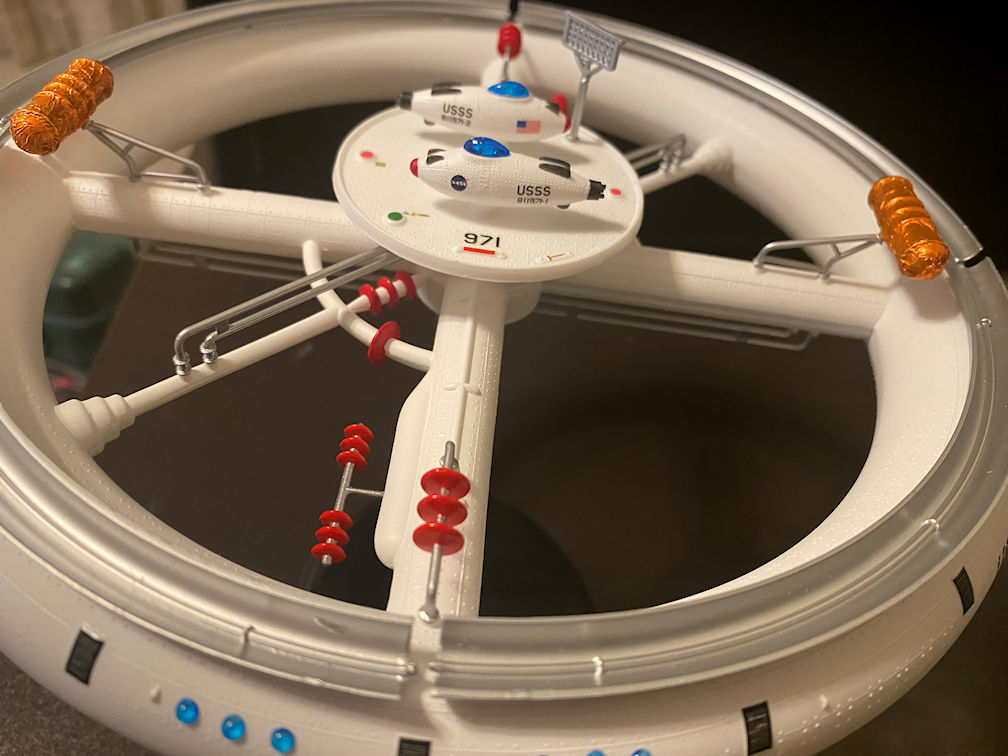
Now it was time to start applying decals. I began by spraying the landing platform with Tamiya TS-13 Clear to allow the decals to lay down without silvering. I used decals from several spare decal sheets. Some came from the leftovers from my BanDai Millennium Falcon. Some were left over from the BanDai X-wing build. The colored circles came from a set of decals that were supposed to be used on a 1/200 scale 767 model with a Pokemon theme. The reason those are spares is when I started to use them on the 767 model it didn’t turn out well (disaster) and I switched to a different set of decals for the 767. But the left over decals were great for this application. The flag came from a page of flag decals that I’ve had for a few years. Finally, the 971 decals were from the kit. When the decals had dried I coated them with a light layer of Tamiya TS-13 Clear and then Tamiya TS-80 Flat Clear.
Next up were the space cars. The main decal came from the kit. The NASA decals came from a sheet of NASA decals of various sizes that I’ve had for some time. The flag decals came from left overs from a Horizon Models Mercury Capsule model.

I also glued on the cockpit windows after spraying the gloss then flat clear coats on the space cars.
I next applied decals to the bottom of the station ring. First, I carefully sprayed clear gloss on just the main ring. The squares came from a set of decals meant for an Estes Mars Lander rocket. The flags came from the above referenced flag decal sheet.

I then turned it over and applied the kit decals around the ring. The circular cross decal came from left overs from a 1/100 scale Estes Saturn IB rocket. The rivets on the ring created a bit of a challenge to get the decals to lay flat. It took several applications of Micro Sol and some carefully placed knife cuts to finally get them to lay down.

After that I sprayed clear gloss then flat clear over the decals on the main ring. By the way, the reason I spray clear then flat clear over the decals is that the flat clear can attack decals if they are not first protected with a clear coat.
I pulled a couple more decals from the 767 decal sheet to give the station rockets some detail.

Now that the decals were all applied, I could start the final assembly steps.
I began by adding the station windows, the station rockets and the upper conduit pipes. The windows really came out great and a nice pop of color.

Here is a better look at the upper conduit lines. They fit will into the holes I had drilled in the airlock. Note that I have also added the Gas Condensers.
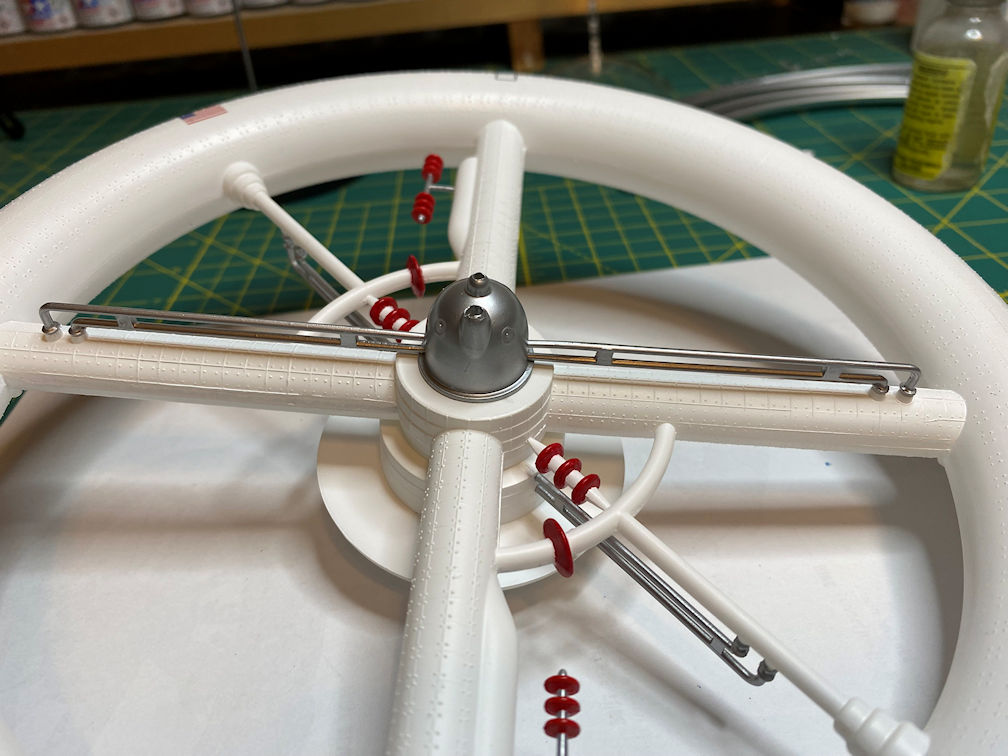
Before I installed the communications dome and the lower conduit pipes, I wanted to revisit the attachment to the model base. The more I studied it the less I liked it. The base itself was fine, but the weight of the model and the flimsiness of the plastic riser that the model would be supported on just seemed like a potential disaster. I had a wood base that I had made previously for a different model. I ended up using a different base for that model so now this base was available. It used a 3/32 inch steel rod. That would be heavy enough to hold the model. That meant I would have to enlarge the original 1/16 inch hole in the Communications Dome. After doing that, I glued the dome and pipes to the station.
I added the Landing Platform and installed the radar mast to the landing platform.

Then the Solar Heat Exchangers went on.

Next came the storage tanks and their support piping.

Then the mercury boilers were added.
Finally the antenna was added to the communications dome. You can also see the larger rod that connects the model to the base.

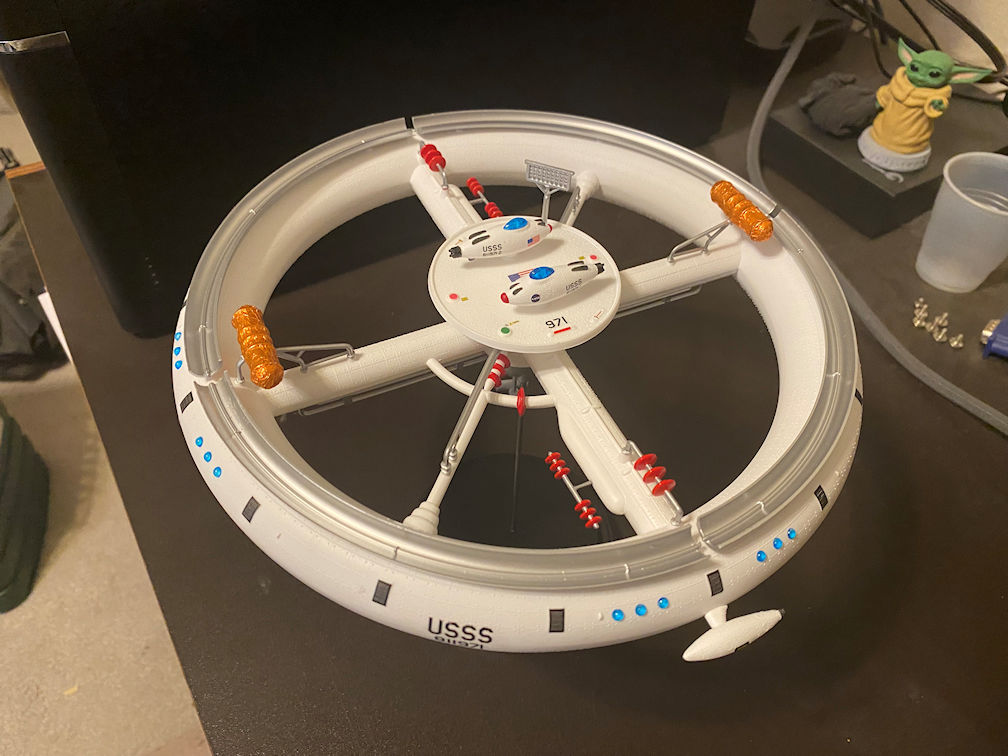
The model is now complete. I might put a slight bend in the rod to give the station a bit of a tilt.
Here are some completion photos.


That completes this model. It had a few challenges but not that many. It was a nice change of pace. By the way, the names that I’ve been using for the parts on this model came from a copy of the original 1956 instructions.
Now back to the stash to see what I might want to do next.
Thanks for looking.
