
I began assembling the lower ring half by using the upper half as an alignment jig. I placed one lower ring section on the upper half and then glued just the spoke connector to the upper half. I repeated the process with the other two lower ring sections gluing the ring sections together as I went.
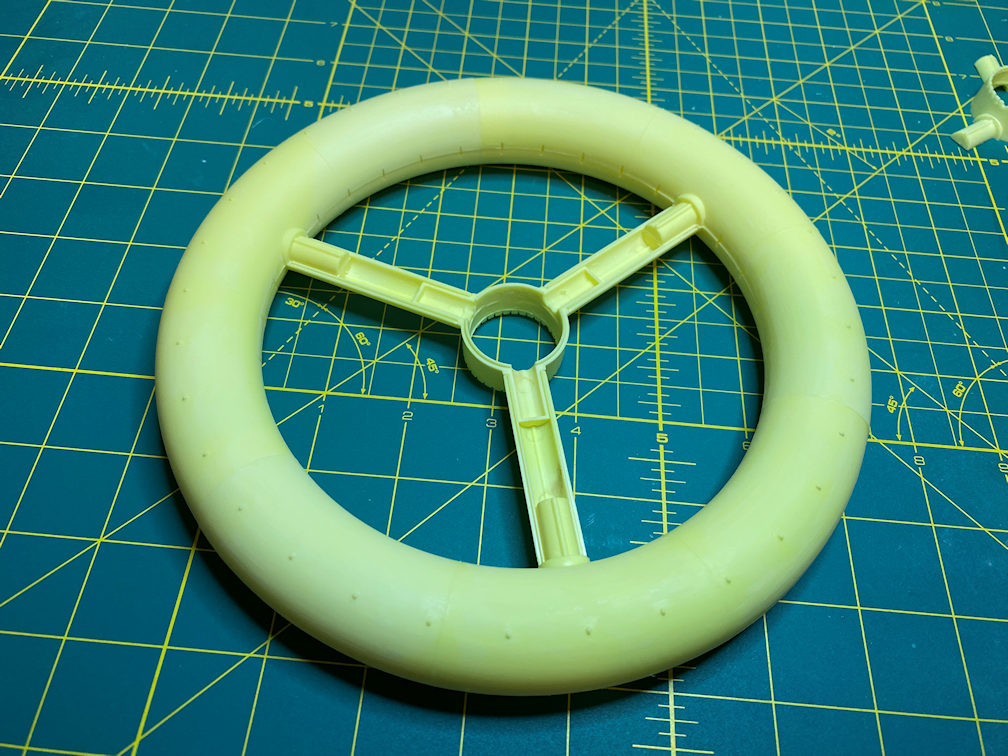
Once all three were glued on, I then started gluing the upper and lower ring halves together. The fit wasn’t too bad. I glued the outer joint first and then the inner. There will be some sanding and filling, of course. The fit seemed better than the Lindberg Space Base.
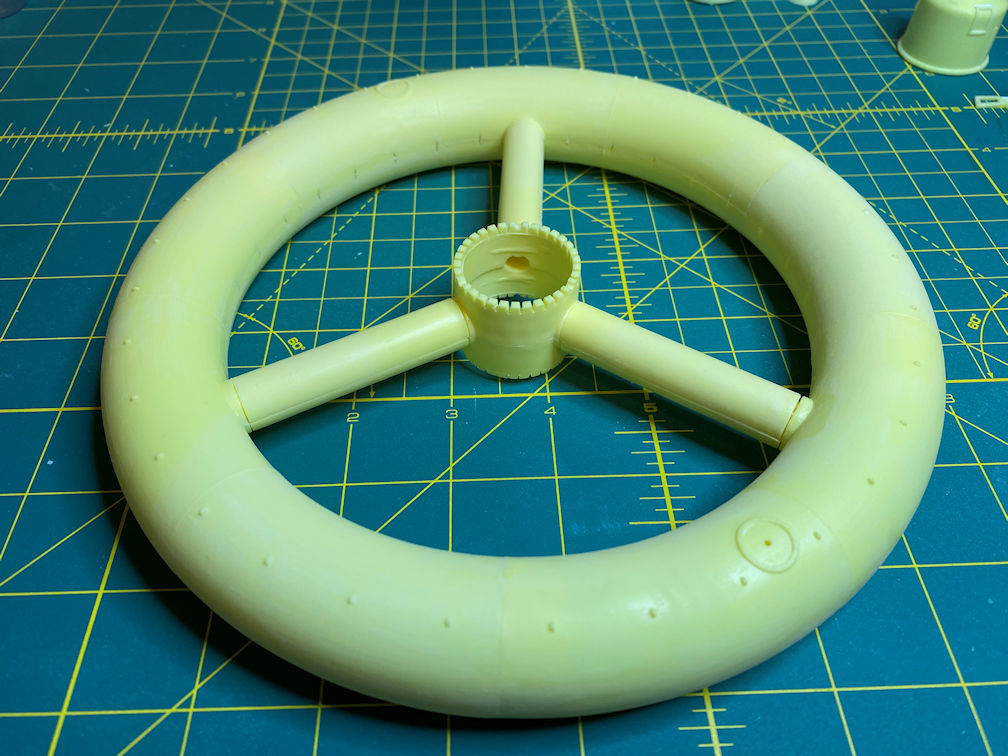
I then glued the lower hub section to the upper hub.

Then came the other spoke halves. The main spoke halves have some serious gaps that will require filling.

Continuing with the sub-assemblies, I had to thoroughly sand the lower hub dome. It had quite a bit of surface roughness. Not as much as the ring halves, but the roughness was distributed pretty much over the entire part.
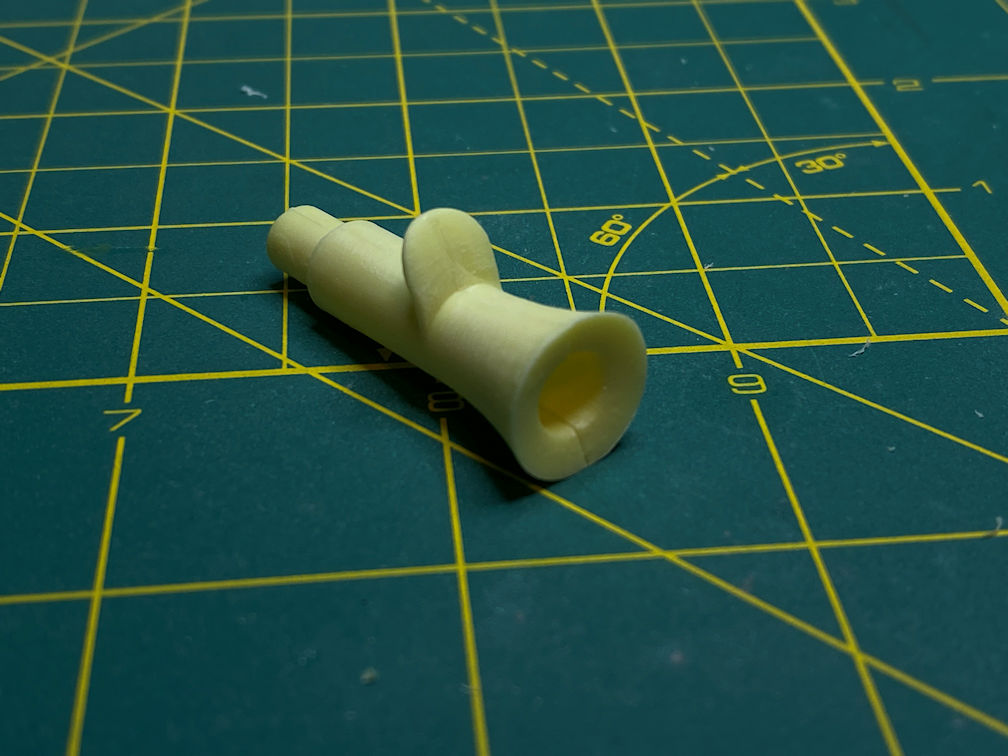
I then started cleaning up the three nodules that fit into the dome. I have no idea what they are supposed to be. The instructions do not name them. Here is a photo of one that has been cleaned and one just removed from the sprue.

They have some flash on the edges and on the locator pin that needs to be removed. After that I test fit them into the dome. Unfortunately they wouldn’t go all the way in. I got one of my drill bits that fit the hole and drilled them out. Now that they have no bottom the nodules fit just fine. Here is a photo showing the part fit where I have drilled one hole and another one not yet drilled.

I then cleaned and installed the rest. Here is a photo of the completed dome.

Next I cleaned up and glued together the part that connects the station to the base. I have no idea what that part is called or it purpose. Use your imagination.
There is still a bit of seam filling to do here.
I also thoroughly sanded the base parts. They were rather rough, similar to the ring halves. The pillar is not glued to the base yet, it is just a dry fit. Some filling will be done here as well.

I glued the parts that appear to be door frames to the upper dome.

They don’t completely fill the depressions in the upper dome. I’ll have to fill those gaps.

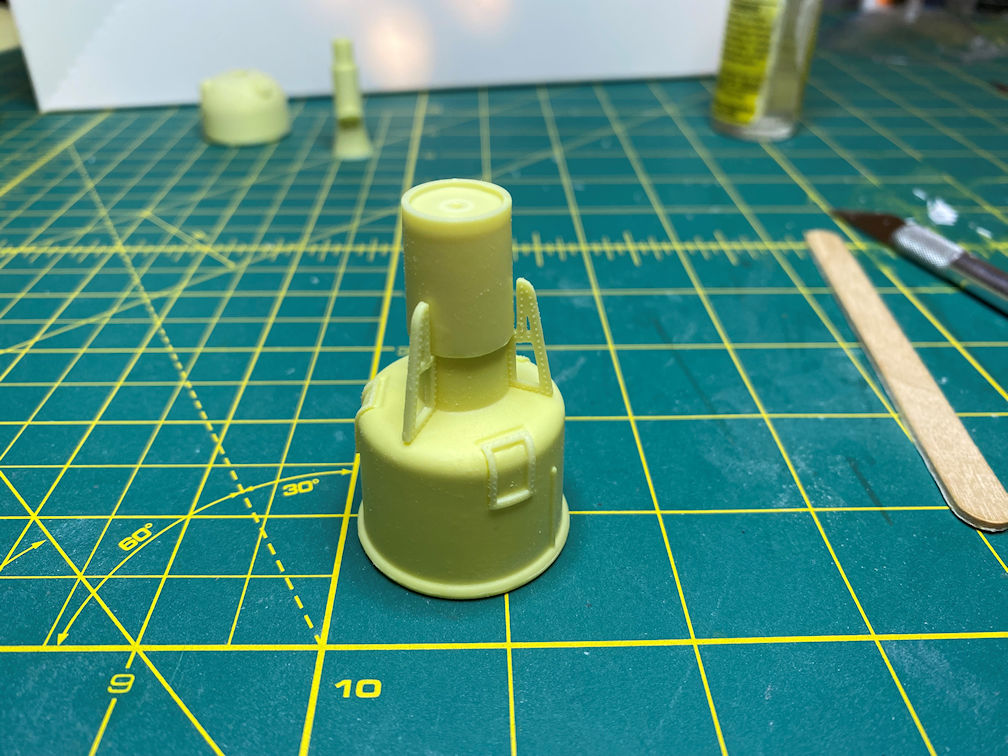
I did a test fit with the antenna section braces and noticed that the antenna section did not go down far enough to touch the braces. I sanded the top of the dome part to reduce the height enough for the antenna section to touch the notch in the braces. Here it is part way through the sanding process.

Note that the braces are not glued in. I’m just doing a test fit right now. Here is a photo after the sanding is complete. The antenna section fits the notch now. Note the gap between the antenna section and the brace. I will have to add some strip styrene to the braces to get them to touch the antenna section. The antenna section will not be glued on until its decal is applied.
The fit of the braces needs to be close but not so close that it rubs off the decal. I used some .020 x .040 strip to fill the gap. In one case I had to add an additional partial strip of .010 x .040 to get the gap filled. Here is a picture showing the first brace with the gap closed up.

I also used some .010 x .040 strip to fill the gaps between the door frames and the dome.

There will need to be a bit of filler added to finish the job.
I went back to the ring and finished the sanding of the ring and spars. I still need to add some filler putty to finish off the remaining gaps.
That’s it for now. It’s almost ready for primer. Thanks for looking.
