
I applied primer to the main ring, stand, lower dome, and upper dome. The main ring showed a few areas that needed some more sanding. It also showed that I had removed a bit more of the raised panel lines than I had thought. I considered sanding them off and then re-creating them using some fine styrene rod. An initial attempt did not go well.
I also thought about just sanding off the raised lines and leaving the surface smooth. Unfortunately there are some decals that number the ring sections and the numbers are lined up with the panel lines. With no lines I’d have to guess where they were meant to go. Plus, these are simple straight lines so they should not be that hard to do.
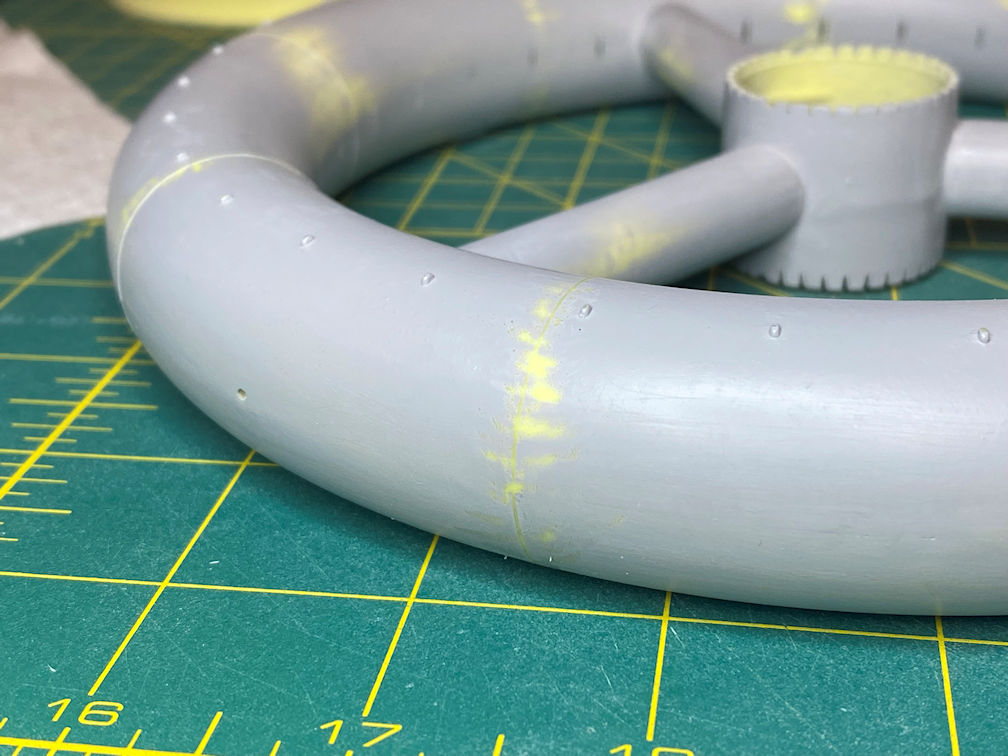
I decided that I would just remove all the raised lines and scribe new recessed panel lines. Here is a photo of the molded in panel line.

Sanding them off resulted in a smooth surface with a faint hint of where the panel line was.
I then applied some tape around the ring where I wanted to scribe the new panel line.
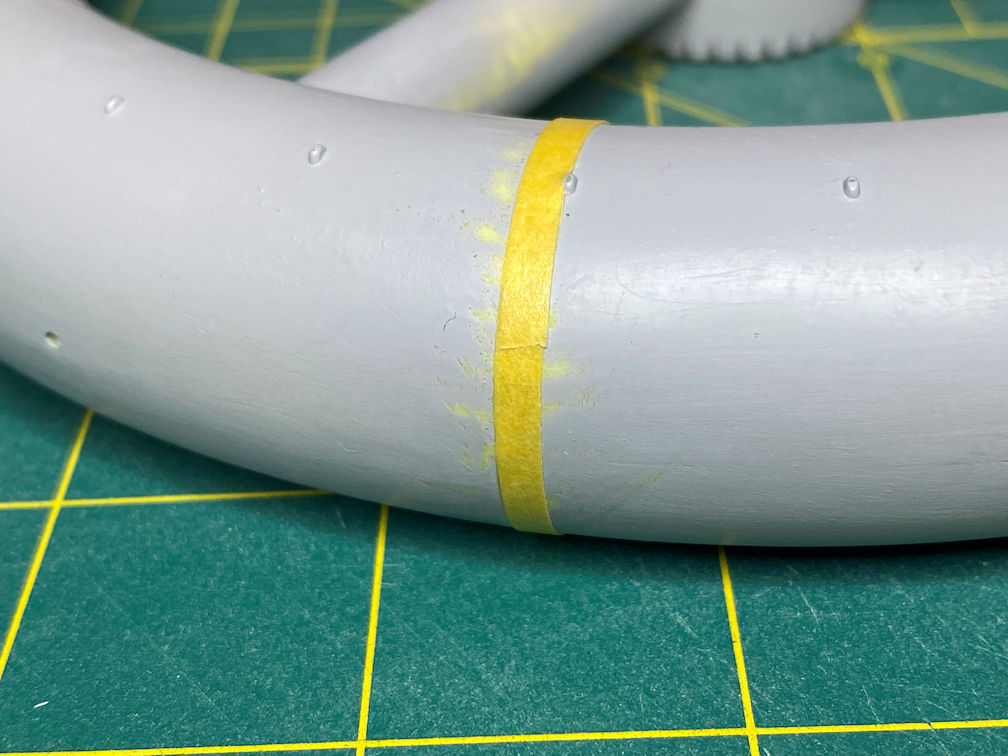
I then carefully scribed new panel lines using the tape as a guide.

The tape then came off and I lightly sanded the new panel line to remove any raised area that the scribing process created.

That left me with a recessed panel line.
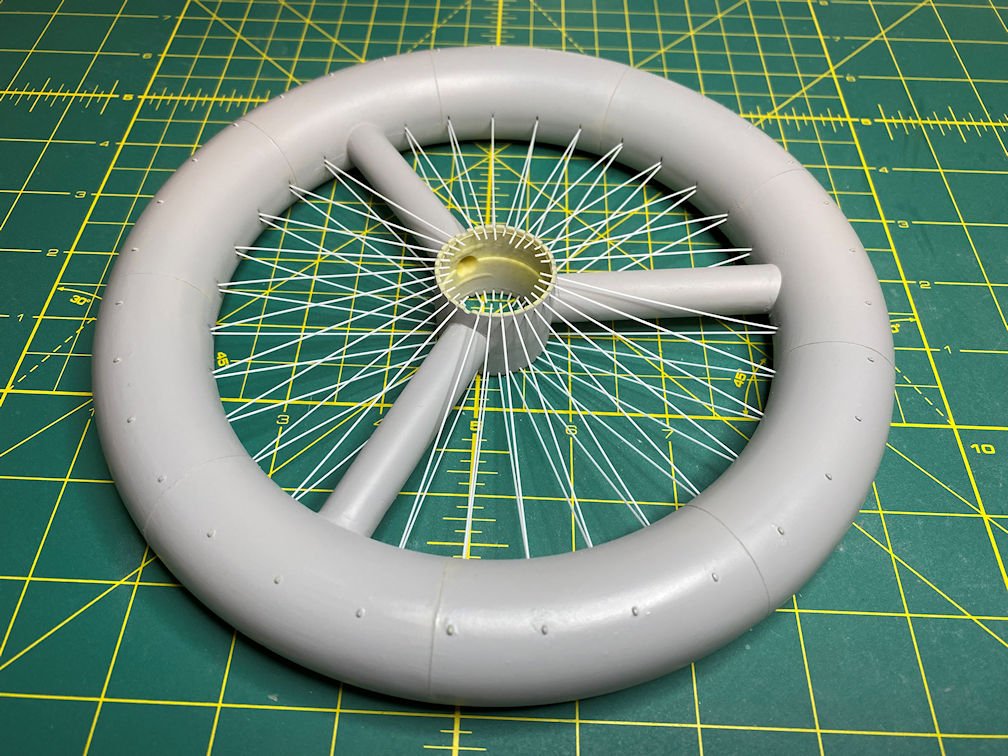
Next up was to start adding the the fine spokes to the station. I used .020 styrene rod cut into 2 5/8 inch sections. I began with the spokes that lead from the ring to the upper dome. The core section had 10 “V” shaped notches per third of the ring. I placed one end of the spoke on the core notch and then put the other end into the main ring at the other set of “V” shaped notches. Her is a photo after doing one third of the upper set.

The fit at the ring end was not exactly consistent and I needed to open some of the notches to get the rod to fit inside. A few of the notches were a bit too large. For that reason I made sure to glue the ends of the spokes once I completed a third of the ring. A bit of care was needed to be sure the rods were stressed just enough to remain straight from one end to the other. Also some spokes wanted to bend a bit up or down. That was adjusted by working with the core end pressing the overlapping end a bit up and down until the spoke was straight. Then the core ends were glued to lock everything in place.
I continued that process until the other two thirds of the upper section was complete. Here’s a photo.

After letting the spokes cure for a couple of hours I turned the ring over and repeated the process on the lower side of the ring. This was a bit different than the top side. The core notches were smaller than the upper side. This required a different approach.
For the lower side I took a .020 drill bit and drilled a hole that ran from the bottom of the “V” notch at an angle. This would hold the spoke firmly and also have the angle built in so that the spokes were straight from the core to the ring. The process went relatively quickly and in a hour so so it was complete. Here is a photo of the completed spokes looking at the bottom side.
Before the lower dome can be attached I needed to trim off all the extra rod at the core end so the lower dome lip will fit inside the core. I didn’t need to do that with the upper side since the upper dome has it’s lip on the outside.

After cutting off the excess spoke, I sanded the inside of the core until the lower dome fit without warping any of the spokes.
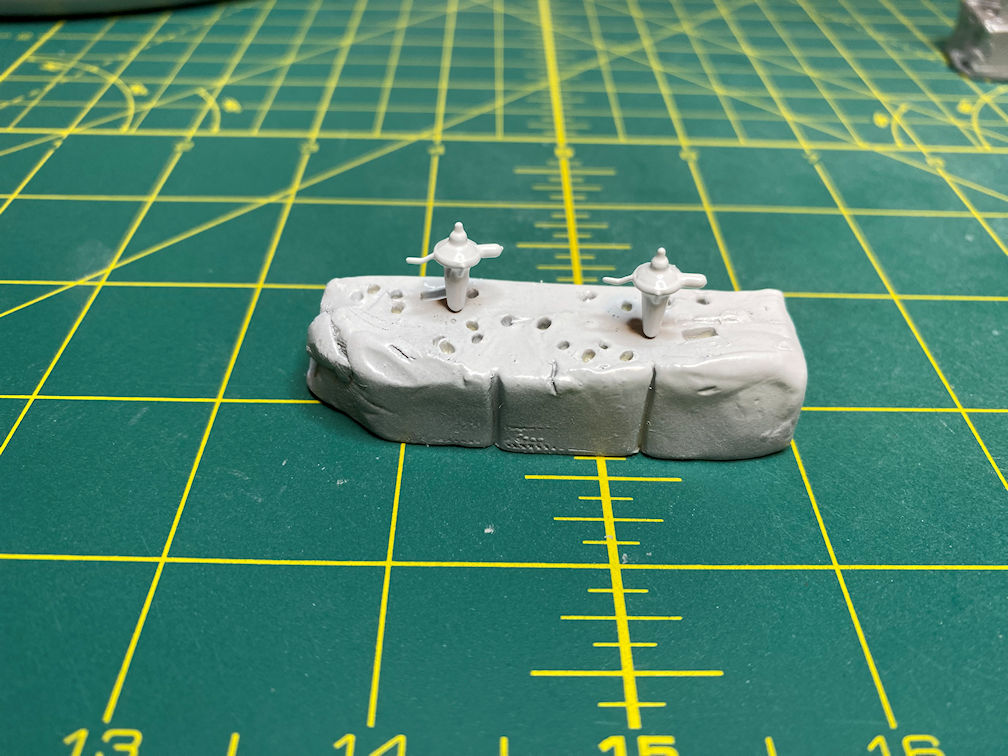
I then started the paint process by masking the lower dome part and spraying Tamiya TS-86 Pure Red.
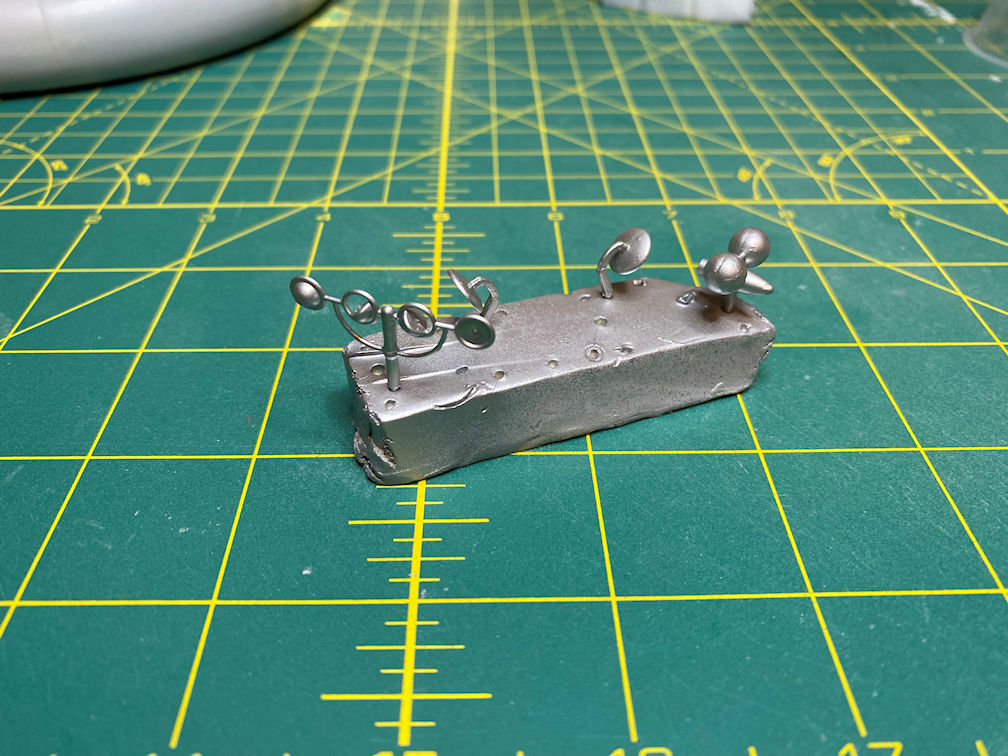
I also sprayed the antenna parts with Tamiya TS-30 Silver Leaf.
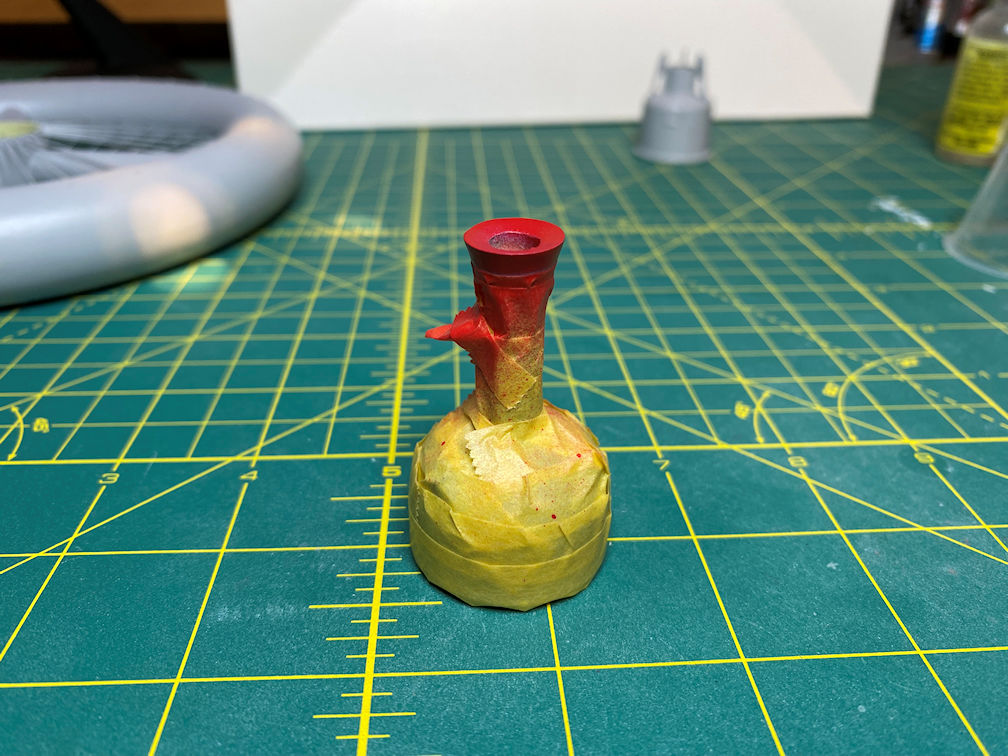
The bottle suits were sprayed with Tamiya TS-26 Pure White. I’ll paint the details on them later.
The antenna section of the upper dome was also sprayed with white to prepare it for the decal which needs to be applied before adding it to the dome.

I also studied the line drawing in the instructions and determined the proper orientation of the upper and lower domes. I then marked the domes and ring core on the inside so when I glue the domes on they’ll line up properly. Here are the marks inside the domes.

Here are the marks inside the ring core.

The station is starting to come together. There is more painting to be done but I can see the light at the end of the tunnel.
That’s it for now. Thanks for looking.
