
I completed the work shown here a couple of weeks ago but had no time to make a post. Things got busy at the house with putting on a new roof and getting a new hot water tank installed. Then my video card decided it was time to die. It took a few days to get a new one. I also had to get a new monitor since none of the monitors I already have include an HDMI or DisplayPort interface. Now with all that behind me I can finally make the post.
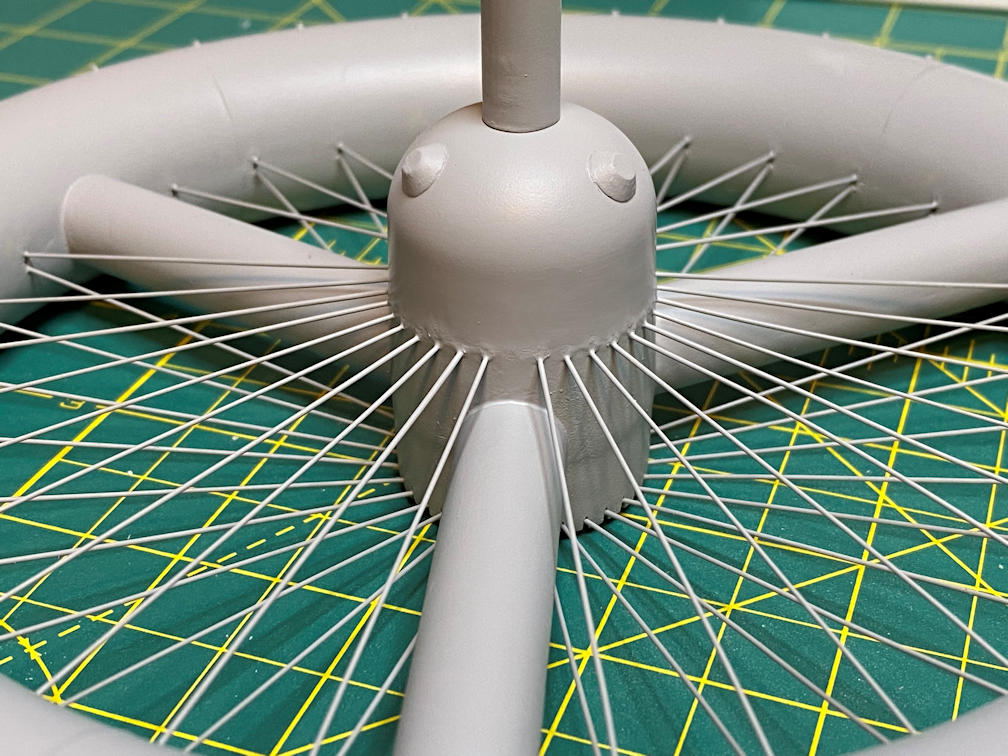
After getting all the spokes on, I glued the lower dome to the core. I then used some gap filling CA to fill the remaining “V” notches where the spokes met both the core and the ring.
I then sprayed the upper dome Tamiya White Primer. I decided that I would go with a white space station instead of a yellow one.
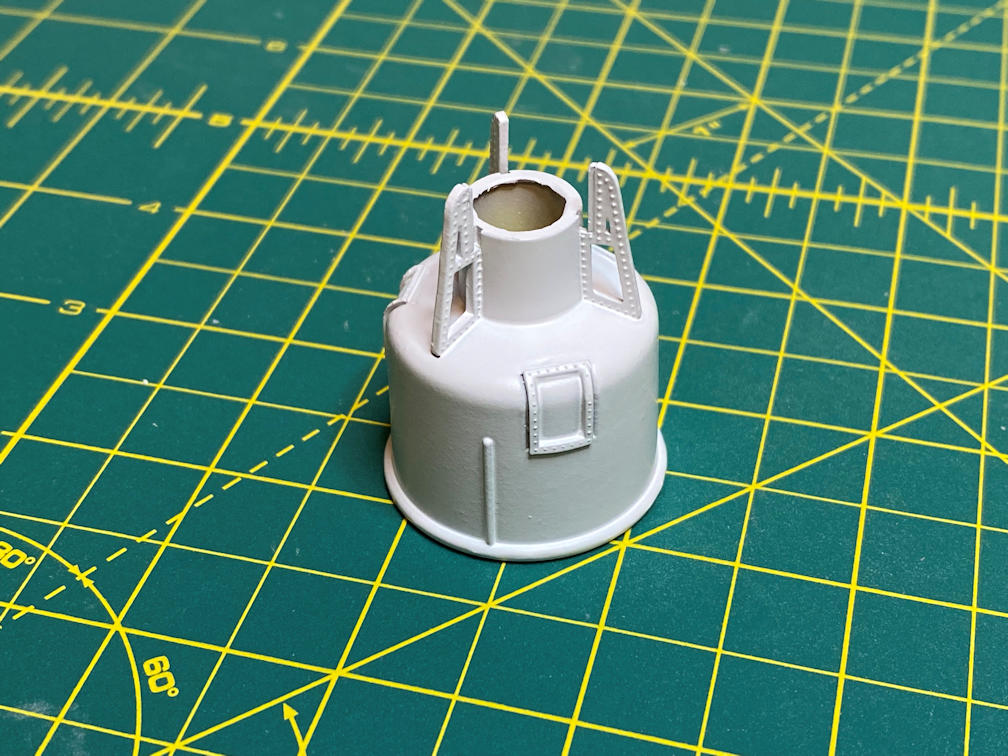
I also sprayed primer white on the rest of the station. I will wait to install the upper dome until both the upper dome and the station have had both the paint and decals applied.

I also painted the base with flat black.

The one of the tanks on the silver thruster module was painted Tamiya X-25 Clear Green and the other Tamiya X-27 Clear Red. I also started drilling out what should be the nozzle end of the thruster module. I started with a very small bit at the center of the part and then gradually enlarged the hole with successively larger bits until I got the size I wanted.

I then painted the end around the nozzle with Tamiya X-10 Gun Metal.

The frame around the doors on the upper dome were painted Testors Model Master 1750 Chrome Silver and the actual doors Tamiya XF-56 Metallic Gray.

The bottle suits were painted with Tamiya TS-26 Pure White. The arm details were painted Vallejo 71.063 Silver RLM01. The top window was painted Tamiya X-23 Clear Blue. Finally the small thruster on the bottom was painted Tamiya X-10 Gun Metal.

I then sprayed the top and bottom of the station with Tamiya TS-13 Clear to prepare them for decals.

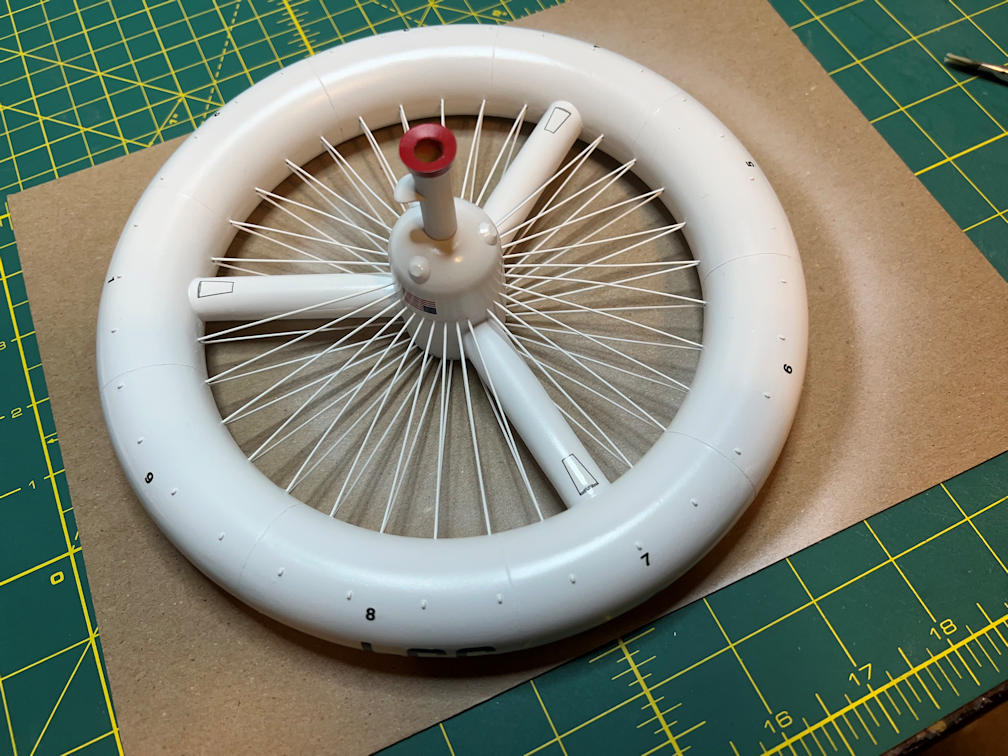
The bottom dome and ring of the station received its decals first. They are decals provided in the kit.

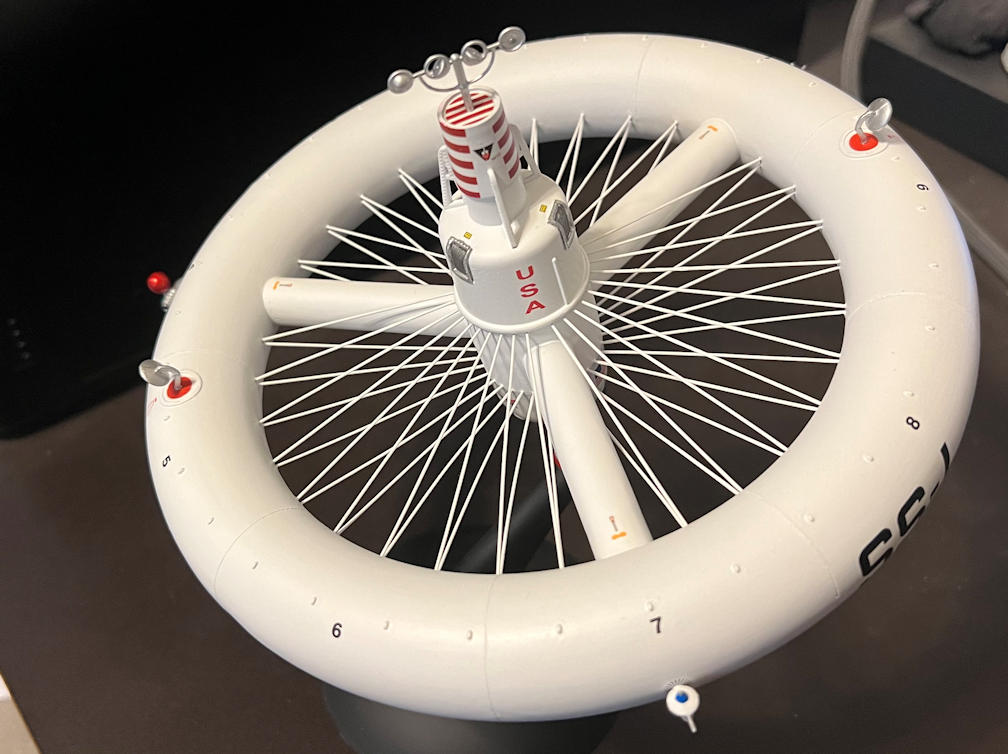
Next I moved to the top of the station. I applied the segment numbers from the kit decals and then added some small decals from a BanDai X-wing kit for the ends of the main tube. I also added red circle decals from a Tomy 767 kit for the radio dish bases. You can also barely see (under the 4) a decal that came from a Horizon Models Mercury Redstone kit just above where the thruster module will go. You can also just see a red decal next to the red circle that came from the same kit.

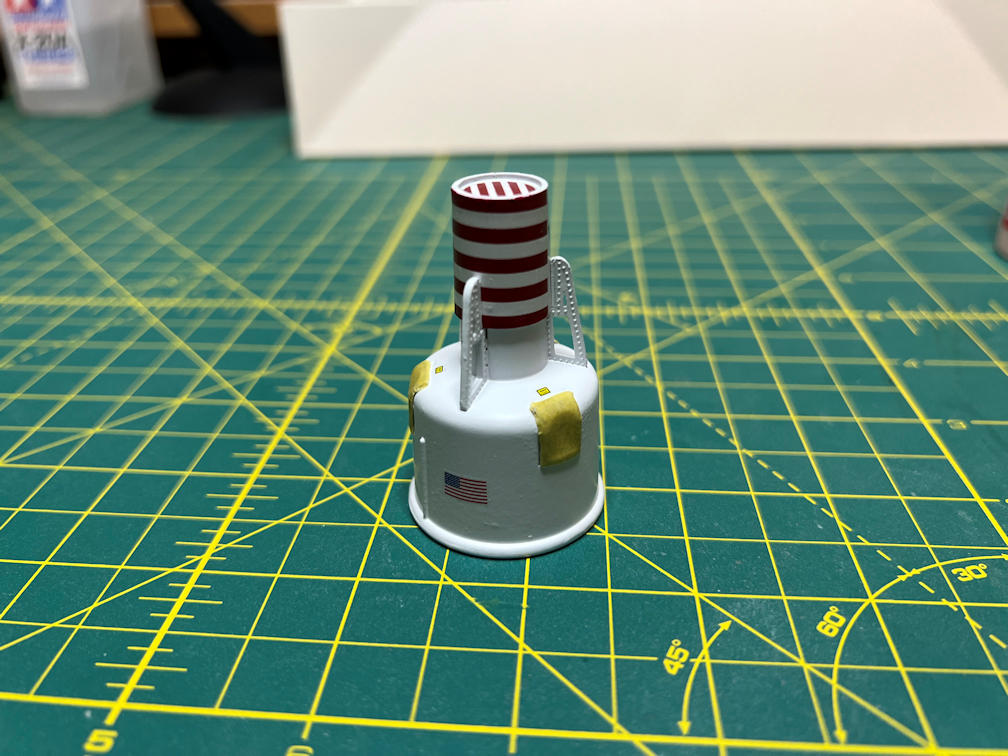
I masked the doors on the upper dome so I could spray a clear coat on to prepare it for decals. I applied the decal to the antenna section and put it on the dome. The antenna section is slightly conical but the decal is not. This caused a few small wrinkles that will be worked on with MicroSol. I added a small warning decal above each door. I also added a USA, flag and NASA decal to put between each door. The decal that runs around the antenna section does not go all the way around. In the gap I put a decal from my BanDai Millennium Falcon decals.


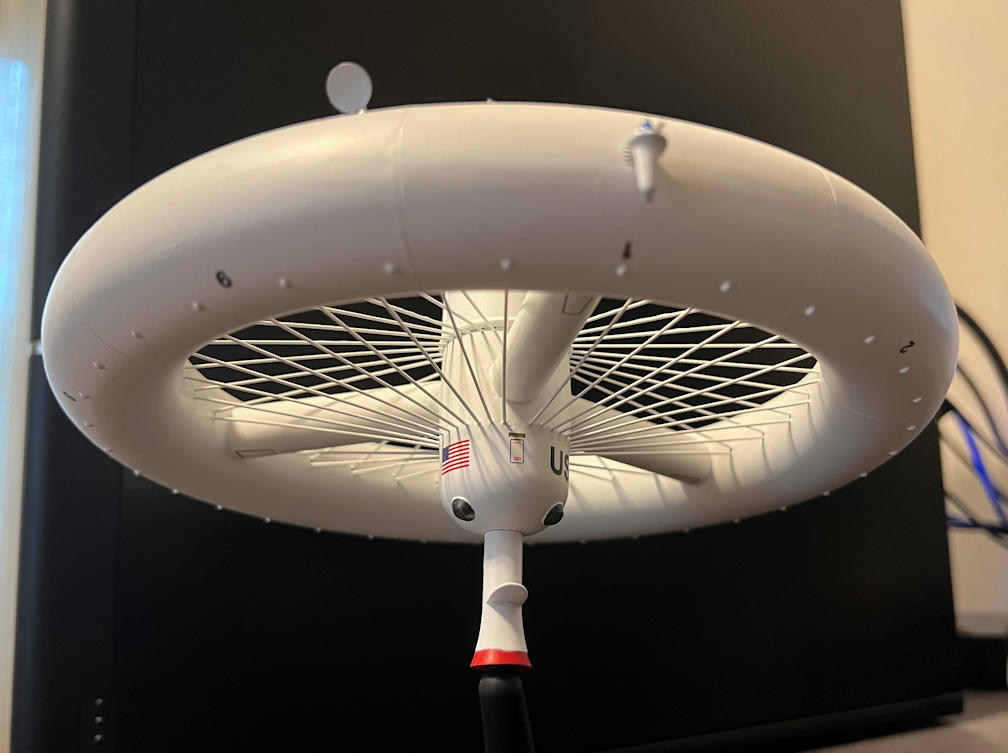
I turned back to underside of the station and added a few decals there as well. The ring section numbers from the kit were applied. I added a flag decal on the opposite side from the USA decal. I also added some panel line decals to indicate an access panel for each main tube. I also added a small door decal to the lower dome. Unfortunately nearly hidden is another decal I added. It is a circle of radial lines that is centered on each bottle suit docking port (from the Horizon Mercury Redstone kit).

Then, after spraying a protective Tamiya TS-13 Clear over the decals, I spray the whole station with Tamiya TS-80 Clear Flat.

Finally it was time to glue the upper dome on and add the antennas, bottle suits and thruster to the station.

With that the model is finished. Here is a series of views around the completed station. Note also that I painted the three lumps on the lower dome with Tamiya XF-56 Metallic Gray.


This kit, just like the Lindberg Space Base, show the good side of keep all your unused decals. You never know when that odd little spare decal will come in handy.
This was a relatively simple build that took a bunch of time to clean up and make presentable. I now have it displayed next to the Lindberg Space Base. It is a kit I waited a long time to get and then another long time to finally get around to building. Thanks for looking in.
