

It’s been a month since I last posted. It has been a bit hectic around here but I did get in some progress on this new build. I just haven’t had any time to post about it. Anyway, her we go with the last build of the year.
I decided to do one more factual fantasy build before going back to some more conventional models. This will be a double build. I’m building the Monogram Passenger Rocket and the Atlantis Orbital Rocket. Both kits were originally produced by Monogram back in 1959. Since I was two years old at the time I didn’t ever get the original kits. The designs are the product of Willy Ley a prominent rocket scientist at that time. The kits disappeared after that initial release and fetched rather high prices on auction sites. The Passenger Rocket was finally re-released in 1996. The Orbital Rocket wasn’t ever re-released until this year. Only about 65 years after it’s original release.
The Orbital Rocket is a three stage vehicle with the same booster as the Passenger Rocket but with added disposable fuel tanks. The second stage and third stage are carried piggyback and the second stage is disposable. The third stage is a space plane that carries the pilot and any other payload needed.
The Passenger Rocket is the simpler of the two kits as it consists only of its large reusable booster and the smaller space plane that carries the passengers. It would have been a suborbital flight to quickly get to far away destinations.

Since both kits are very similar I’m going to build them together. I also will not be using the moveable landing gear. I’m building it in launch configuration, so it also will not have the jet engines which are used later once the booster is back in the atmosphere. Here is a shot of the Passenger rocket parts.

Upon examining the instructions you can tell that both kits were primarily designed as toys that you could build. Those design decisions will cause problems during the build but they should still make fine display models.
Here is a photo of the Orbital Rocket parts.

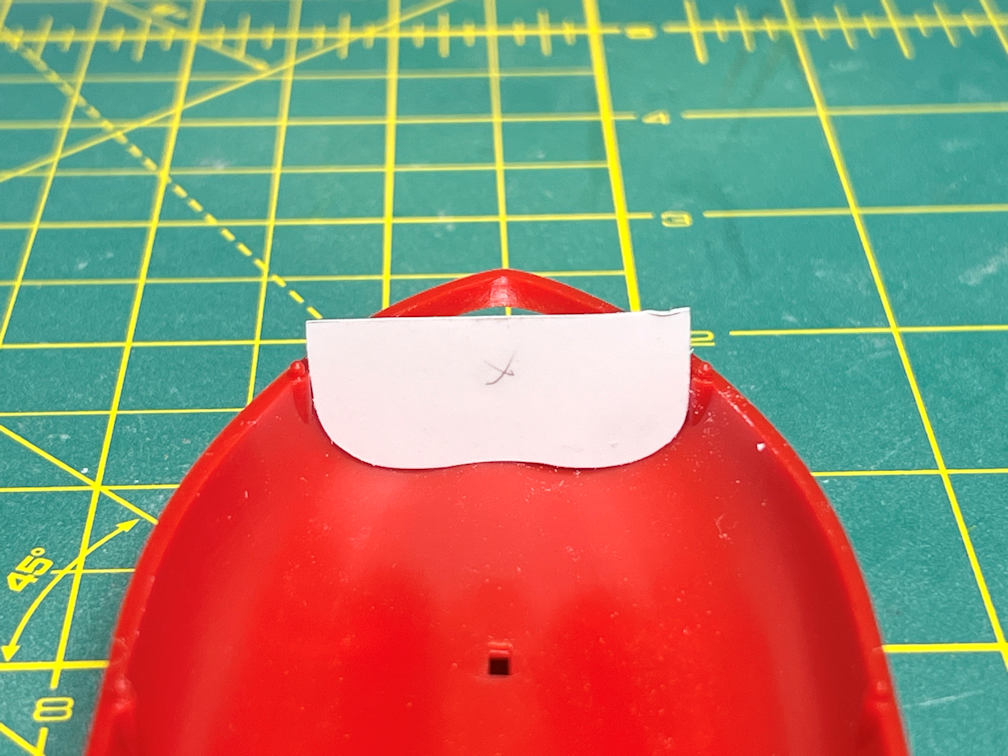
I decided to start the build with the boosters. They have a very large window that allows very good viewing of the two pilots. The problem with that is the only thing in the cockpit are the two pilots. The artist render on the box shows a control panel in front of them and cockpit walls. So work started on creating some kind of cockpit for the pilots. Using .010 inch sheet styrene I fashioned a control panel area.

The notches near the tips are to go around the little nubs that will help hold the window in place. It was glued from below. You can see how the pilots fit behind the panel.

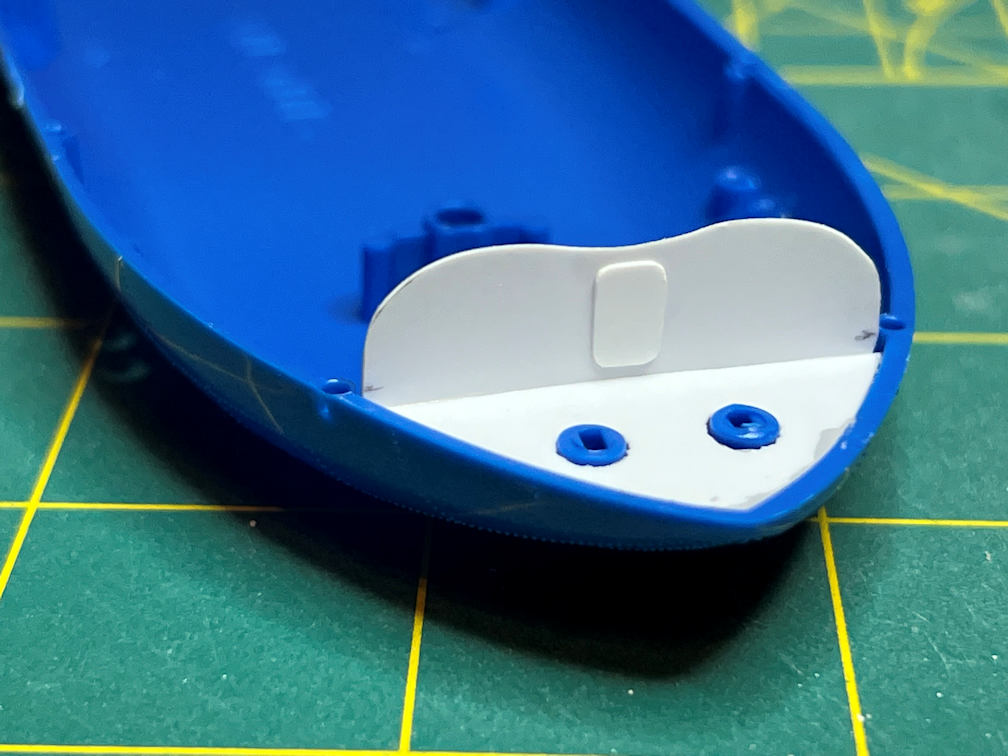
Next the cockpit needed a floor. It was made from .010 sheet and I cut two holes for the seat bases to protrude through.

Next a back wall for the cockpit was needed. I shaped another piece of .010 sheet to match the contour of the top of the cockpit and extended it to just a little bit past the floor.
I will not glue it to the top as shown above. Instead it will be glued to the back of the cockpit floor and the sides of the bottom half of the booster. Here you see how it was installed on the cockpit I made for the orbital rocket. The booster part of both kits are identical, so I did them at the same time.

I then shaped a door from some more .010 sheet and glued it to the back wall.
I started work on the main gear pods that fit on the sides of the booster just under the wings. As I noted above, I’m not building the movable parts. In launch configuration the gear would be up so the pods will have the doors closed. Since this is really meant to be more of a toy, the fit of the gear door is really bad. It has large gaps that need a lot of filler. I glued the pods to the fuselage while holding the wings in place. That way the pods fit would be correct when later on I attach the wings. I glued the gear door in place. The glue point was pretty much just front of the gear door. Then I put tape over the gaps to keep the filler from spreading too far. In the photo below you can also see a small bit of .005 sheet styrene I used to fill a gap. The excess will be trimmed later.

Then I turned the model over and started applying filler.

Fortunately, the Orbital Rocket will not have the pods installed since they will be covered by the large drop tanks used for launch.
That gives me a pretty good start on the model. More to come soon. I’m hoping to get the build done before New Years, but that may be wishful thinking. Thanks for looking. The next post will be soon.

One thought on “Willy Ley Rocket Build”