

I quickly noticed that all the rocket nozzles are flat on the end. The engine bells are not hollow as they should be. I have drilled out smaller nozzles on other rocket kits, but they were small thrusters. This would require removing quite a bit of plastic and angled sides on the inside of the nozzles.
As you can see from the above photo, I did get it figured out. I started with a straight pin to make a small hole in the center of the solid nozzle. I then put a 1/32 inch bit in a pin vice and drilled what appeared to be a good depth. I then used a 1/16 bit by hand and drilled out a depth not quite as far at the 1/32 bit. I then moved up to a 3/32 bit and did the same and finally used a 5/32 bit to get the hole wider. I then put a 1/4 inch Arrow carving bit in my Dremel and used it to hollow out more of the nozzle and thin the nozzle opening. Here is a photo of all the nozzles hollowed and the bits I used to get the job done.
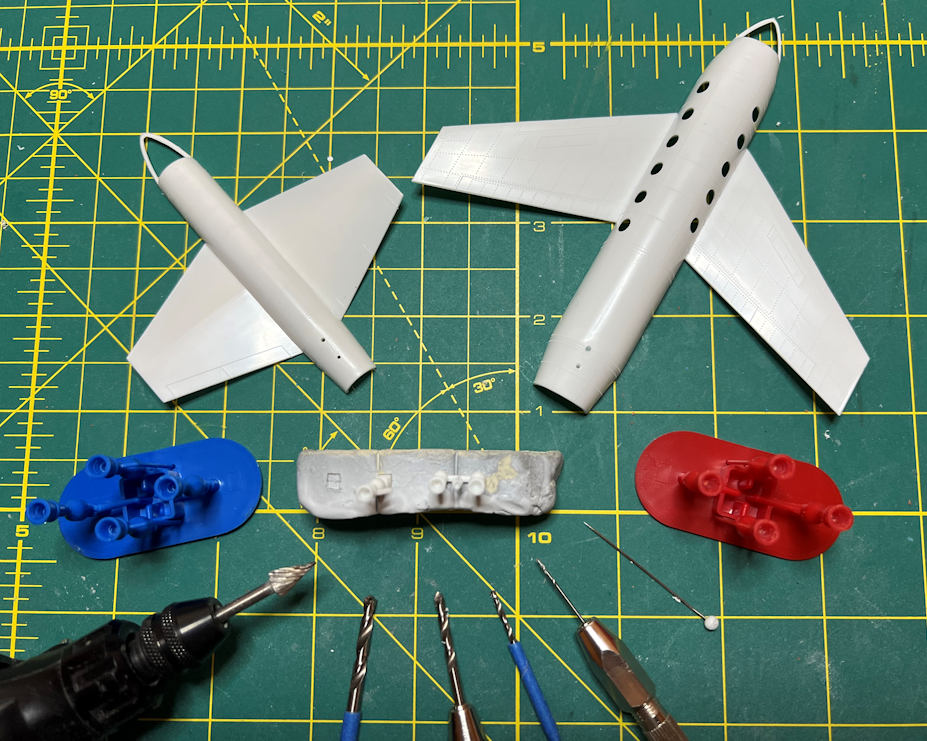
I didn’t use the larger bits on the smaller nozzles but I did use the Dremel on all of them. I think they turned out acceptable and look much better than just a flat nozzle bottom.
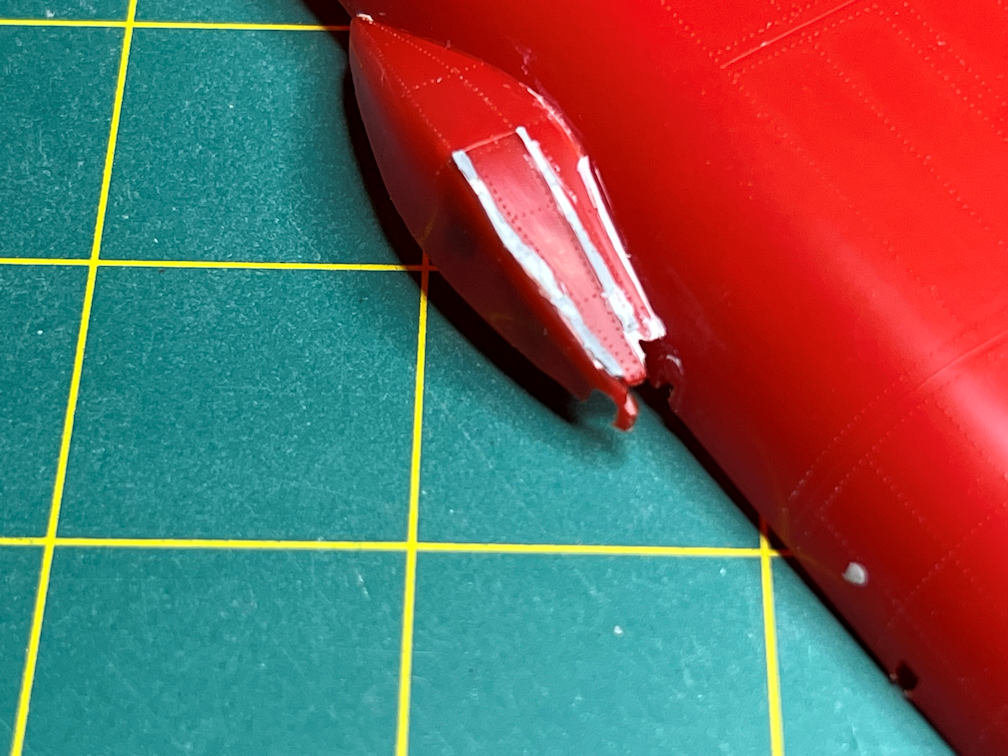
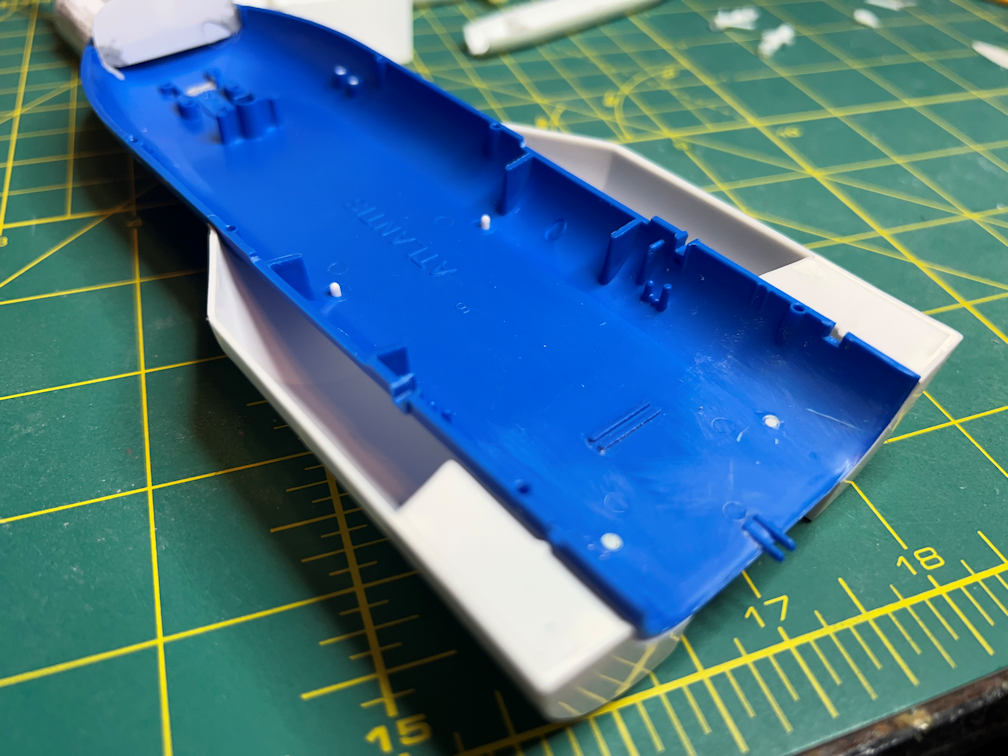
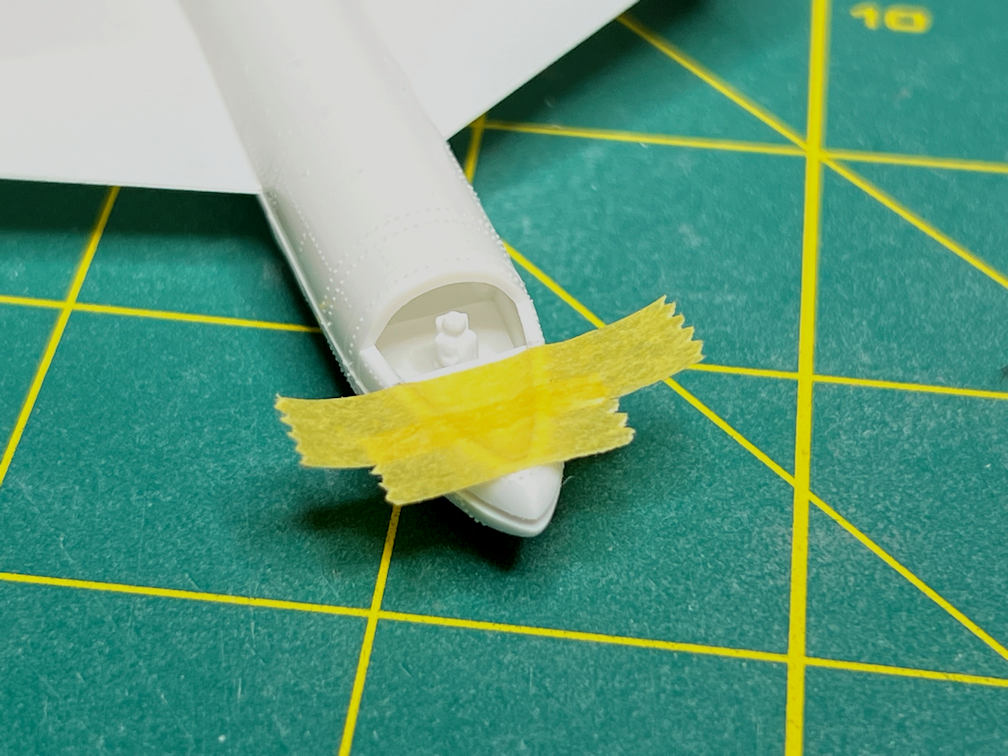
I then went back to the landing gear pods on the Passenger Rocket. You can see from this photo that the back of the pod is open. I decided that I wanted them to be closed.
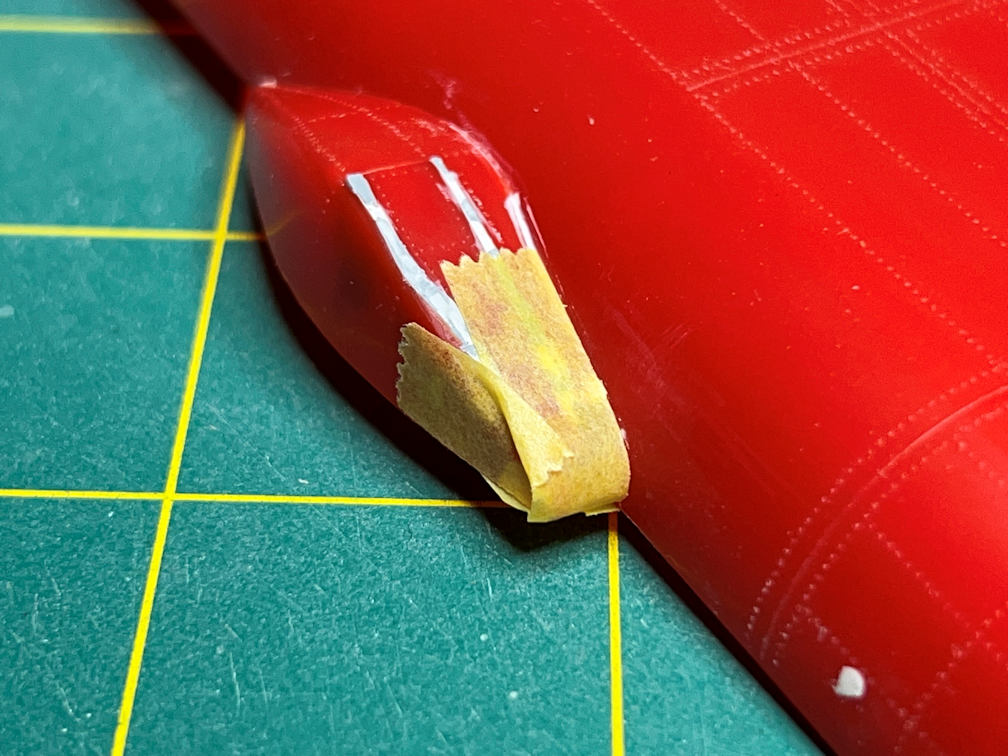
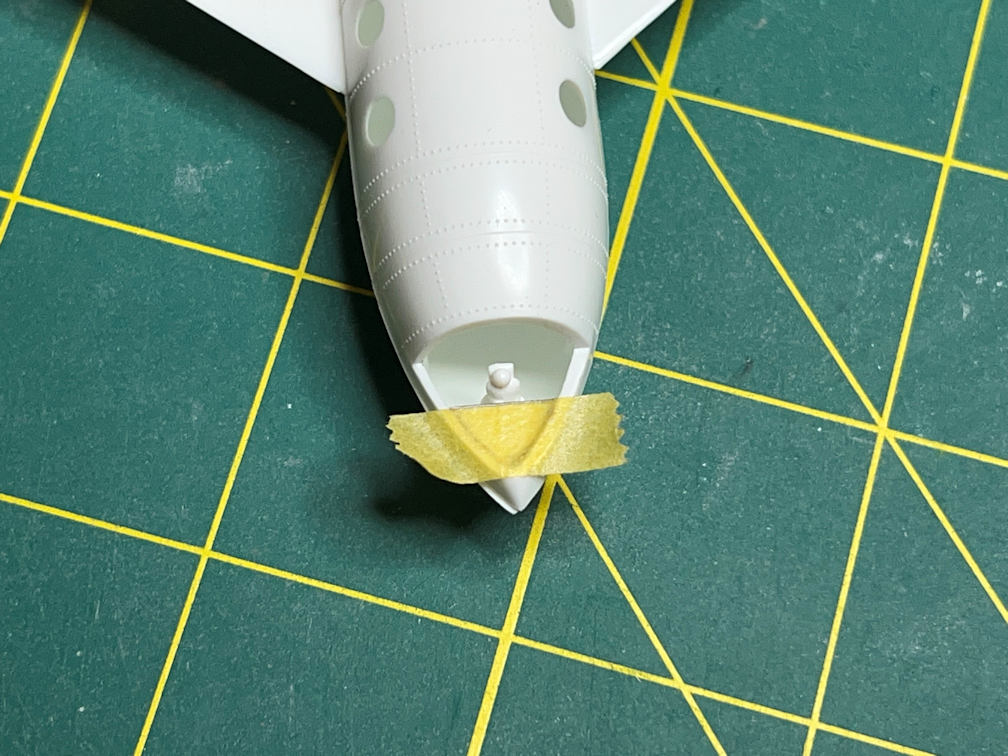
I wrapped the end of the pod in masking tape. That included the opening on the side of the pod.
I turned it over and added some masking tape to the underside. This formed a small cup so I could fill it with some Mr. Surfacer 500.
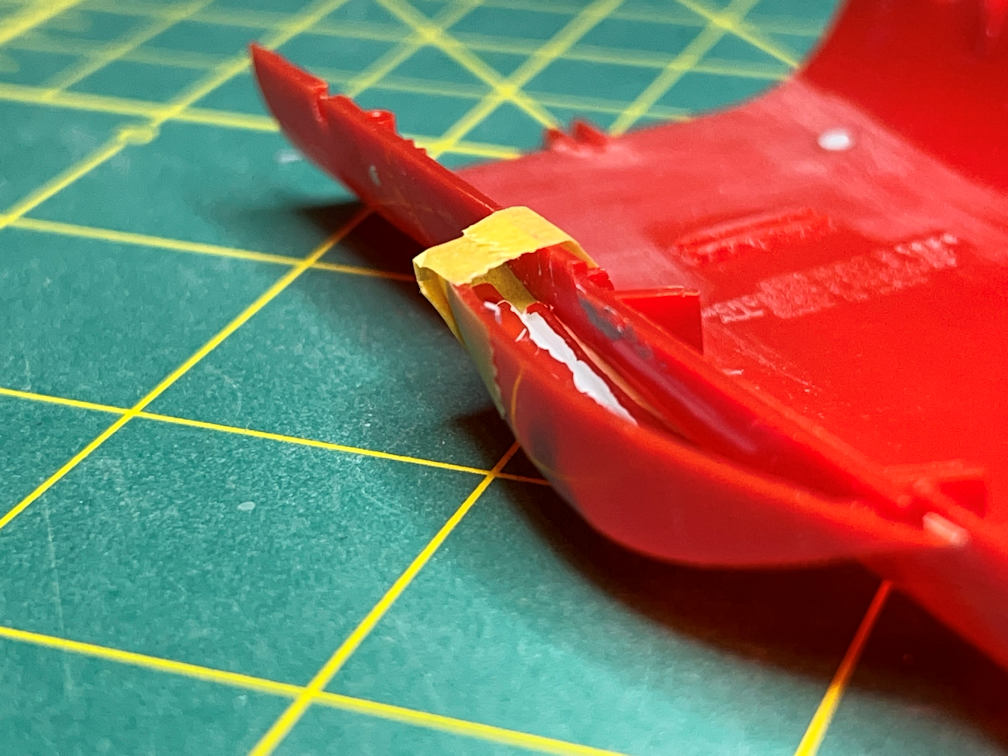
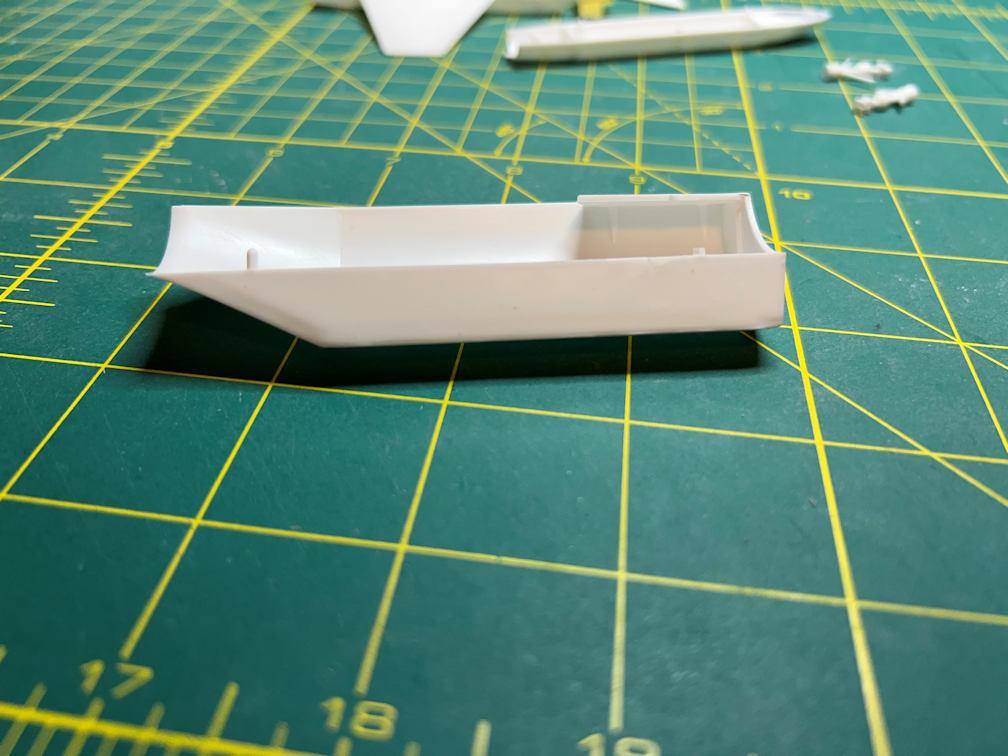
When the filler was cured, I removed the tape and had a filled pod. It will take some sanding to get it all smooth but that won’t be too hard.
I also did a bit of work on the Orbital Rocket. I dry fitted the drop tanks and trimmed off the excess peg that protrudes into the engine area. This isn’t a problem for the Passenger rocket since it had no drop tanks. But I did need to fill the holes that would have been used to attach them (one of which is visible in the above photo).
You can see how much of the peg was removed from this side view picture of one of the drop tanks.
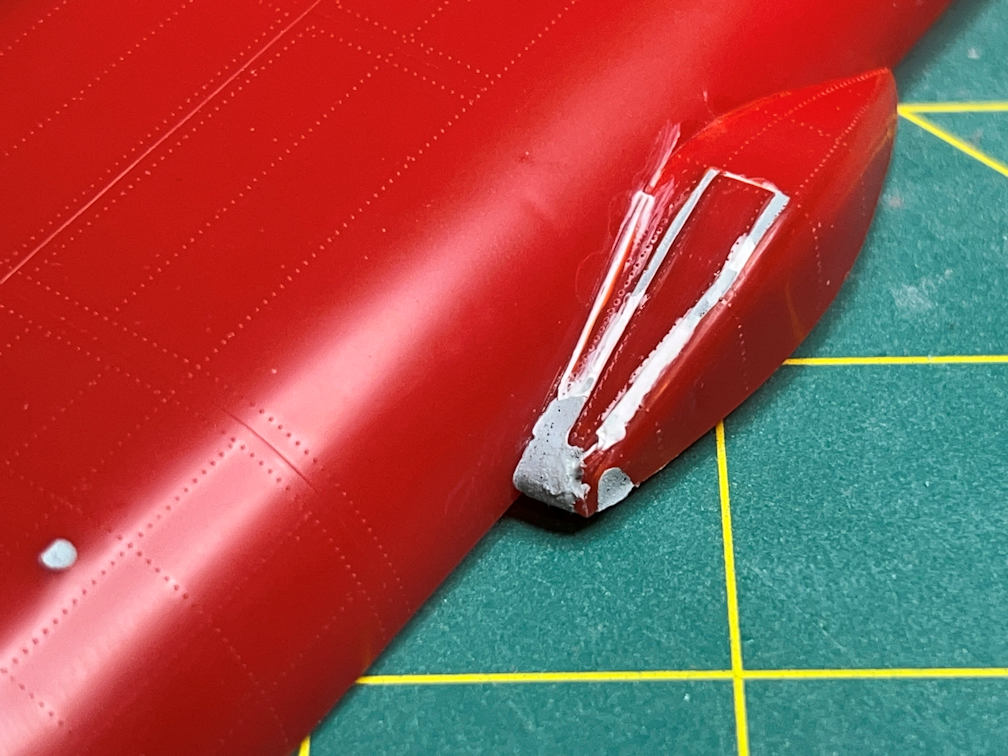
I moved to final stage of each rocket. The space plane on the Passenger Rocket is wider than the one on the Orbital Rocket. They both needed a cockpit just like the booster since they both had large clear windows. Here is the Passenger Rocket cockpit. I have used masking tape to hold the control panel in place while it is glued in.
The Orbital Rocket space plane is narrower but needed the same kind of cockpit modifications as the Passenger Rocket.
The Passenger Rocket space plane received its remaining cockpit pieces. They were done in a manner similar to the booster.
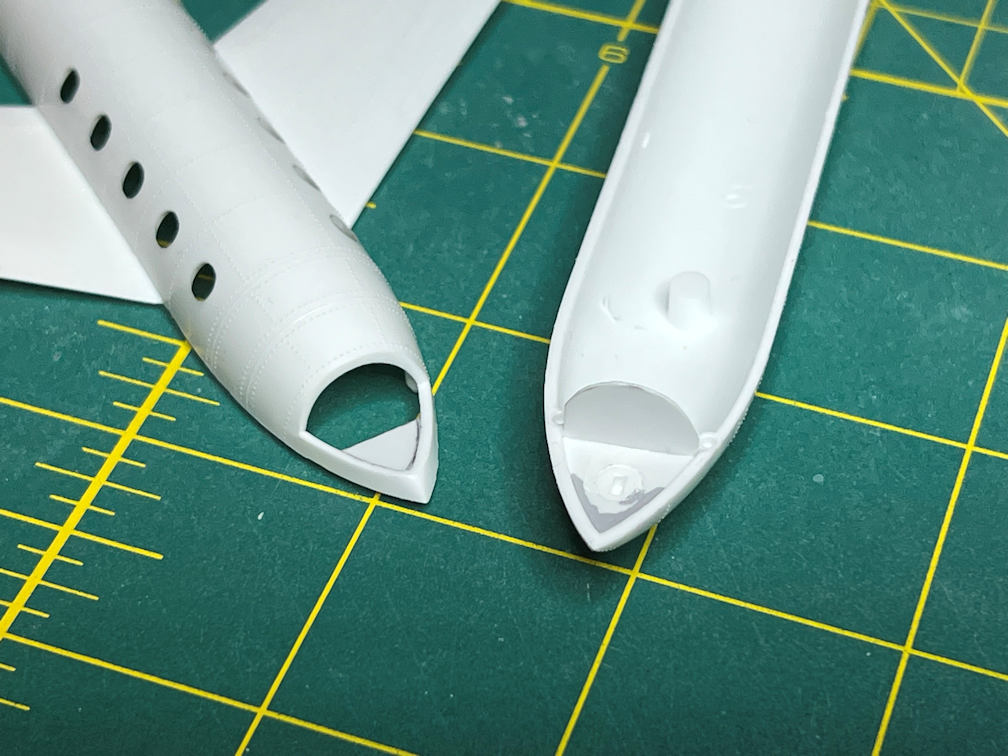
The Orbital Rocket cockpit was finished the same way.
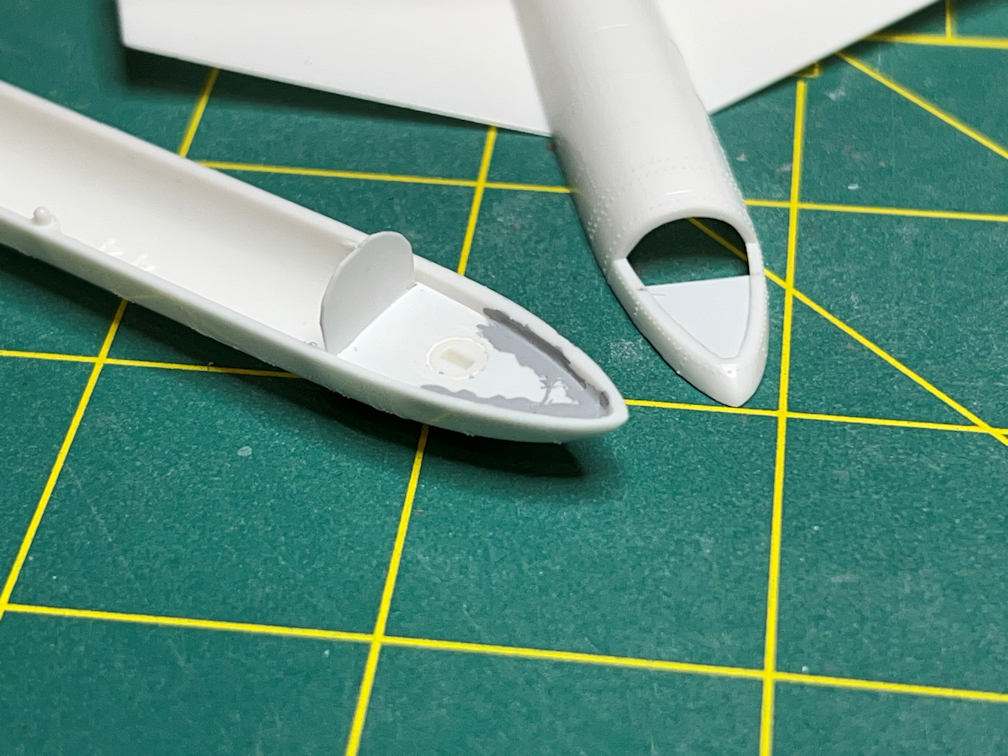
The gray areas in the above two photos is Mr. Surfacer 500 that was applied to both help glue them in place and fill any small gaps between the custom parts and the kit parts. Cockpit doors still need to be added.
It’s getting close to the time where some assembly will be done prior to the parts being sprayed with primer. I think the boosters and space planes will have to have the cockpits finished and some painting done before the fuselage halves are glued together. This may get tricky and I haven’t planned out all the steps yet.
Thanks for looking. More to come on the next post. If you’re interested hit the subscribe button on the bottom of the page to get updates when new posts get published.
