

I finally completed the Willy Ley rocket pair. I had originally hoped that I could complete it by the end of 2024, but obviously I didn’t quite make that goal. Here is how it was completed. The space plane from the Orbital Rocket got a good coat of Tamiya White primer and then covered with clear gloss to prepare it for the application of decals. They went on well, but it took a few applications of Micro Sol to get them to lay down over all those raised rivets.
I tried applying a kit decal to the Passenger Rocket space plane. That didn’t turn out well. The decals looked a bit yellow on the decal page, but I had hopes that it was just yellowed paper. Unfortunately it was not. The decals were very yellowed. I had to create a new set of custom decals for the Passenger Rocket. This cost some build time.

I buckled down and drew a new set of decals and was getting ready to load them onto the PC that I use to print my decals when the below blue screen of death appeared.

The PC is a very old Dell Dimension 4550. I use it because it is still running Windows XP and has a physical parallel port that is required by my Alps MD-1300 color printer. Without the PC no more custom decals. When I rebooted the computer all I got was a blank screen and three beeps. I searched the web for a manual for the Dell 4550 and found one. It showed that on the back of the PC is a set of four status lights. If there is an error the code will be shown on the lights. My status lights indicated that the fault was a memory error. When I opened up the PC I found that I had two sticks of 512Mb DDR memory. I removed one and tried a reboot. No luck. I then replaced the one I pulled and removed the other stick. The machine booted and ran properly. Yea! working PC again. Just in case the other stick goes bad, I ordered a 1Gb stick of DDR memory to have as a back up. The price wasn’t that bad considering the demand for first generation DDR memory can’t be that big.
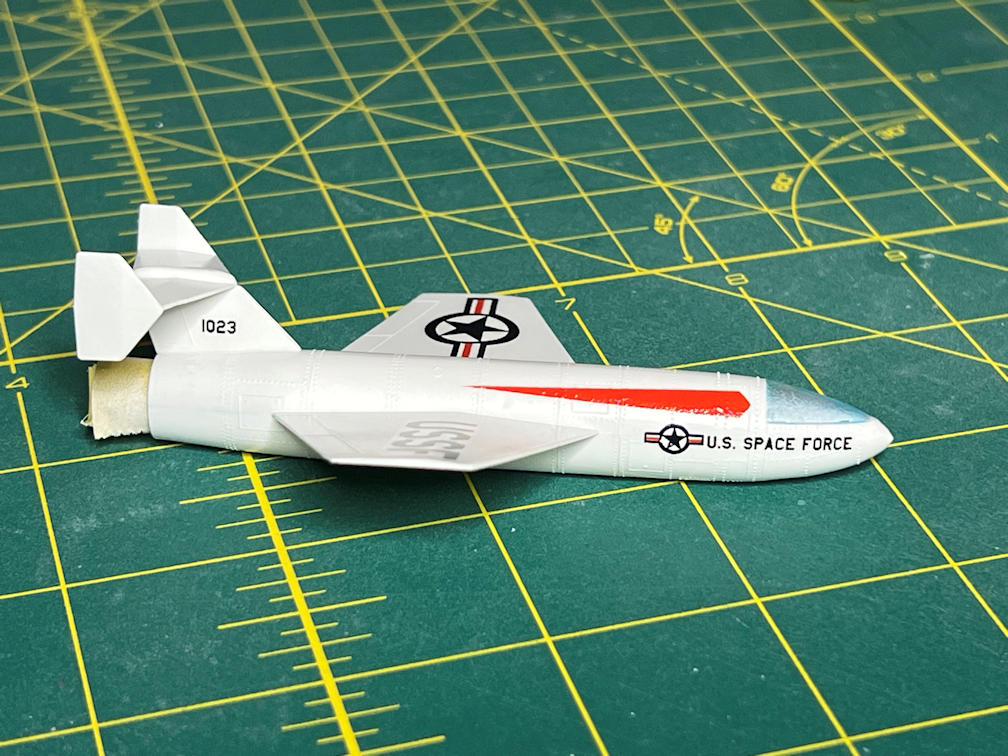
Anyway, I finally got my decals printed and applied the first one to the space plane again. That looked much better. You can see from the photo below that it still needs a few more applications of Micro Sol.
With the decal disaster averted, I masked the main stage of each rocket and sprayed the fuselages with Tamiya white primer.


After the final applications of Micro Sol to the space plane decals I sprayed them with a coat of Tamiya Clear Gloss to protect the decals and then sprayed them with Tamiya Flat Clear to get the finish I wanted. Then came time to remove the masking from the cockpit canopy. The masking on the Passenger Rocket plane came off beautifully and looked great.

The Orbital Rocket plane not quite as good. Apparently, I didn’t quite have the thickness that I did on the other one, since I got a bit of cloudiness. I worked with it a bit and got it reasonably clear, but not as clear as the other one. Hopefully the masking on the main stages would be better.

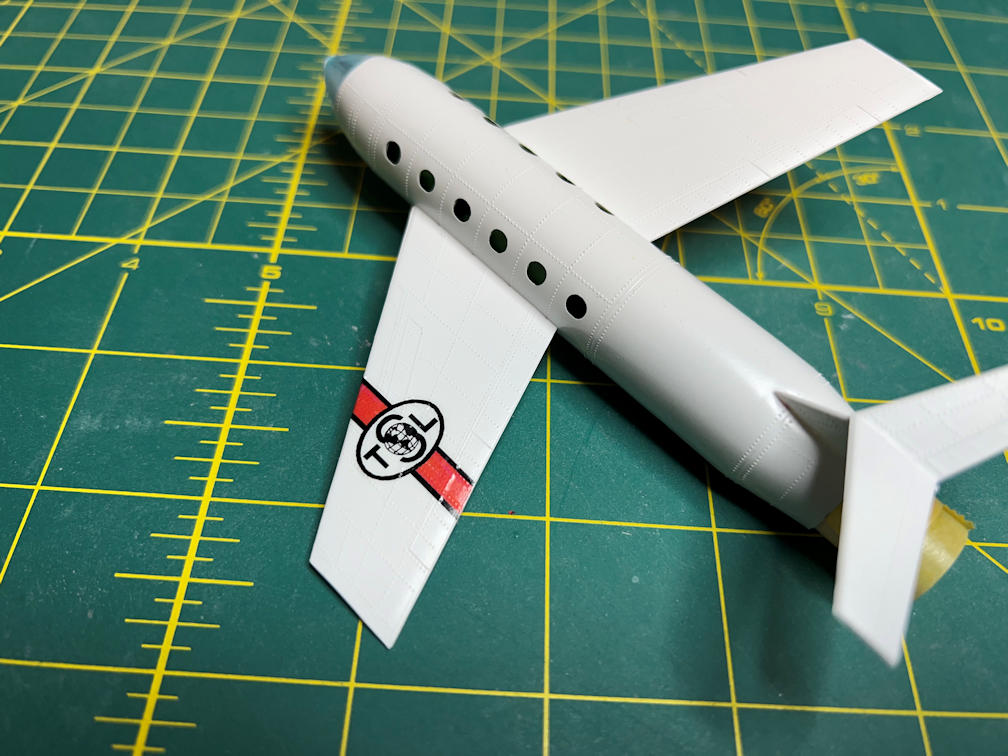
I also added Micro Kristal Klear to the Passenger Rocket plane for the passenger windows. They came out nice and very clear. You can also see in the photo that the many applications of Micro Sol finally did their job and got the decals to conform to all those raised details.

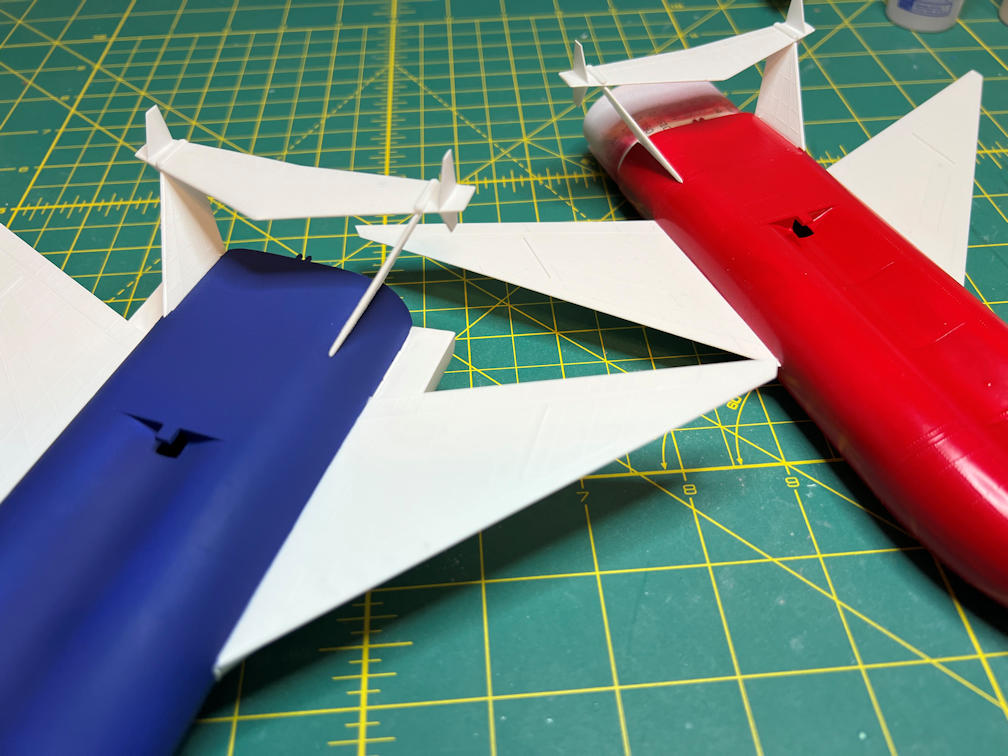
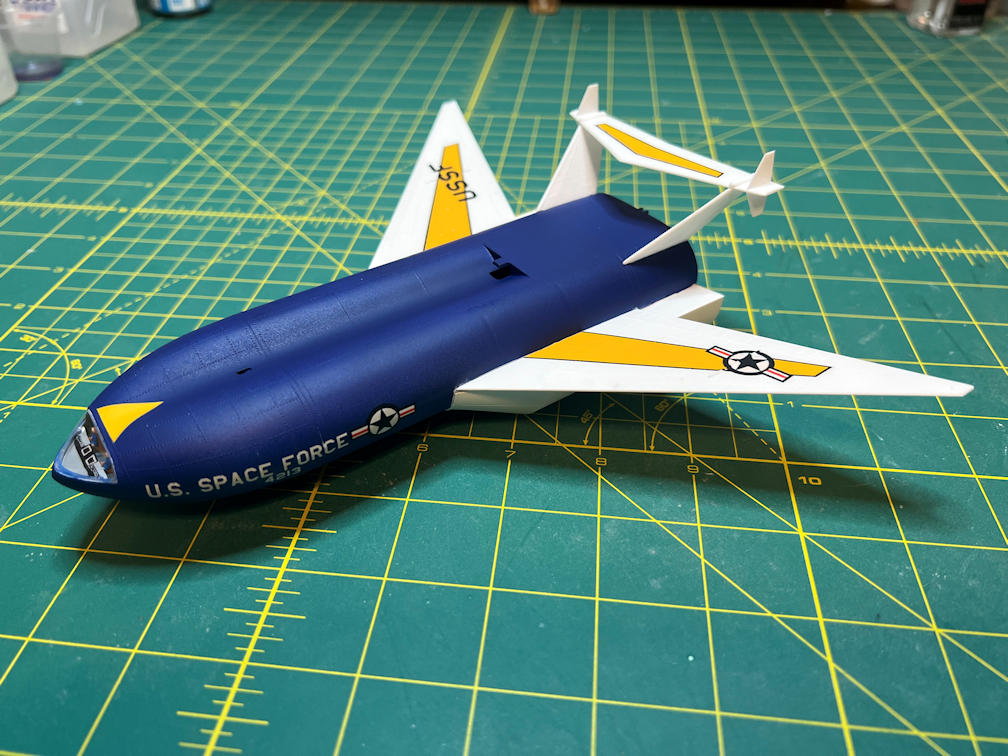
I next sprayed the Passenger Rocket main stage with Tamiya X-7 Red and the Orbital Rocket main stage with Tamiya XF-8 Blue.


At this time, I added the tail sections to each model. I used Plasti-Zap CA glue. The only tricky part of putting the tails on was making sure a tiny nub on each vertical tail was above the fuselage and then also getting the verticals pushed in enough for their attach points to fit into the slots in the underside of the horizontal stabilizer.
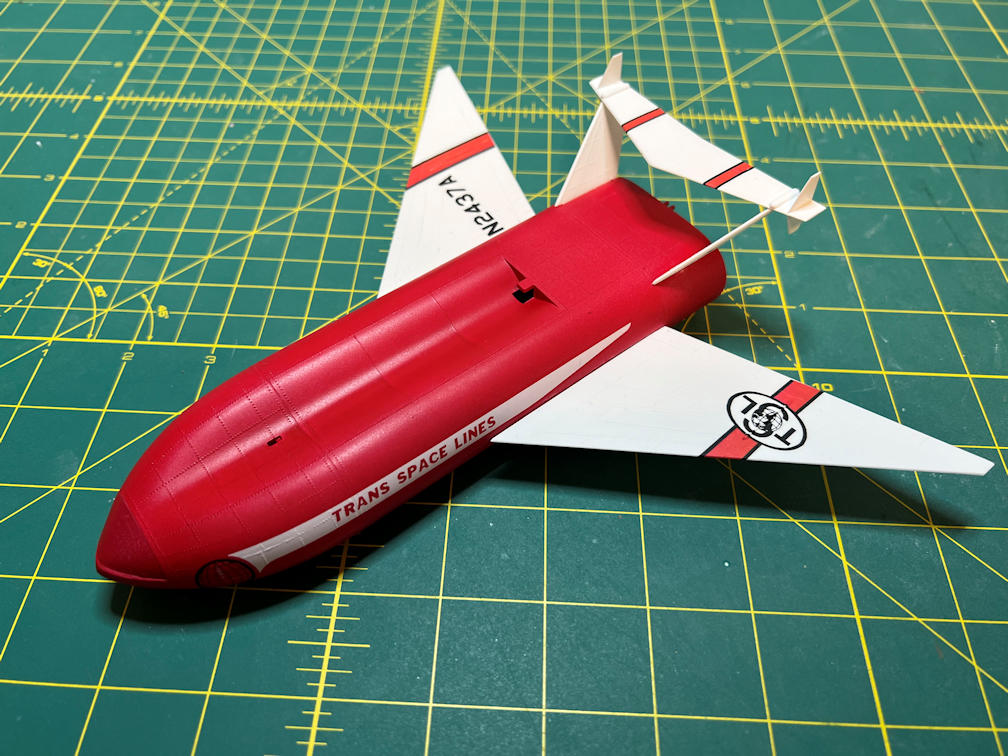
Then I applied some Tamiya Gloss Clear to the areas that would be getting decals. The decals went on without too many problems. One of the biggest trouble spots was on the upper wings on both models. There is a strong raised area that took several applications of Micro Sol and then a few applications of Walthers Solvaset to get them to conform to the raised details. Here is a shot of the Passenger rocket after decals and application of Tamiya Flat Clear.
The Orbital rocket had the same problem spots on the wings but I had to work on them twice since you have to apply the yellow decals first and then add the “stars and bars” and the “USSF” decals on top of those. If you look closely at the decal photos in the instructions you see that the yellow decals provided are in fact shorter than they were supposed to be. Also in the original kit the overlay decals were actually supposed to be part of the yellow decal. That would have made their application much easier.
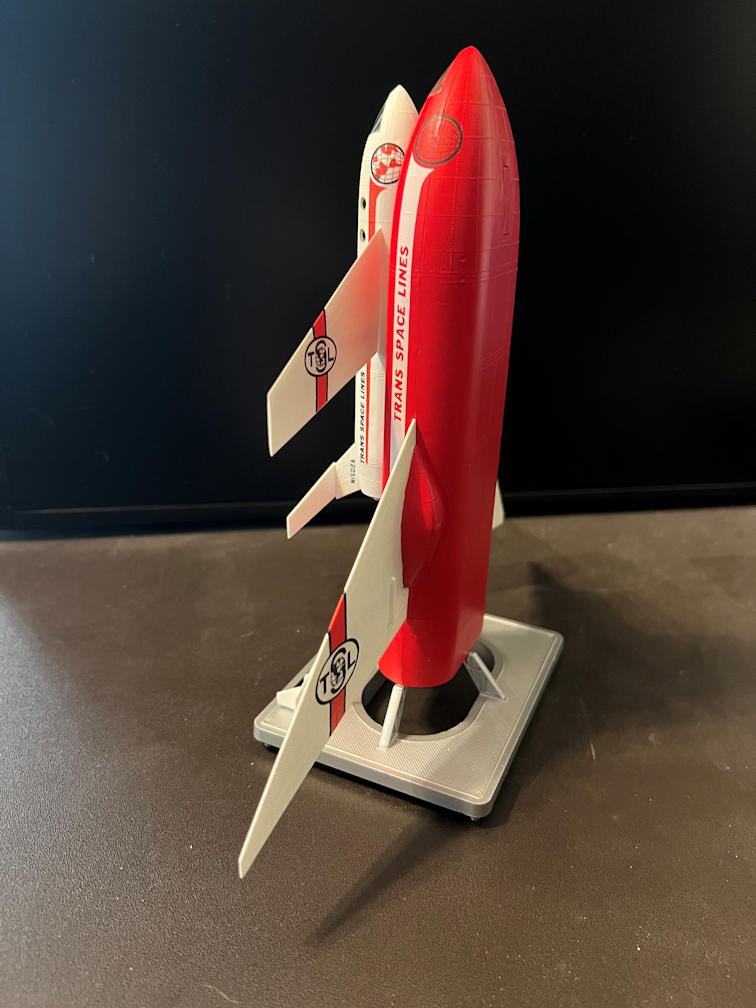
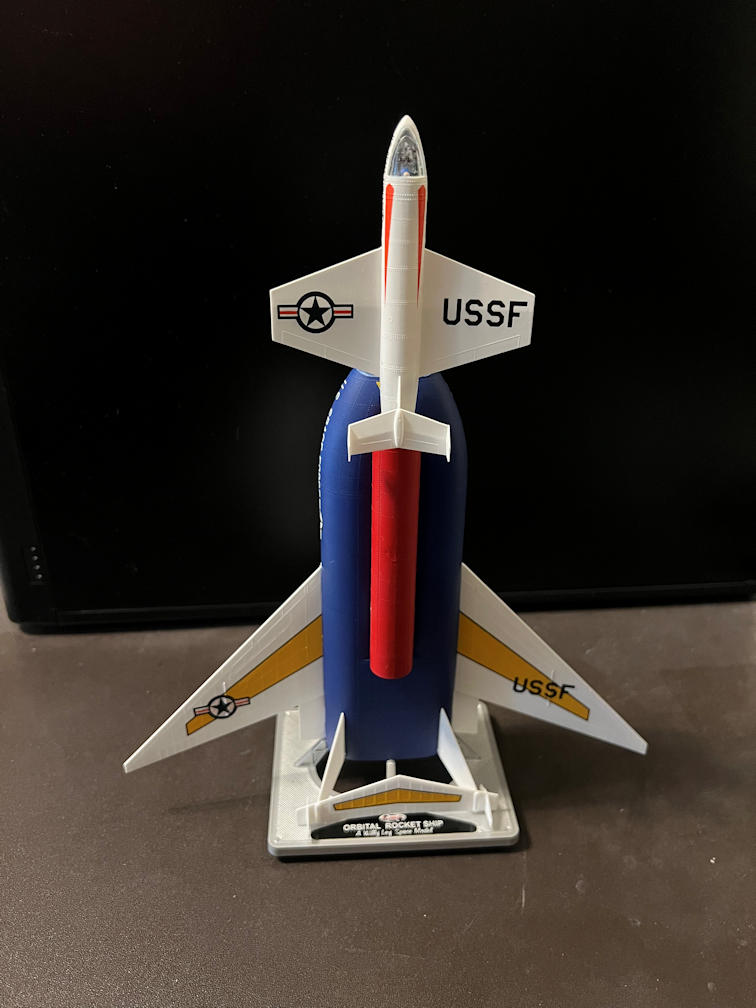
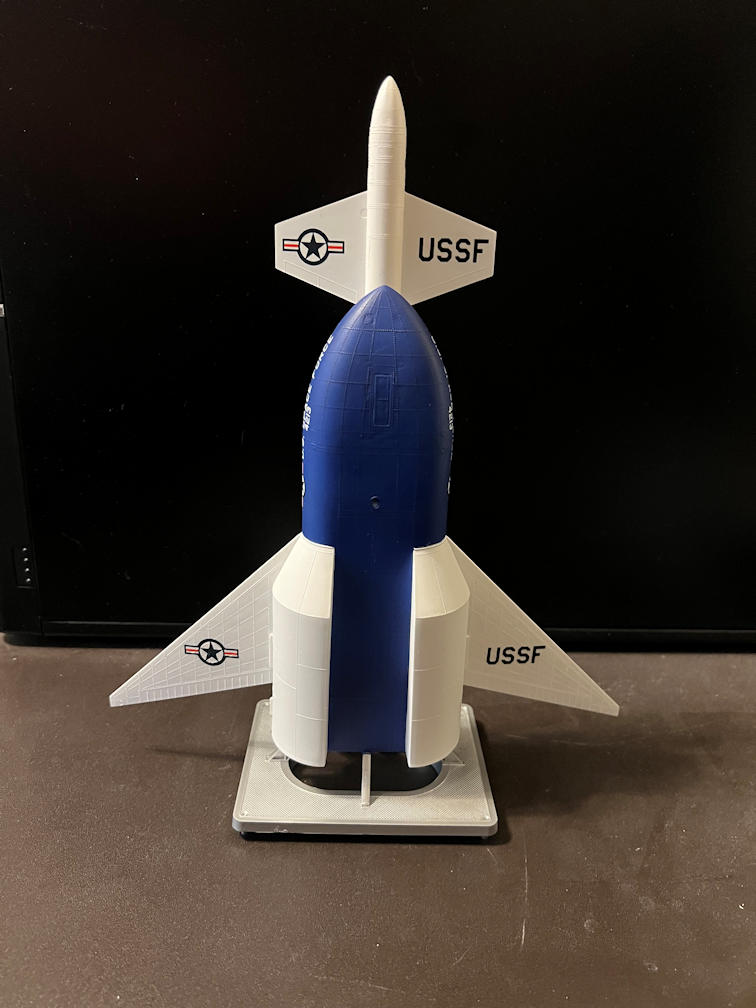
Here are a couple of shots of the completed models.

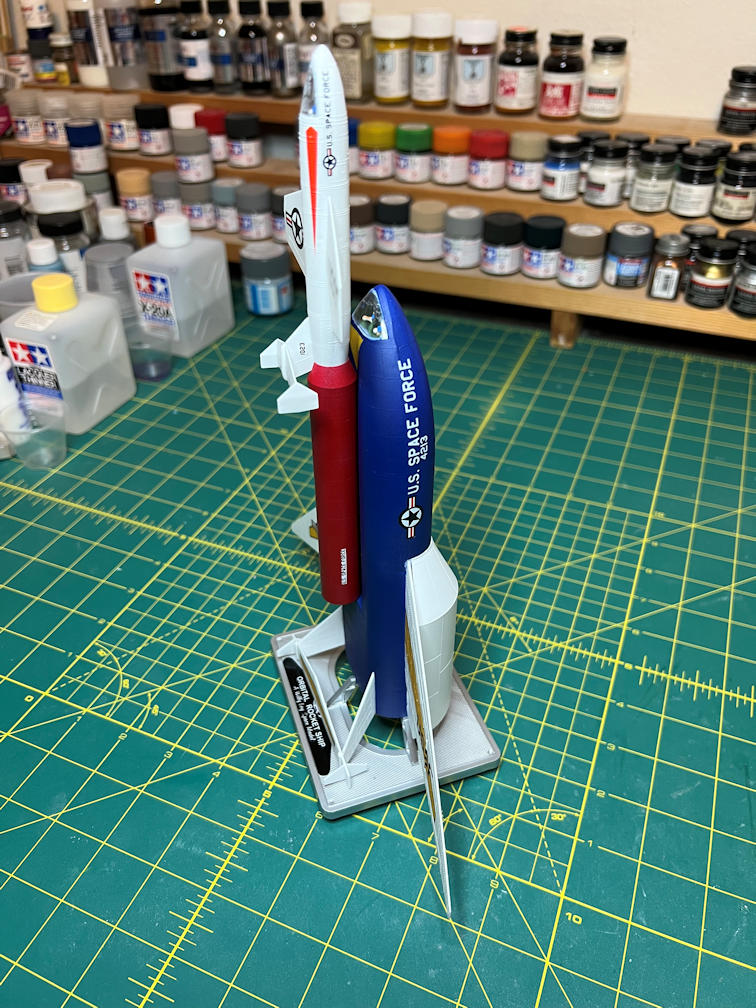
You can see that they are on their kit bases. The bases were a simple construction. I painted them with Tamiya TS-30 Silver Leaf. Then I applied the model name decal to the bases. There are two tiny figures that are supposed to be on the base, but I have yet to get them painted. I still want to mount the models differently on a custom mount, but right now I don’t have the time. Eventually they will be on a common wooden base, with the Passenger Rocket displayed on its launch mount and the Orbital Rocket suspended above it at an angle on a metal rod. But that will have to happen later.
Here is a gallery of photos of the completed models.


That completes this build. It was a bit of a challenge at times, but the end result is acceptable. I’m between projects now and I haven’t decided what that will will be, but I want to thank you for looking. Also, please subscribe below so you get notified of any new posts.
