
I’m bored to death waiting for the bubble to dissolve in my eye after my surgery. My vision in that eye is such that I have a hard time with small items, so that rules out getting back to the Voskhod right now. However, I did get the LEGO Lunar Module for my birthday. My eye has cleared to the point where I can see the LEGO parts well enough.
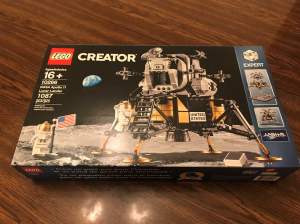
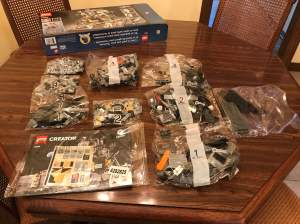
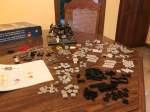
So here is quick build of the LEGO Apollo 11 Lunar Lander. I love the engineering that goes into these models to make it both a decent representation and structurally sound.
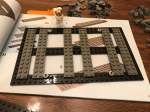
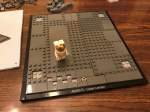
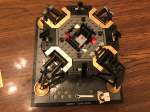
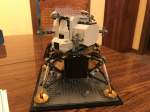
The build begins by making the display base. Lego Neil showed up to help display the build. The base is quite strong as usual. You can see from the build gallery below that the sub structure really helps hold it together. The craters are a nice touch. They put in four circular pads for the placement of the LM landing pads. Look near the flag and you can see Lego Neil’s footprints.


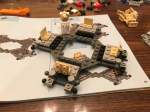
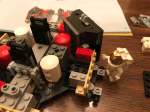
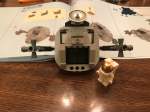
Part 2 of the build is the Descent stage frame. Here is where they really nail the octagonal shape of the LM Descent stage. They include representations of the fuel tanks. They also include the MESA compartment with the opening door and camera. There is a bay that houses the retroreflector that was placed on the moon. The connection to the Ascent stage is firmly attached with a clever bracket assembly that firmly connects it to the Descent stage frame. This allows the Ascent stage to be removed from the Descent stage without fear of tearing everything apart.
The equipment bays are attached at an angle in keeping with the octagonal shape. They used ball joints and bricks to join them to the frame at an angle. It is very effective and sturdy. Lego Neil helps point out some of the cool things in Part 2.


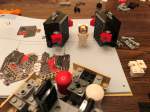


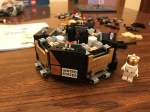
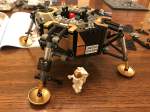
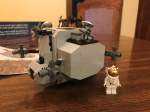
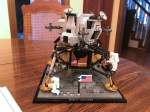
Part 3 of the assembly will complete the Descent stage. Stickers are provided to add additional gold foil detail. Lots of gold bricks cover the sides and some of the top. The legs are attached with struts and ball joints. That keeps the spindly look of the real LM and makes it easier to connect them to the Descent stage frame. The representations of the plume deflectors is a bit small but I’d have a hard time doing it better. The look and feel is similar to the real thing. Once the attachment of the legs is complete you can place the Descent stage on the base.

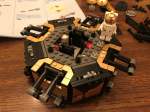


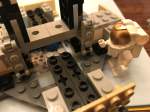
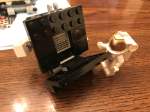
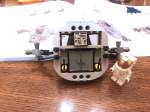
Part 4 of the assembly will construct the Ascent stage. Lego Buzz volunteered to help show off the steps of this part of the build. It starts off with the center section of the Ascent stage. More stickers here represent some of the control panels in the real LM. Next is the front section. Here is where some of the bigger compromises had to be made. There just aren’t any LEGO parts that will work exactly for the triangular windows of the LM. So instead they use a normal windshield and then surround that with a lot of brickwork to give the impression of triangular windows. Also the LM hatch is a two piece door rather than a single piece. But, hey, the doors open and close.
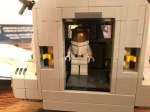
Another compromise was in the attitude control thruster quads. These are placed on rather thin stalks instead of slightly bulkier extensions. It isn’t horrible, just not quite as representative. The rear section has some more stickers for control panels and the other two thruster quads. Notice that the front and rear sections are cleverly designed to be removable so that you can place Lego Neil and/or Buzz inside the LM. The major antennas are represented and are somewhat positional.


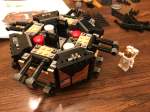
The Ascent stage snaps onto the Descent stage as mentioned above. It is a nice solid connection, but yet also removable. Here is a walk-around of the assembled model. Lego Buzz and Neil have taken their places in the final picture.


This was a fun build, even with one squirrelly eye. LEGO has done it again with a nice representation of a real space subject. This one went together much quicker than the Saturn V from a couple of years ago, but is also much smaller.
Thanks for looking and hopefully I’ll be back on the Voskhod soon.
