
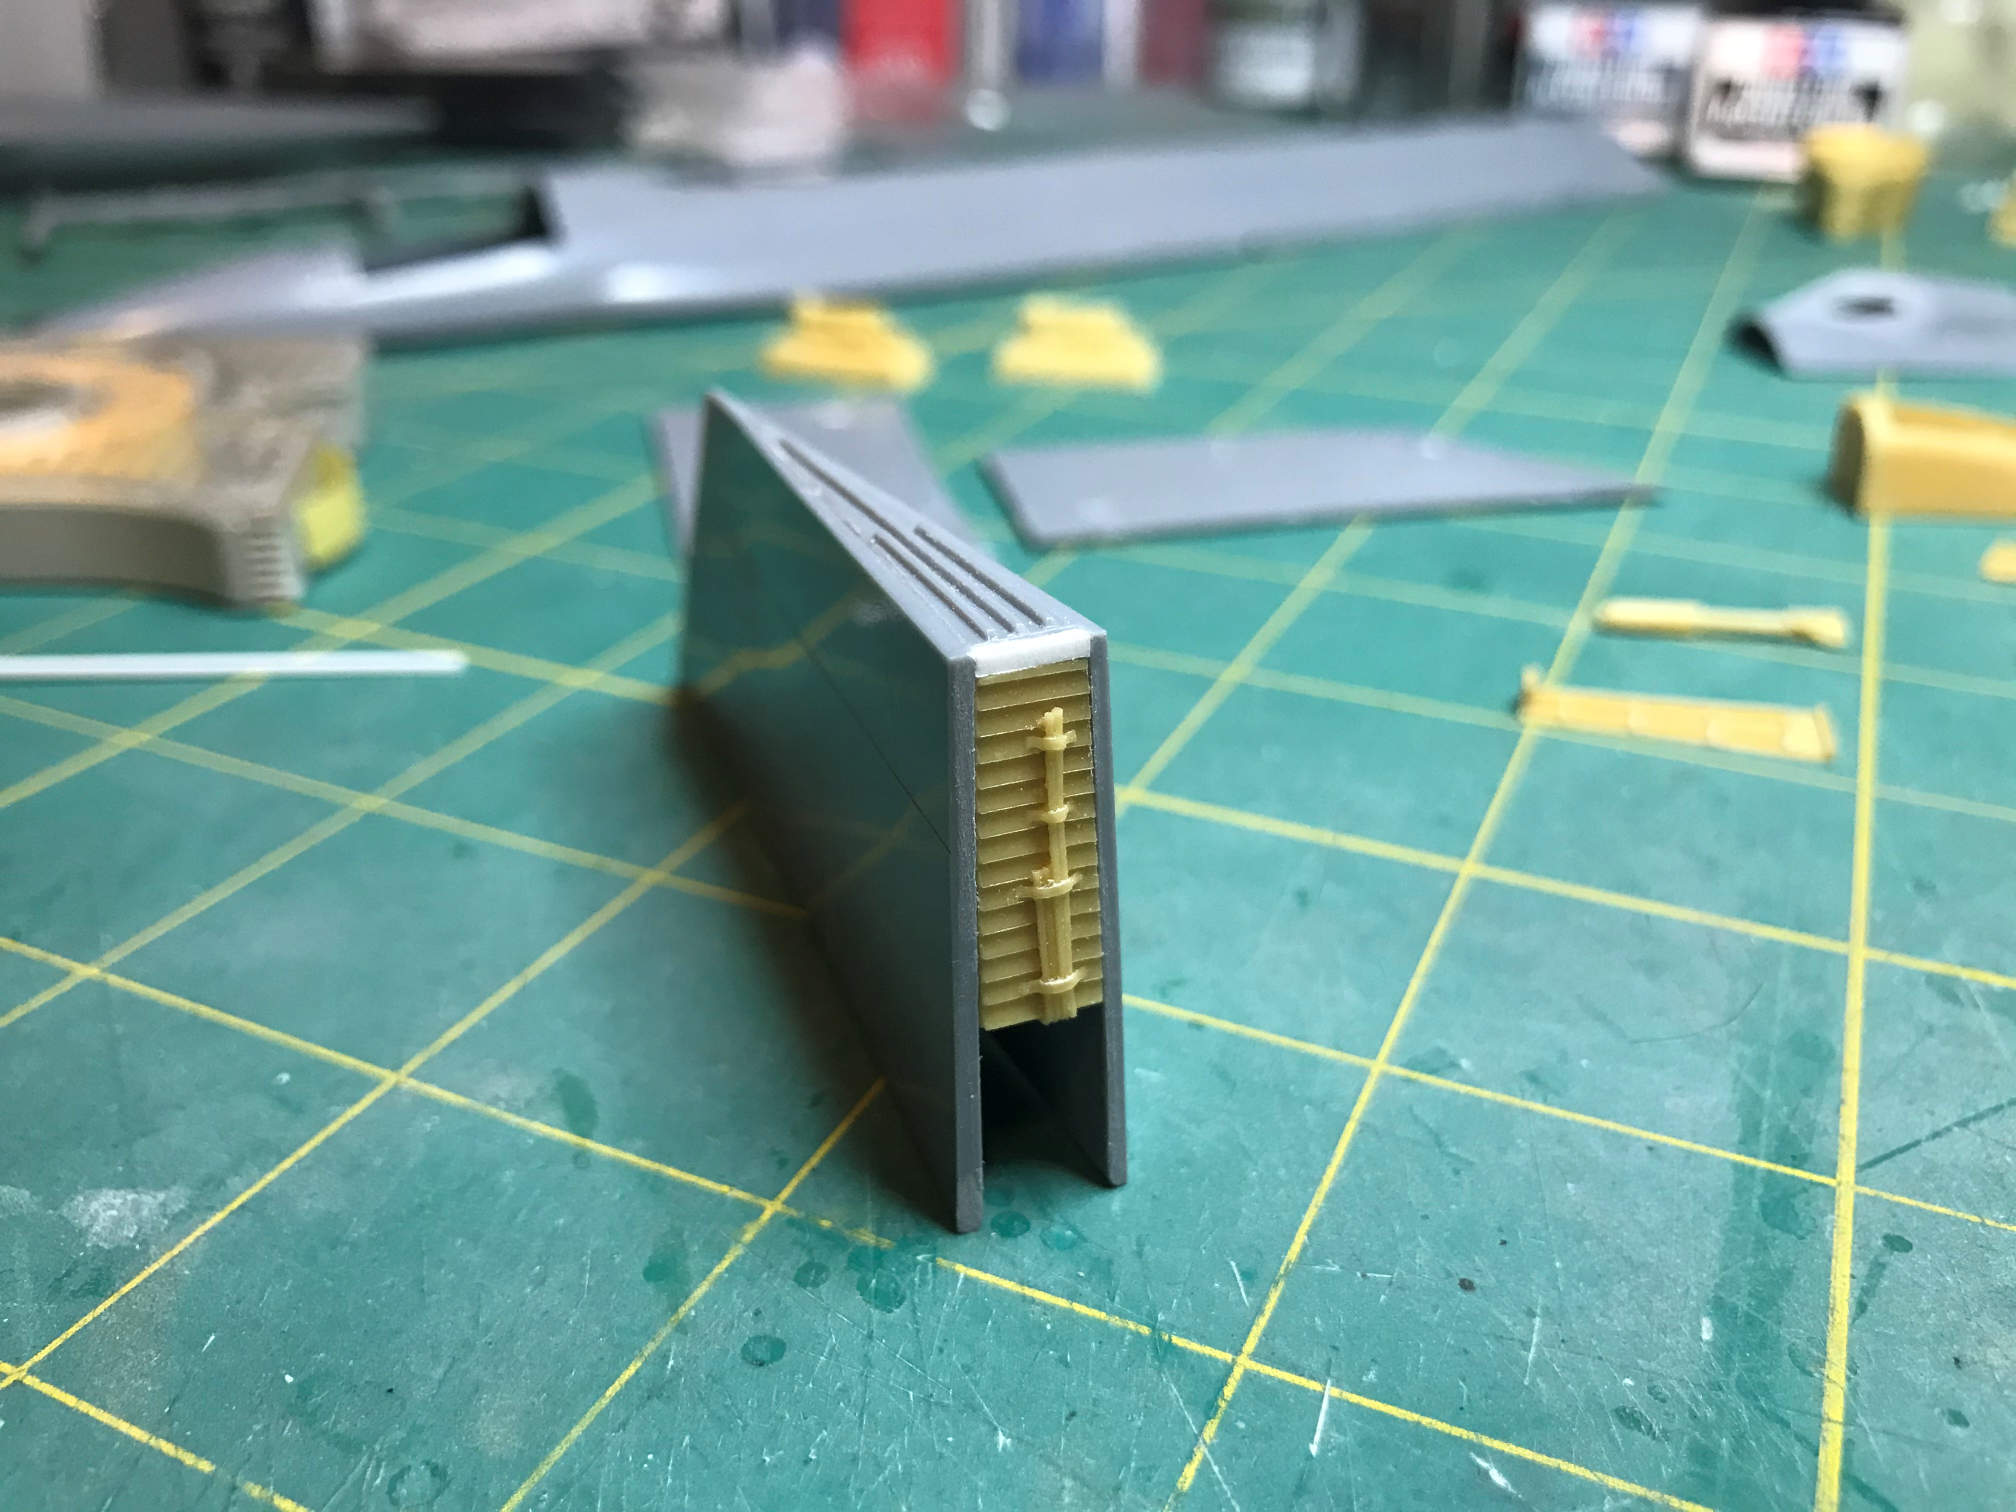
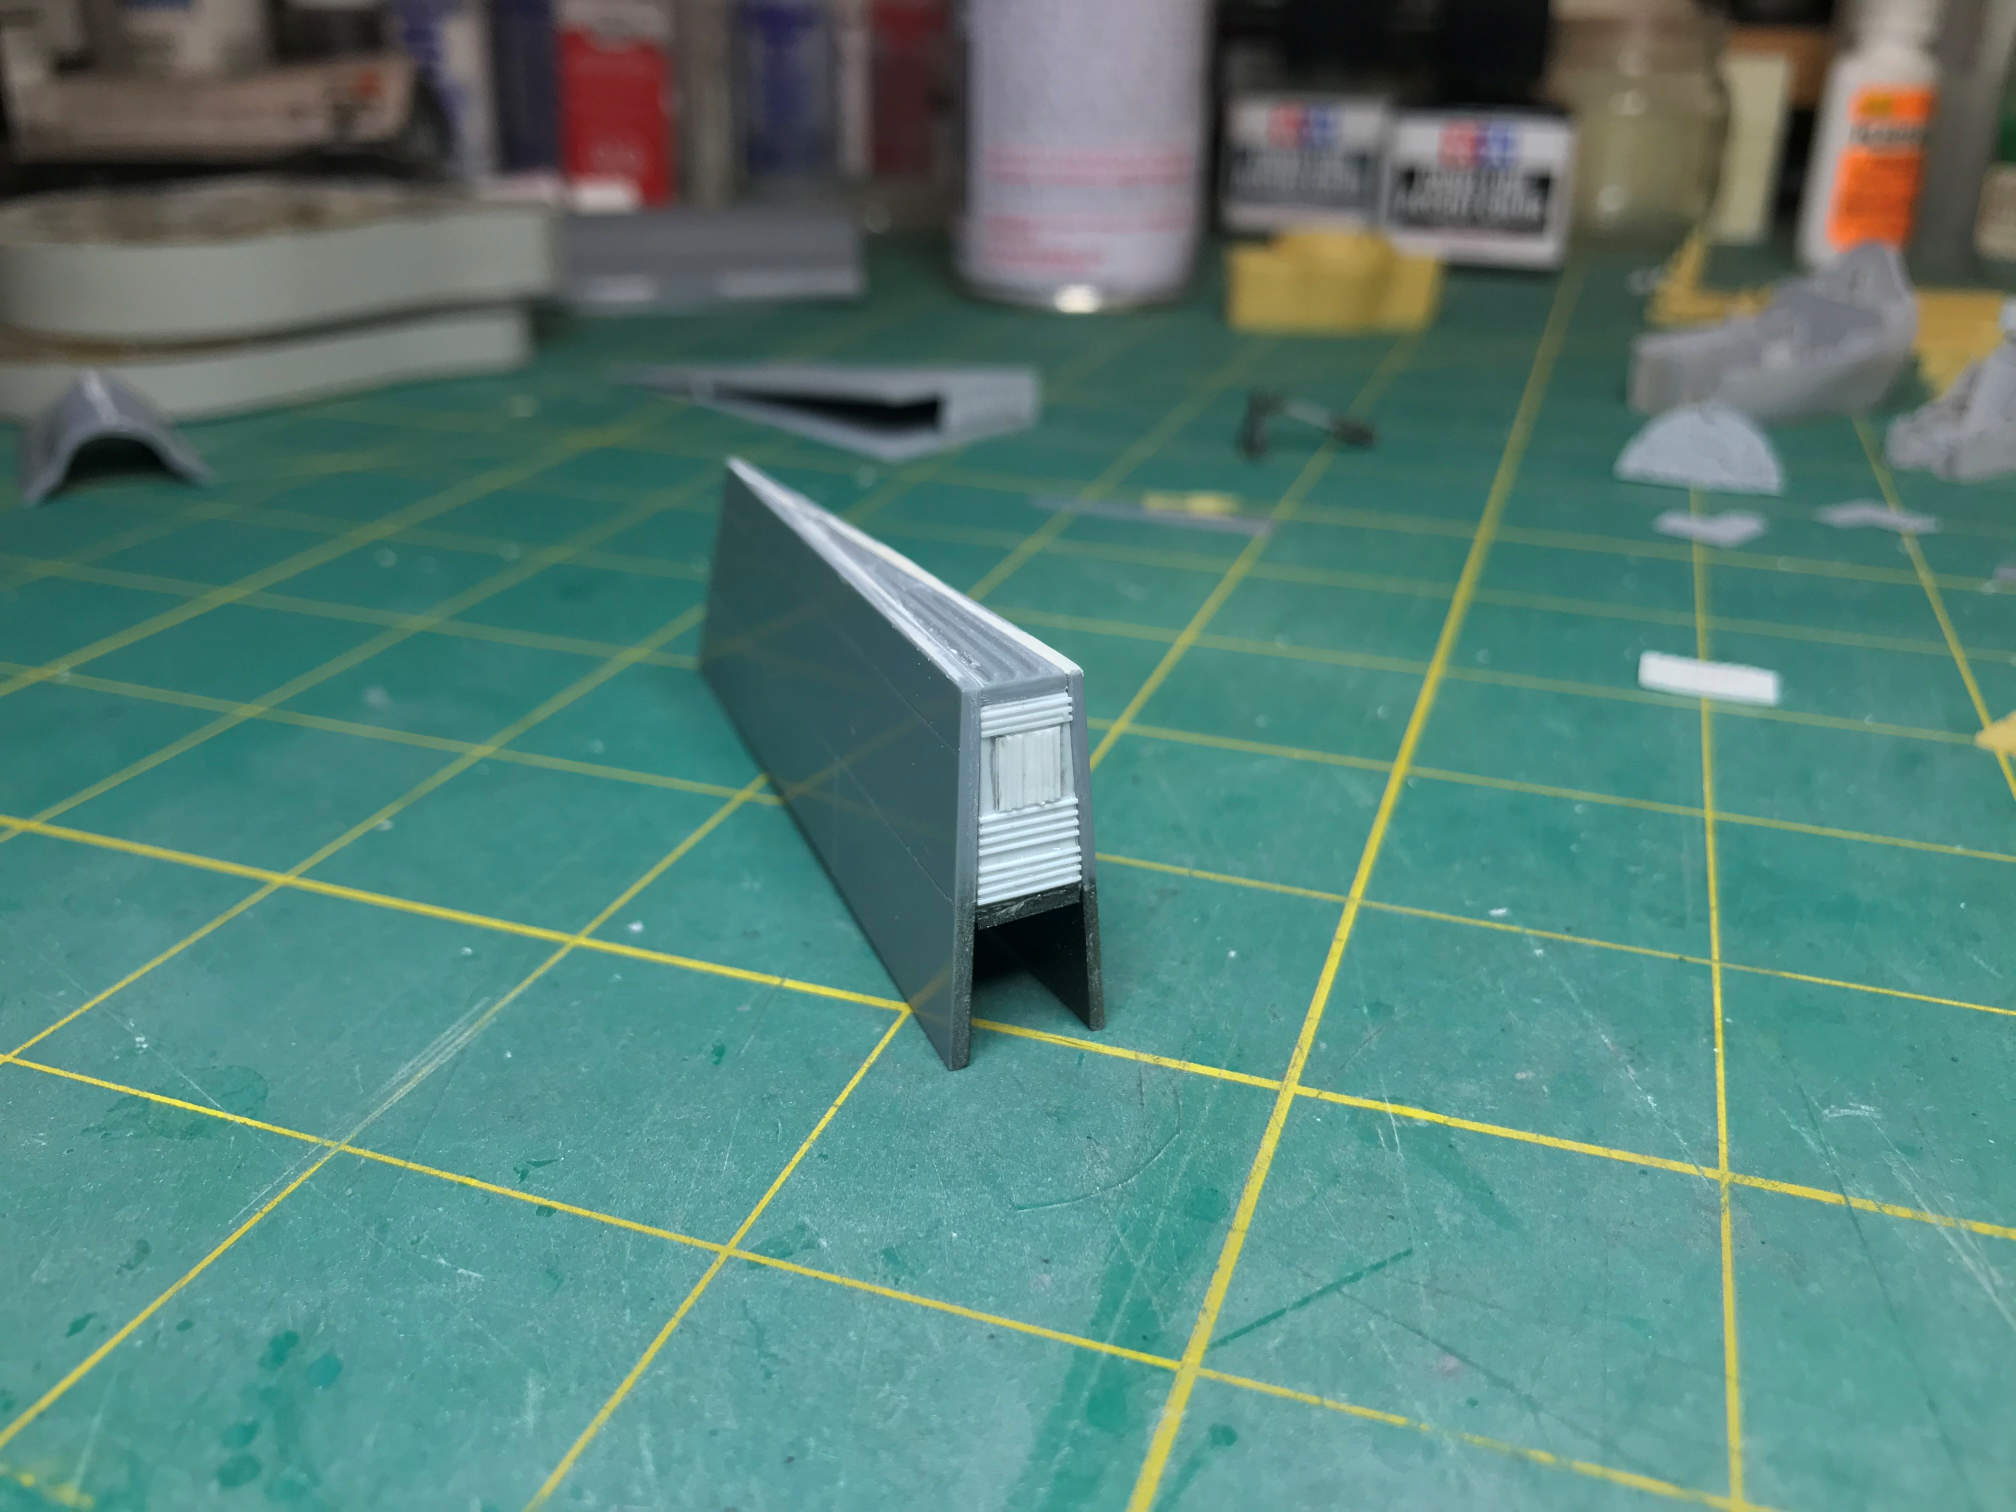
Work is continuing on the 1/48 X-15. At the end of the previous post I showed the progress on the dorsal vertical stabilizer. Well, after looking at it, and then doing some dry fitting, I discovered that the wedge should have been flush with the back of the fin sides and the resin back piece should have been put in below the wedge. So I removed the back piece and then cut a small piece of .01 x .01 inch strip and glued that to the back of the wedge. Then I re-installed the resin back piece. Here is how it looks now.
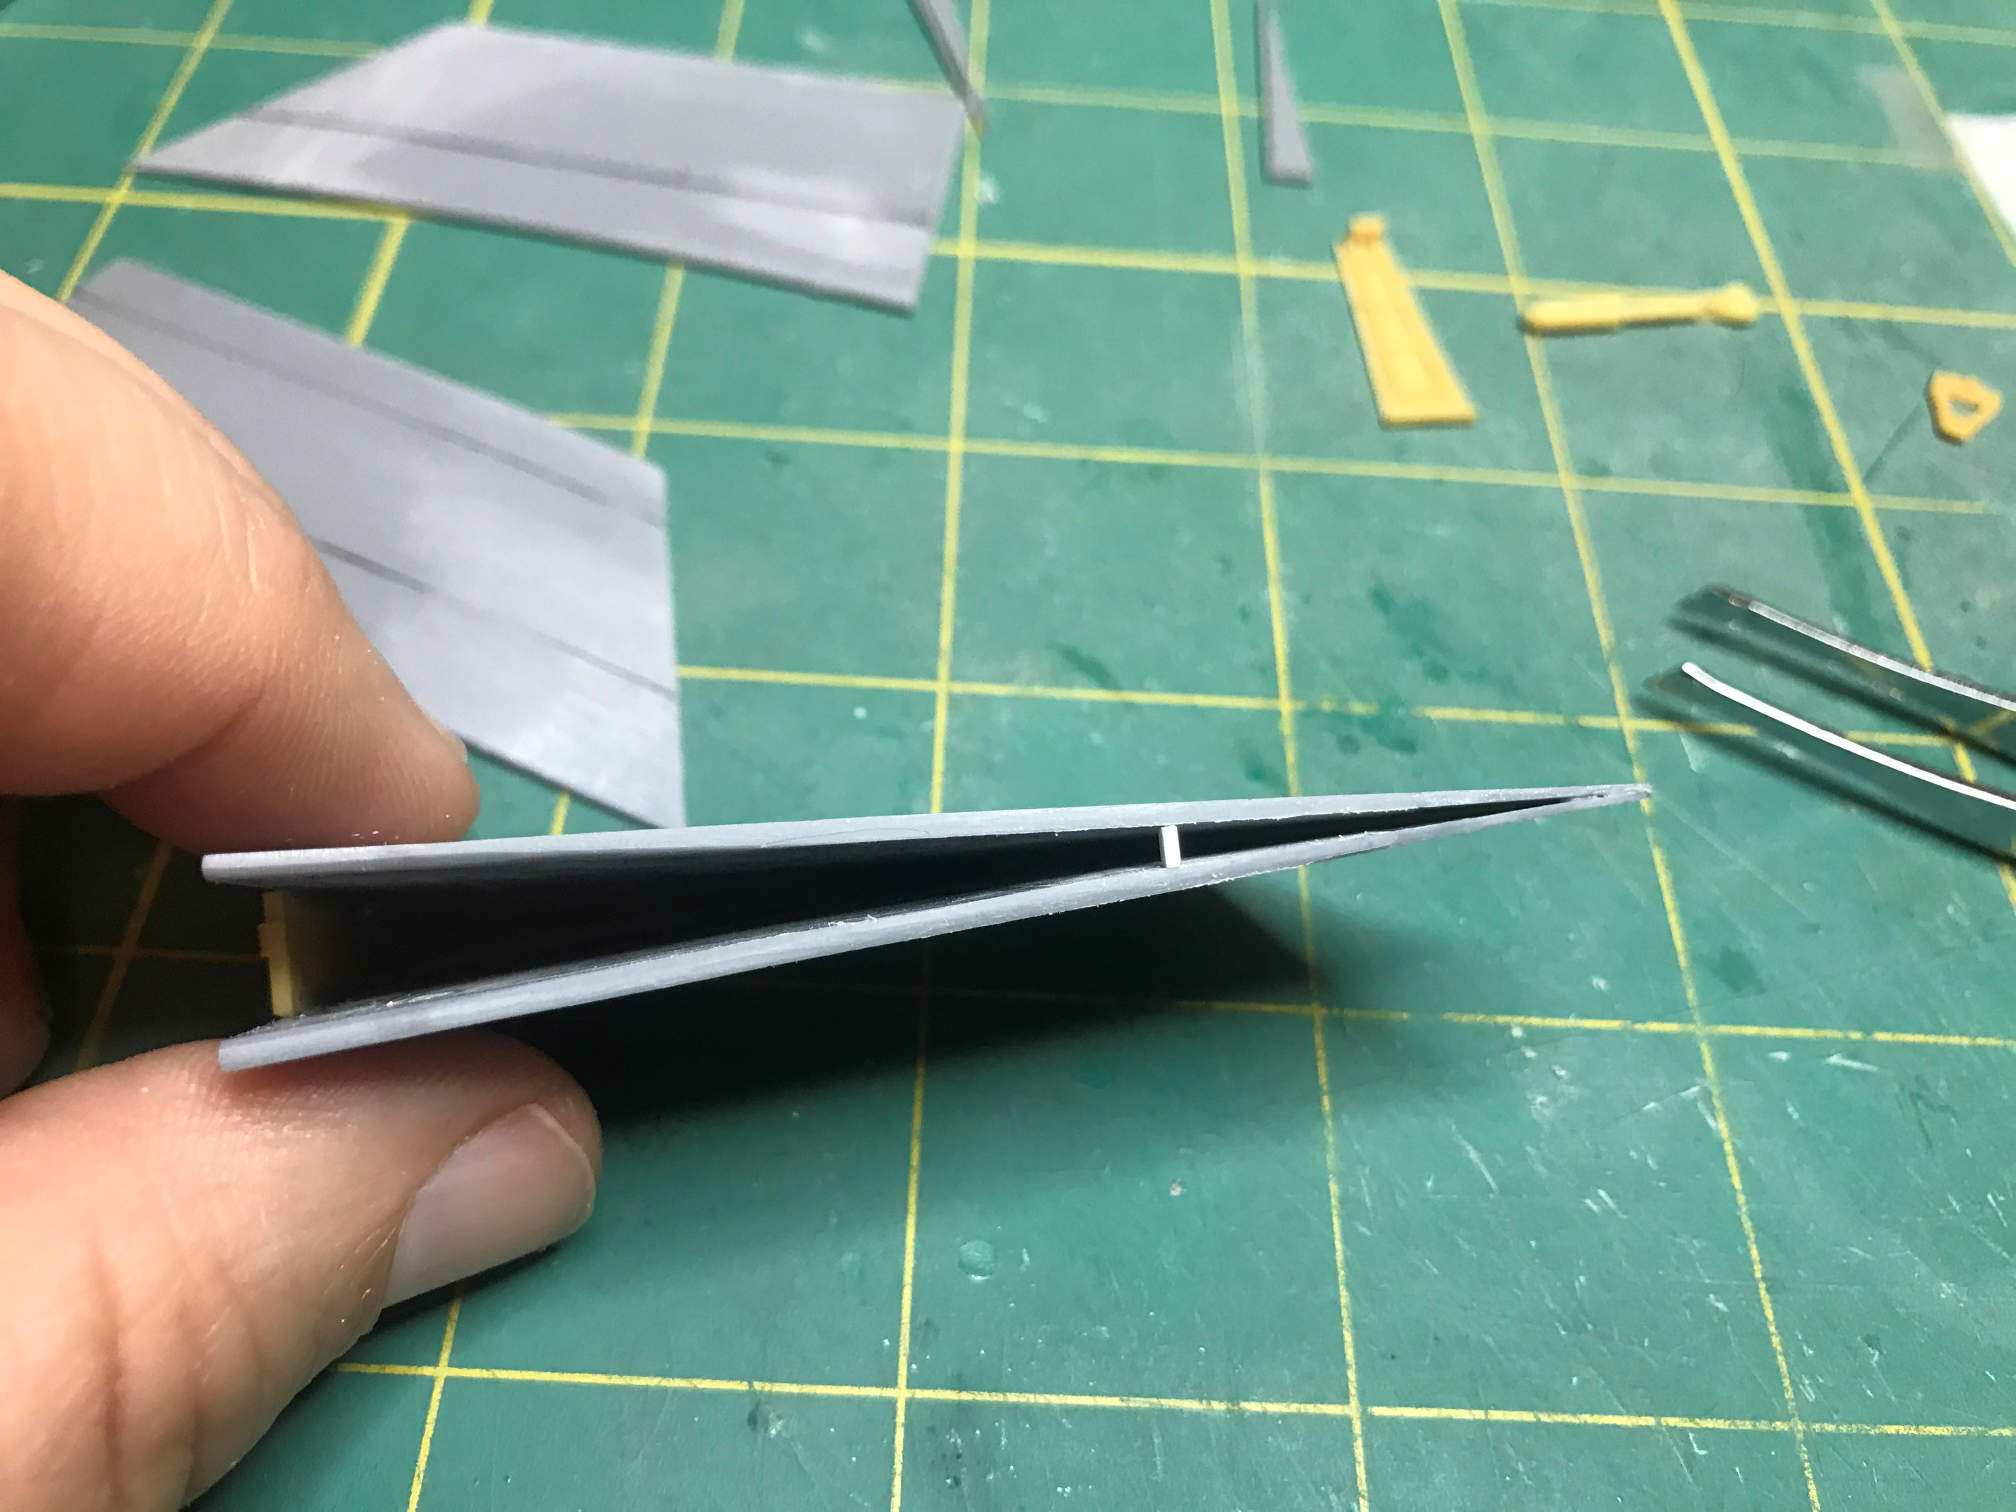
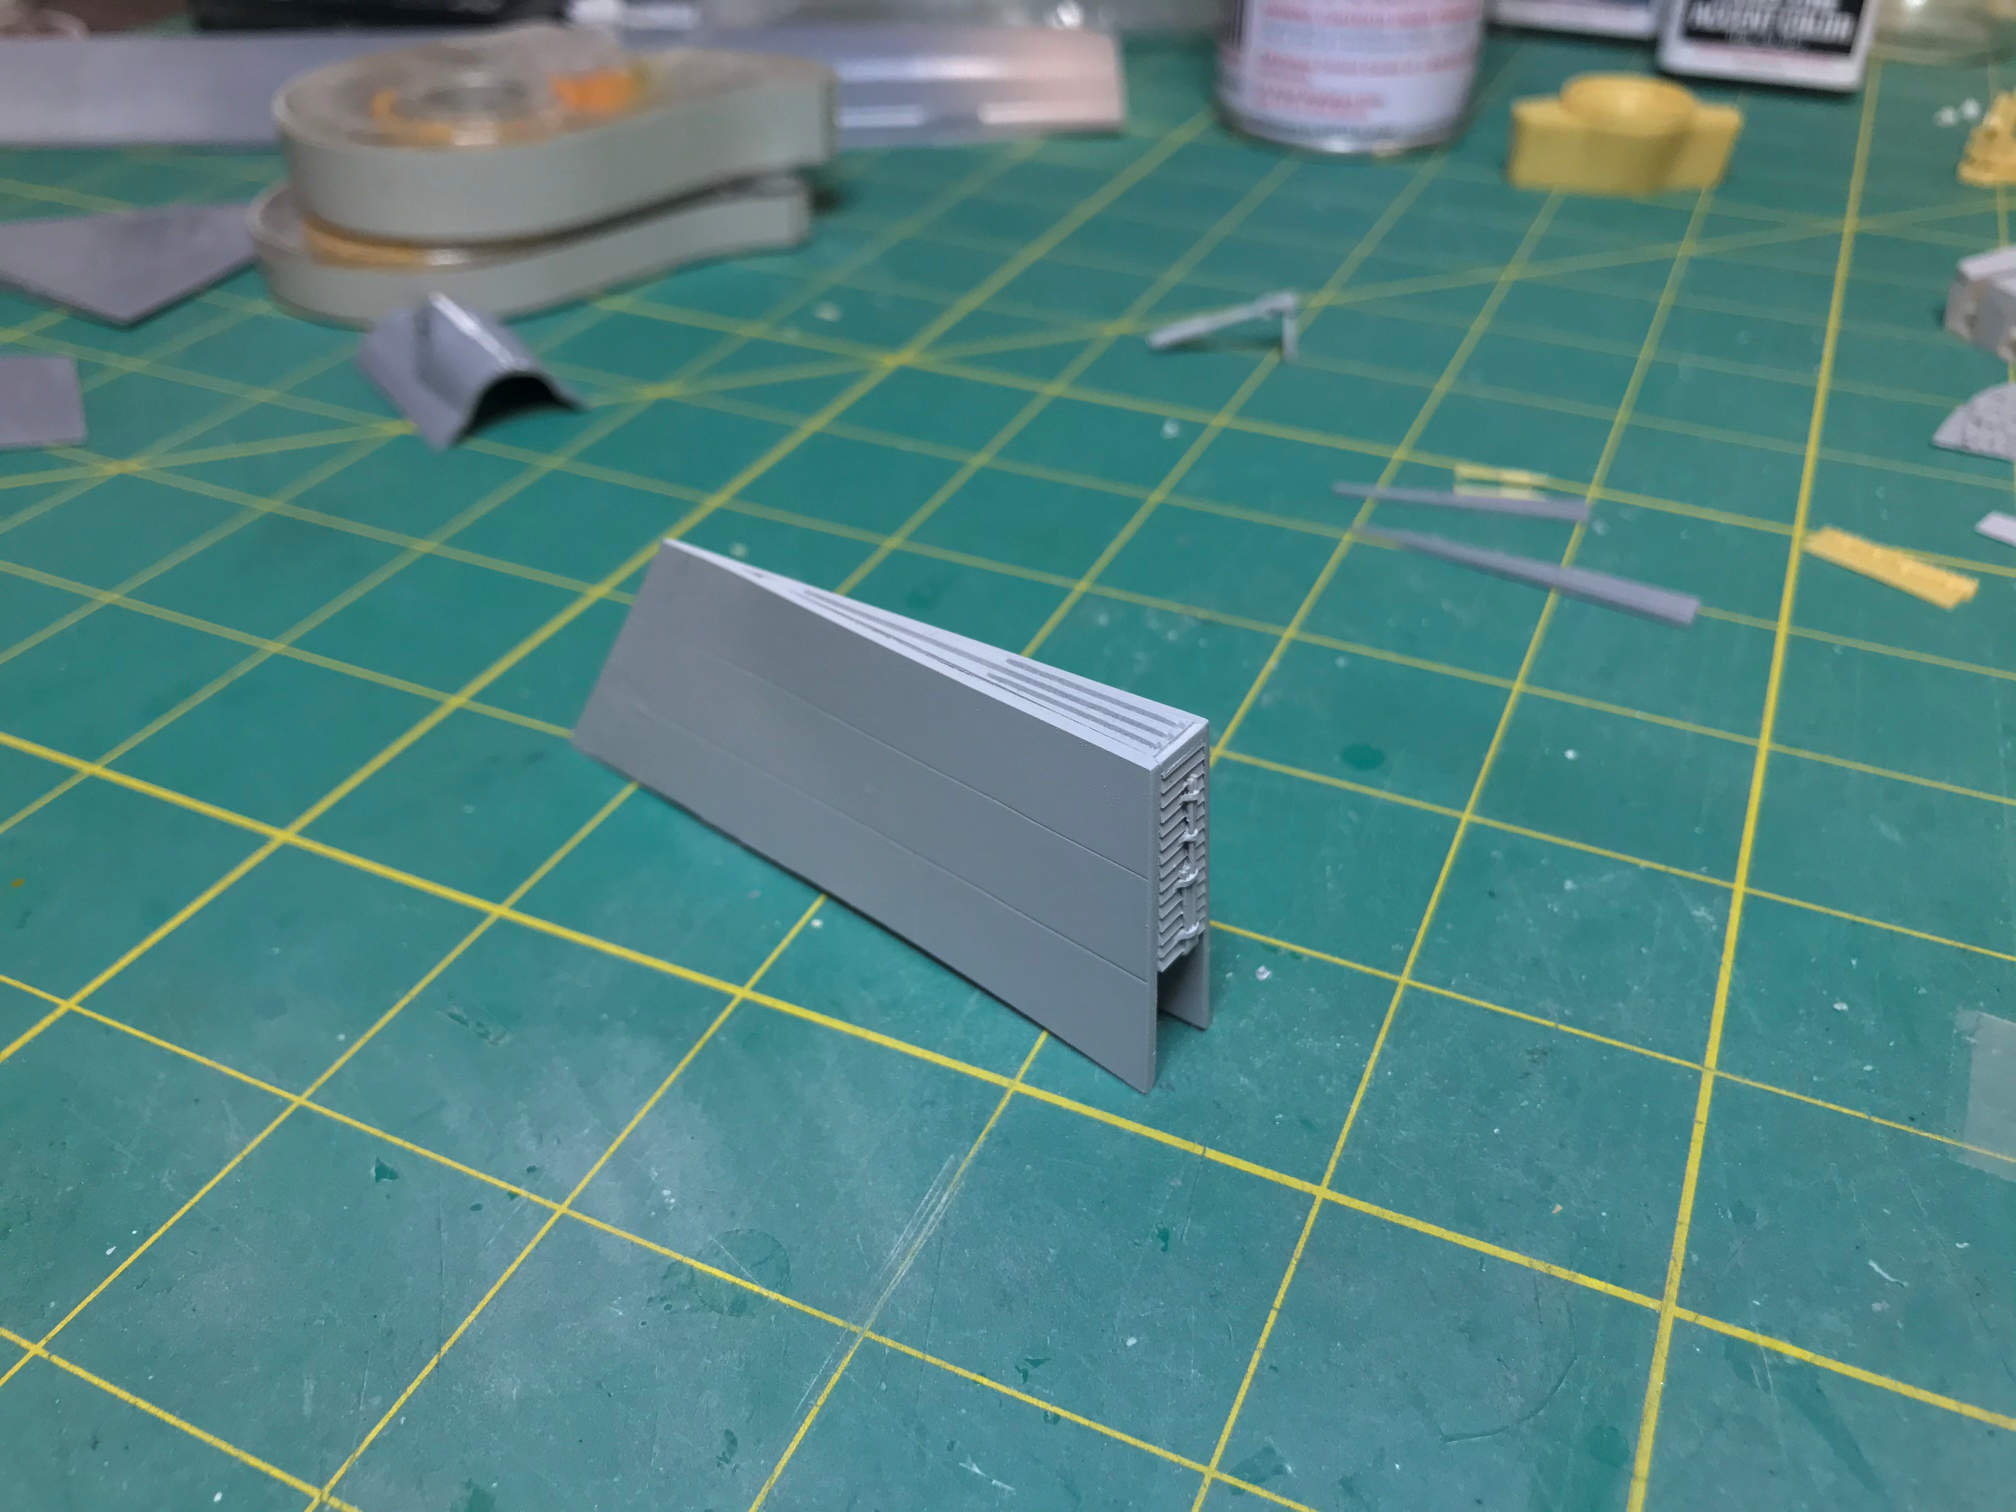
I then moved on to the ventral vertical stabilizer. It seems that most of the edges of the parts in the kit do not have vertical edges. They are angled. I guess for a short run kit they may have done that to make it easier to release from the mold. It doesn’t help with the fit of the parts as it requires most edges to be sanded to get a good glue joint. Below is an example. It is the wedge shaped fin edge piece.

Anyway, before I started work on the ventral fin, I notice that the sides of the dorsal fin had a slight curvature. To correct it I inserted a small strip of .01 x .01 styrene.
I then got ready for the ventral fin. When reviewing my research data, it looked like the ventral fin was slightly shorter than the dorsal fin. Why didn’t I notice that when I was doing the 1/144 scale version? Well, it turns out that both of my 1/144 scale X-15’s were modeled with only the fixed portion of the ventral fin that contains the air-brake. So, I dove deeper into my research data to find some dimensions and sure enough, the ventral fin is 11 inches shorter at the back and 9 inches shorter at the front. I guess I just never paid enough attention to that before. Anyway, I converted those dimensions to 1/48 scale and drew then onto the ventral fin inside face as seen below.
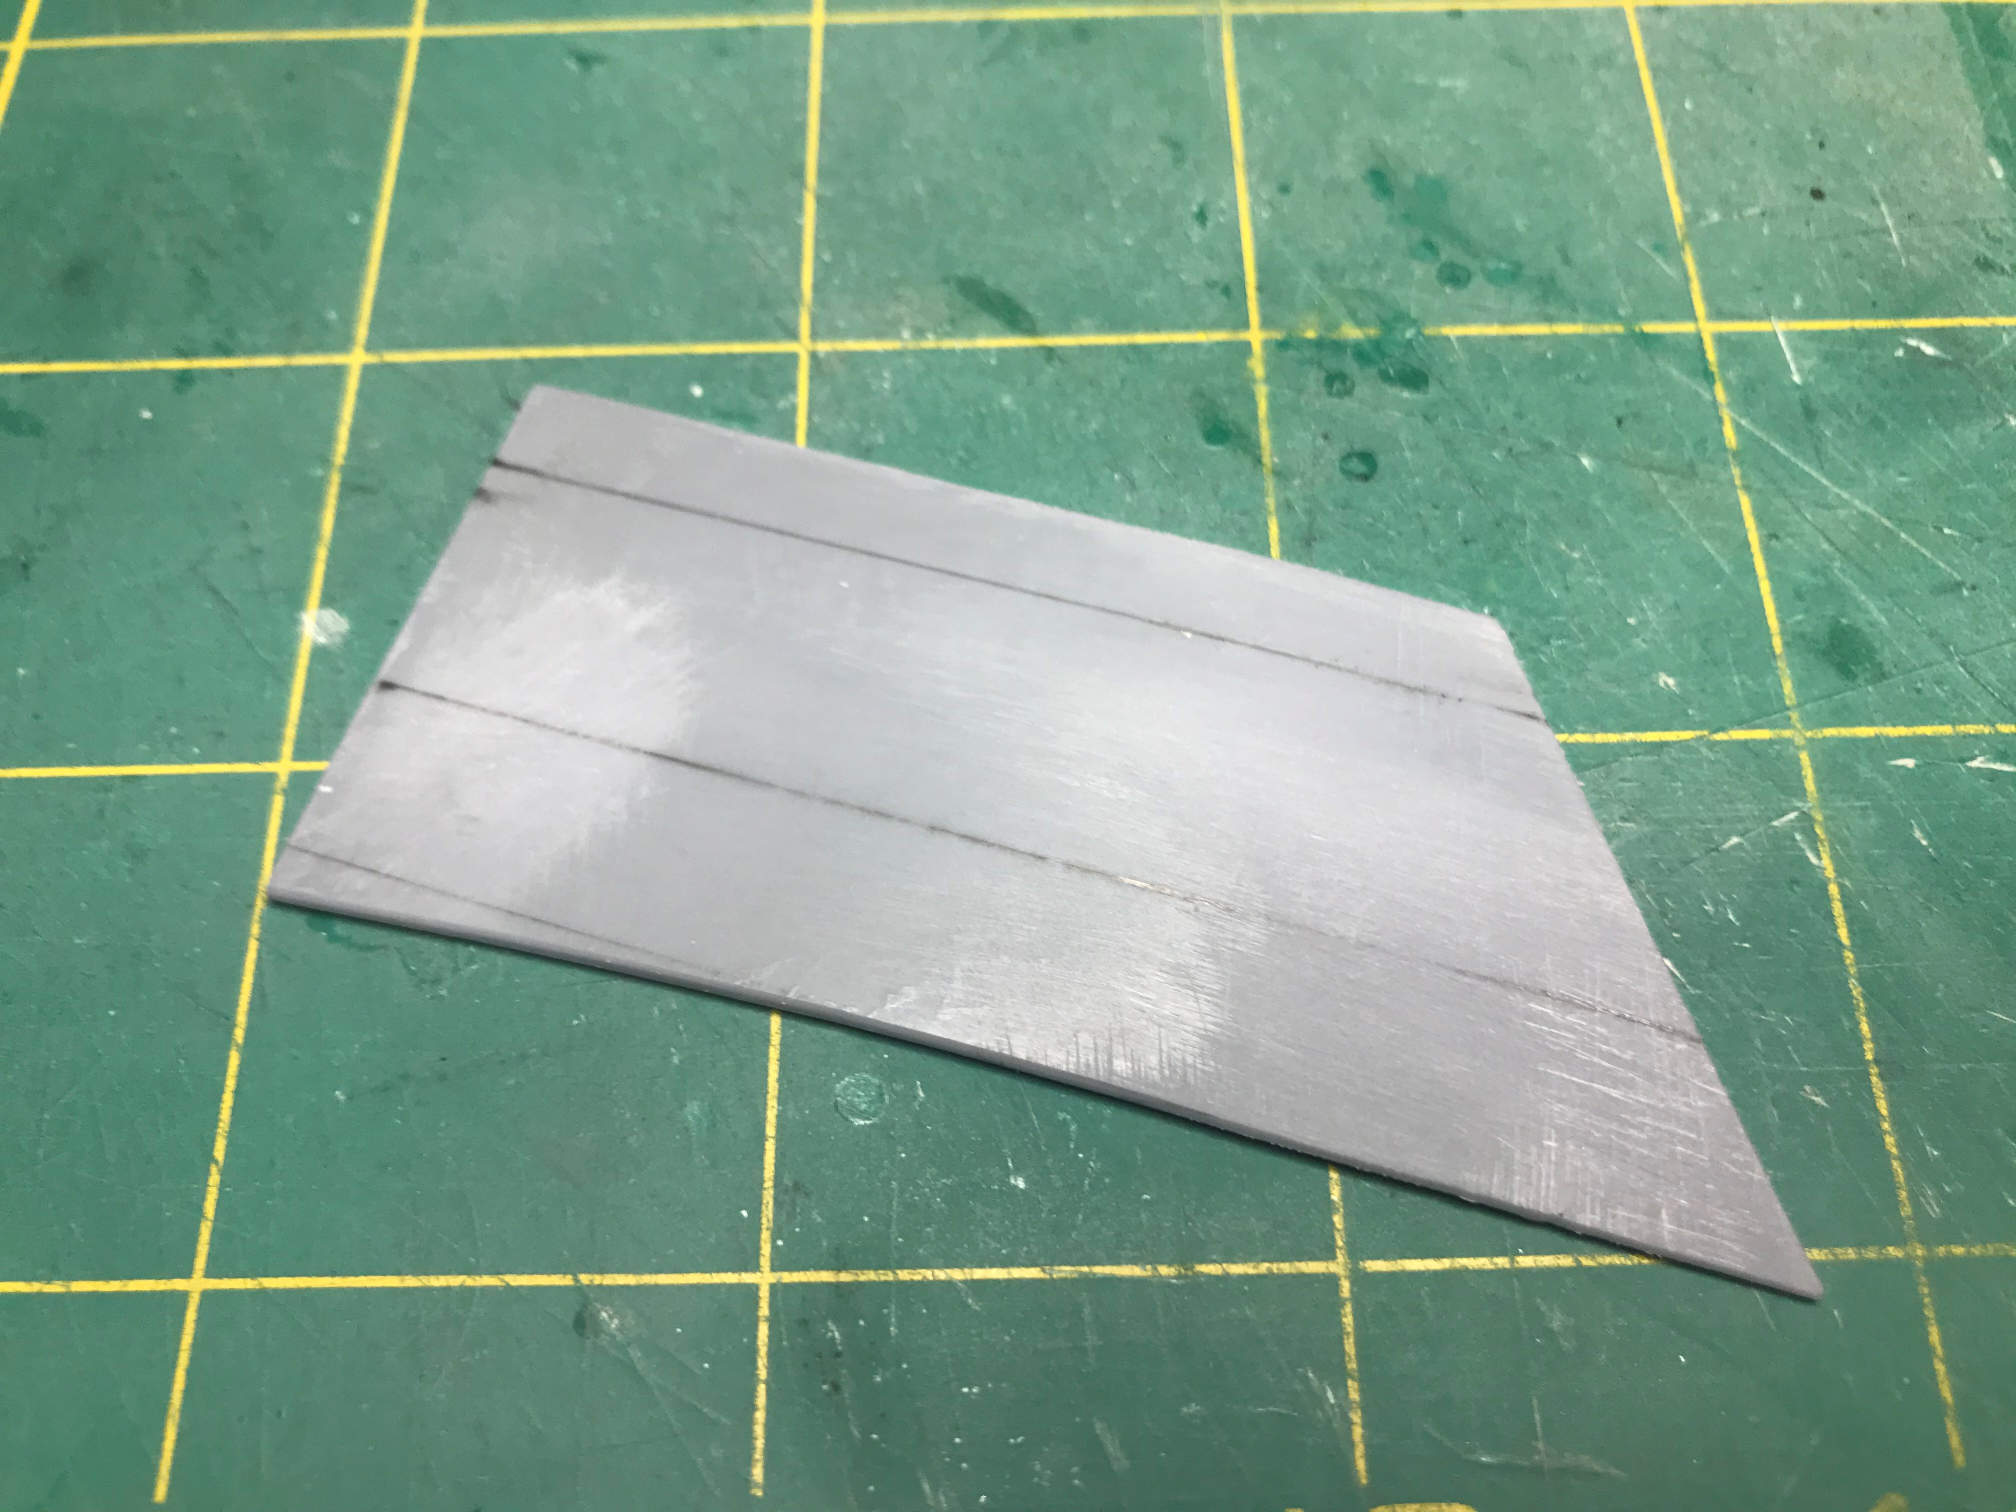
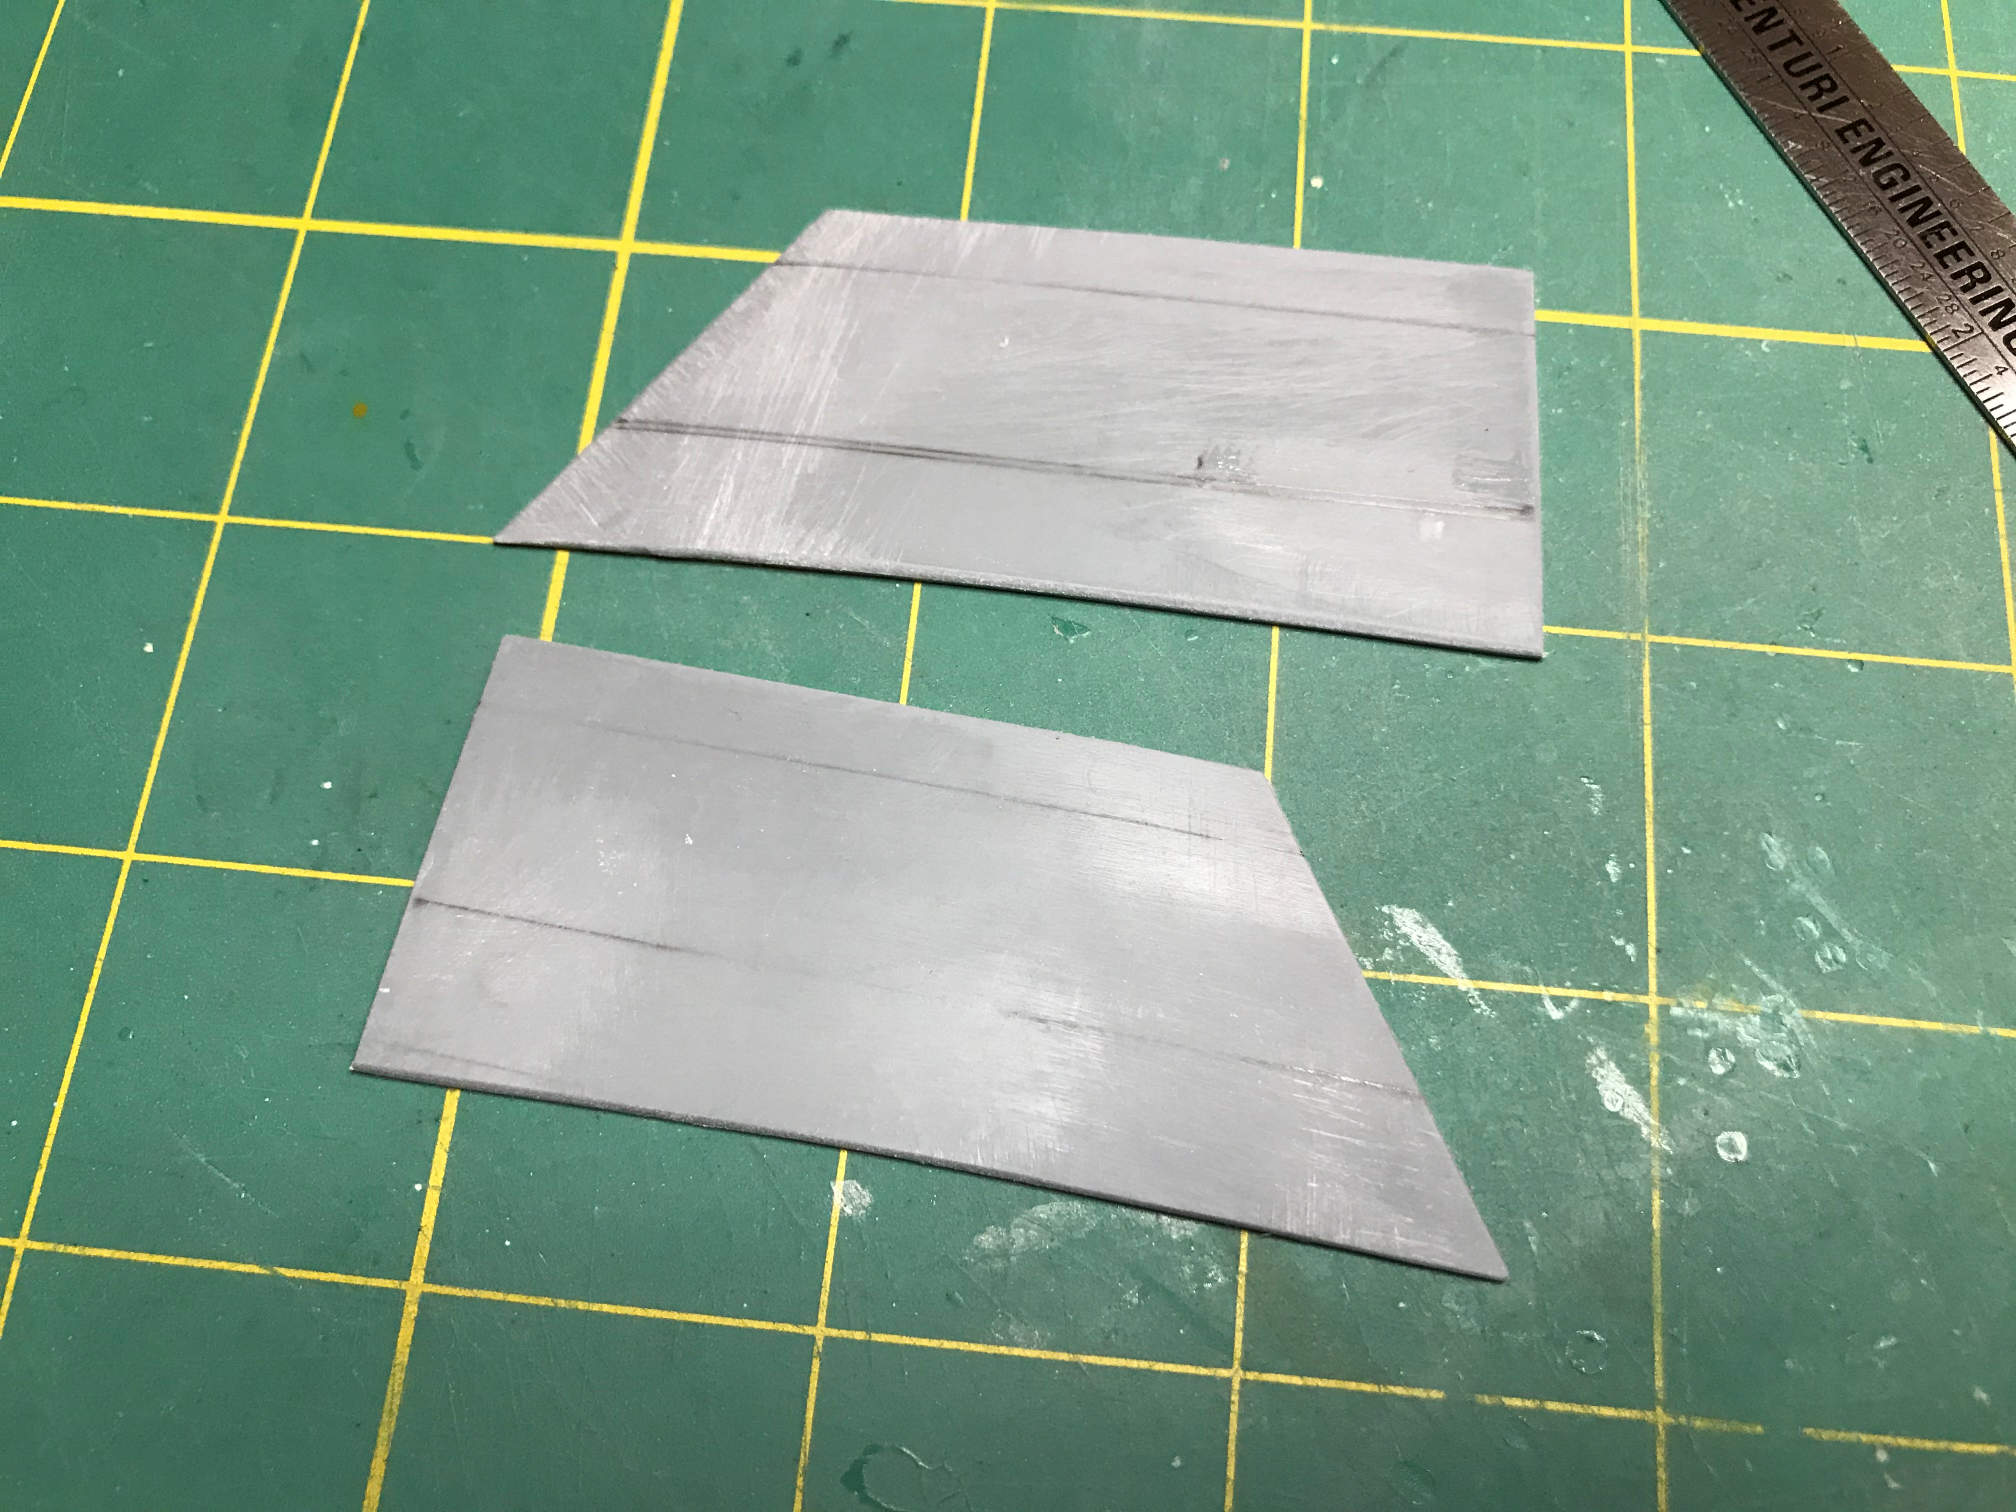
The lowest line coming off the curved lower edge was to get a measurement line. The next line up shows the fixed portion of the fin. Finally the top line shows the amount that needs to be removed. I made the same marks on the other side and then started cutting off the excess.
In the meantime I primed some of the parts to help highlight any areas that might need some more work.
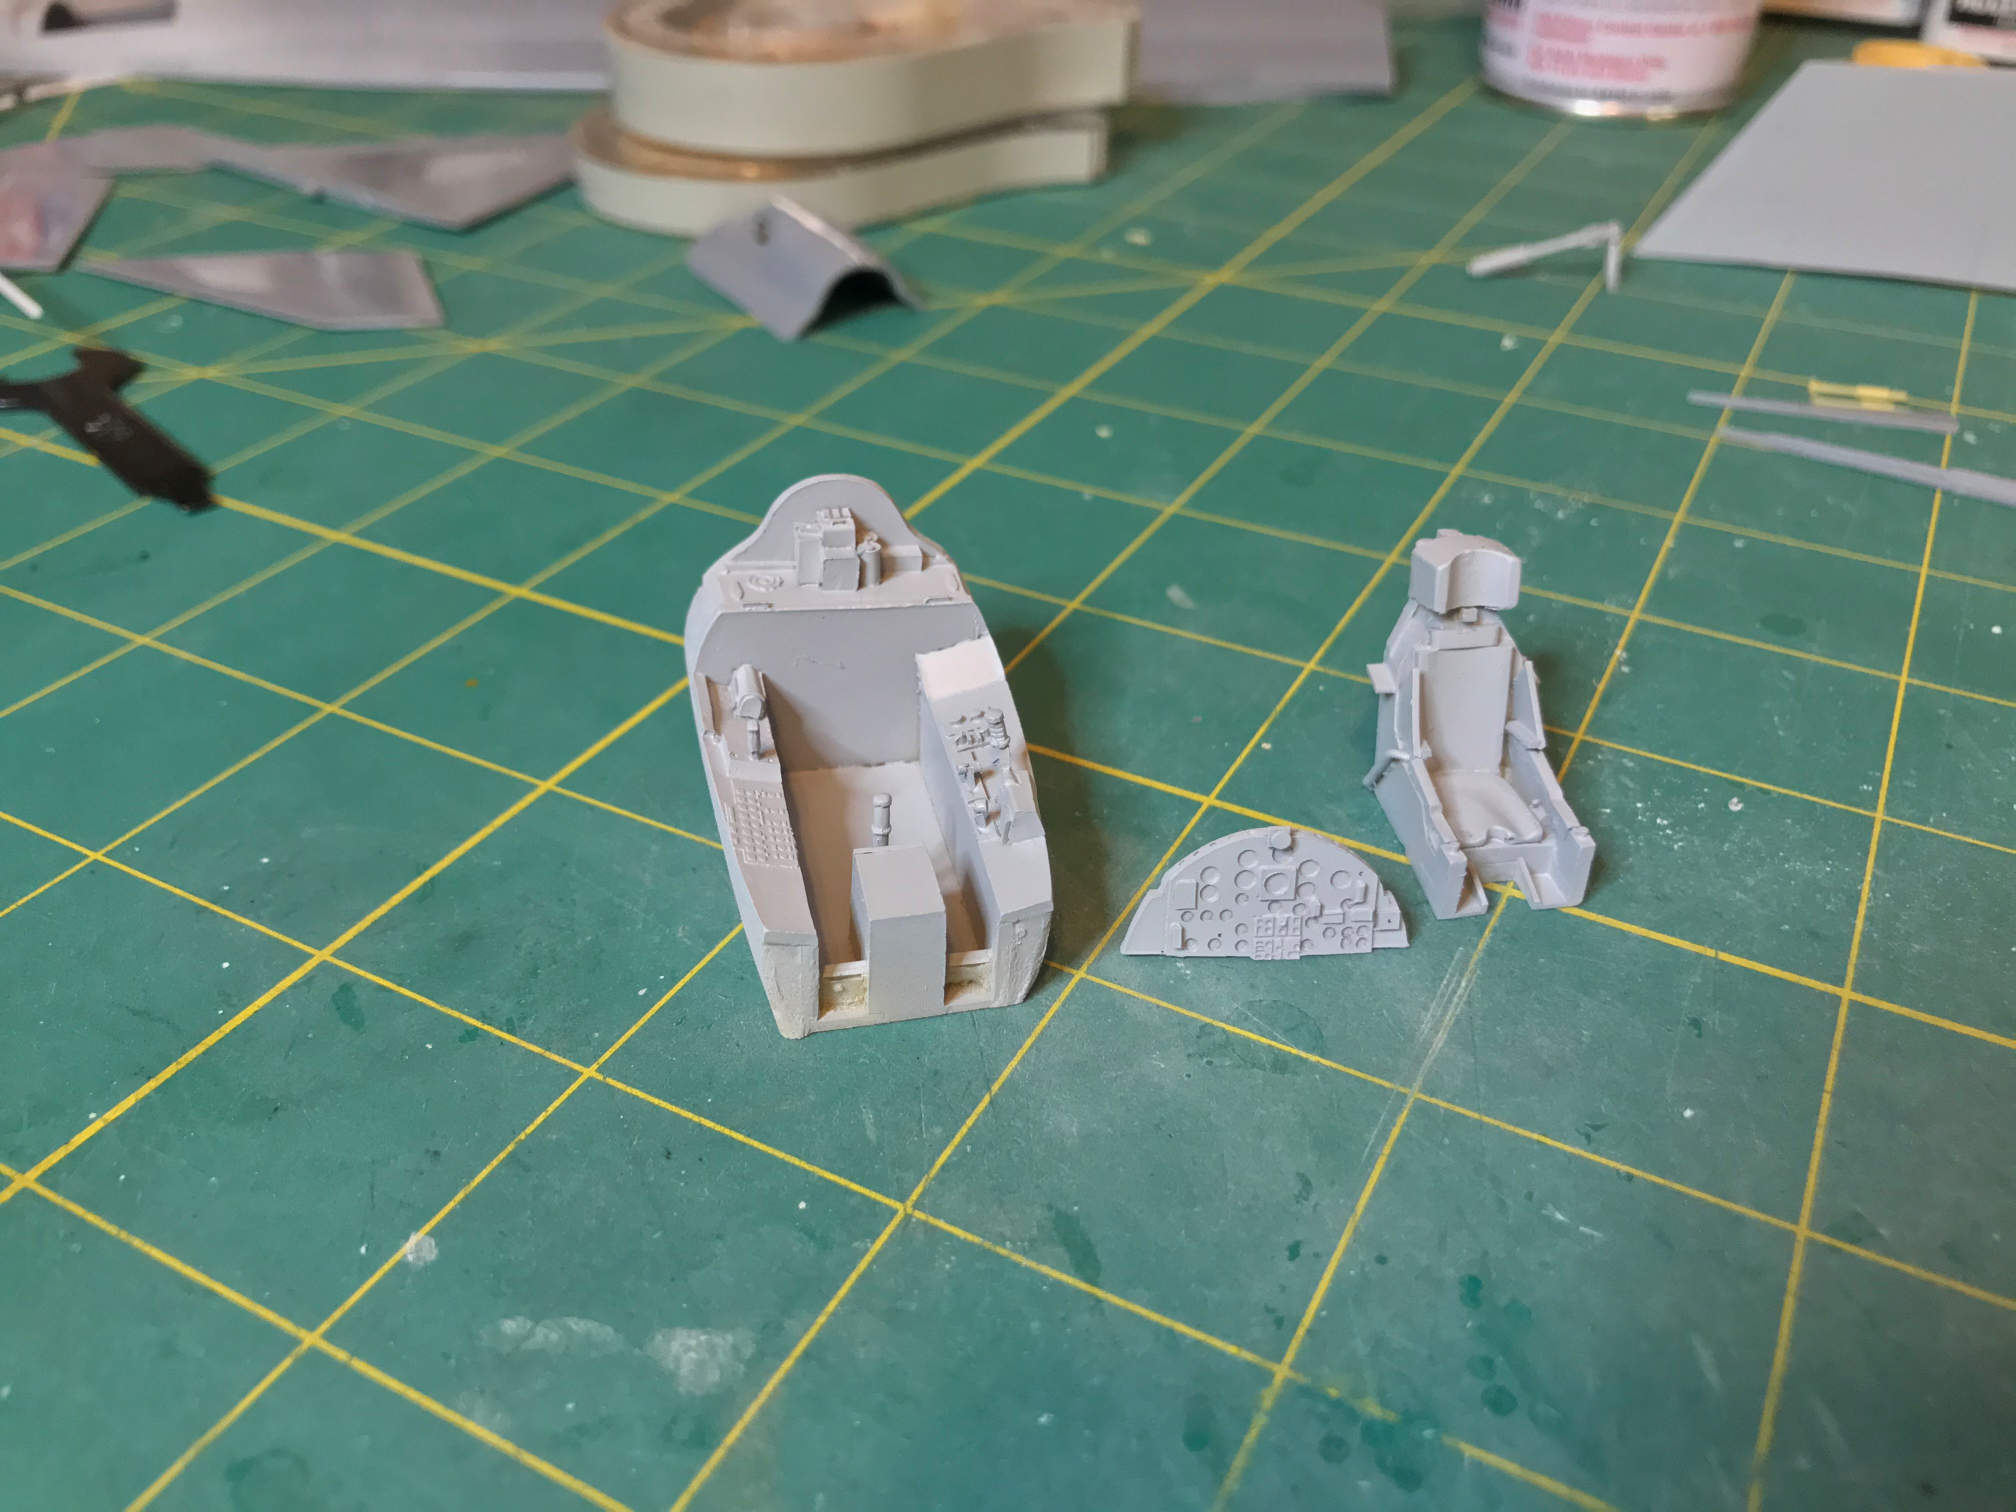
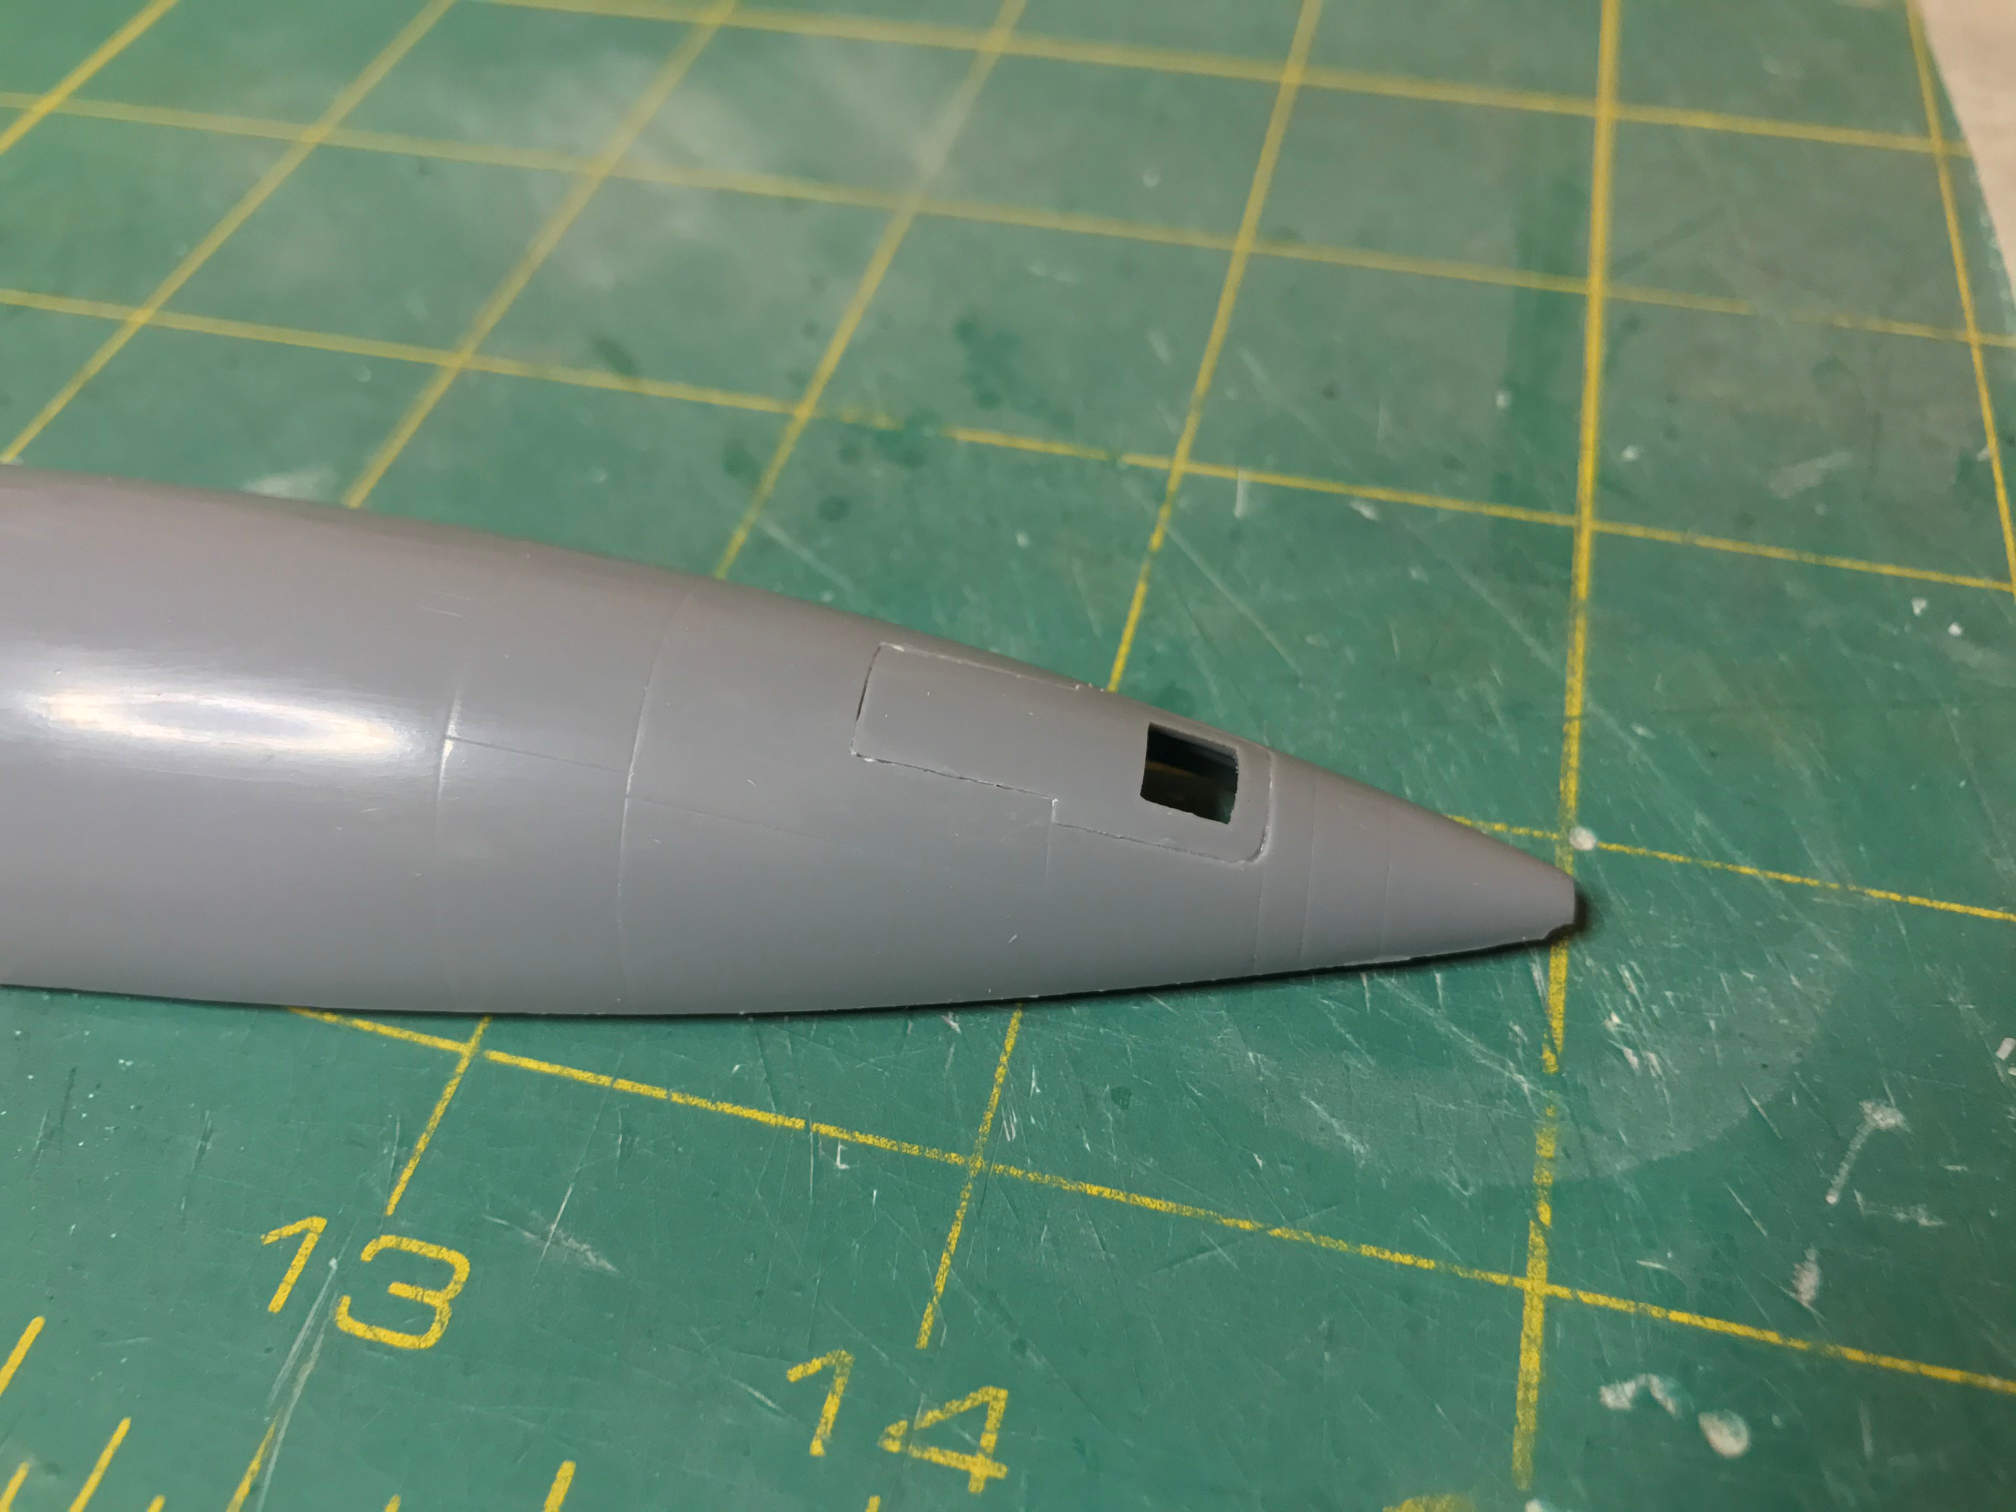
I then did a little work on the nose gear door. It required quite a bit of sanding and shaping to fit properly, and I still don’t have the scoop door added yet. As an aside, the scoop door is what allows the nose gear door to open at a high angle of attack, otherwise the air stream pushing against it would keep the nose gear door from opening.
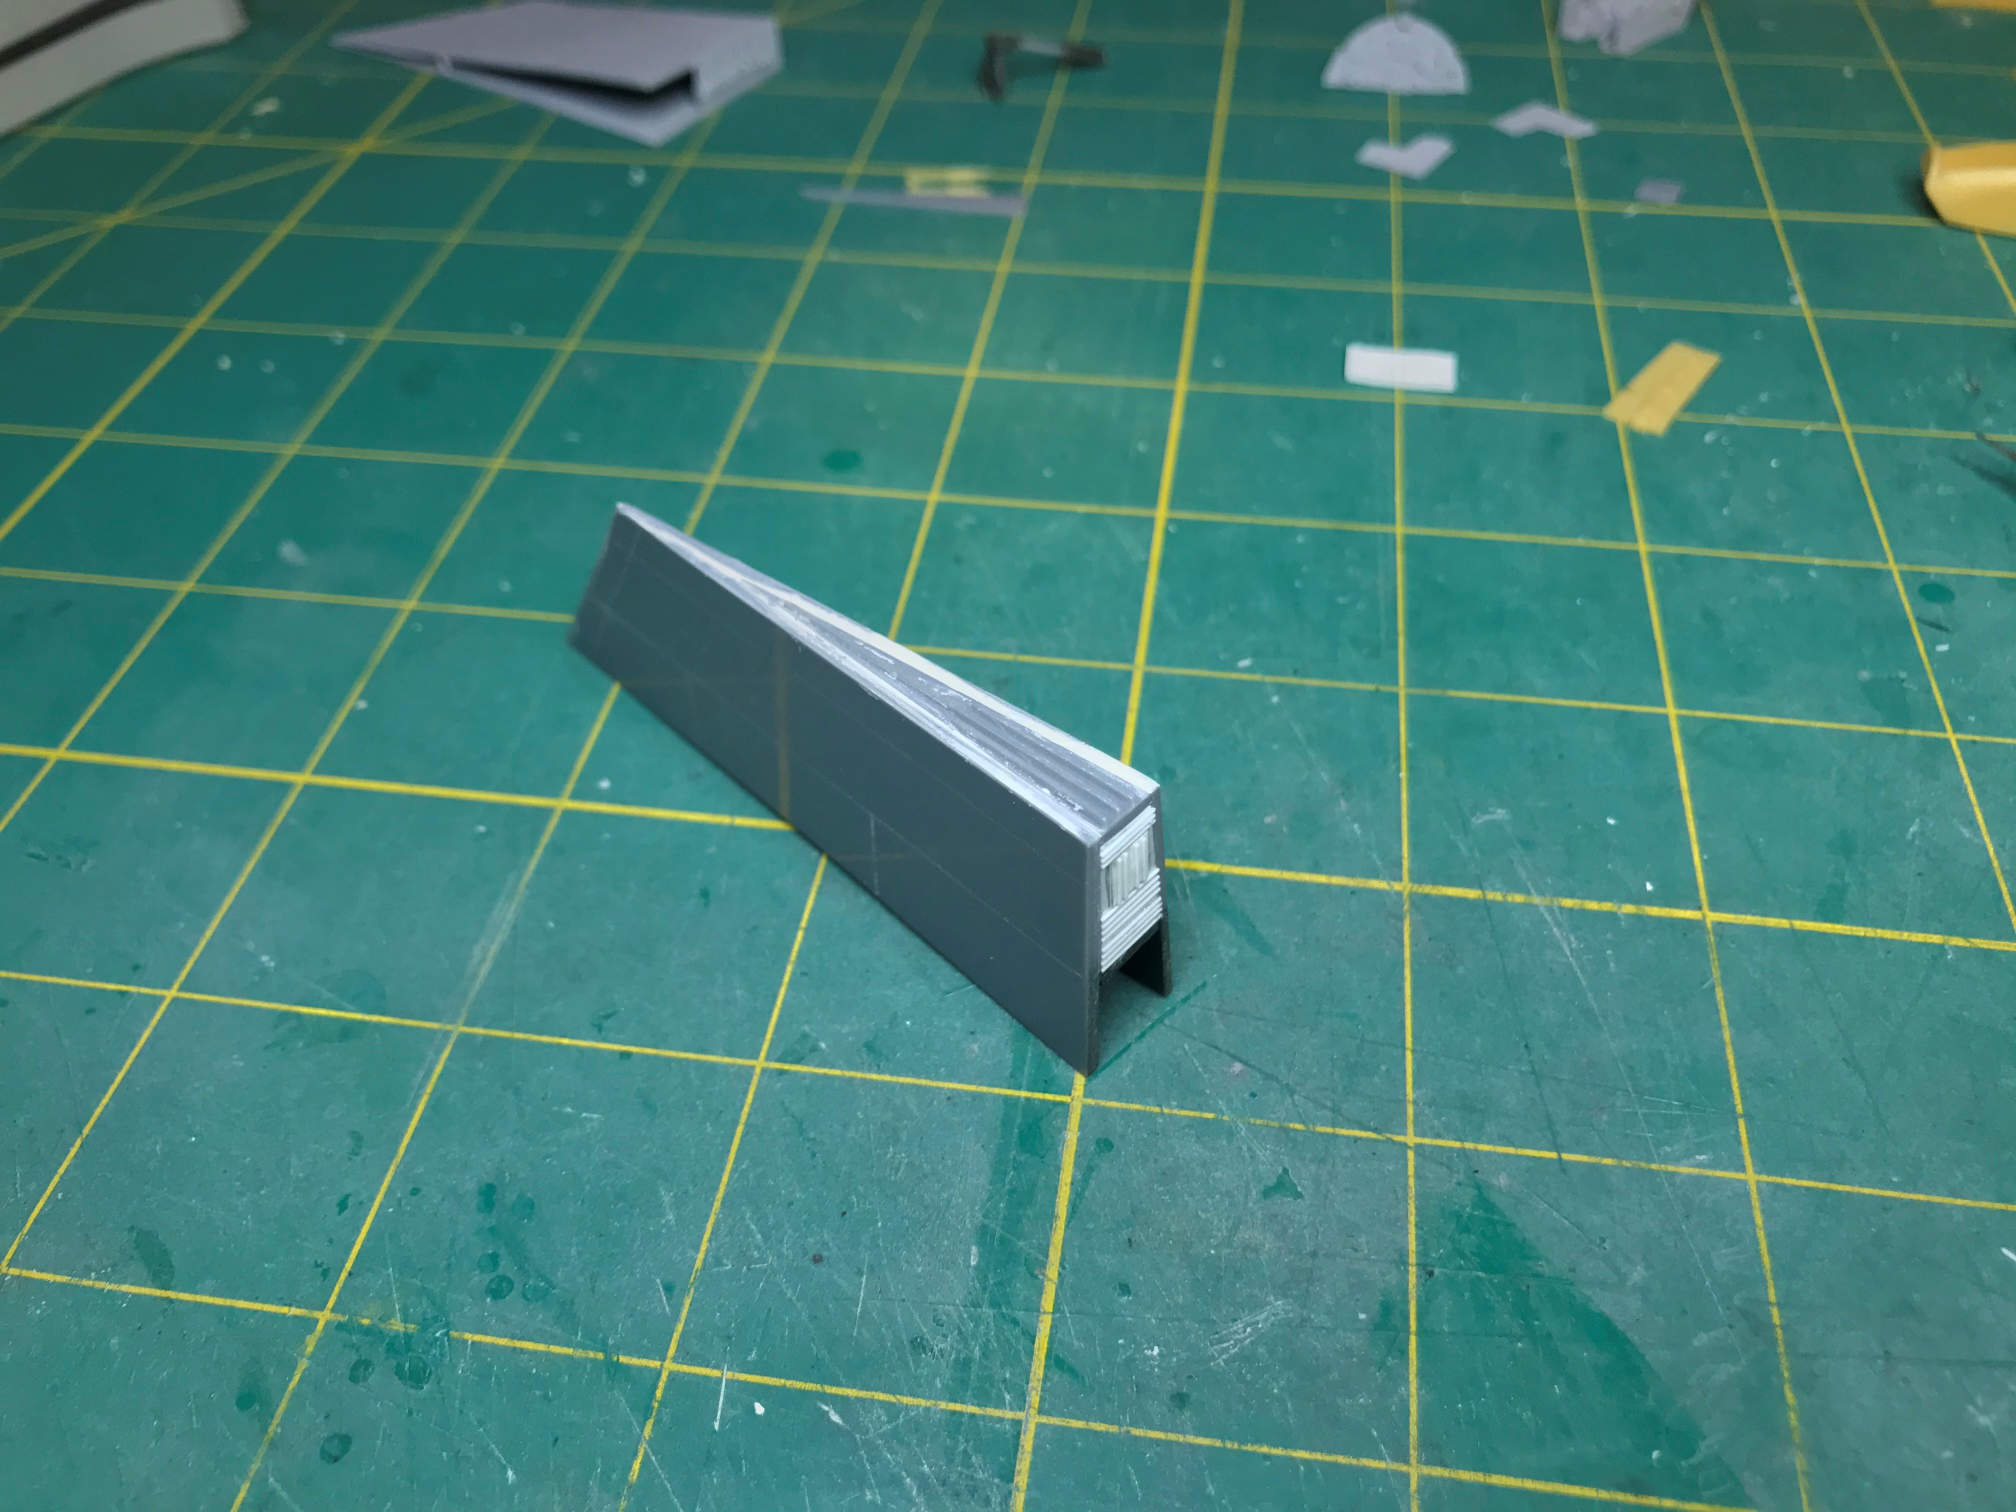
Back to the ventral fin. The movable portion of the ventral fin is ejected before landing otherwise the fin would hit the ground before the skids did. The ejected portion had a parachute in it so it could be recovered and reused. This meant that I needed to model a parachute door on the back side of the fin. The supplied resin part didn’t have any provision for a parachute door and it also had piping molded in that never existed on ventral fin of the actual plane. Removing the piping would pretty much destroy the part. So it was just easier to scratch a new one. I took a section of .01 sheet stock cut to the proper shape and then marked where I wanted the door to be. Next I glued on sections of .01 x .01 strip stock to represent the corrugations. Then I cut a rectangle of .005 sheet stock to represent the door. Onto that I glued some more .01 x .01 strip stock. I then glued that to the gap in the strips I had left. Here is a photo of the original part and my scratch build replacement.

I then went back to the ventral fin and started construction. I began as I had with the dorsal fin, by gluing the leading edge. I then added the top wedge, followed by the new back piece. I also added the resin top of the air-brake. Here are a couple of photos.
Here is a side by side picture of the dorsal and ventral fins and their size difference. Note that I also have added some filler to both parts as well.

That’s it for now. I should be getting to the fuselage soon. I have some painting to do on the cockpit parts before I can start on the fuselage.
Thanks for looking, more to come.
