
I finally got back to work on the kit. Since I had the Ascent Stage complete except for the antennas and RCS nozzles I sprayed it with Tamiya Fine Gray primer. There are a few small spots that will need a bit of extra filler, but for a first pass it look good.

The window section is not glued in place. It was just dry fitted to spray primer on the whole. I’ll paint the whole stage and then add the windows and glue them together. The Space Model Systems decals have a decal for the window that either needs to be applied to the back of the window or applied backwards on the front of the window. I’ll try applying it to the back of the window and see how that works out.
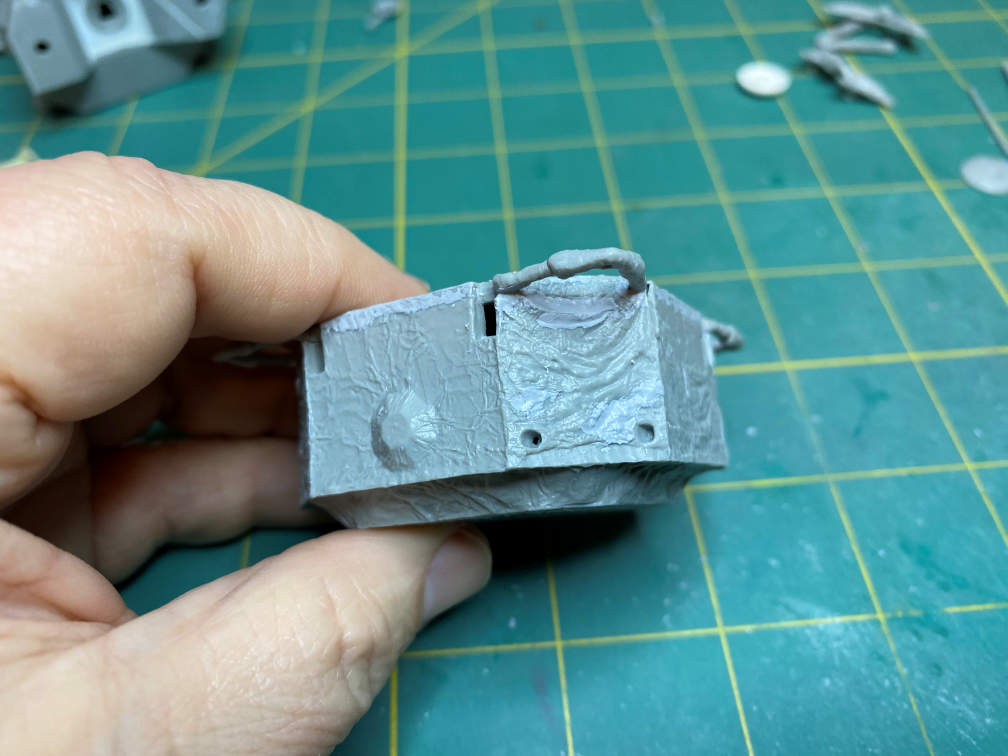
In the meantime I’m starting on the Descent Stage to see what tasks I have in front of me. Here I have just glued the top to the bottom. The top didn’t fit perfectly so I had to do some slight trimming and sanding. Then I used Mr. Surfacer 500 with a brush to fill the irregular gaps around the top edge. I also started to fill the extremely large holes for the downlock braces. There are also some very deep folds that I felt needed to be leveled a bit, so I applied Mr. Surfacer 500 to those as well.

I continued to apply Mr. Surfacer to the areas and little by little they started to look better.
Here is a view of another side that is done. After the final application of filler I took a #11 E-xacto blade and carefully blended the edges.

Hopefully when I apply primer you won’t see where the patches are.
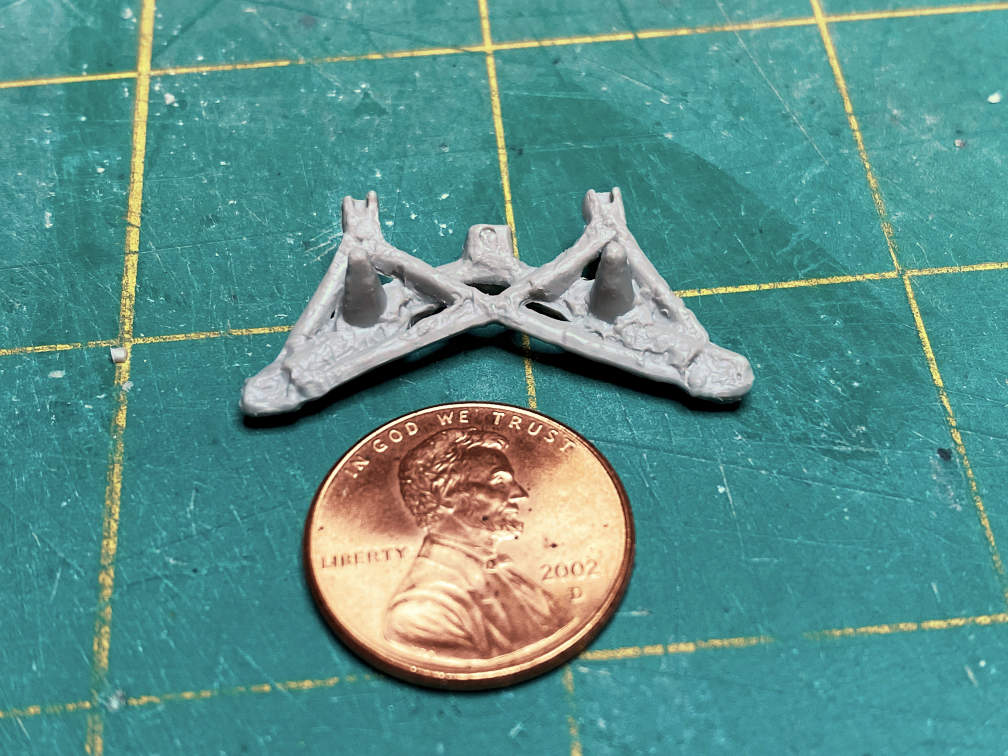
Next I started looking at the folded struts. These parts are really going to give me a problem. The attach points have large square ends on them. They are really not the proper shape or size. Plus, there is no place on the model for them to go.

The other side isn’t much better. There are two large cone shapes that fit into holes in the bottom of the Descent Stage. They don’t exist on the spacecraft and they force the struts into an incorrect angle. You can also notice the large cube with a notch in it. This is where the main leg strut is supposed to attach. That attachment point is much too large and I’ll need to do something with that as well.
So, instead of tackling that right now, I decided to apply decals to the CM and SM. Here is the CM with its decals applied.

I also did the final detail painting. The windows will be added after the final clear coat is applied.
I glued on the RCS clusters to the SM and did the final detail paint. Then applied the decals. Lots of very small decals.

There are two more decals to apply but they are under the big square piece of masking tape right now. After I apply a decal protecting clear coat, I’ll remove the masking and add the decals. At that point I think I’ll be ready to add do the final assembly of the CSM.
That’s it for now.
