
Saturn I Block II SA-5 is finally finished.
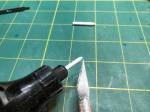
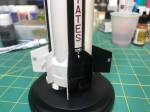
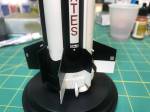
When I posted the last update I was at the stage where I needed to scratch build the S-I retrorockets. I used a short section of 0.125 inch styrene rod about an inch longer than I needed. I chucked that in my Dremel tool and used it like a lathe. I used my #11 X-acto knife to shape the forward section of the retrorockets. They have a rather odd shape. It starts out like a cone and then has something like a button on the end. Once I had the shape right I removed it from the Dremel and cut off the excess. They were then painted white with the bottom black. The below pictures show the before and after.

Now that I had them completed I needed to get my decals printed. I ended up printing three sets. I felt like I needed extras in case I screwed something up and to give me some extra white decals in case I needed to double them up to cover the black. Here is one of the sets.

After I printed that one I realized that I did not print enough of the blowout covers for the interstage. There are eight blowout covers not four. So the next set I printed I had extras. I also found out that my decal paper is getting old and sometimes the thermal ink doesn’t stick as is should. Time for an order of new paper from Tango Papa. I was able to get enough good decals with the paper I had so work can continue.
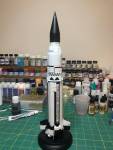
Before installing the retrorockets or the S-I engine nozzles, I decided to apply the decals. It is a bit simpler to put on the decals without the retrorockets. The trickiest part of applying the decals was the S-IV and the interstage. All those details made getting the decals on an interesting task. I found the best way was to cut the decals into sections that would go between any protrusions. The checkerboard decal also required a few careful snips to fit around the hydrogen vent pipe standoffs. The black/white stripe decals that went at the base of the S-IV also required cutting into sections. It took a few hours to get them on in decent shape. I did have to do a bit of touch up with black paint in a few places. Also the curved decals that went around the S-IV upper interstage confirmed my cone calculations were correct. They went on smoothly and look quite nice. Once all the decals were put on I installed the S-I retrorockets and gave it a coat of clear. When that had dried I then sprayed on a clear flat. Here are some photos of the completed decals.


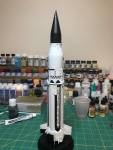


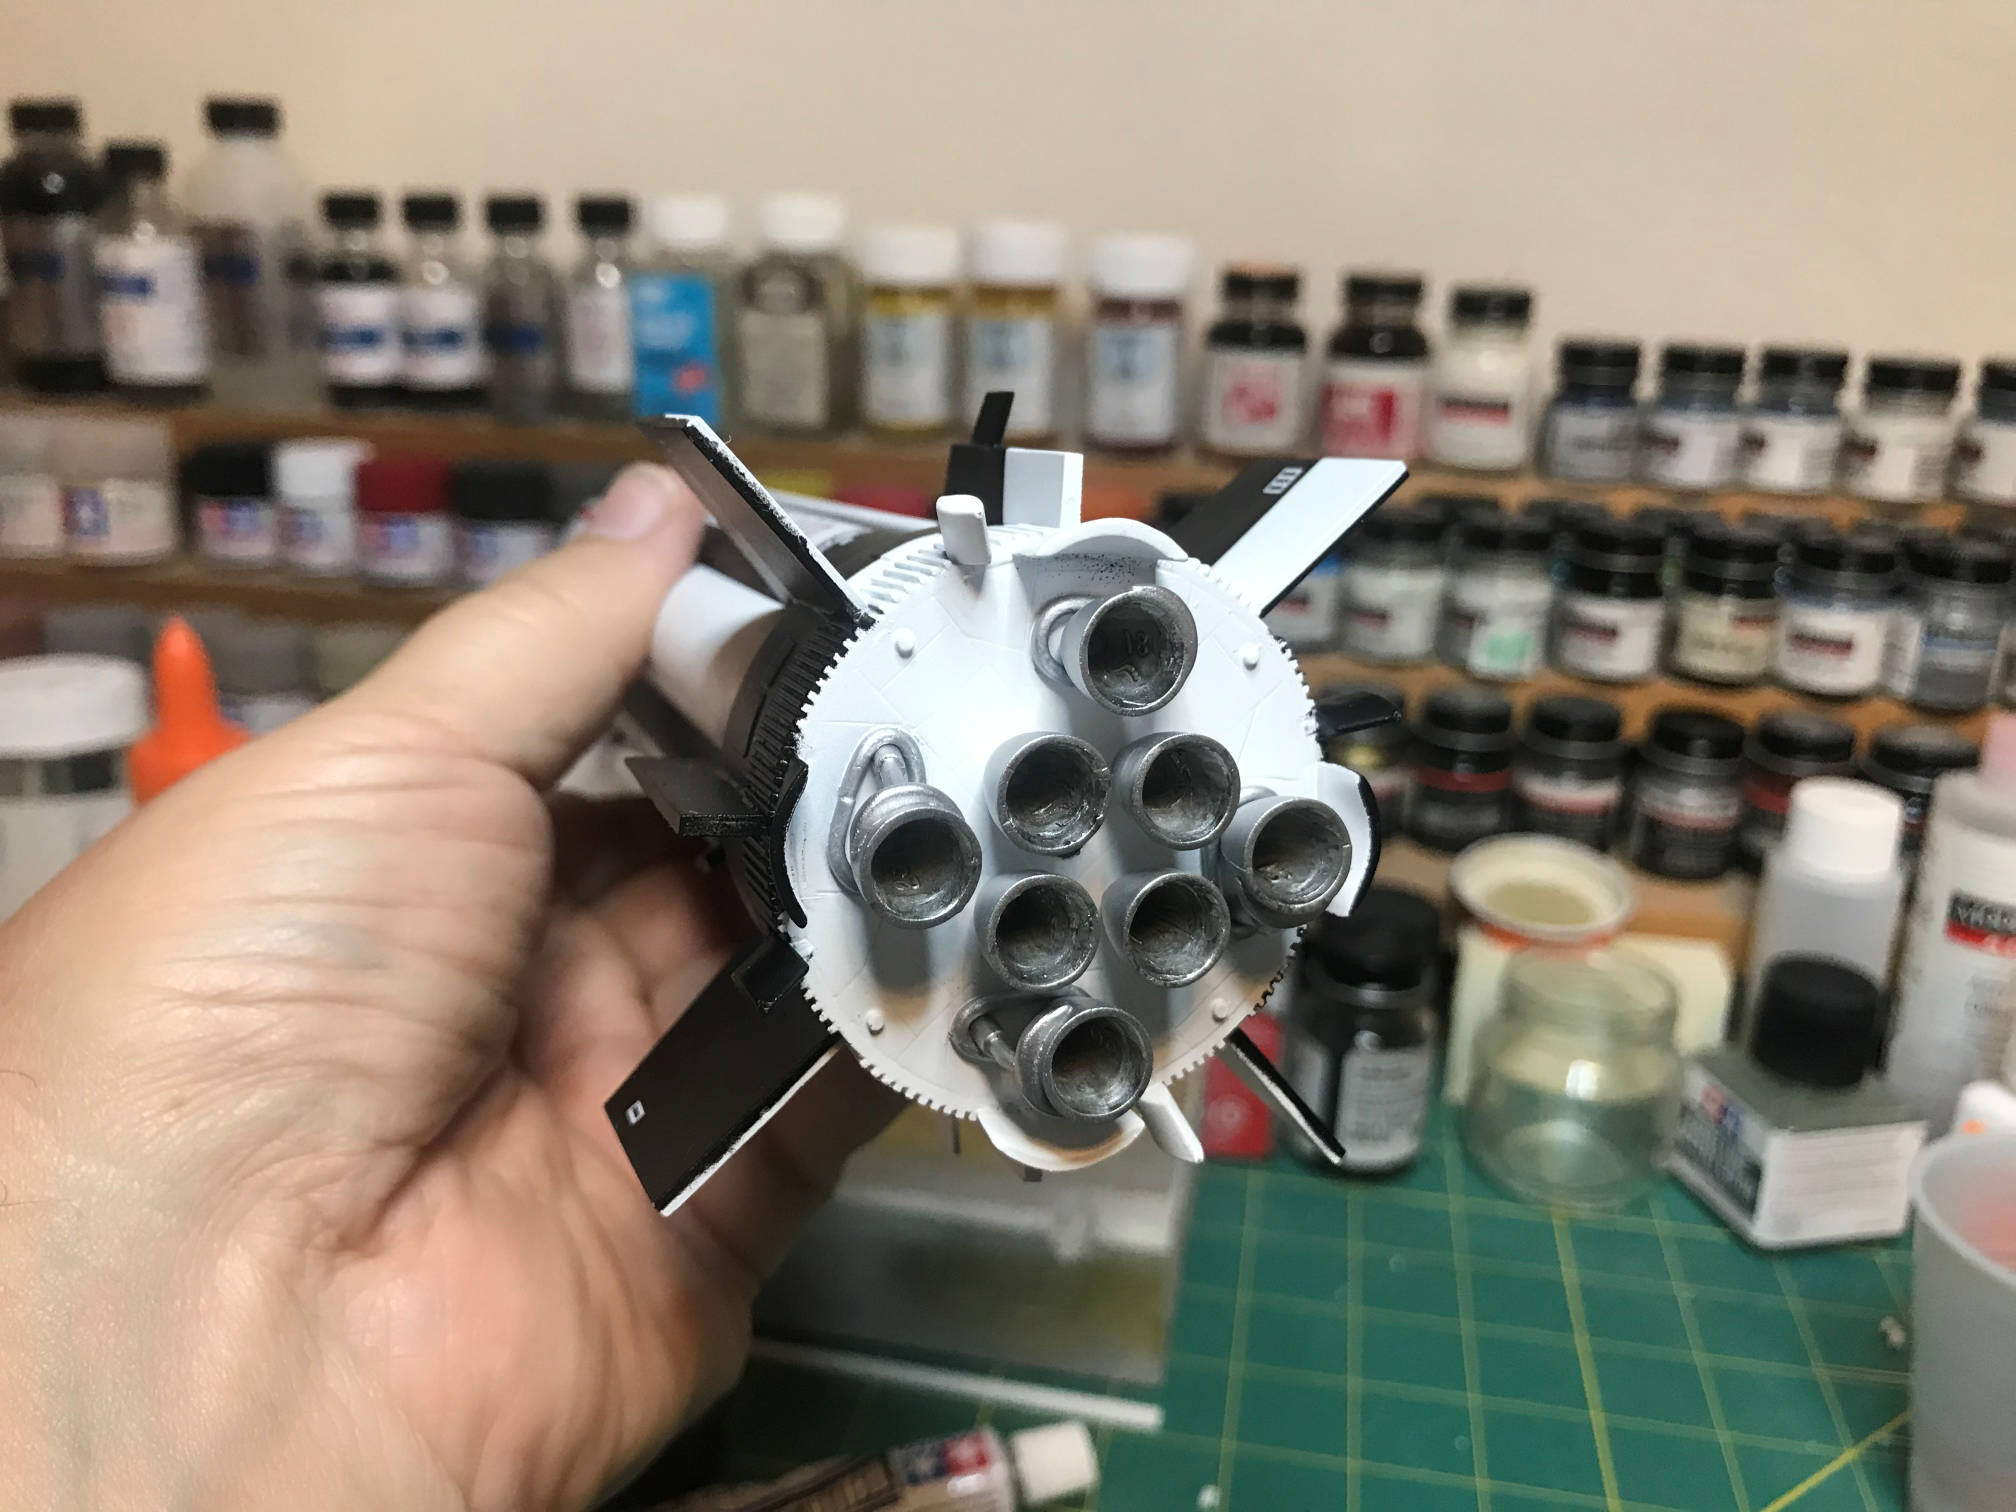
After the decals went on I installed the engine nozzles. The inside of the bells were painted with Tamiya smoke.
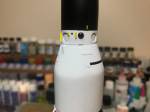
Here is a view of my Saturn I family. The only one I need to add is SA-10 the last S-I Block II. That will give me a model of each significantly different version.

Now I guess it is time to get back to the Millennium Falcon and start weathering it. I’ve put if off long enough.
Thanks for looking.
