

I haven’t posted in a while. It’s not that I haven’t been working on anything. I have been working on this build since October, but I’ve been busy on other things that have gotten in the way of writing posts. I now have made some time to get back to posting my progress.
The latest build from the stash is the Dragon 1/144 X-15 1+1 kit. I bought it about 8 years ago, so I guess now is a good time to build it. The kit allows for two versions of the X-15 to be built from the one kit. I’ll be building the pair as X-15-1 (56-6670) and X-15-3 (56-6672). The X-15-1 will represent the first powered flight (flight 1-2-7) and will be built in landed configuration. The X-15-3 will represent one of the research flights (flight 3-22-36) that carried the Rarefied Wake Flow experiment (it was unsuccessful).
The kit does not contain tail numbers for X-15-3, only ship 1 and 2. I will have to create some decals for that. I’ll also have to produce some other decals for items that were on the ships but are not on the decal sheet. One in particular for X-15-3 is a hand painted design that says “Little Joe the II” with a pair of dice. That was on the #3 ship for a few missions as a tip of the hat to the crew chief who was also the crew chief for the X-1E.
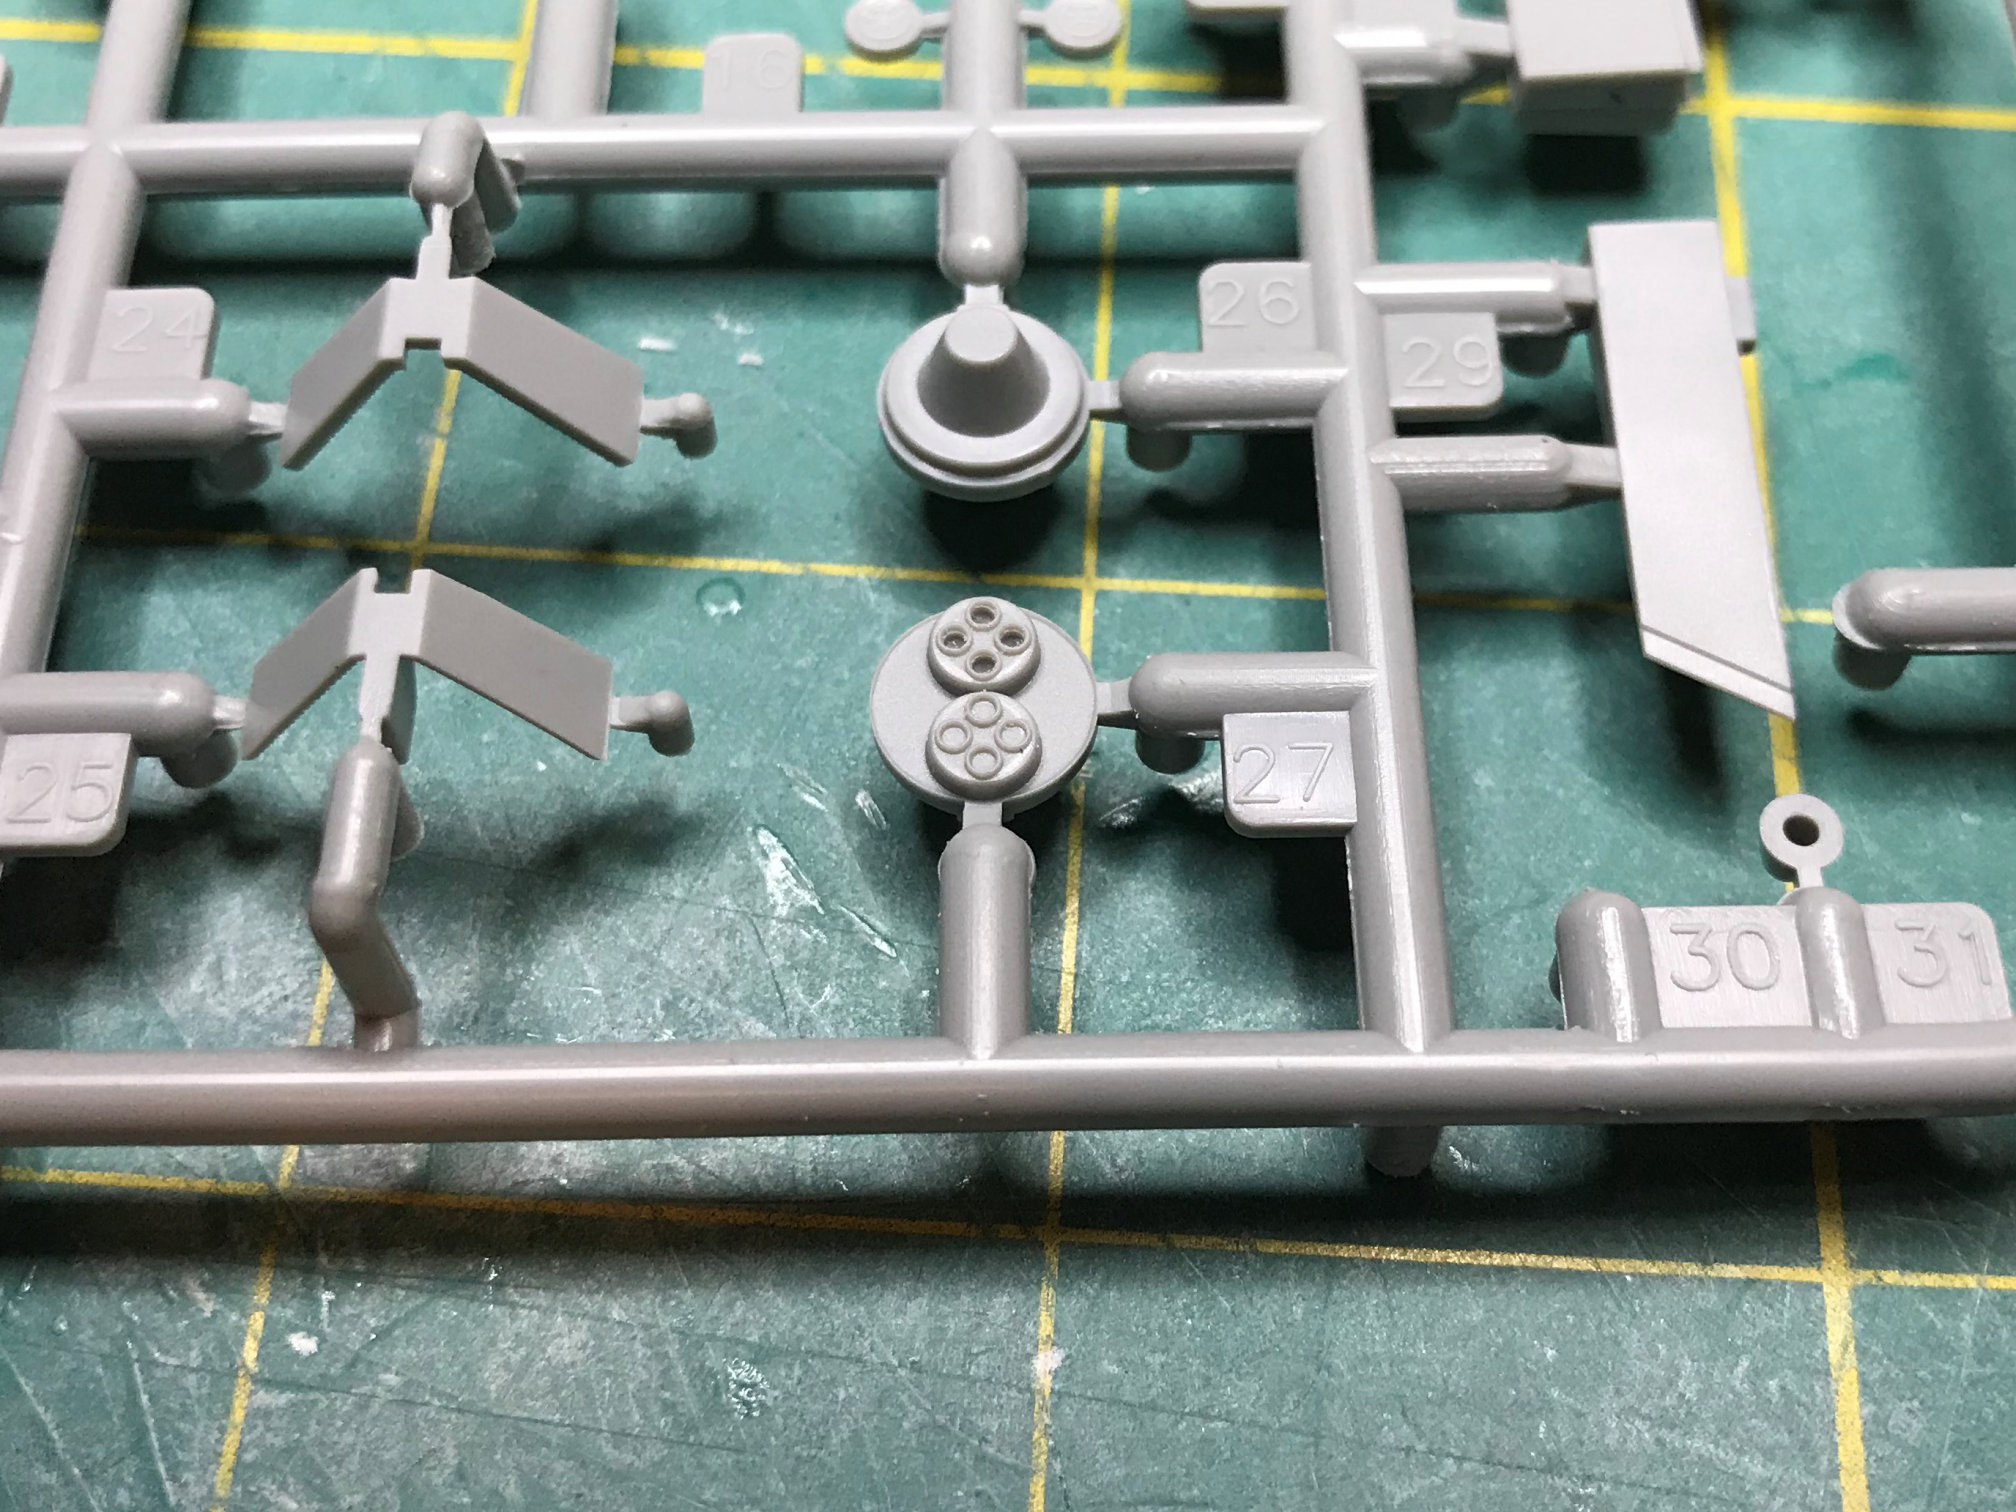
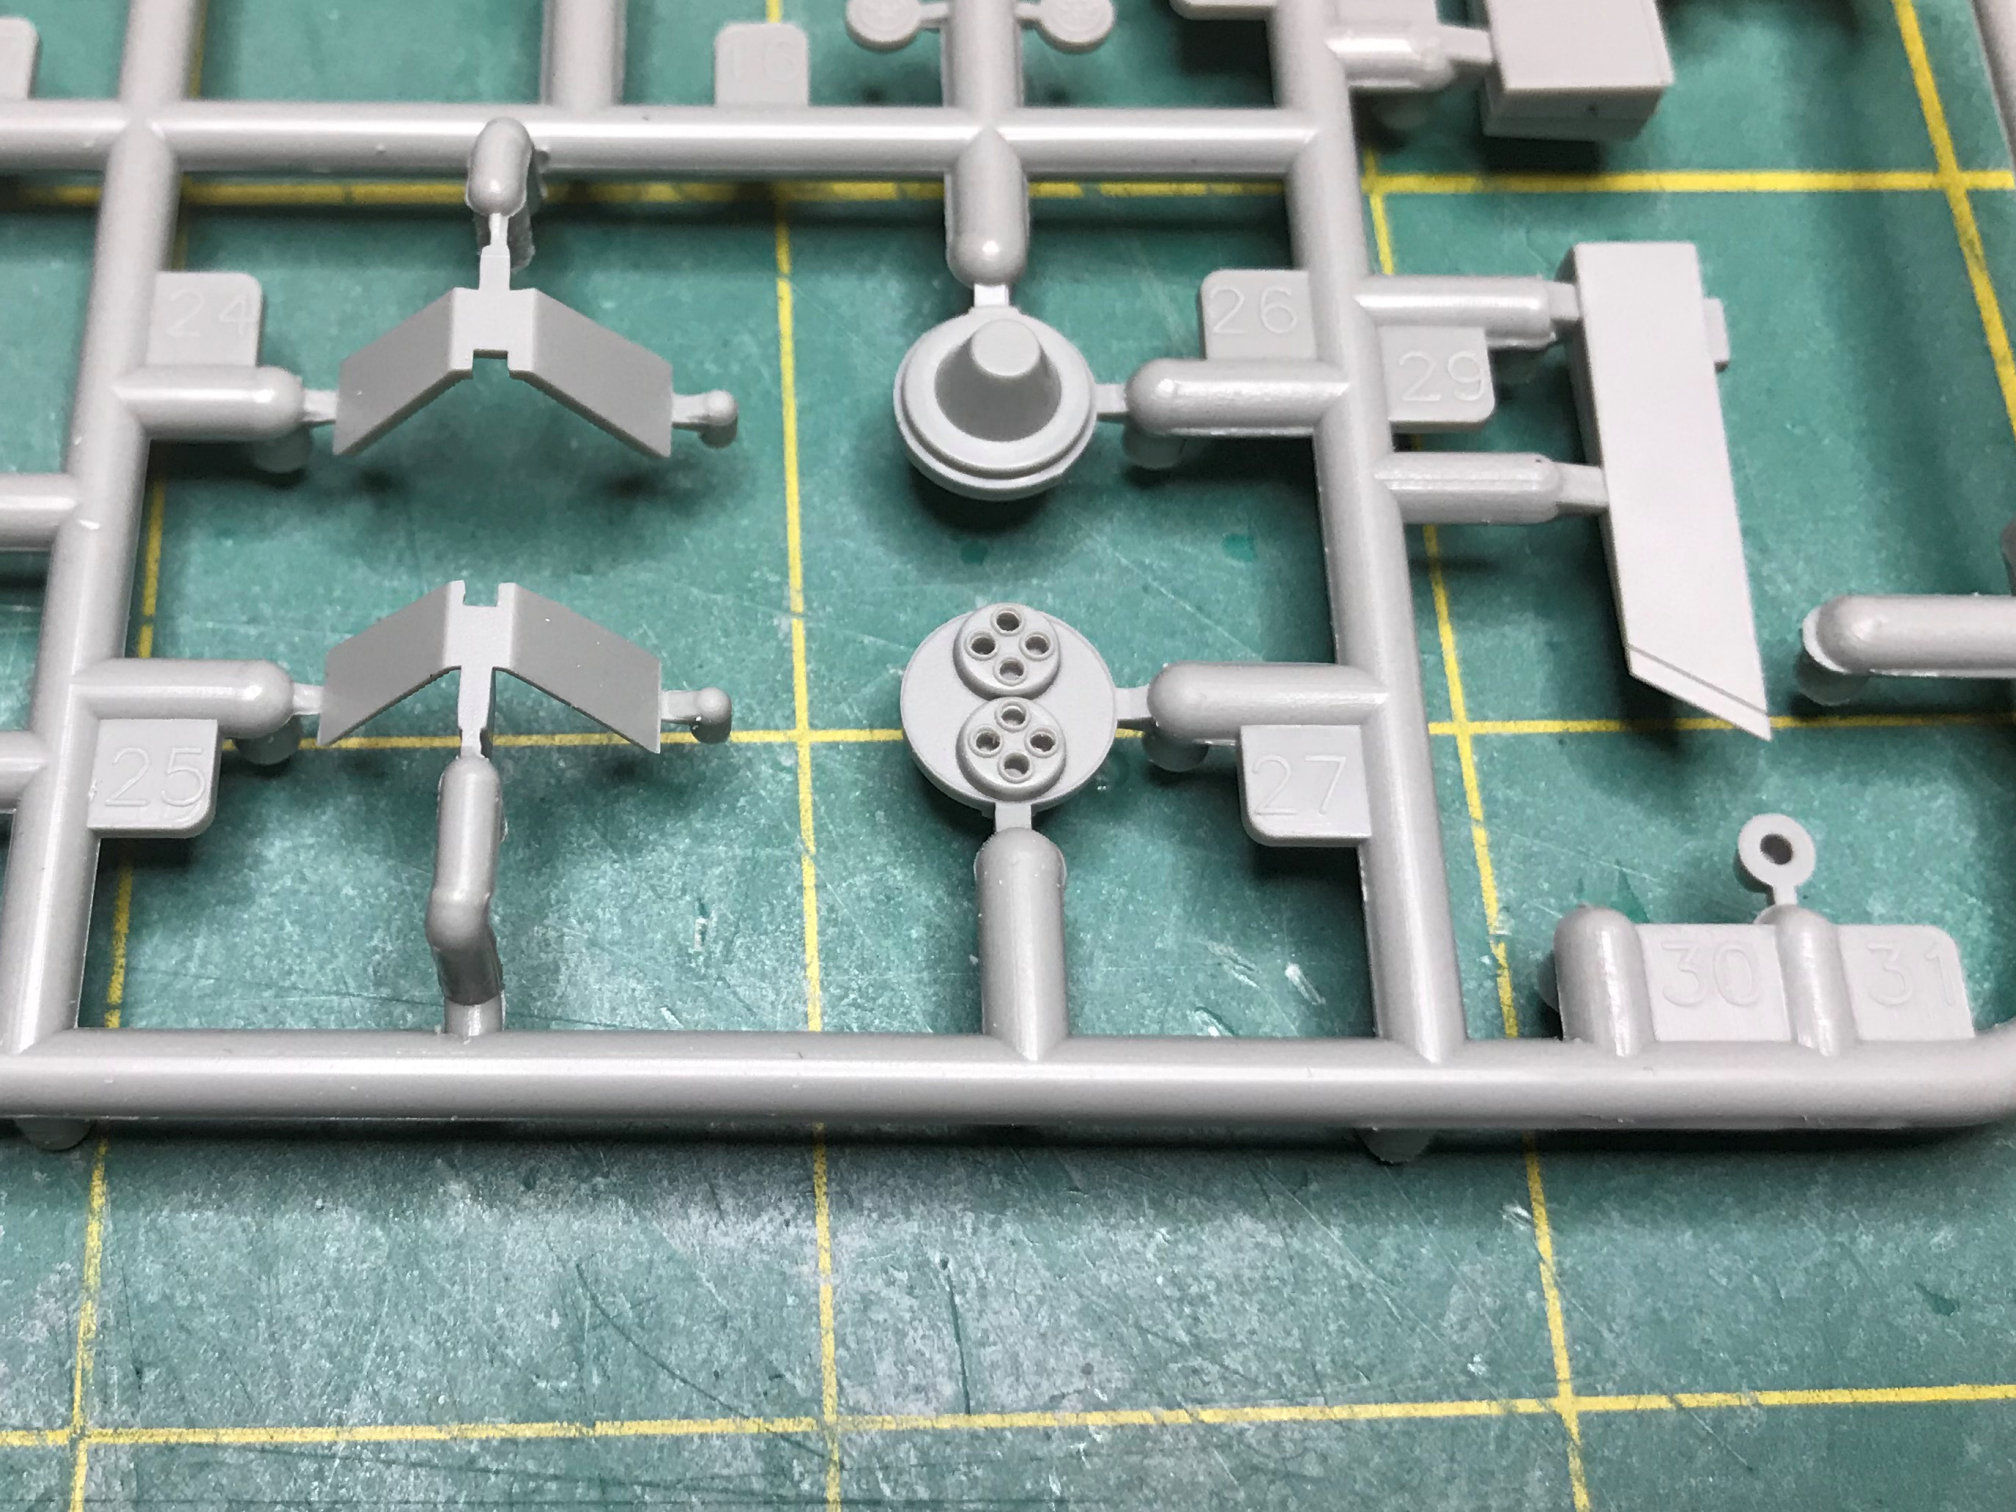
I plan on building these planes mostly out of the box. The fit of the parts is hit and miss. Some of the parts fit nice and snug, but other are loose and sloppy. It has some reasonable detail considering the small scale, but I think there are a few items that I can add without much trouble.
Let’s get into the build.
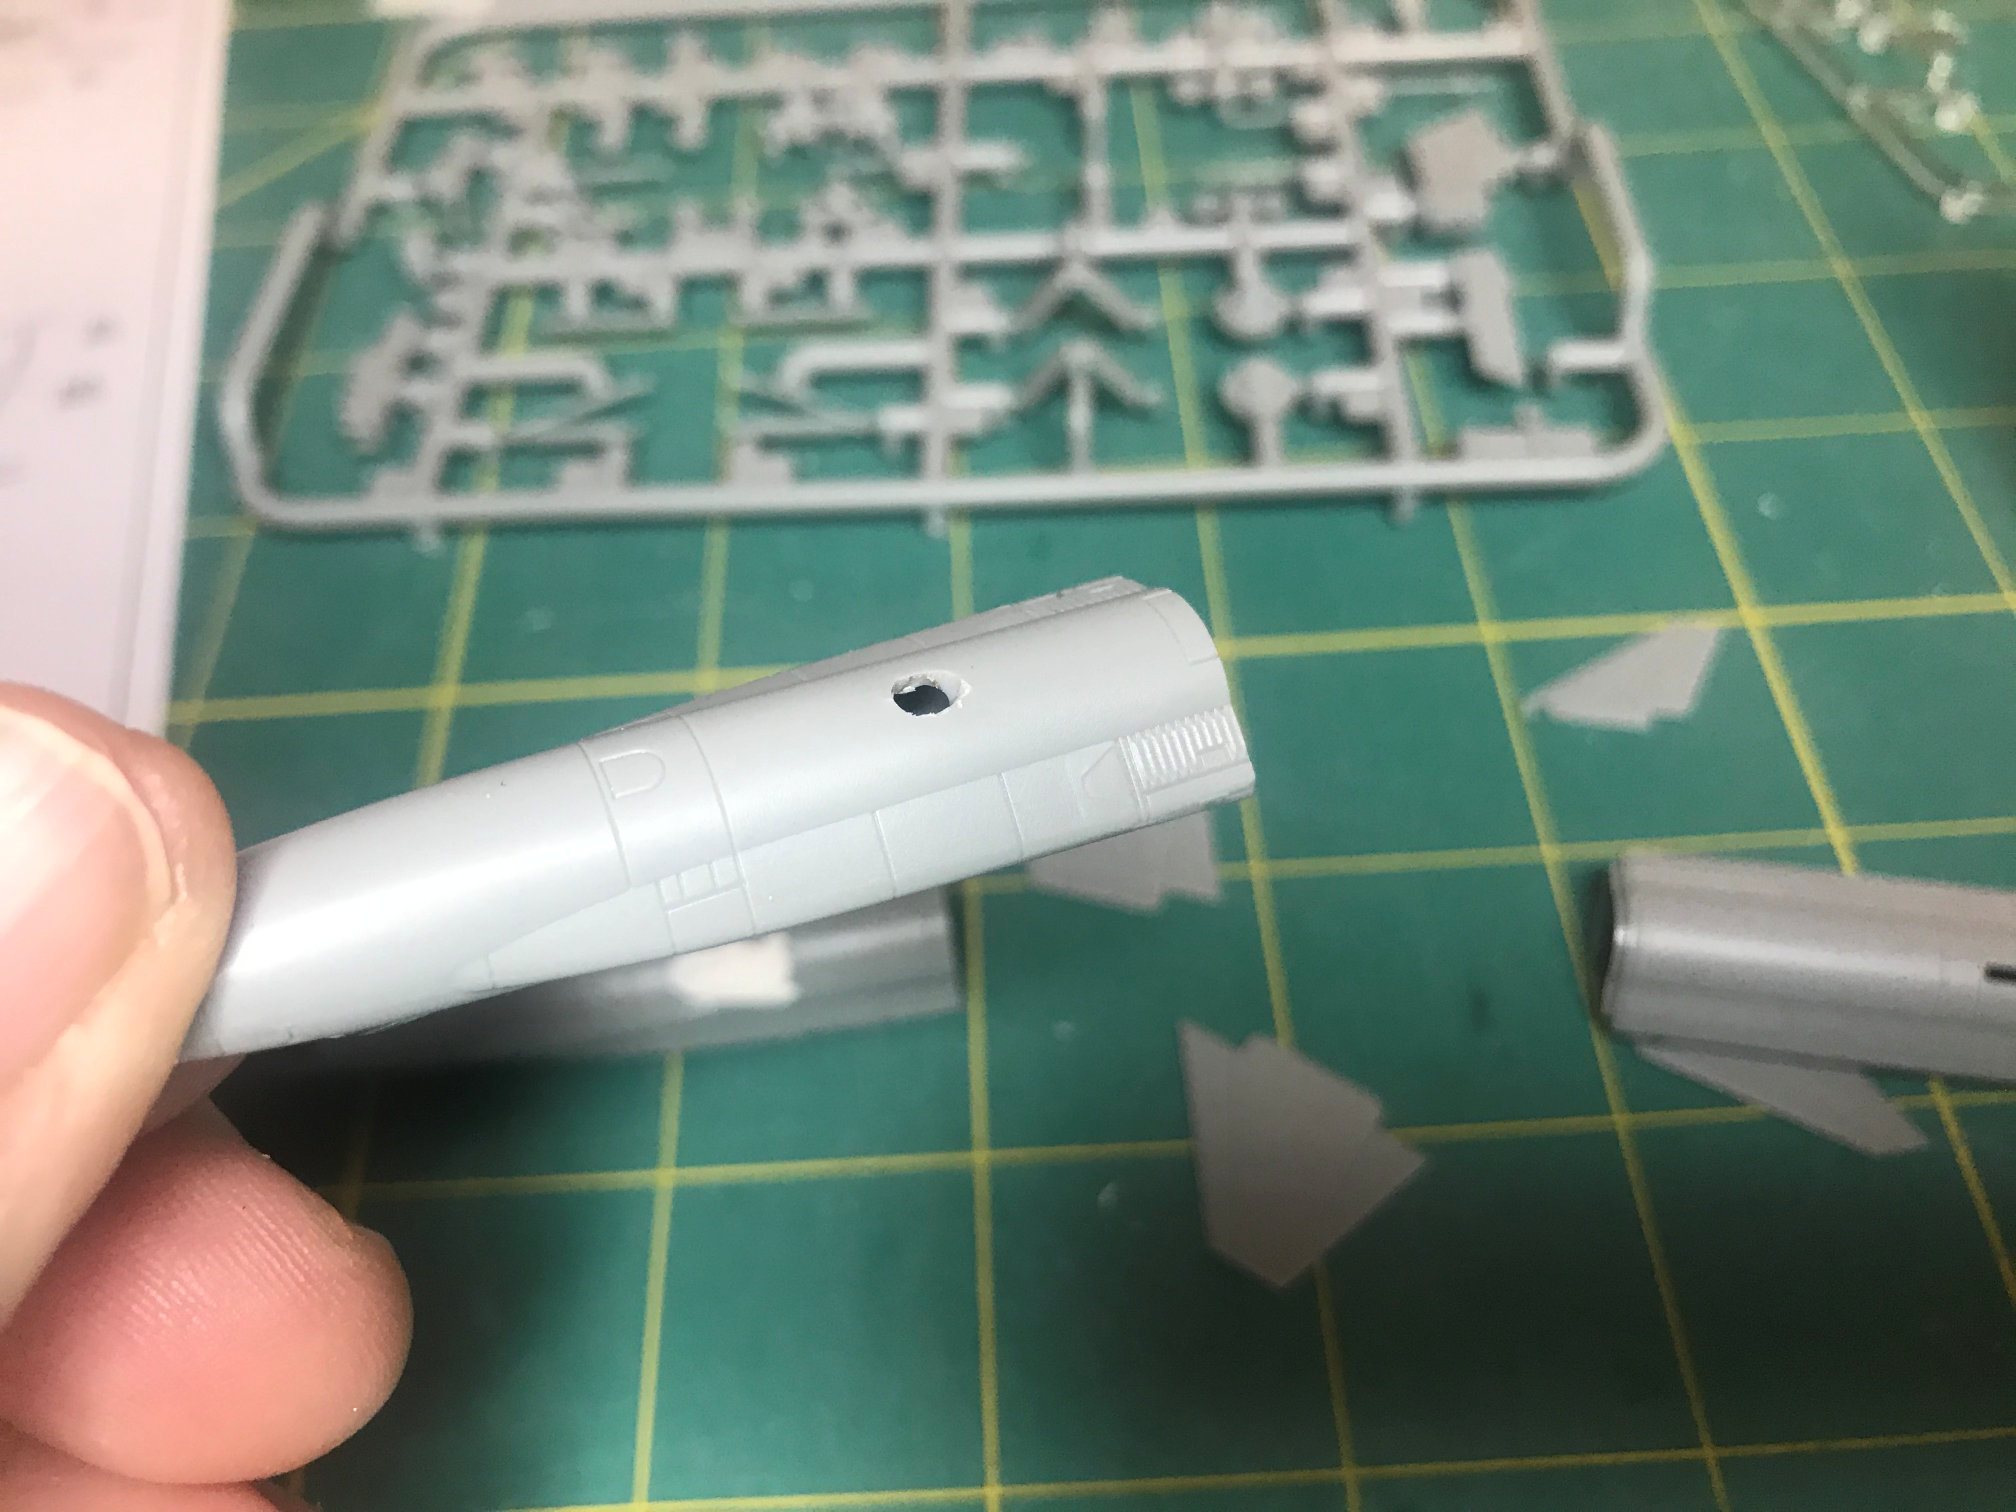
The nose of the model contains some very shallow depressions representing the RCS thrusters in the nose. I used a straight pin to slightly deepen the holes to make them more visible. I also added the nose part for the long instrument boom for X-15-1.
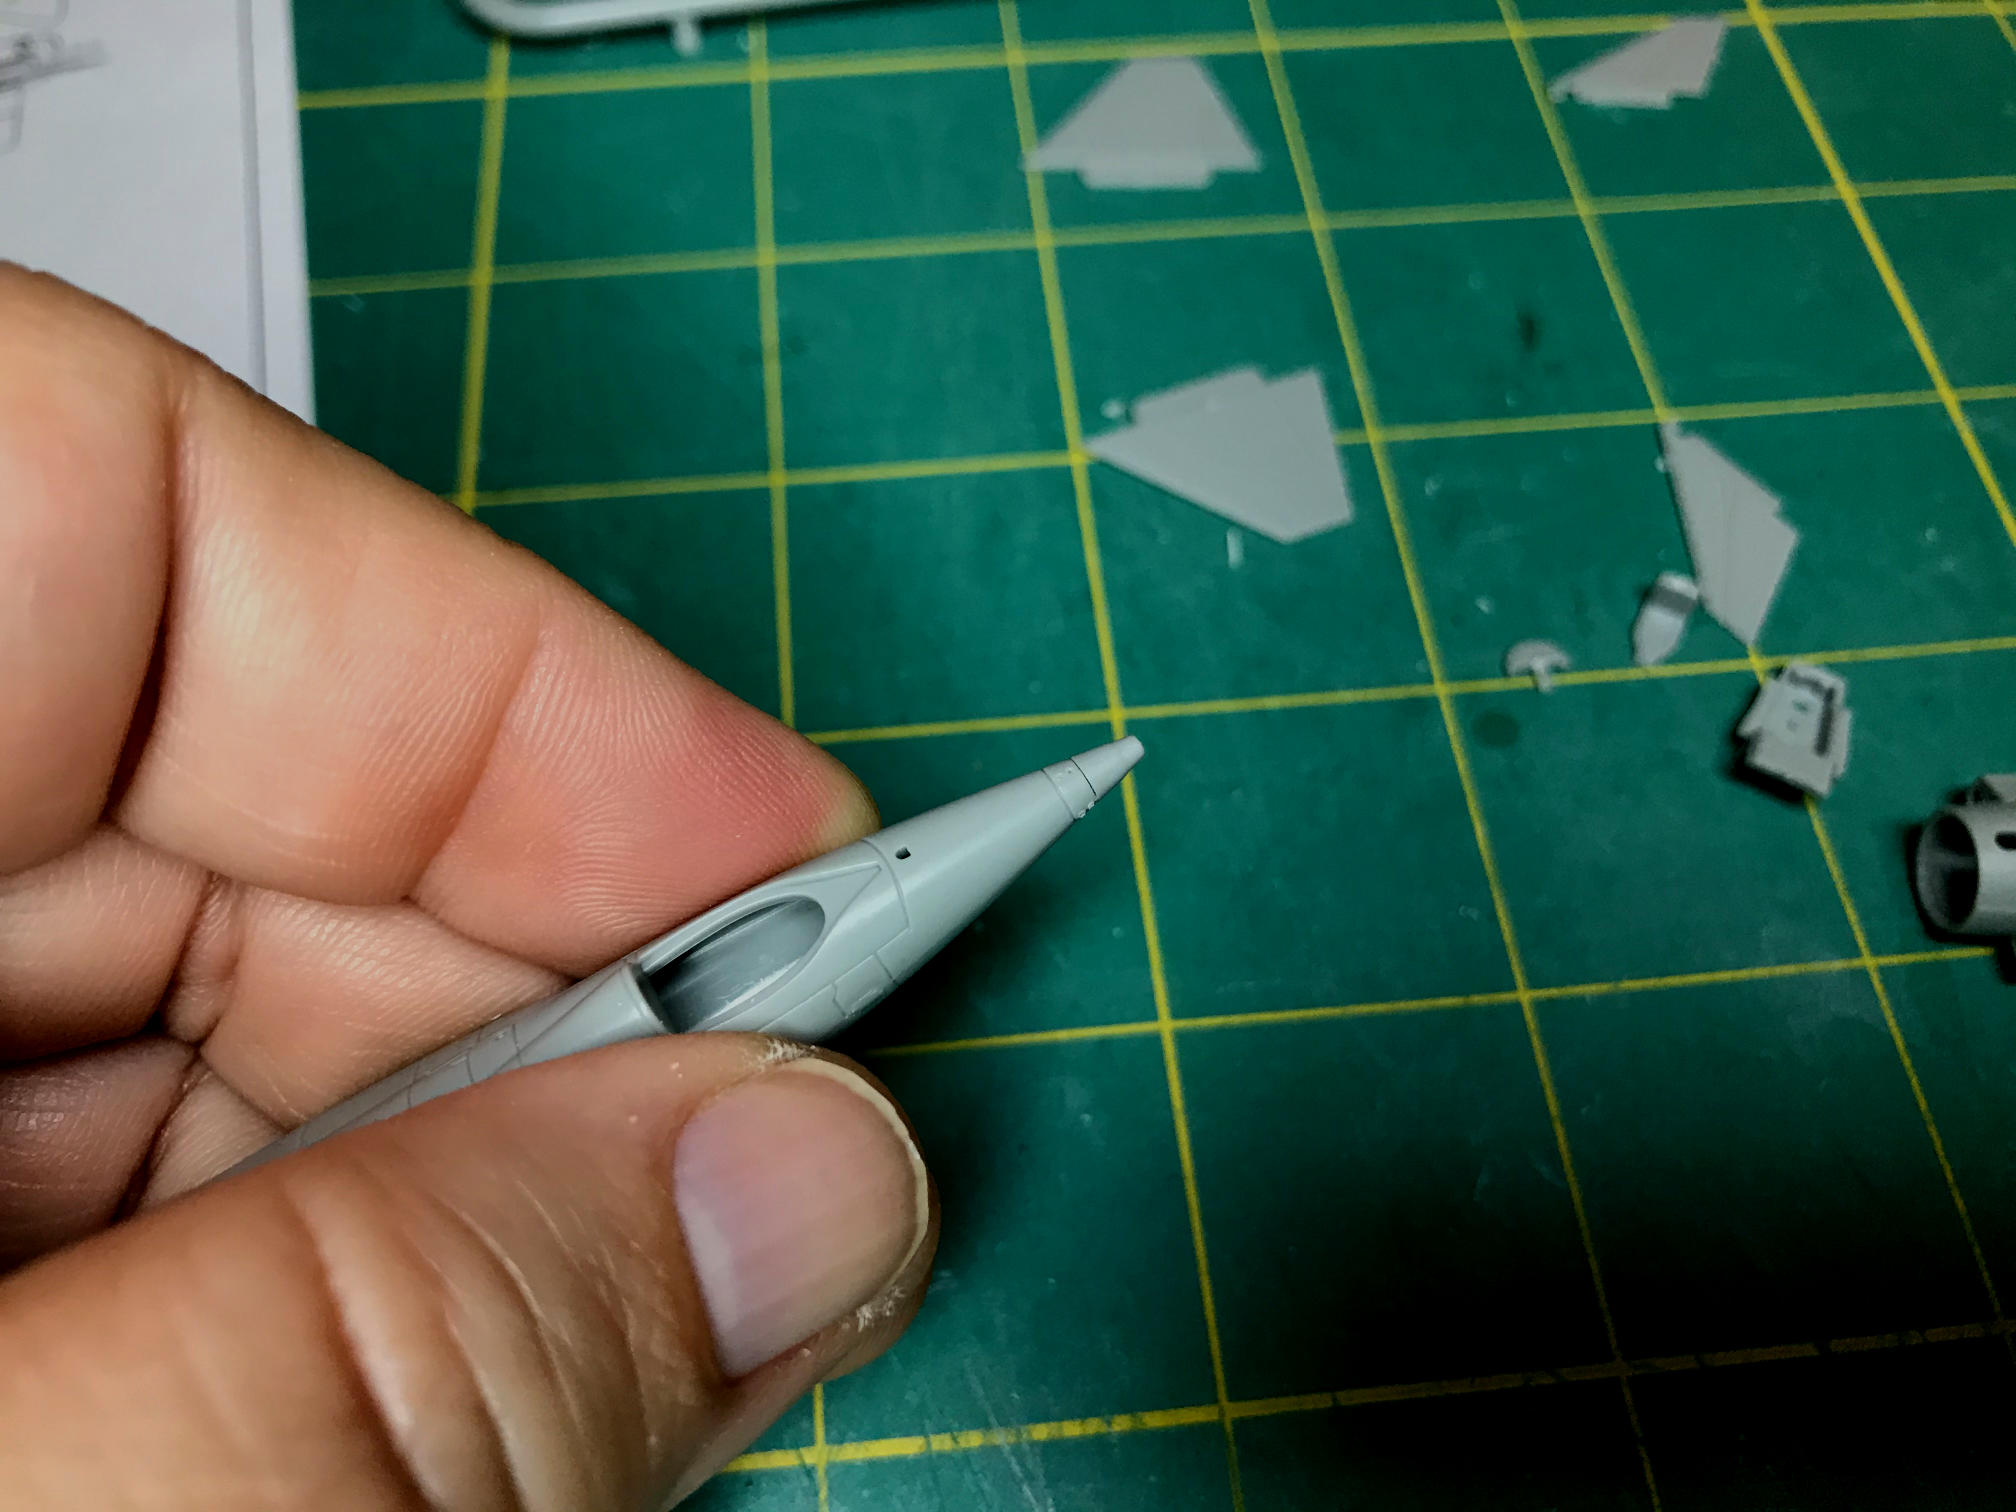
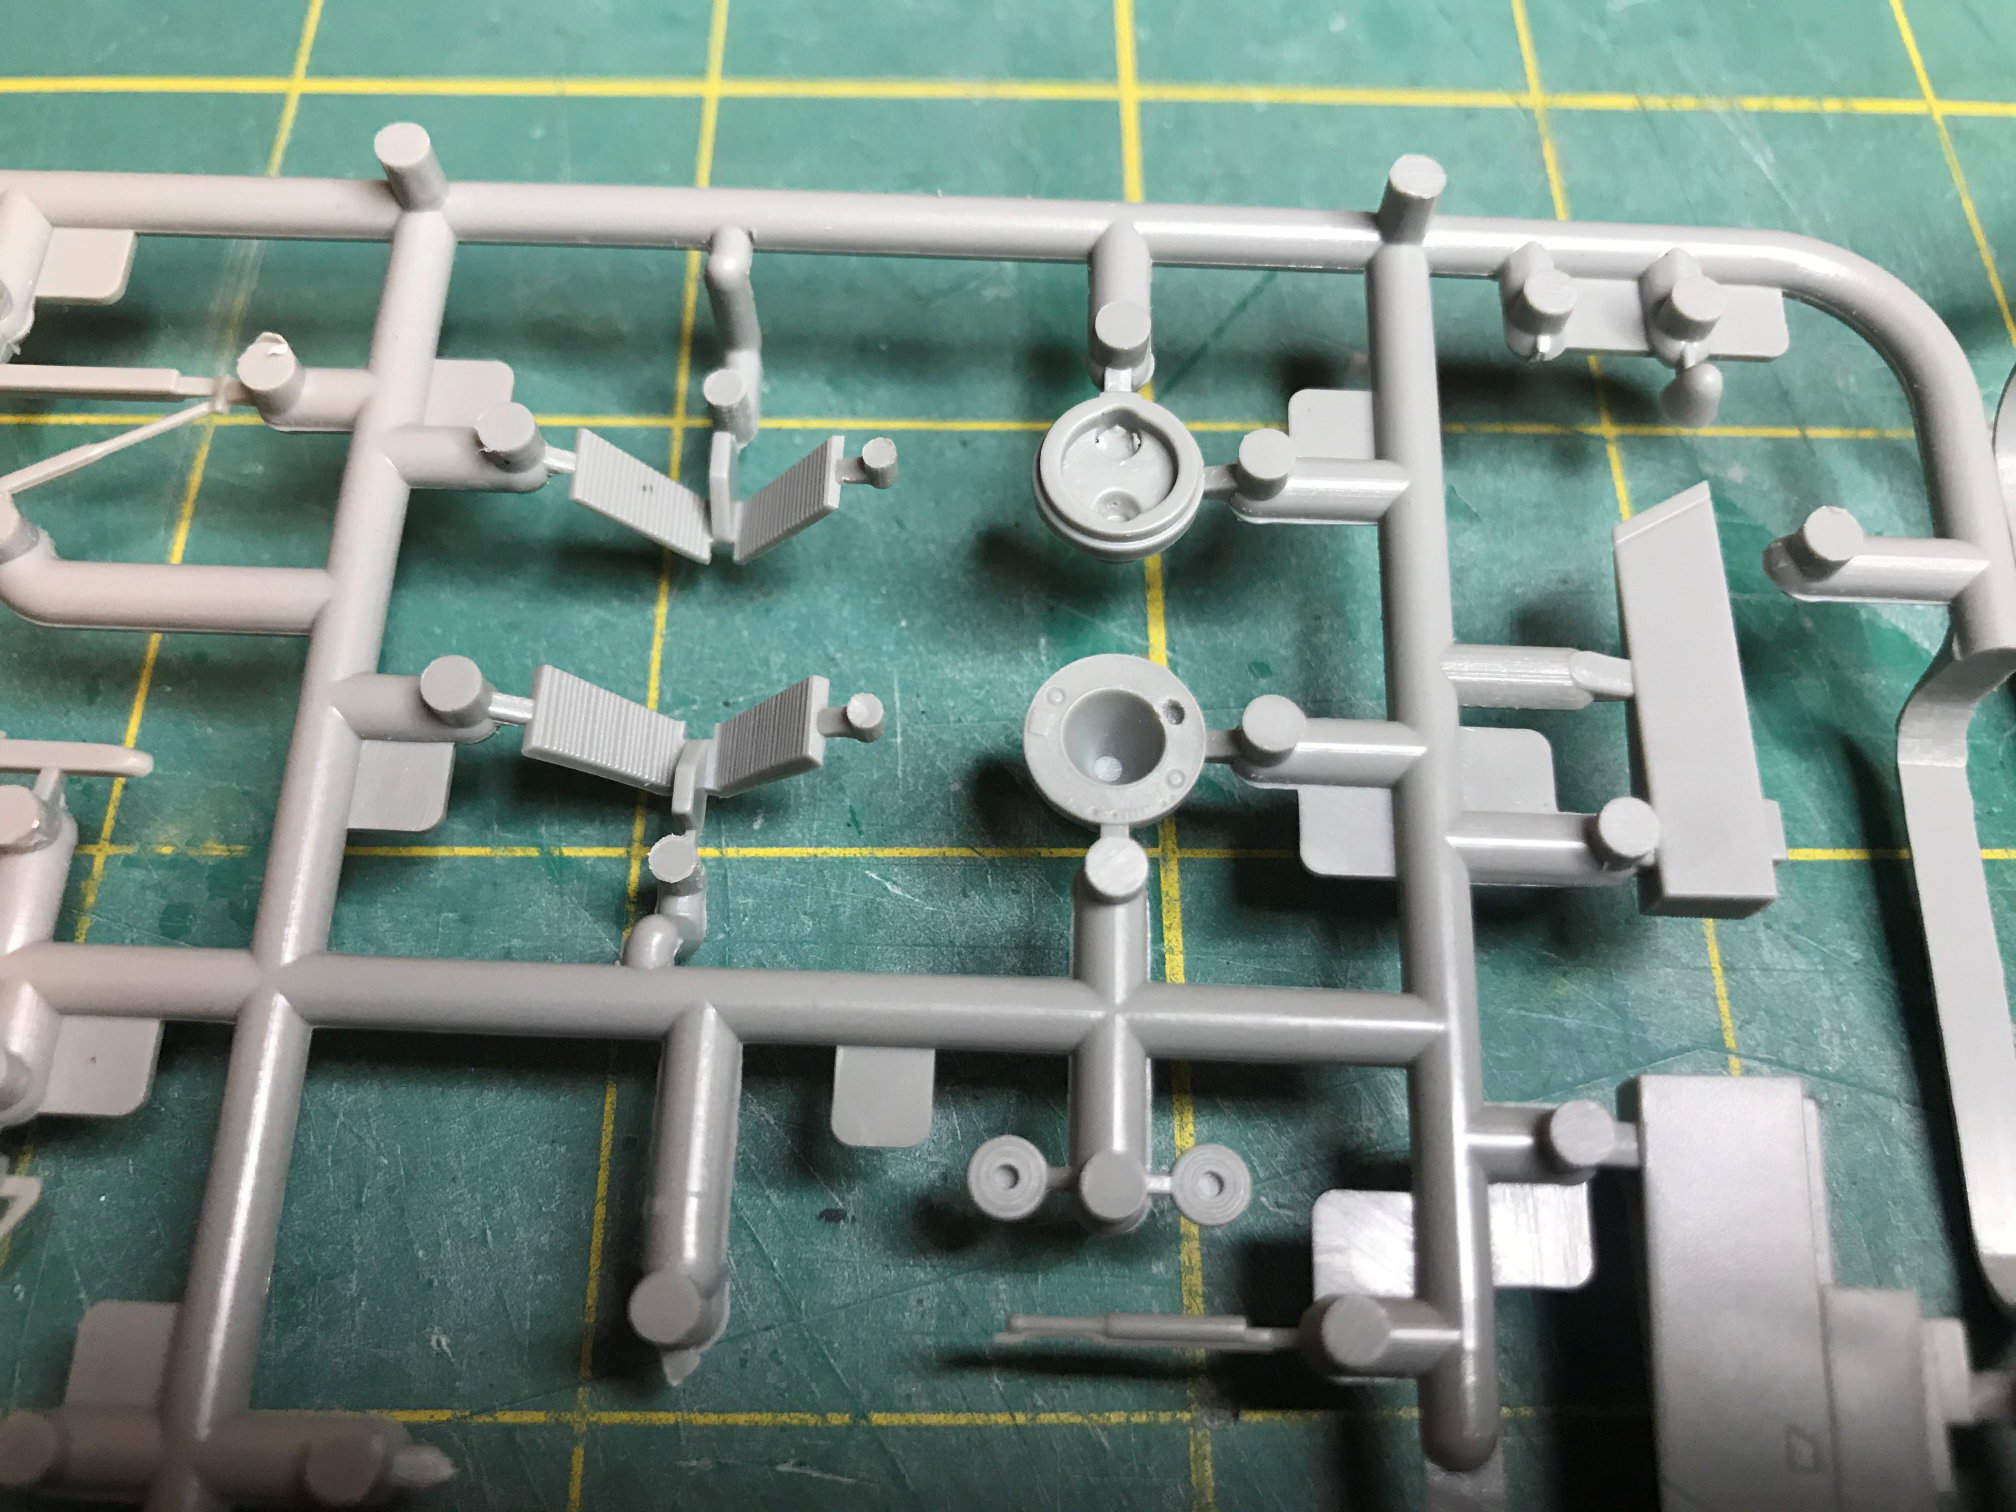
I next checked out the business end parts. The XLR-11’s are represented, but they are shallow and do not represent the nozzles very well. The nozzles don’t stick out far enough but I really don’t have a good way to add extensions. I did drill out the nozzles to give them a bit of depth for a more realistic look.
Then I turned my attention to the XLR-99 nozzle. It’s not bad and has some molded in details, but I felt it would look better if I drilled out the turbopump exhaust.
I then moved on to the cockpit. It is very basic and has little detail. But when you see the size of the windows on the X-15 and consider the scale of the model, there really isn’t much that will be seen. The kit has no provision to build the model with an open canopy without some major surgery. The kit is designed only with a closed cockpit in mind.
I used my references and picked some representative colors for the cockpit tub, instrument panel and seat. You have to slide the cockpit tub into the model from the open end of the fuselage. The way Dragon made the fuselage parts as an tube shape prevents seams running down the center line that would have to be dealt with. But that presents its own problems with getting the cockpit tub in place. Sliding the cockpit tub in from the open end is a bit tricky and really needs the seat to not be installed until the tub is glued into place. Once the cockpit was in place, I glued the cockpit canopy on with Future Floor Finish and then masked the windows off. You can tell how little of the cockpit is going to be visible in the pic below. Everything that is clear will be painted, only the masked off windows will remain clear.


Next came some filling of areas of the fuselage that are not going to be used in this build. Since X-15-1 was going to be built in the landed configuration I filled the mount hole with putty.

After some checking I needed to drill the mount hole in X-15-3 out a bit at an angle so the mound rod can be inserted at an angle rather than straight up. This will allow me to put it on the stand with a bit of a nose up direction.
I then glued the rear fuselage to the forward sections of both ships. I then sanded the bottom of X-15-1 smooth and started work on X-15-3 and its flight surfaces. The wings fit reasonably well if a bit loose, but the horizontal stabilizers were very sloppy and required work to make sure a good anhedral was maintained. Two small holes on either side of the ventral fin will not be used. They are for attaching the ground handling rig which will not be used in my build.


At this point I decided to concentrate on X-15-3 and it’s details before continuing the work on X-15-1. The build will continue in the next post.
Thanks for looking. More to come.
