
I started work on the added details for X-15-3. The Rarefied Wake Flow experiment was housed in an experiment box at the back of the dorsal fin.
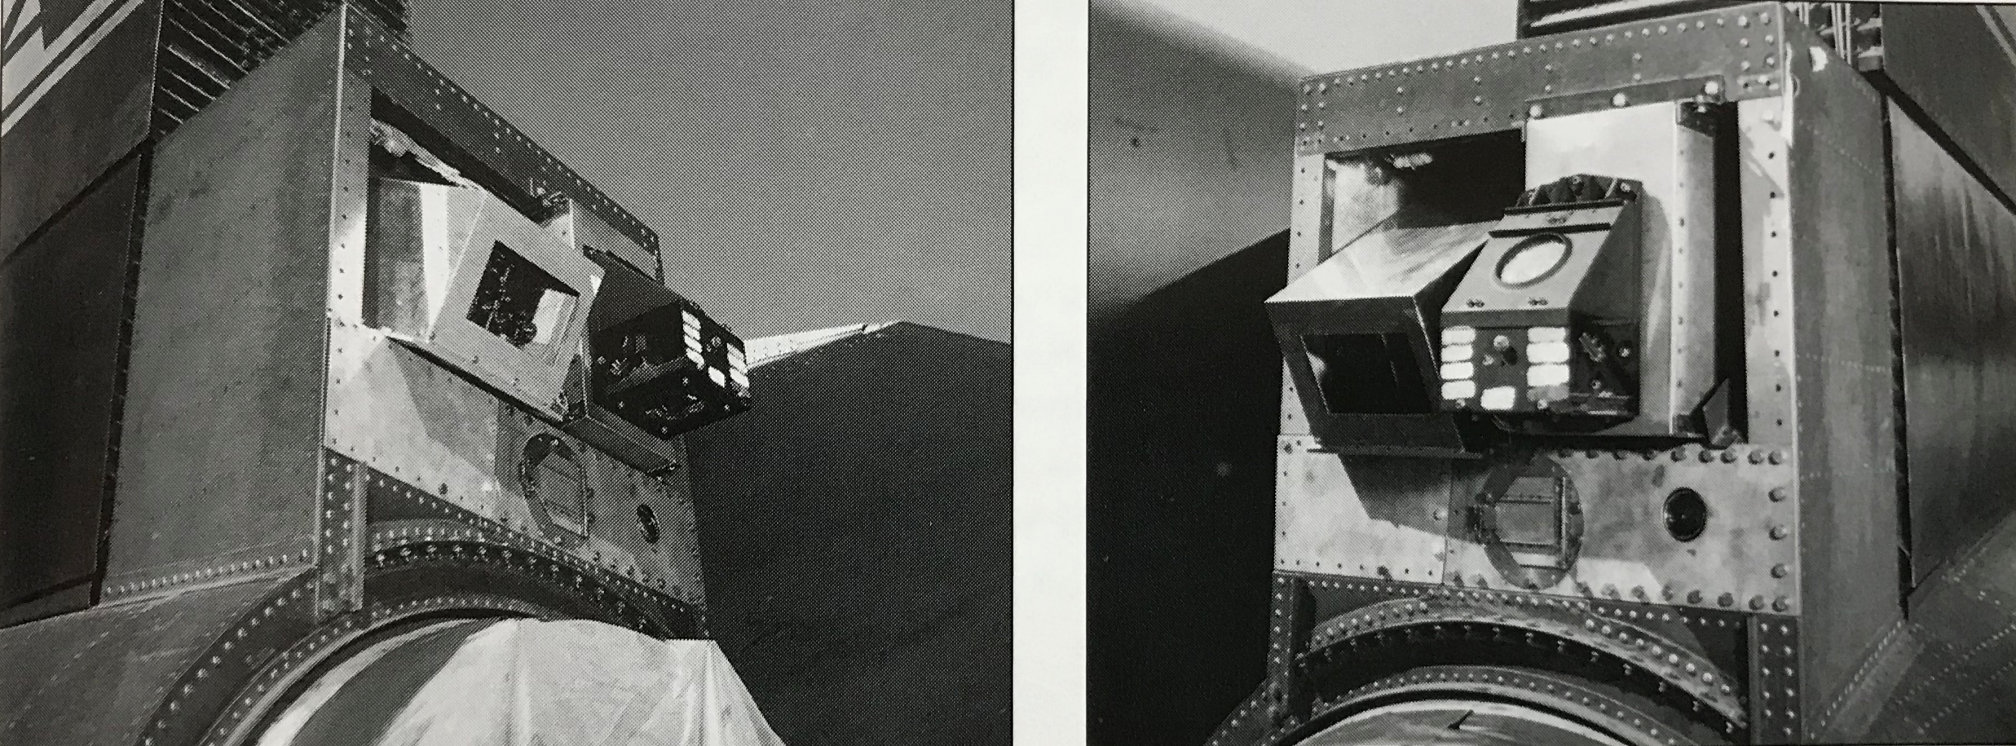
The kit includes the experiment box but it represents a different experiment that was not flown on X-15-3.
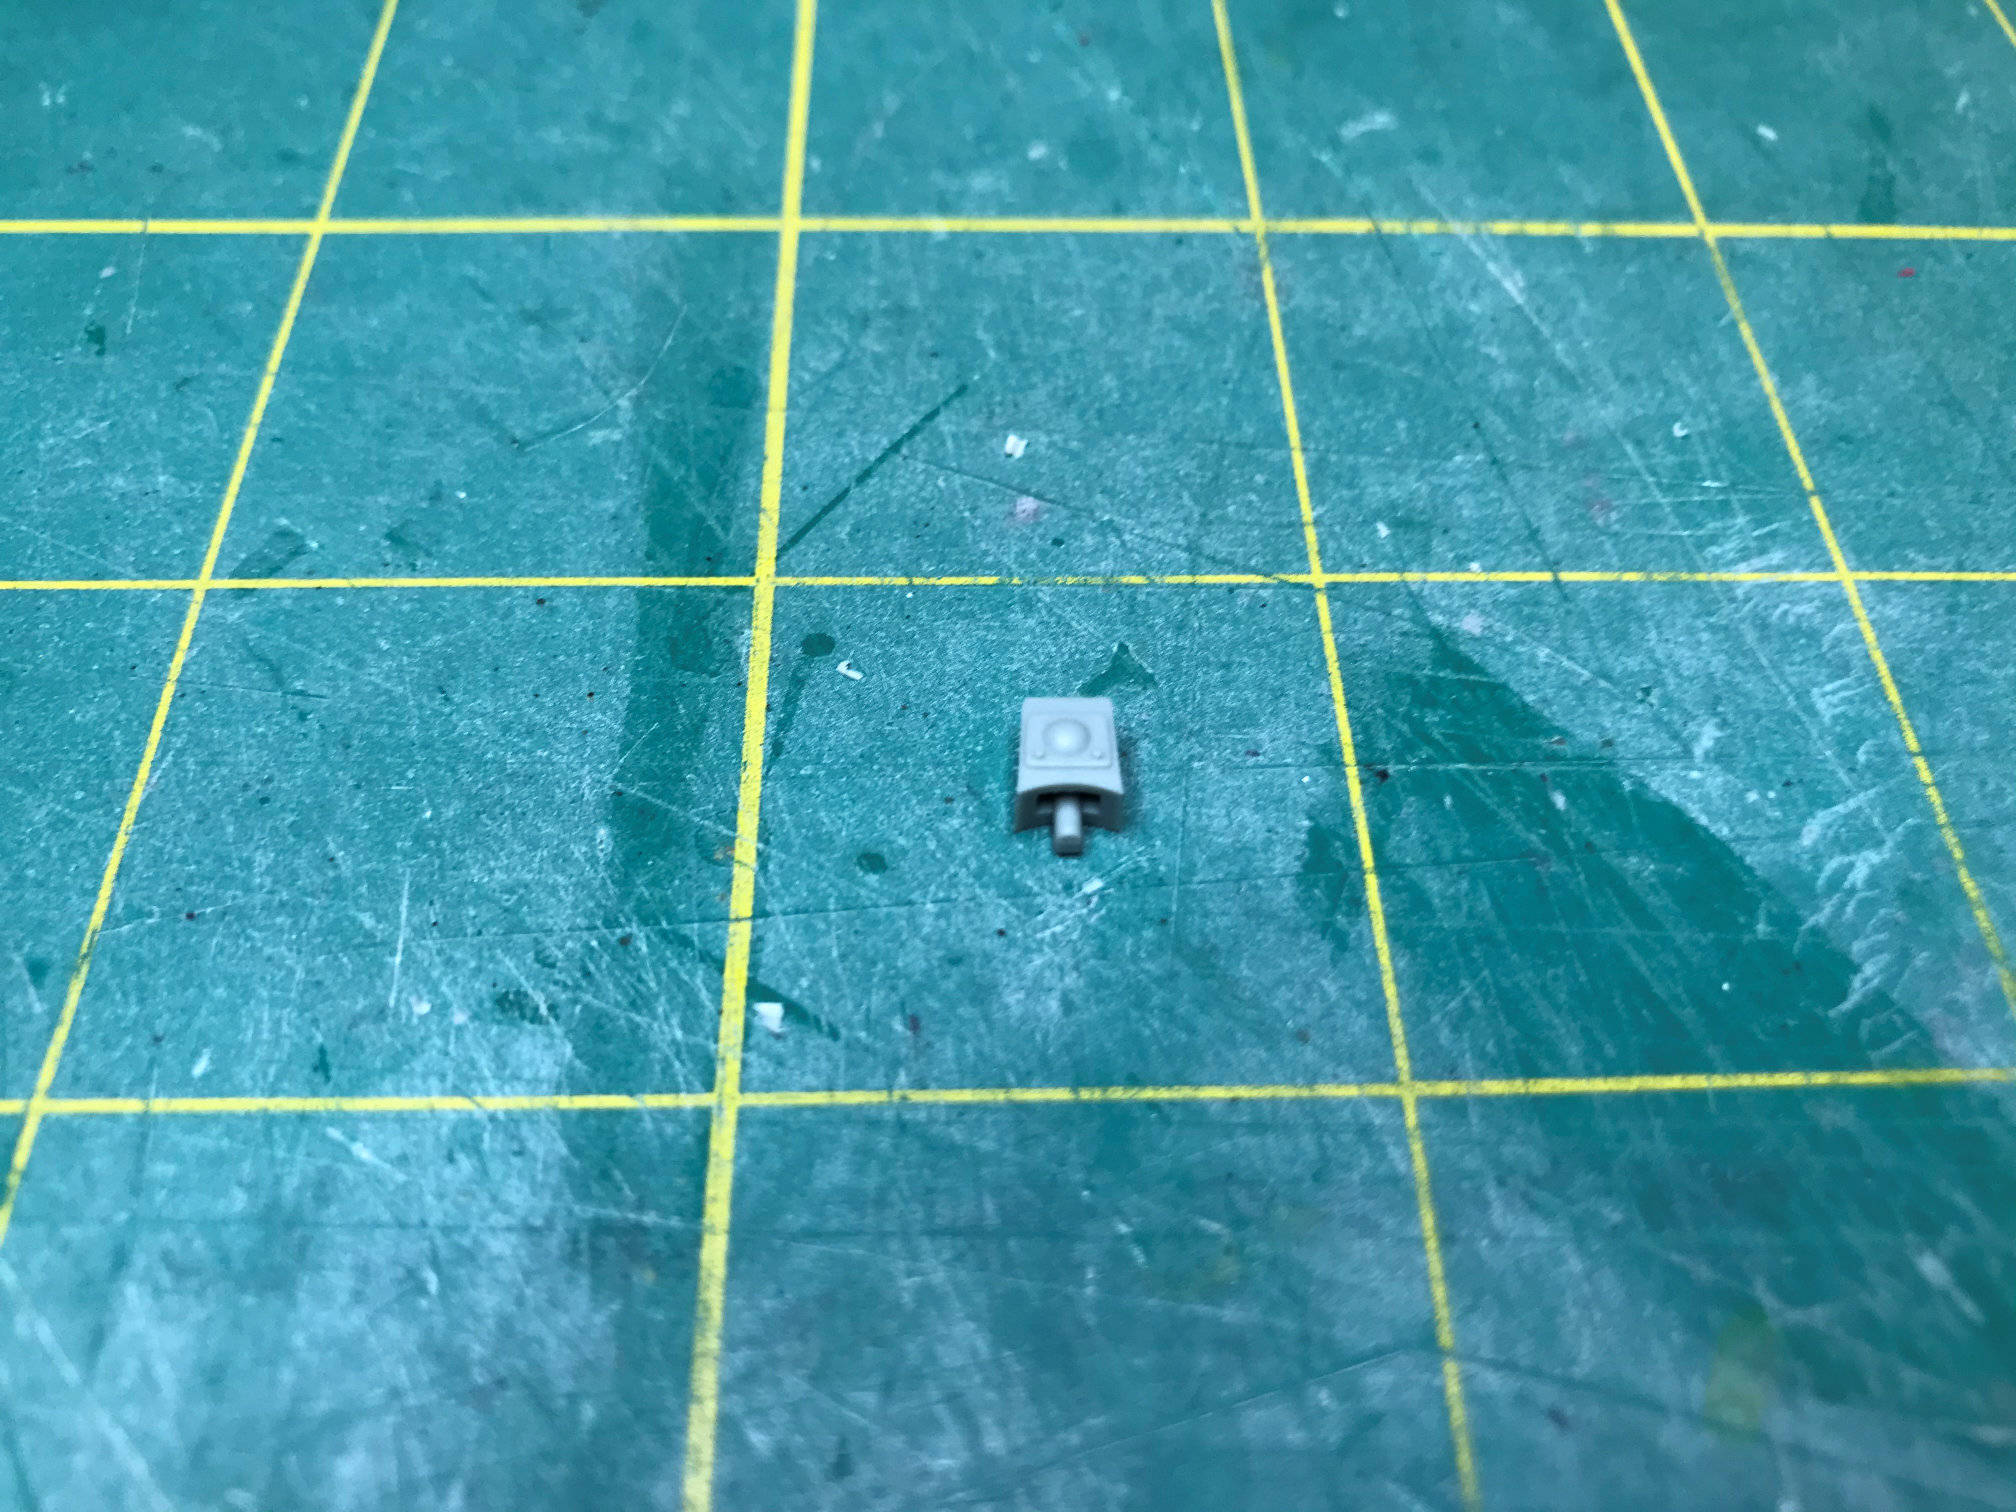
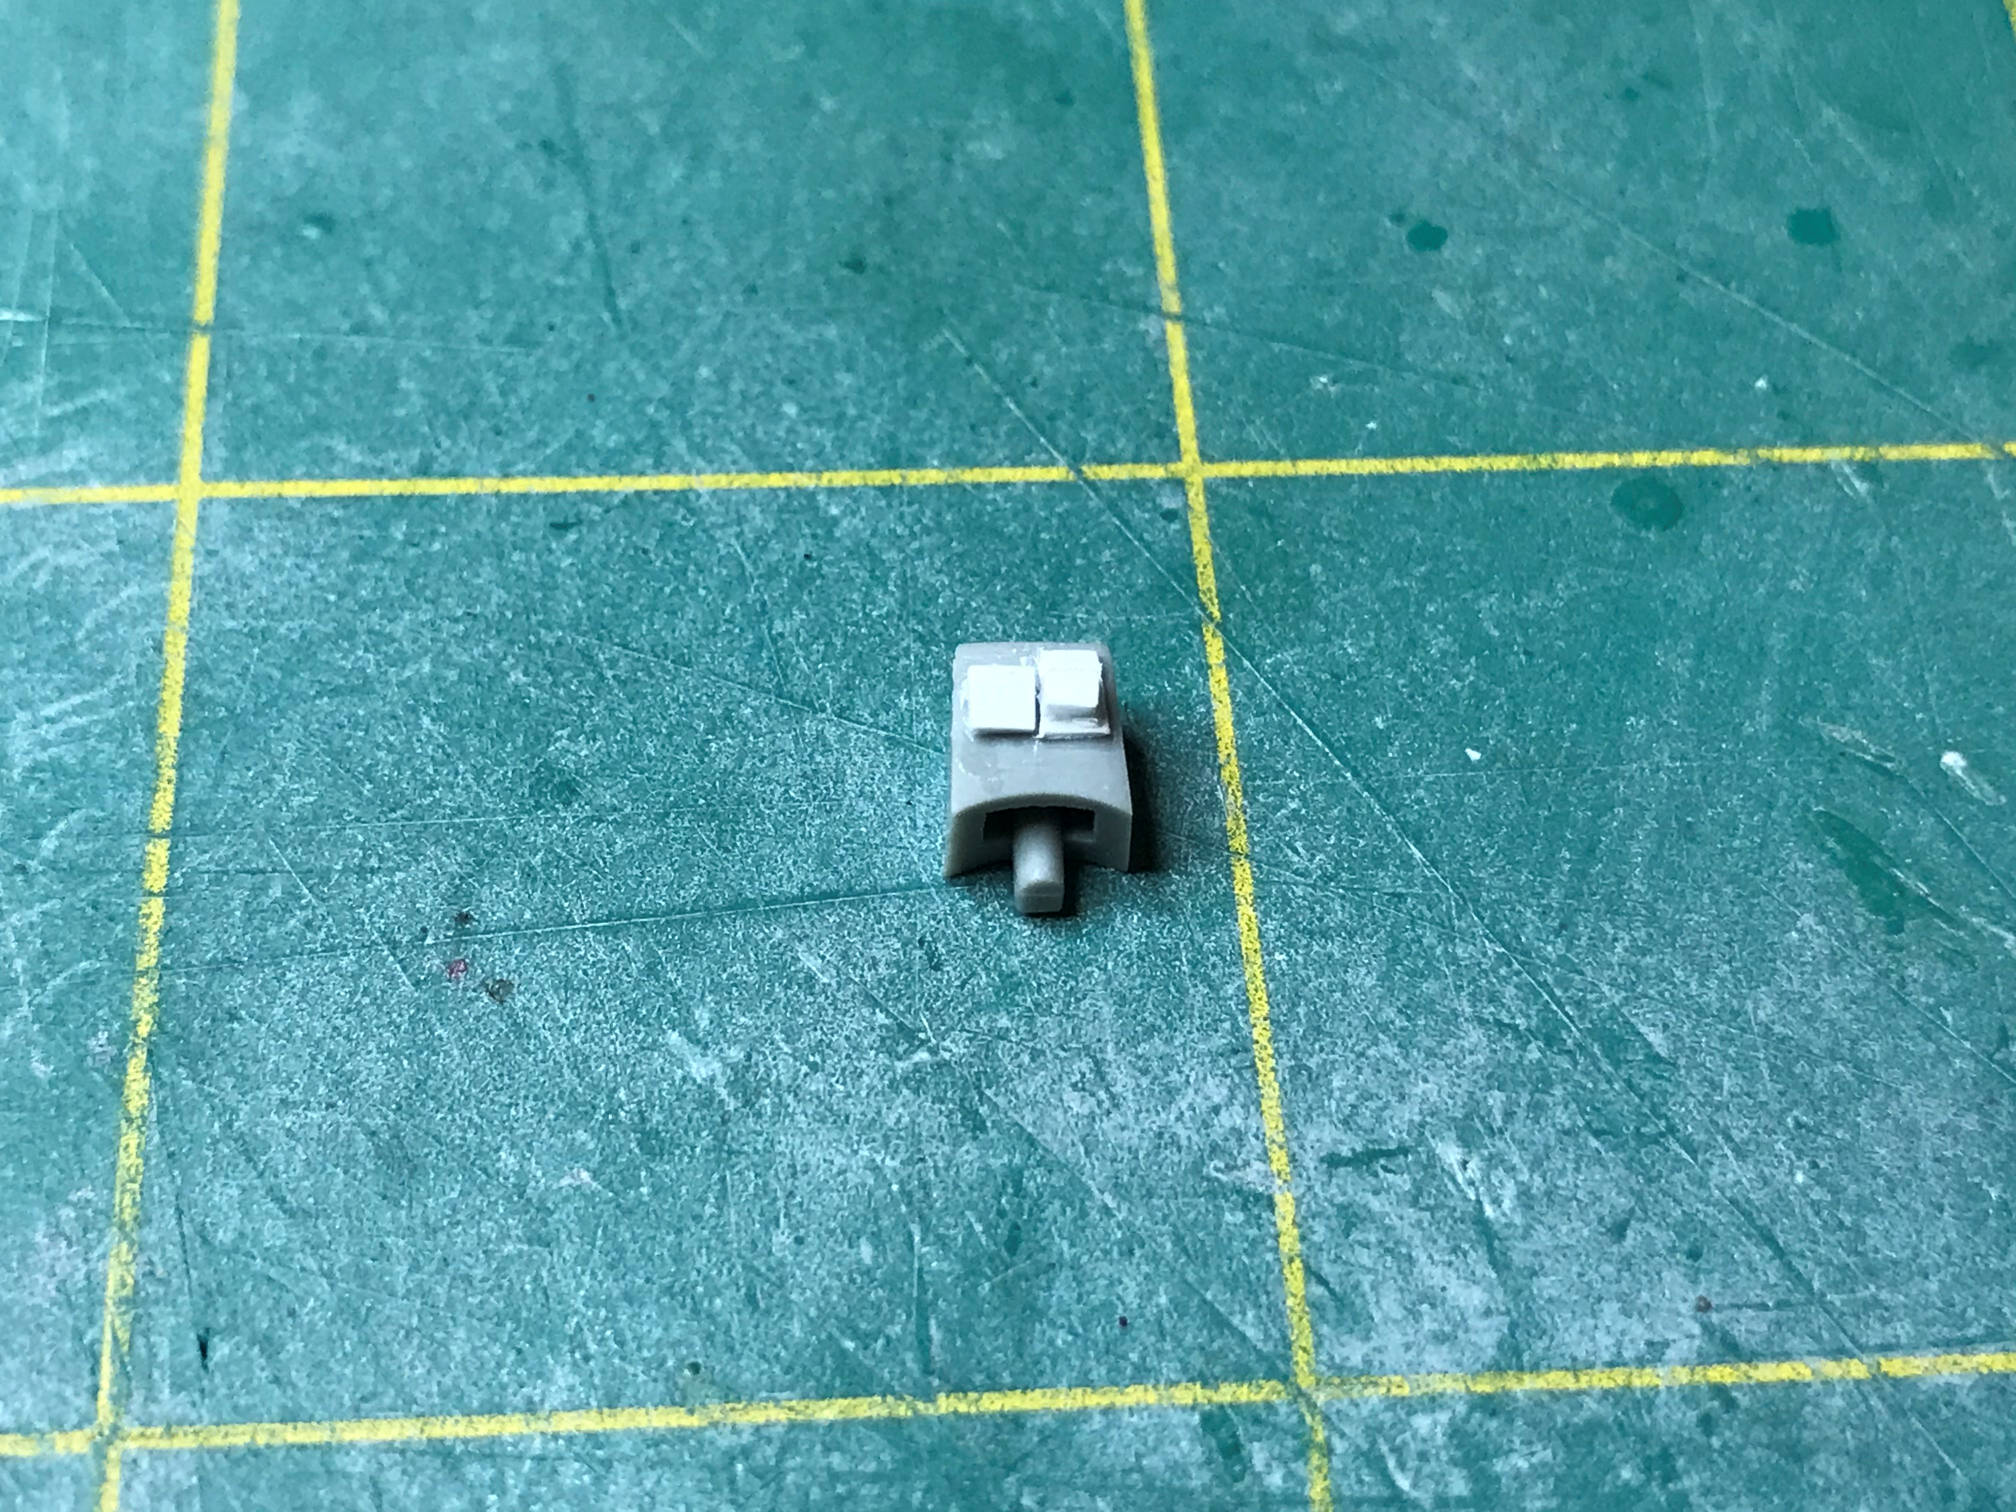
The first thing I did was sand off the molded on details so I could add my details and use the experiment box. I used sections of .060 and .040 strip stock and a small rectangle of .005 sheet stock to represent the part of the experiment that protruded from the back of the experiment box.
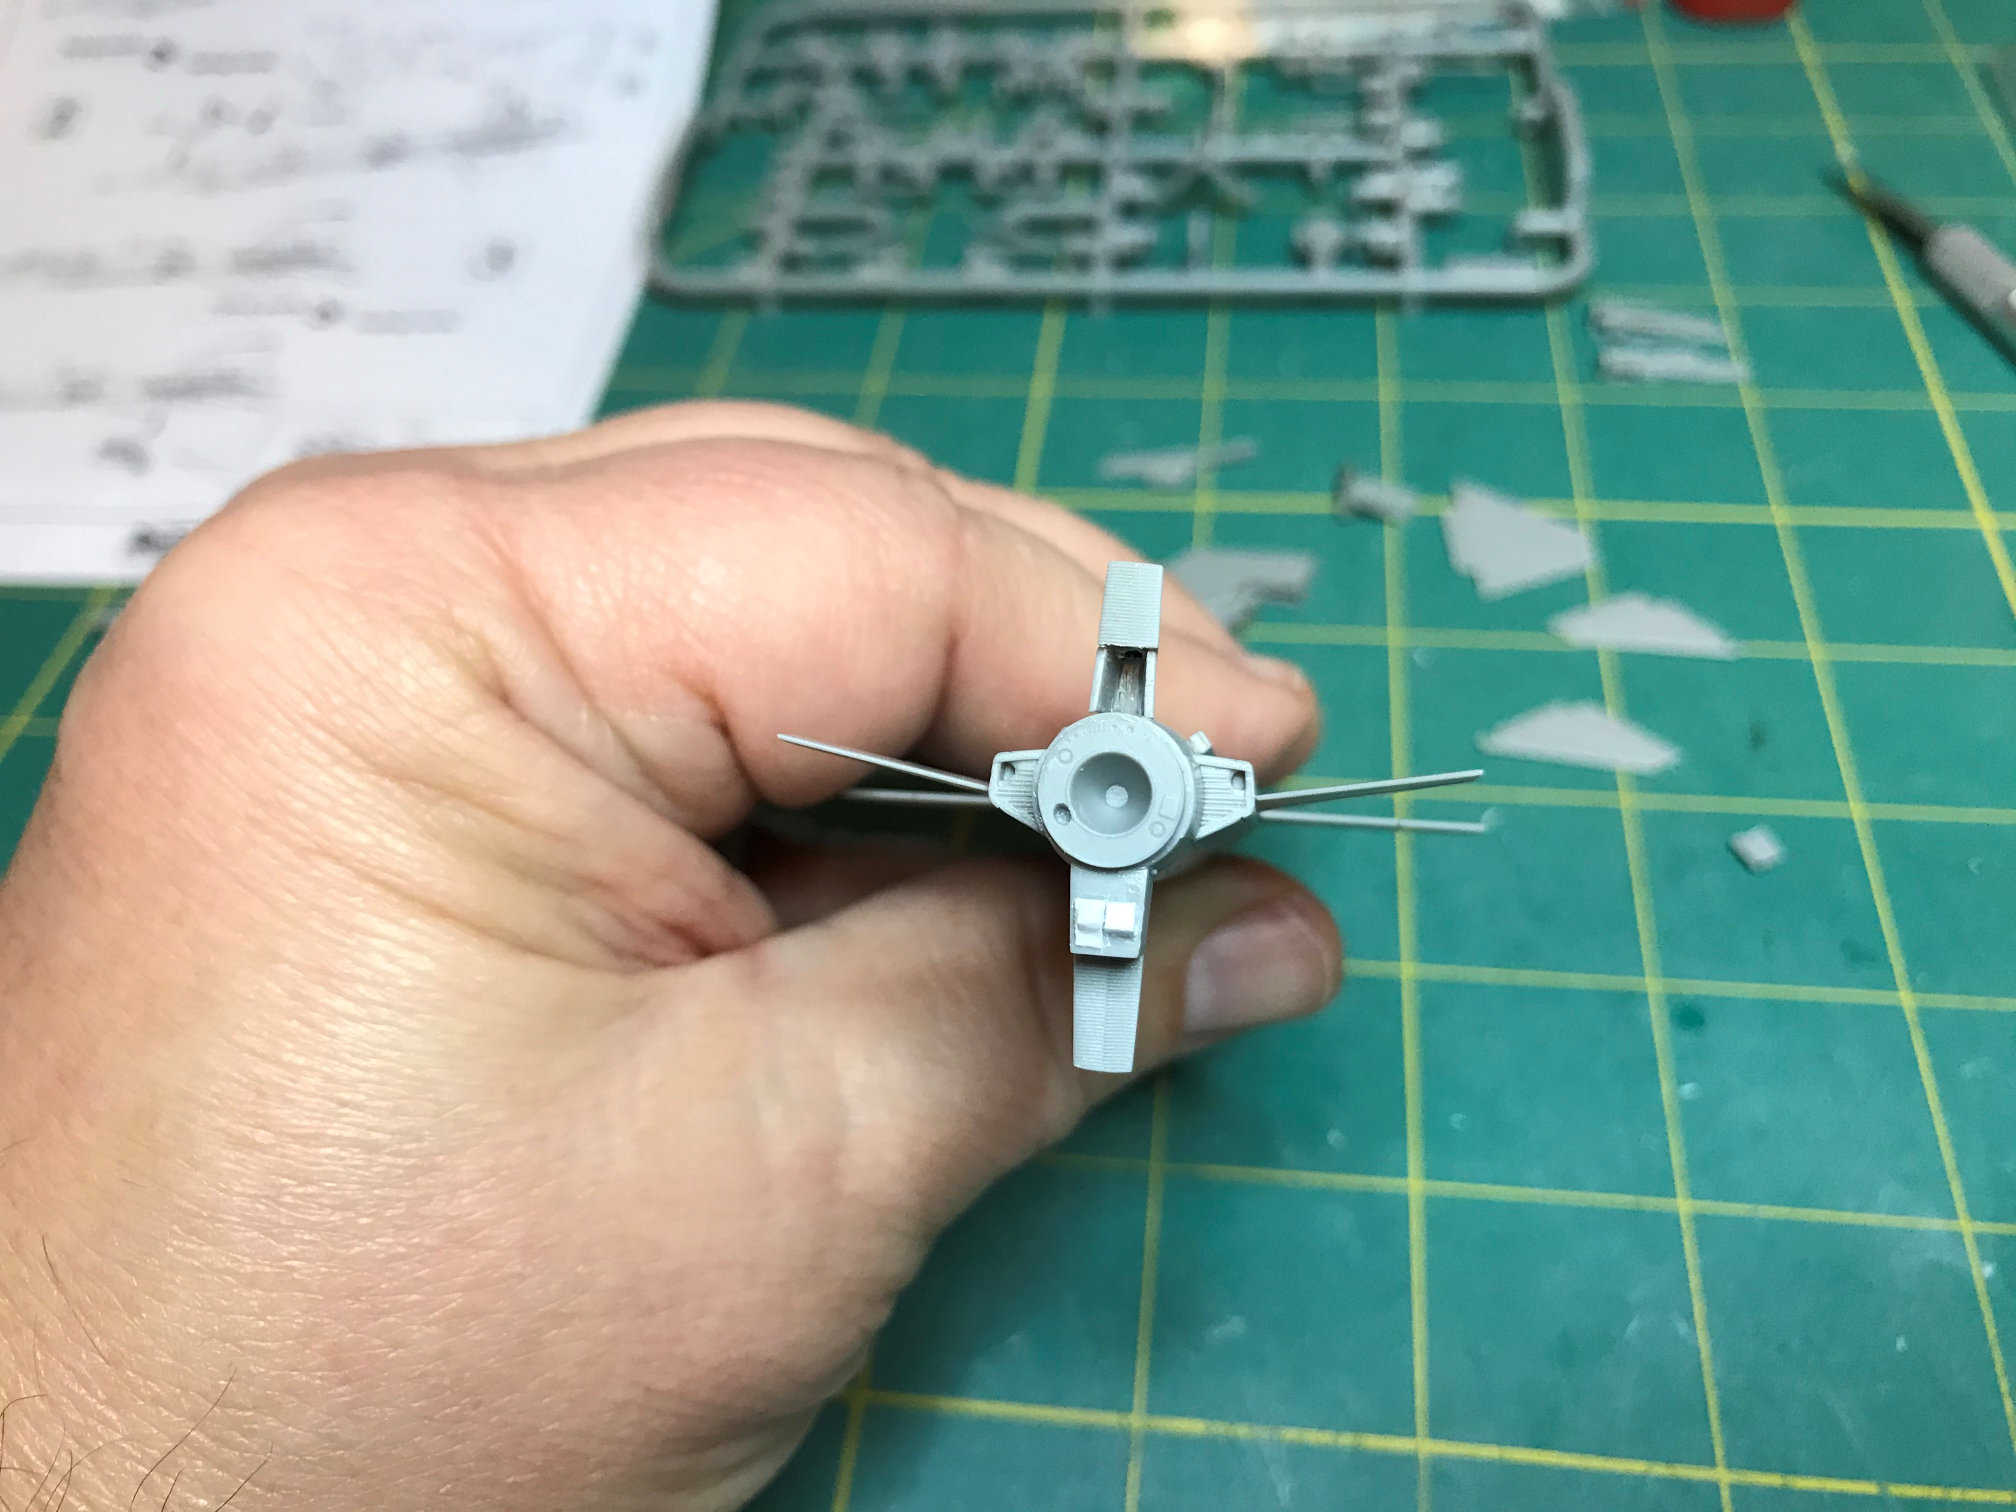
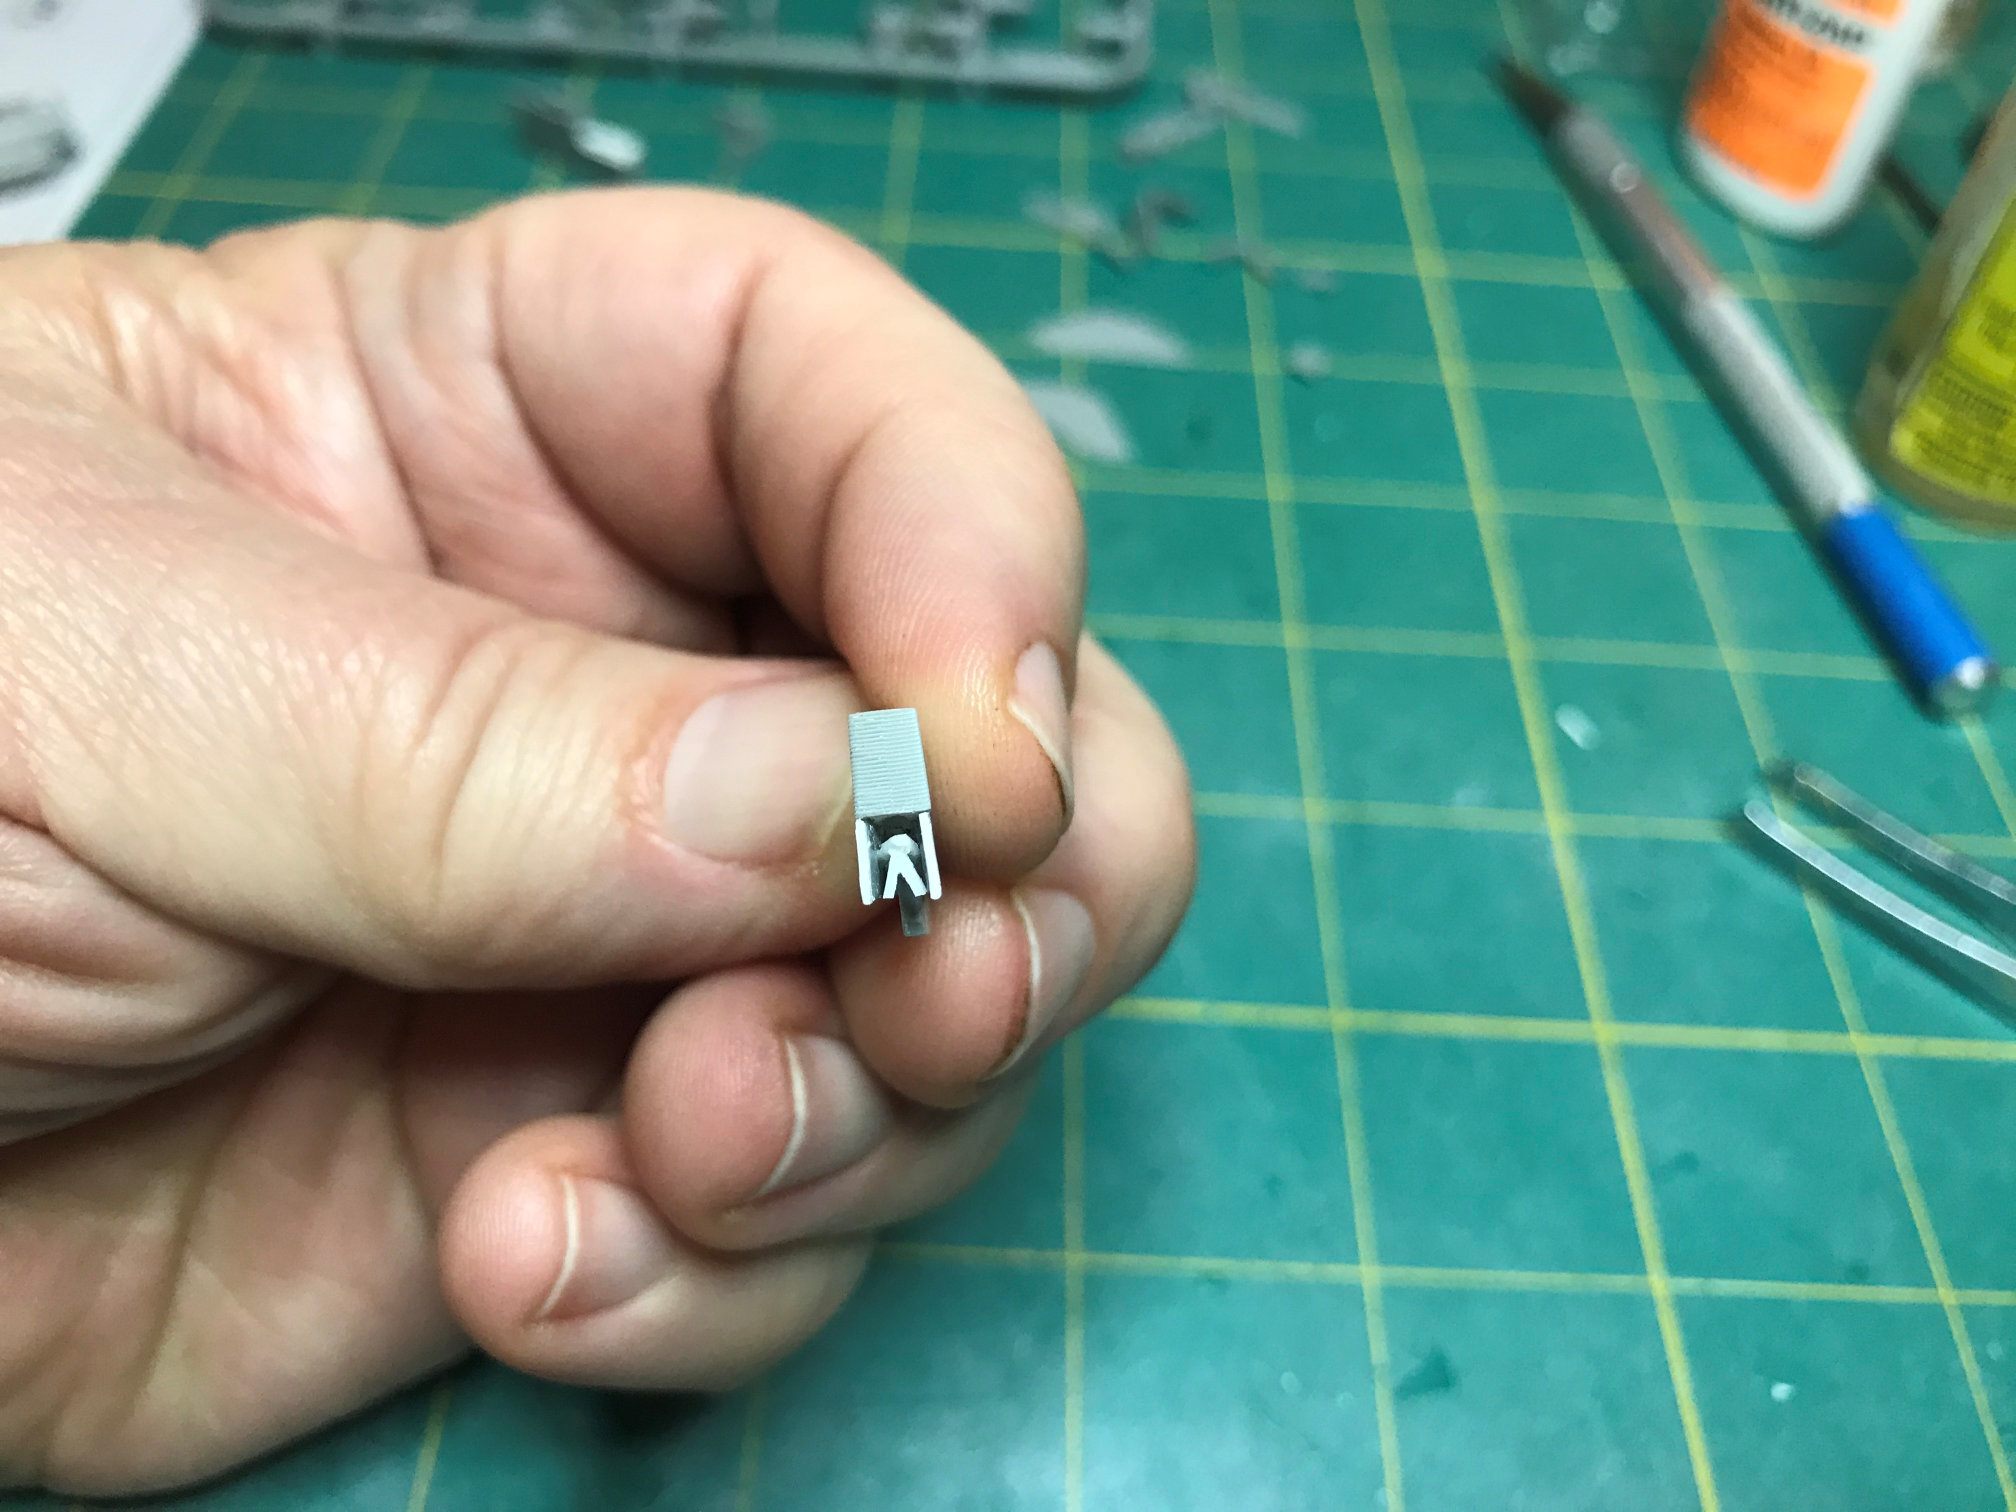
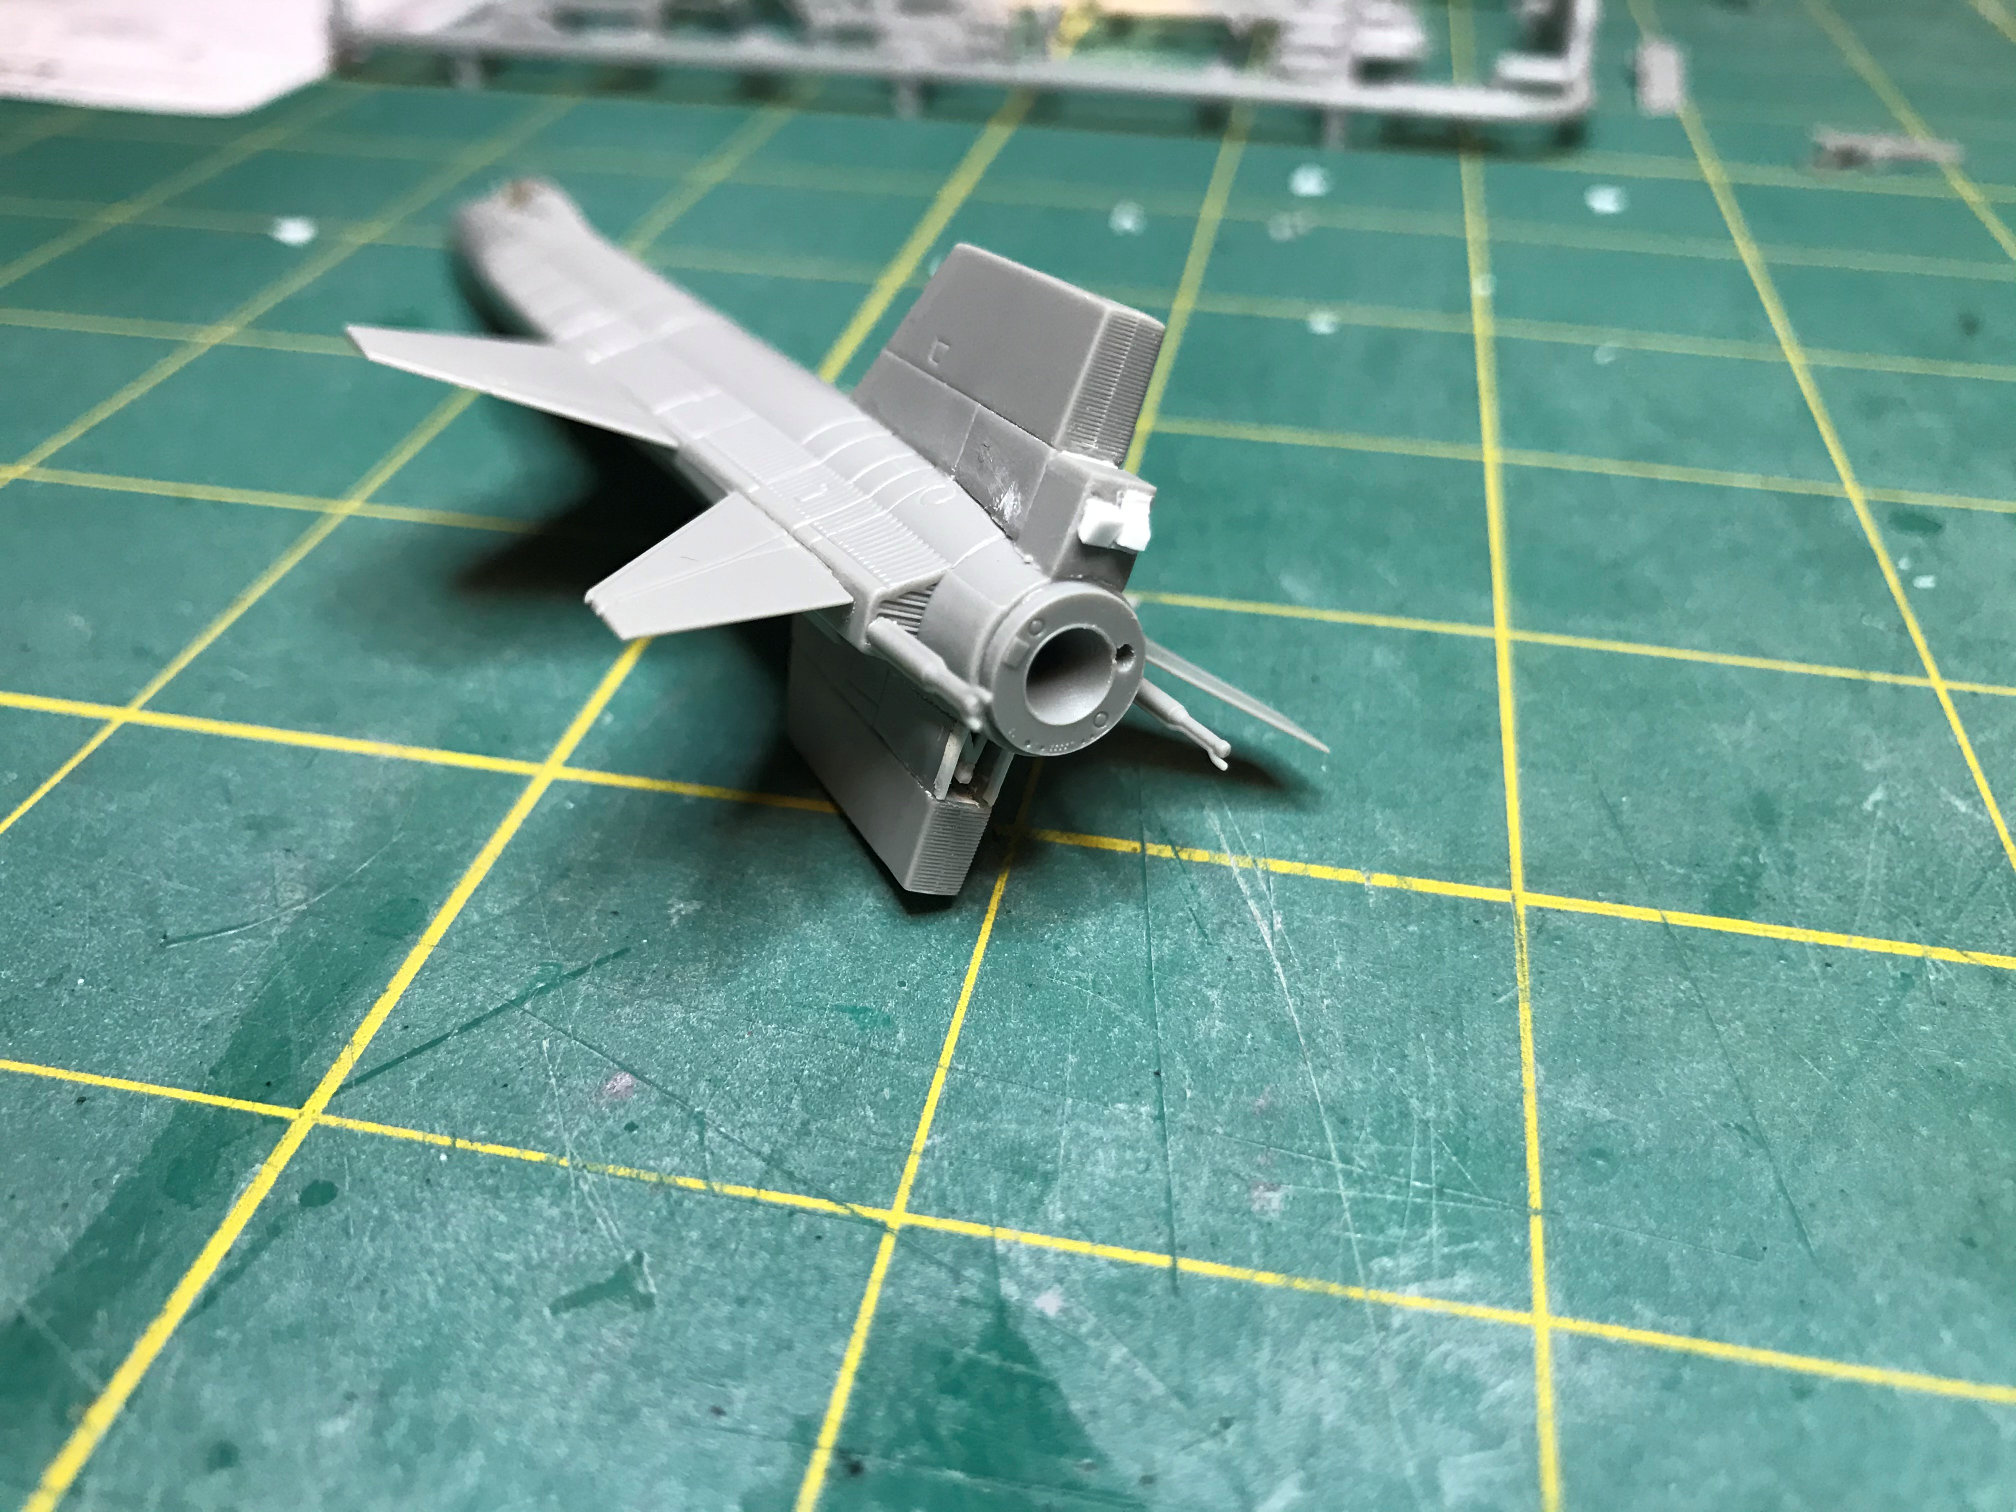
I then glued on the dorsal fin and the experiment box. In the picture the ventral fin has not been glued on yet and the model is being held upside down.
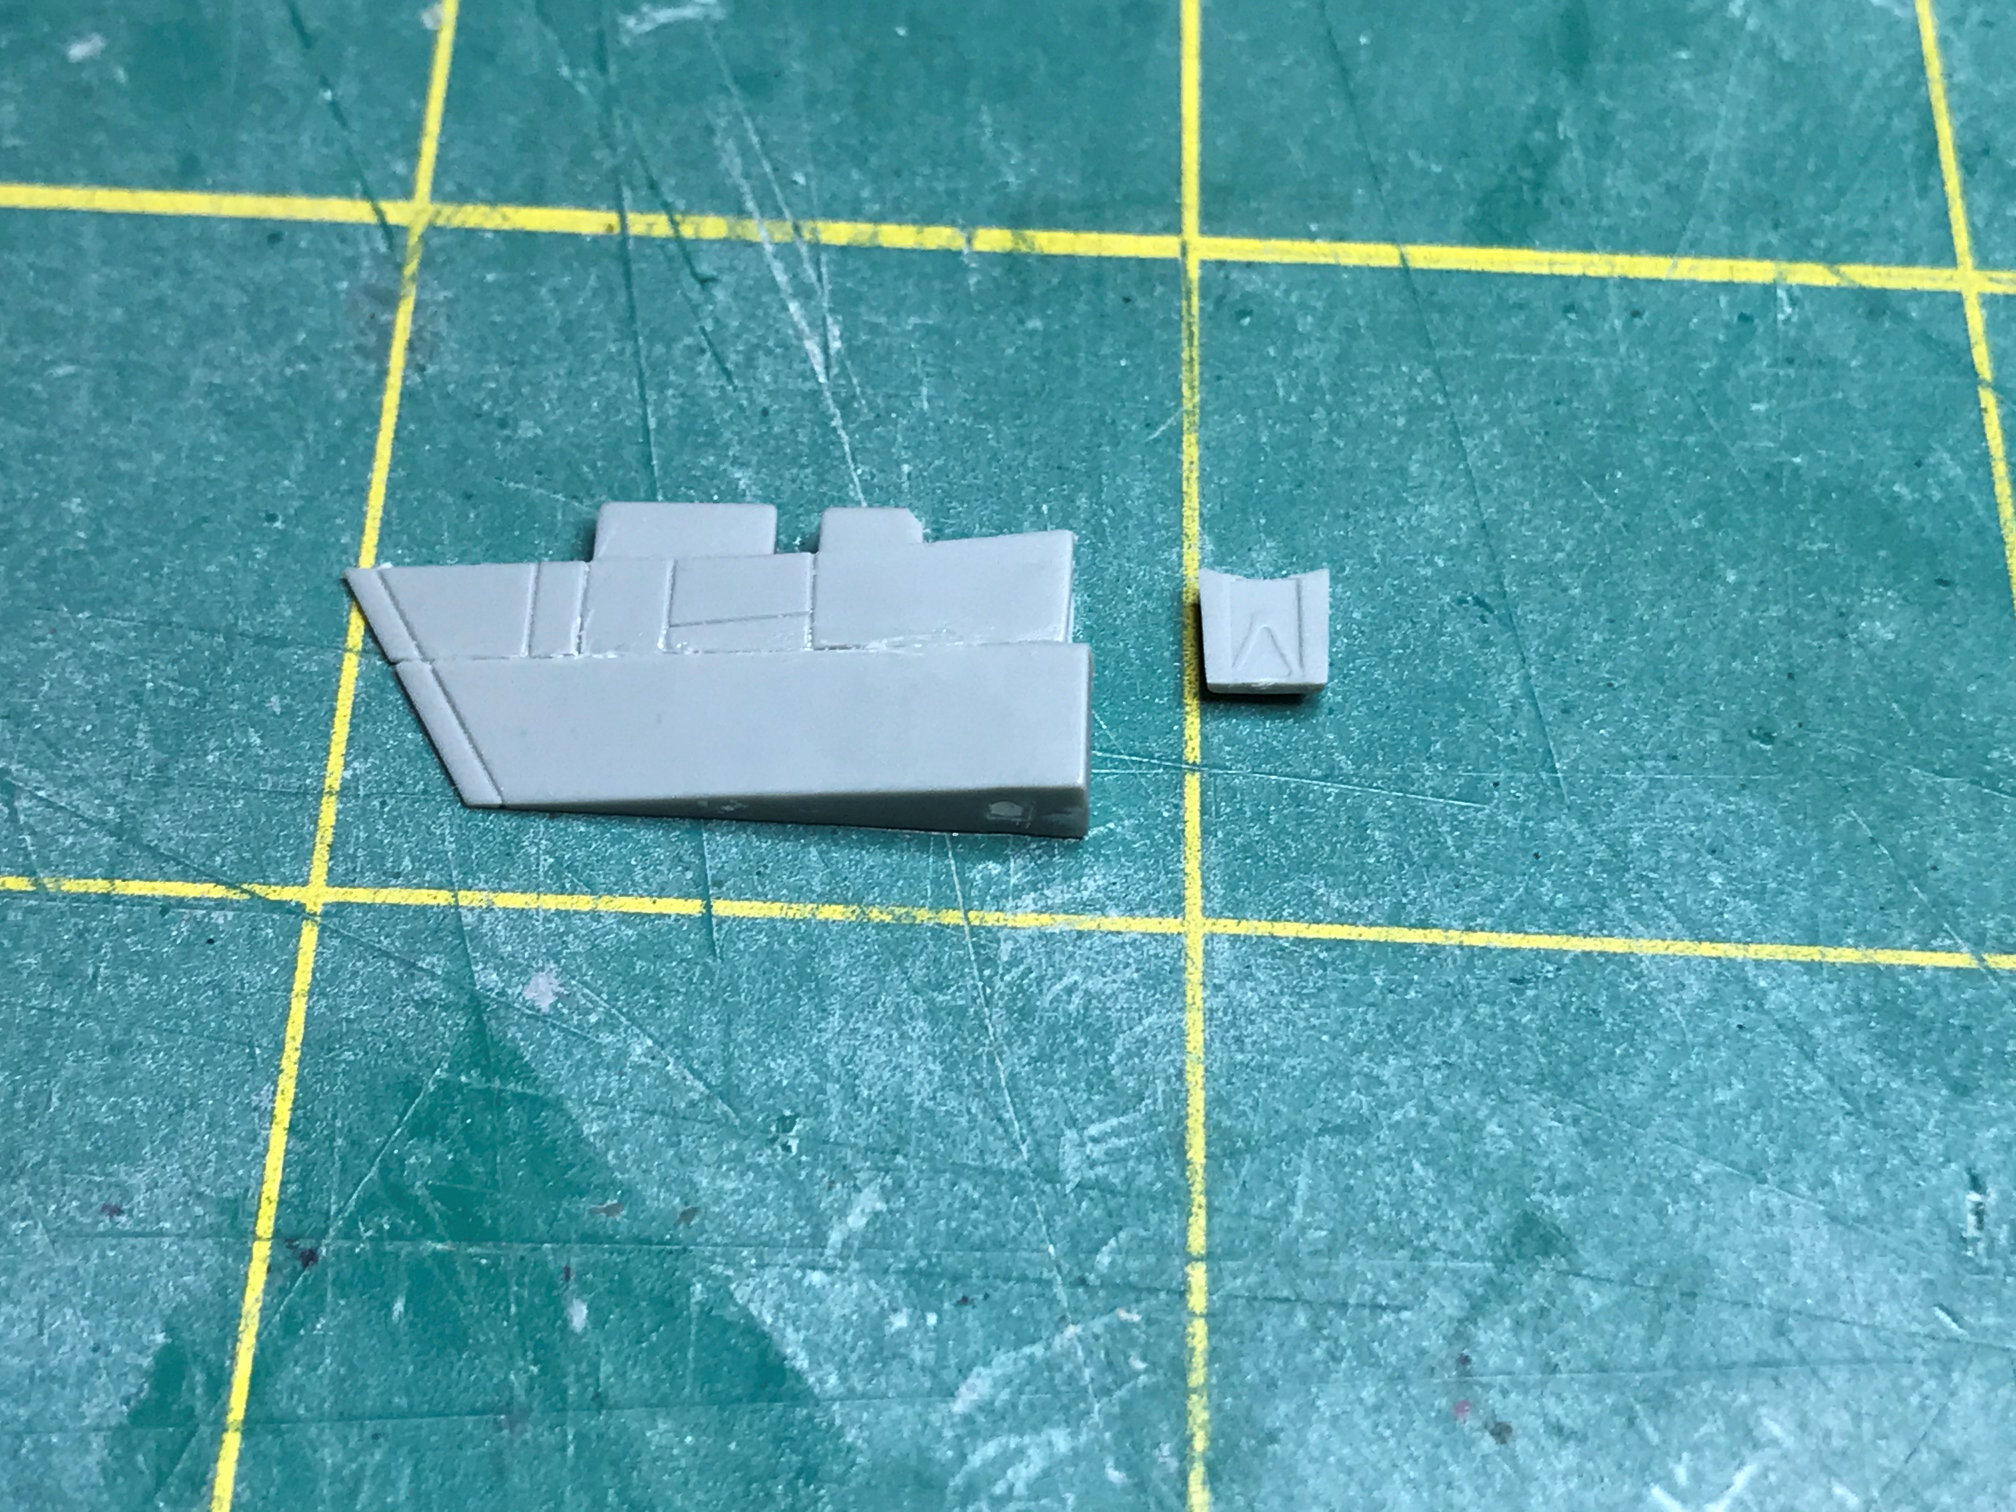
The ventral fin can be built either with the air brakes open or closed. This is done with two different parts. For X-15-3 in flight I wanted to have them in the closed position. The closed air brakes are a bit thick so I sanded them a bit thinner. The kit supplies a back part of the air brake section for posing them in the closed position. This means that the air brakes are actually a bit shorter so the end plate can be glued on to give them their final length. If you look at the picture of the ventral fin and the end plate, you can see that the end plate has a “V” shaped detail that is supposed to represent part of the air brake actuator system. One problem is if you use that part, the “V” is actually upside down. The open end of the “V” should be facing the fuselage, it does not. Beside that, I really think that I can scratch a part will look better.
The first thing I did was to add some length to the air brakes by adding some .010 square strip stock. I then sanded them fairly smooth.
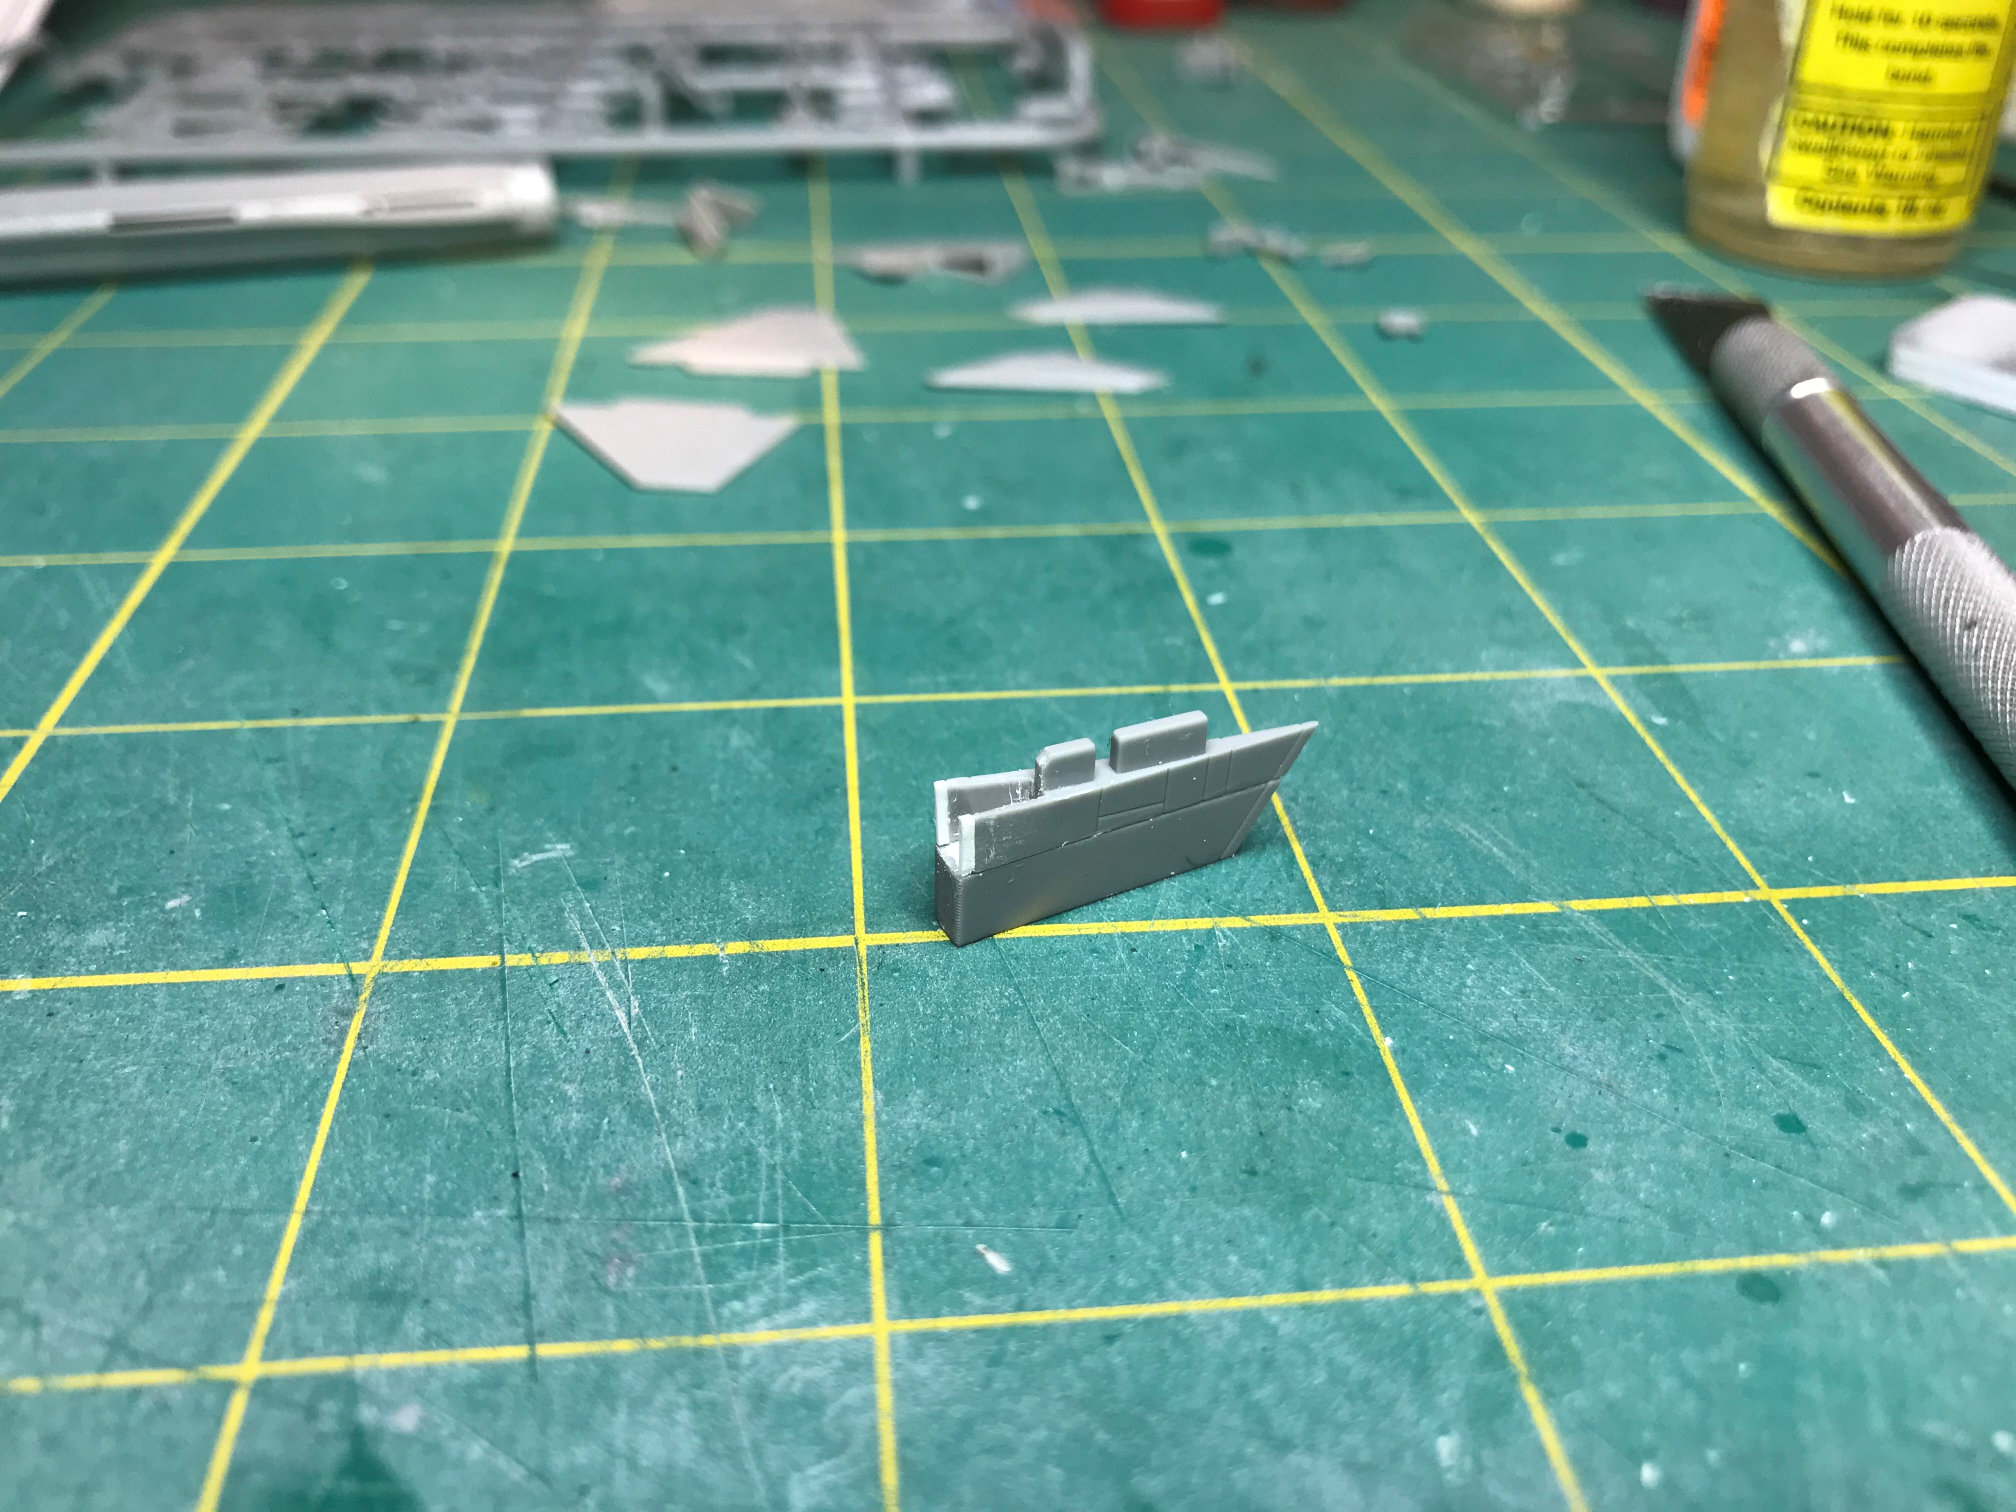
I took some .010 sheet stock and cut out a few shapes and glued them together. I then glued that into the ventral fin between the air brakes. It is not the most accurate depiction of the actuators, but it is better than the kit part and from a normal viewing distance doesn’t look that bad.
I then glued the ventral fin on the X-15-3 fuselage and moved on to the rest of the model.
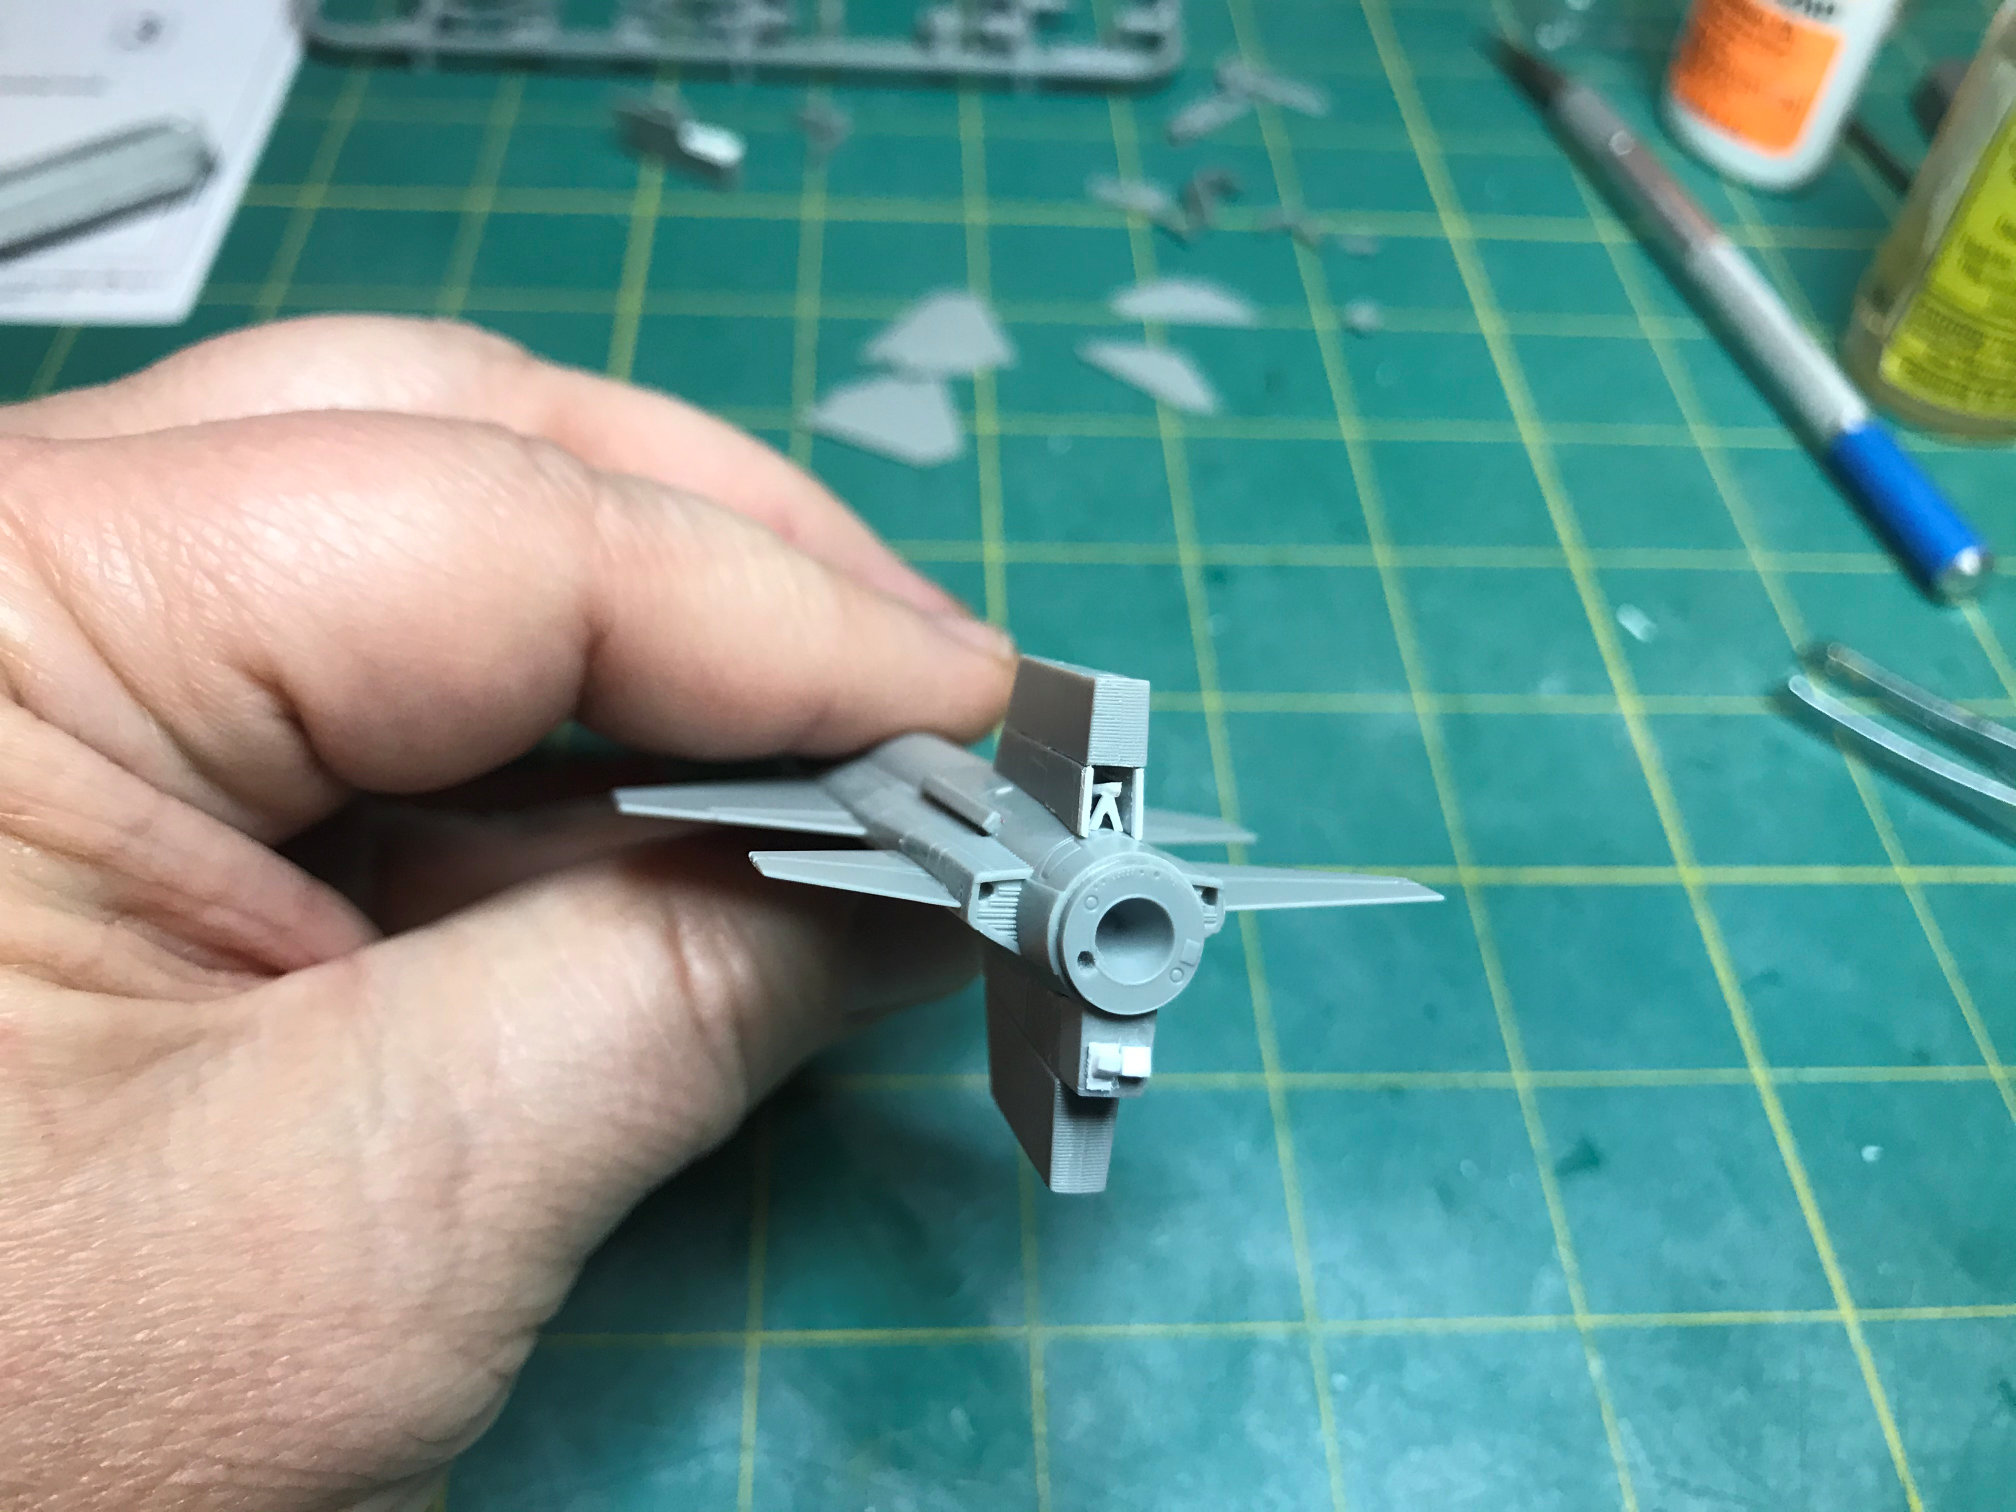
I then added the kit parts for the fuel and oxidizer vent ports and some scratch antennas that I cut from .005 sheet stock. I also added the ball nose and pitot tube kit parts.
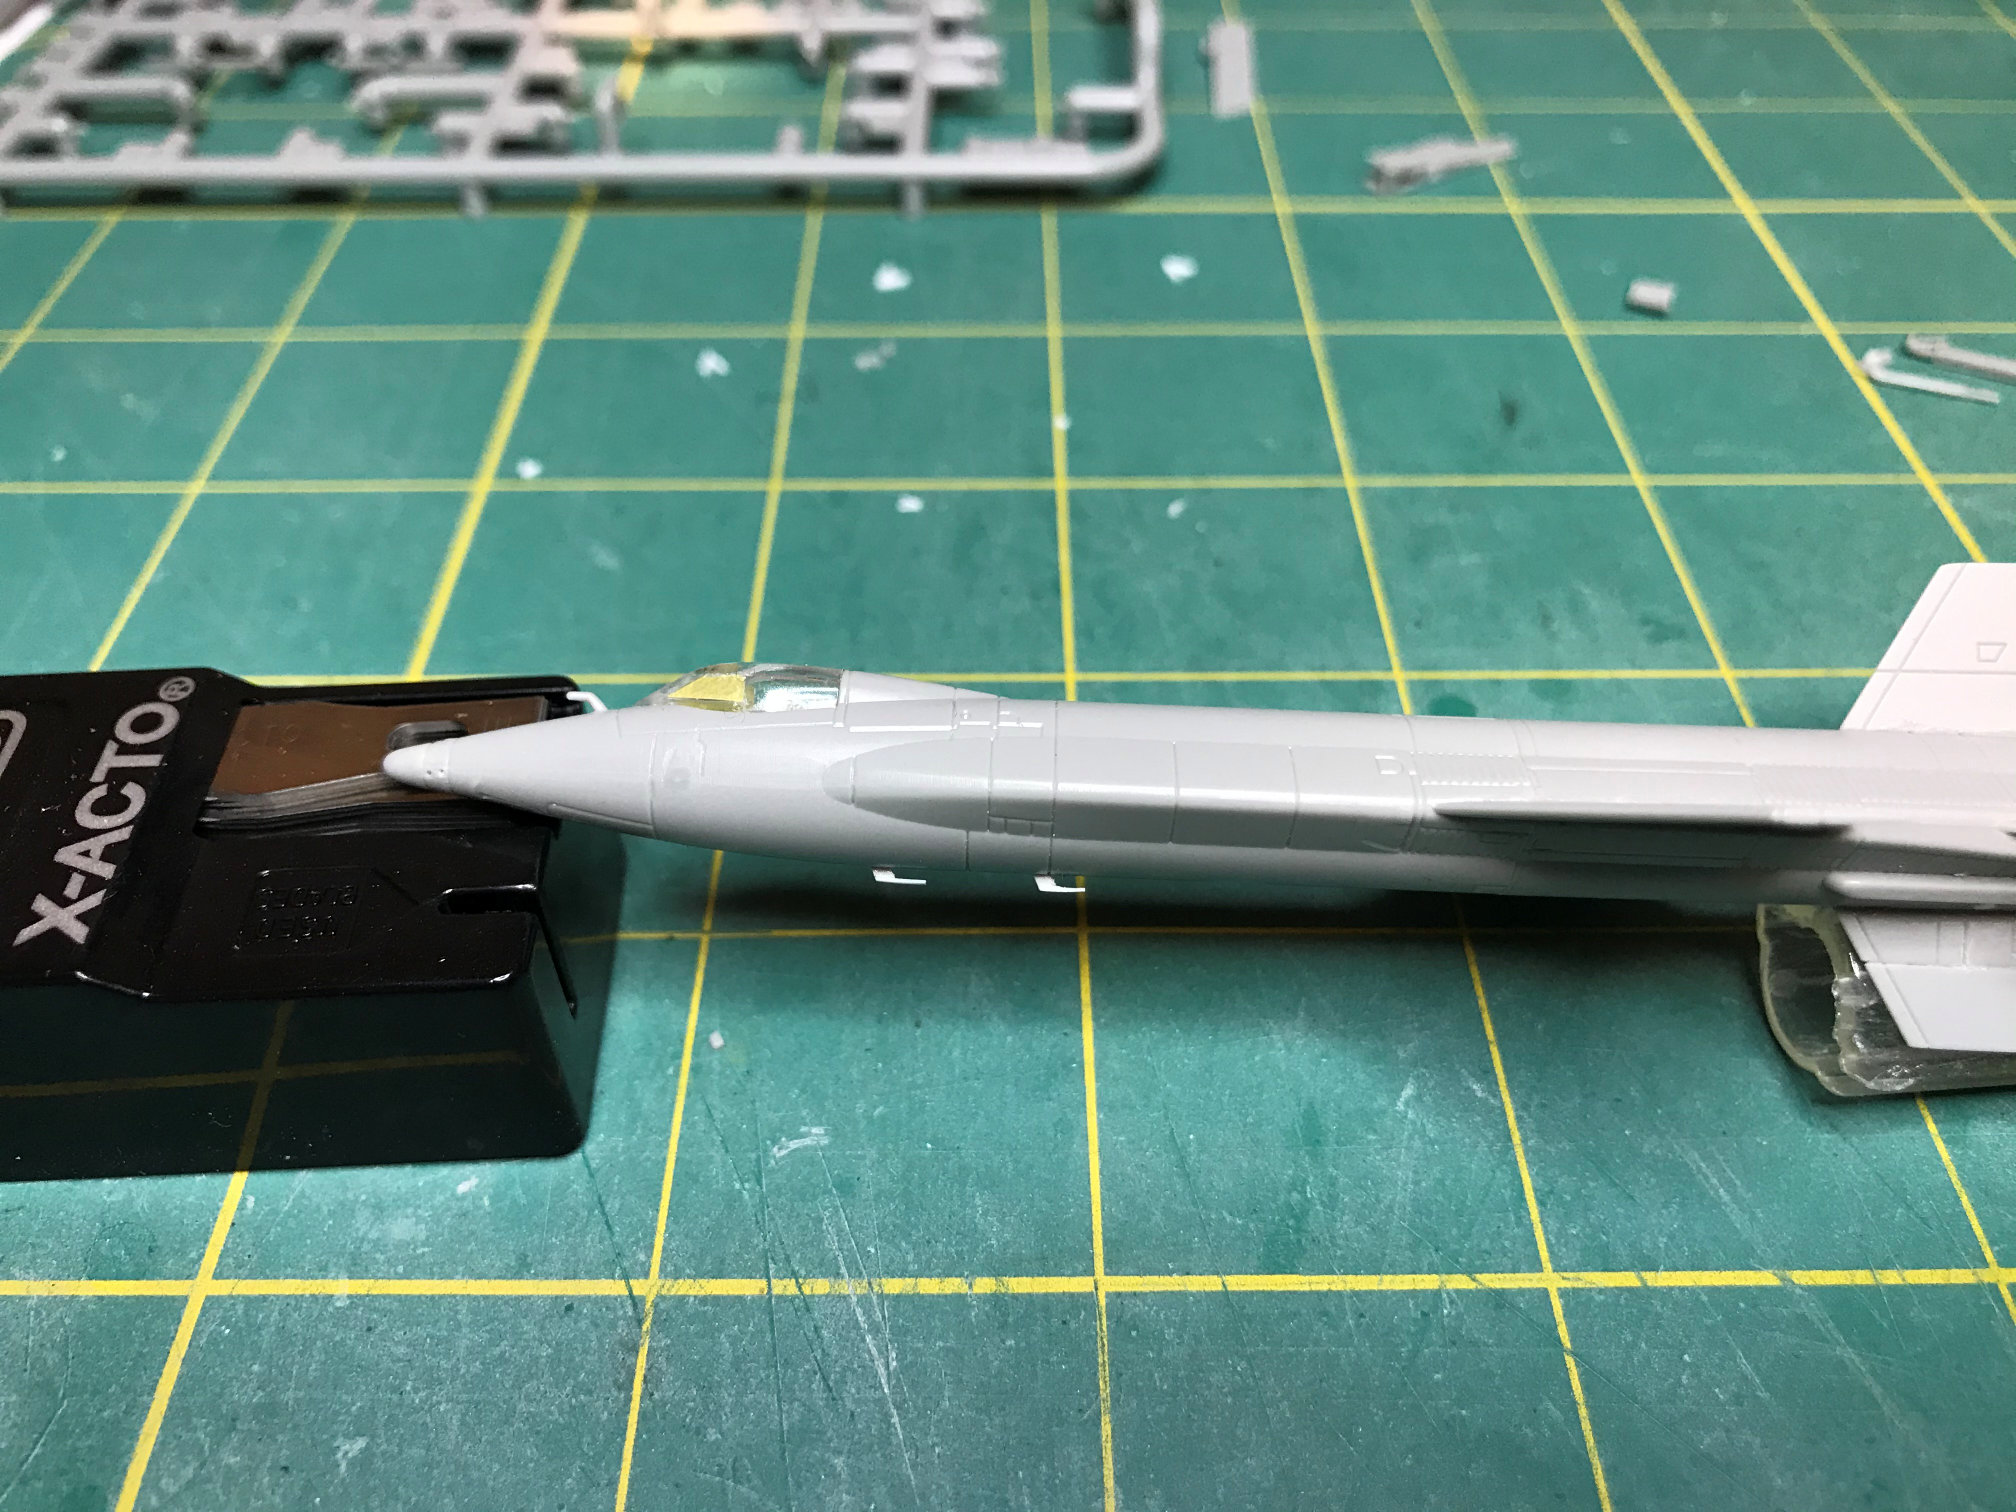
With that X-15-3 is assembled and ready for primer and paint prep. Now on to finish X-15-1.
Thanks for looking, more to come.
