
I’m building X-15-1 in its landed configuration with the air brakes open. That meant that I needed to fill the open area under the dorsal fin.
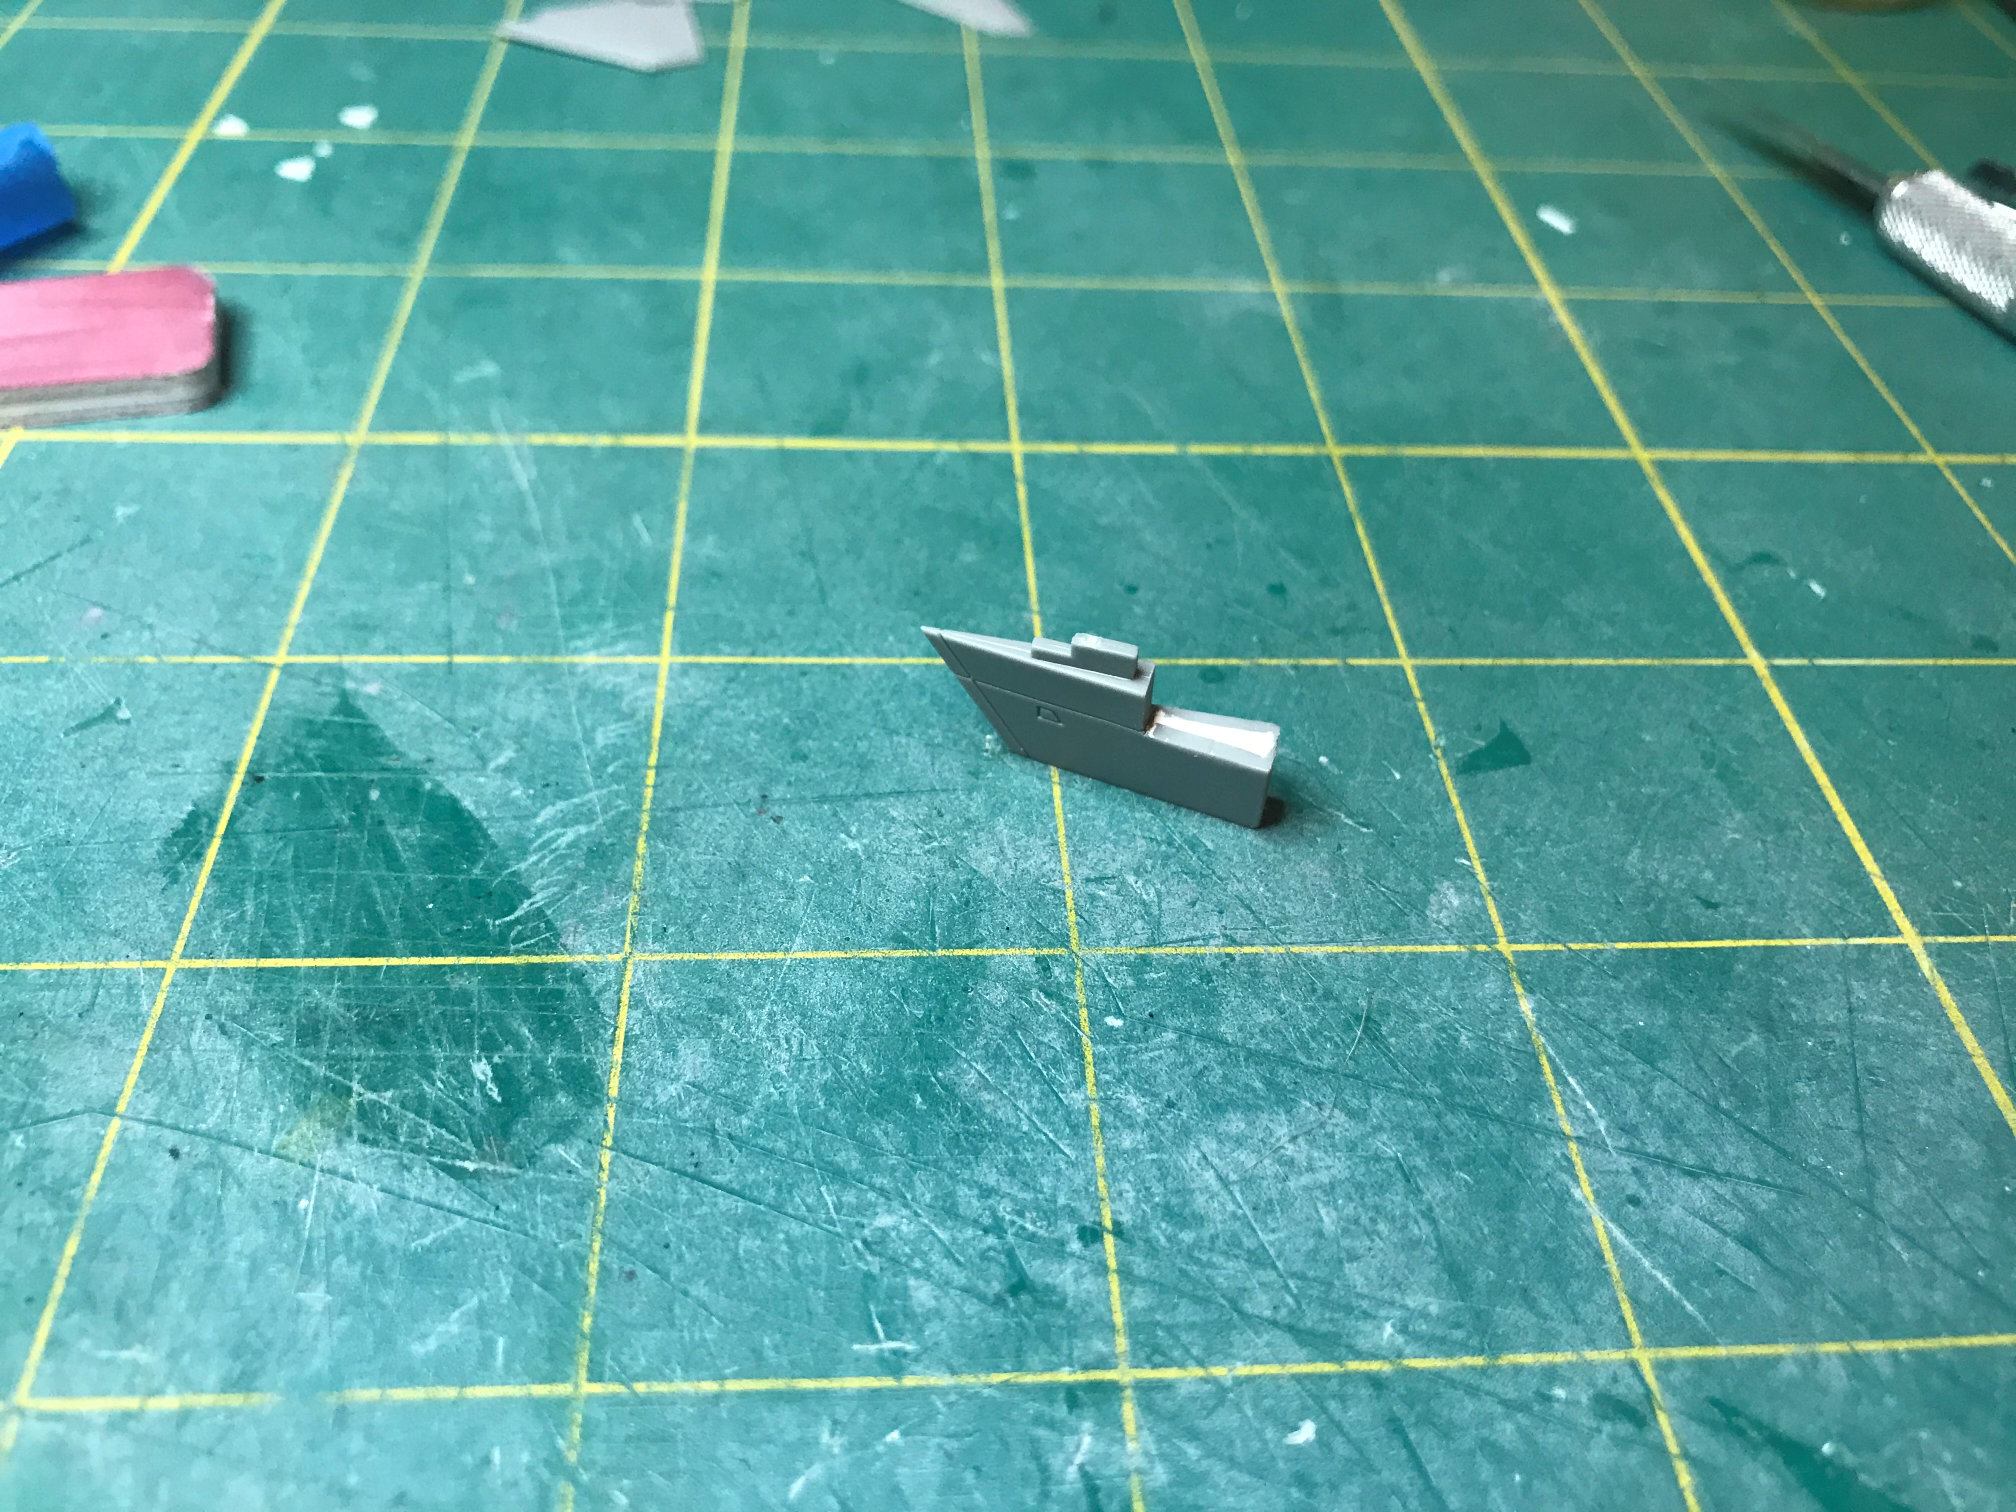
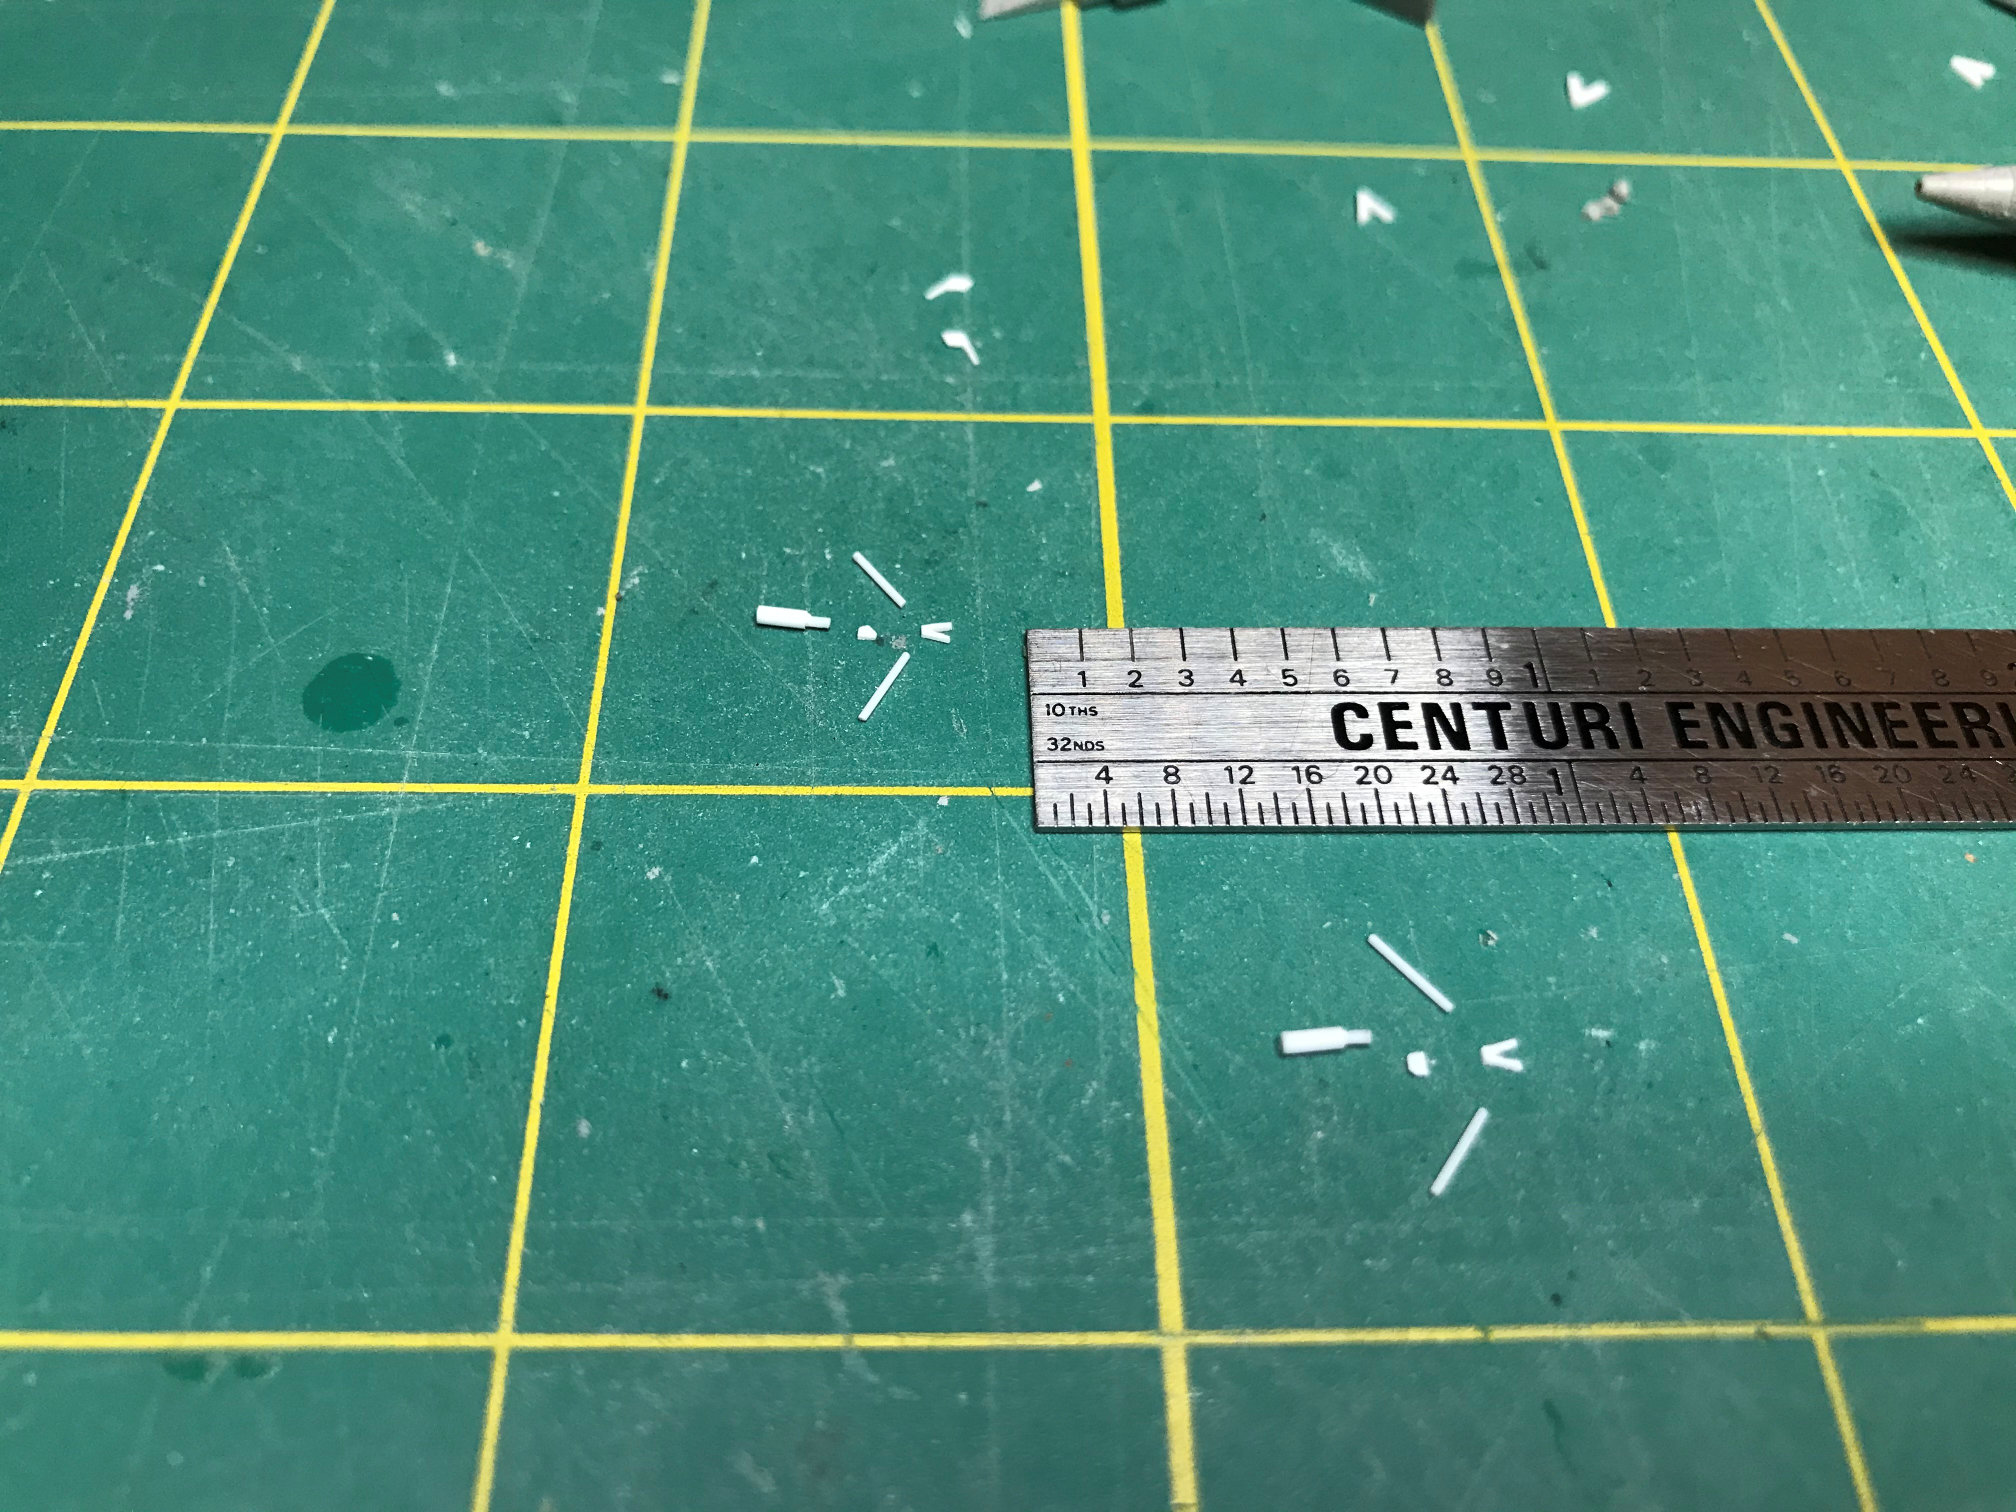
Next, I needed to scratch build the air brake actuator parts since the air brakes will be open and the mechanism will be much more visible. I started by cutting the components from rods and sheet stock. The main hydraulic ram was made from .035 rod with the piston end from .020 rod. The actuators were cut from .015 rod and they were connected to a hub piece cut from .005 sheet. I then cut the “V” shaped rocker from .005 sheet stock.
I first glued the hydraulic ram parts together and attached them to the hub and then glued that assembly to the back of the open air brake part. I did cut a tiny part out of the back of the air brake to give the ram a place to rest.

I then added the actuator parts to connect the hub to the air brake plates.

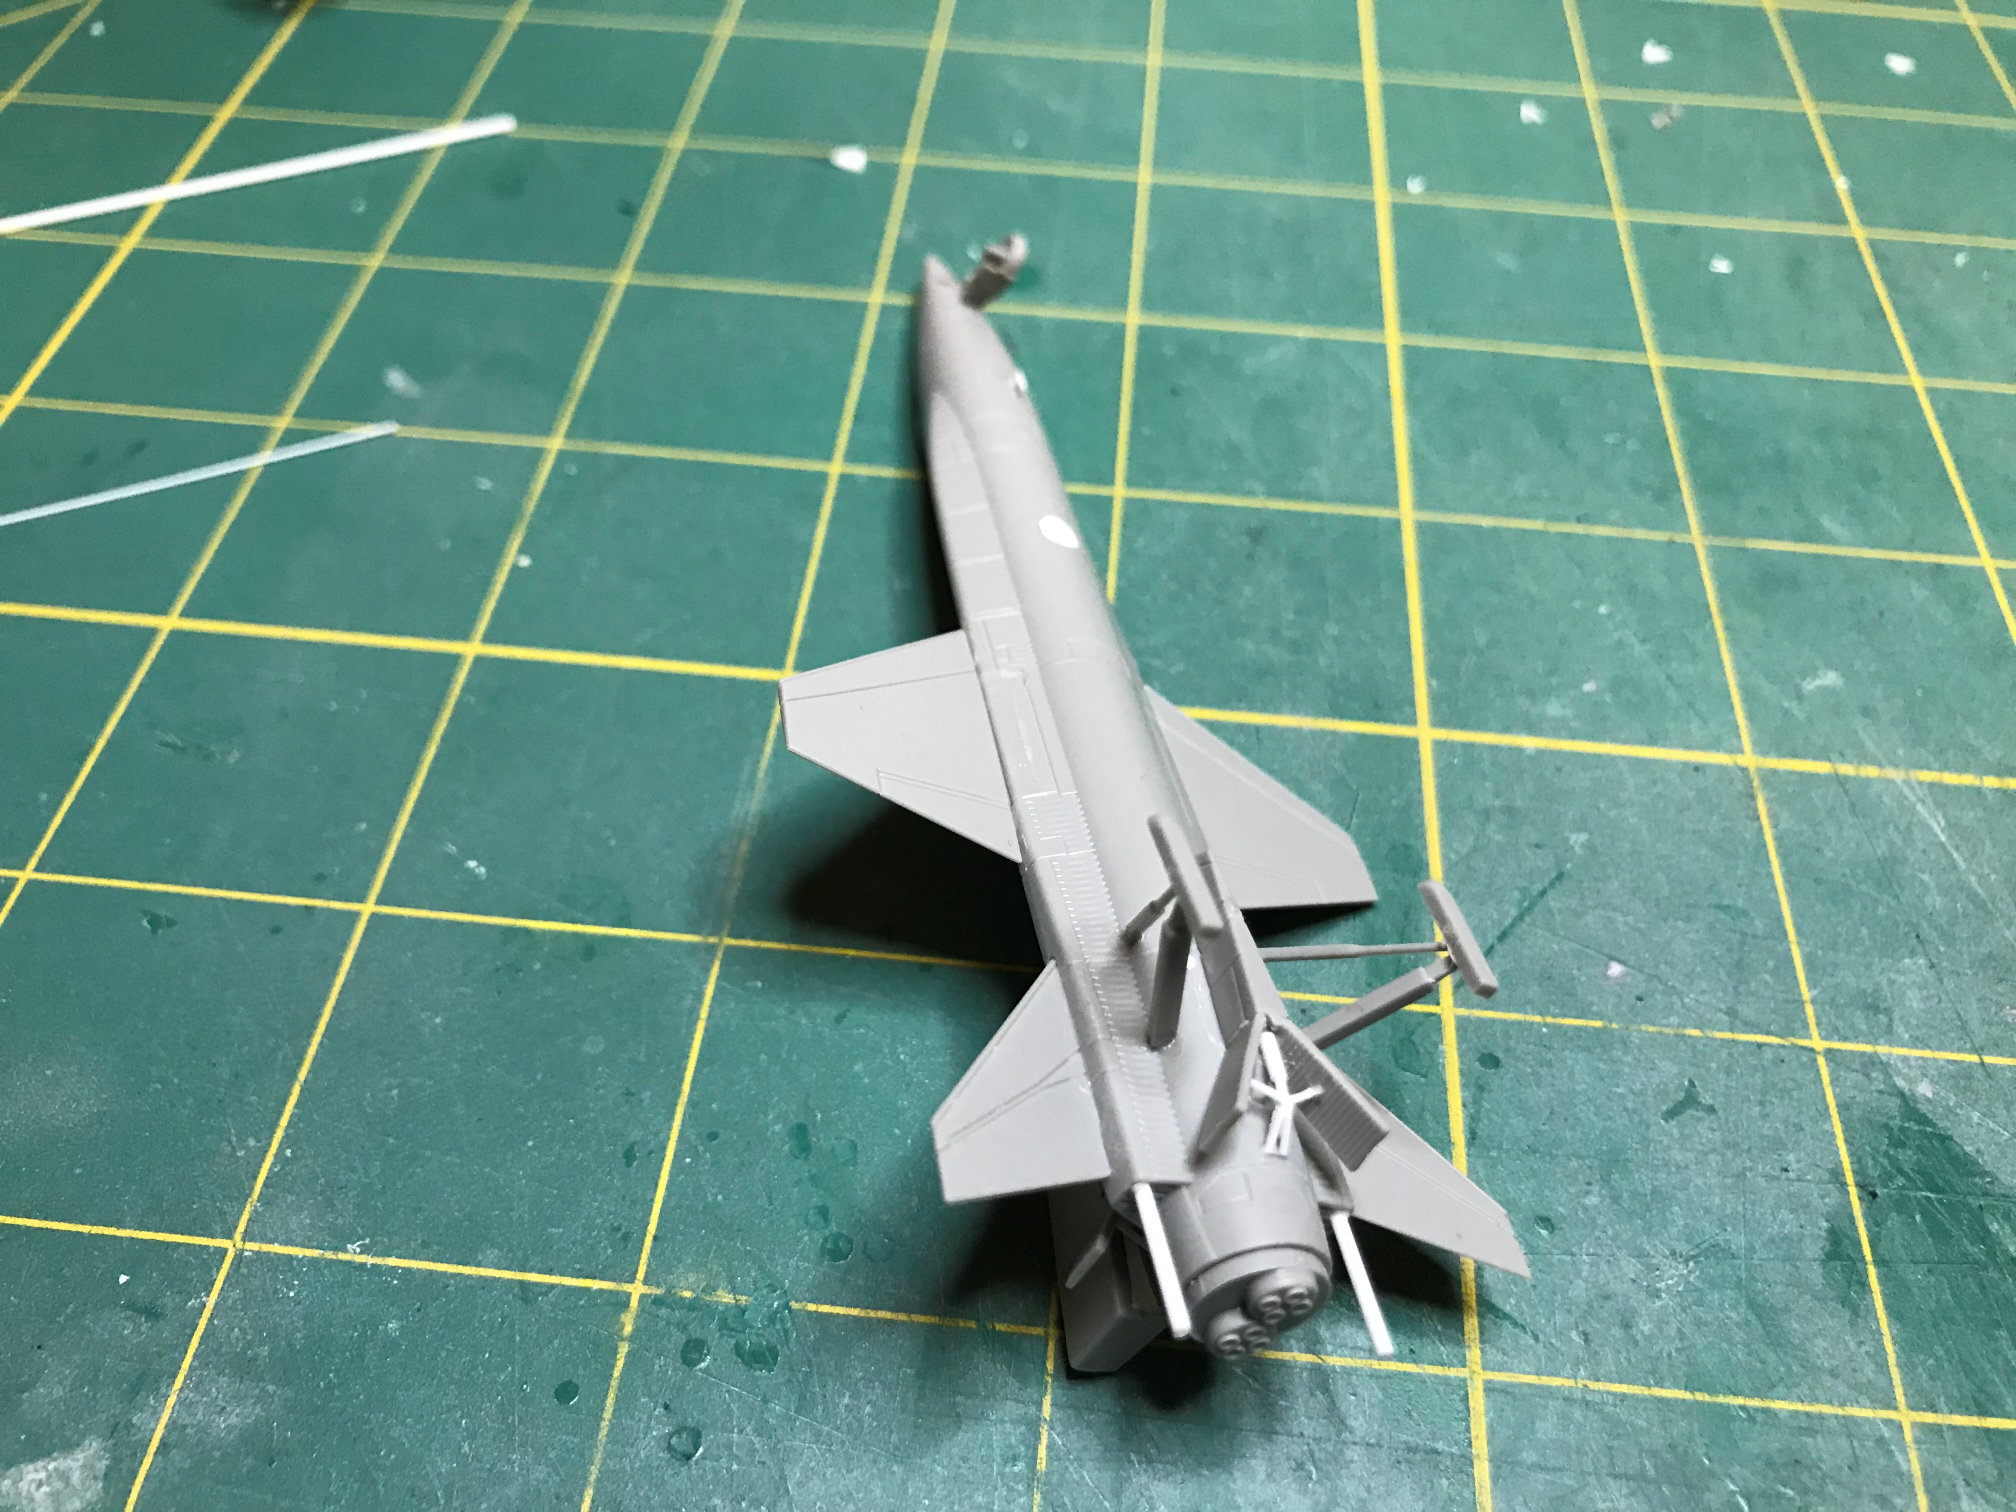
I then glued the air brakes and ventral and dorsal fins to the fuselage. Once they were glued in I added the “V” shaped rocker and the air brakes were done.

With that completed I glued in the XLR-11 engines.

X-15-1 with its XLR-11 engines had different fuel and oxidizer vent ports than when the XLR-99 engine was installed. These were a much simpler part which looked like a simple pipe.

I used .035 tube to represent the XLR-11 fuel and oxidizer jettison ports. At this point I also added the landing gear skids and nose wheel. I also glued on the antennas.
Finally, I glued on the pitot tube and the long needle probe.
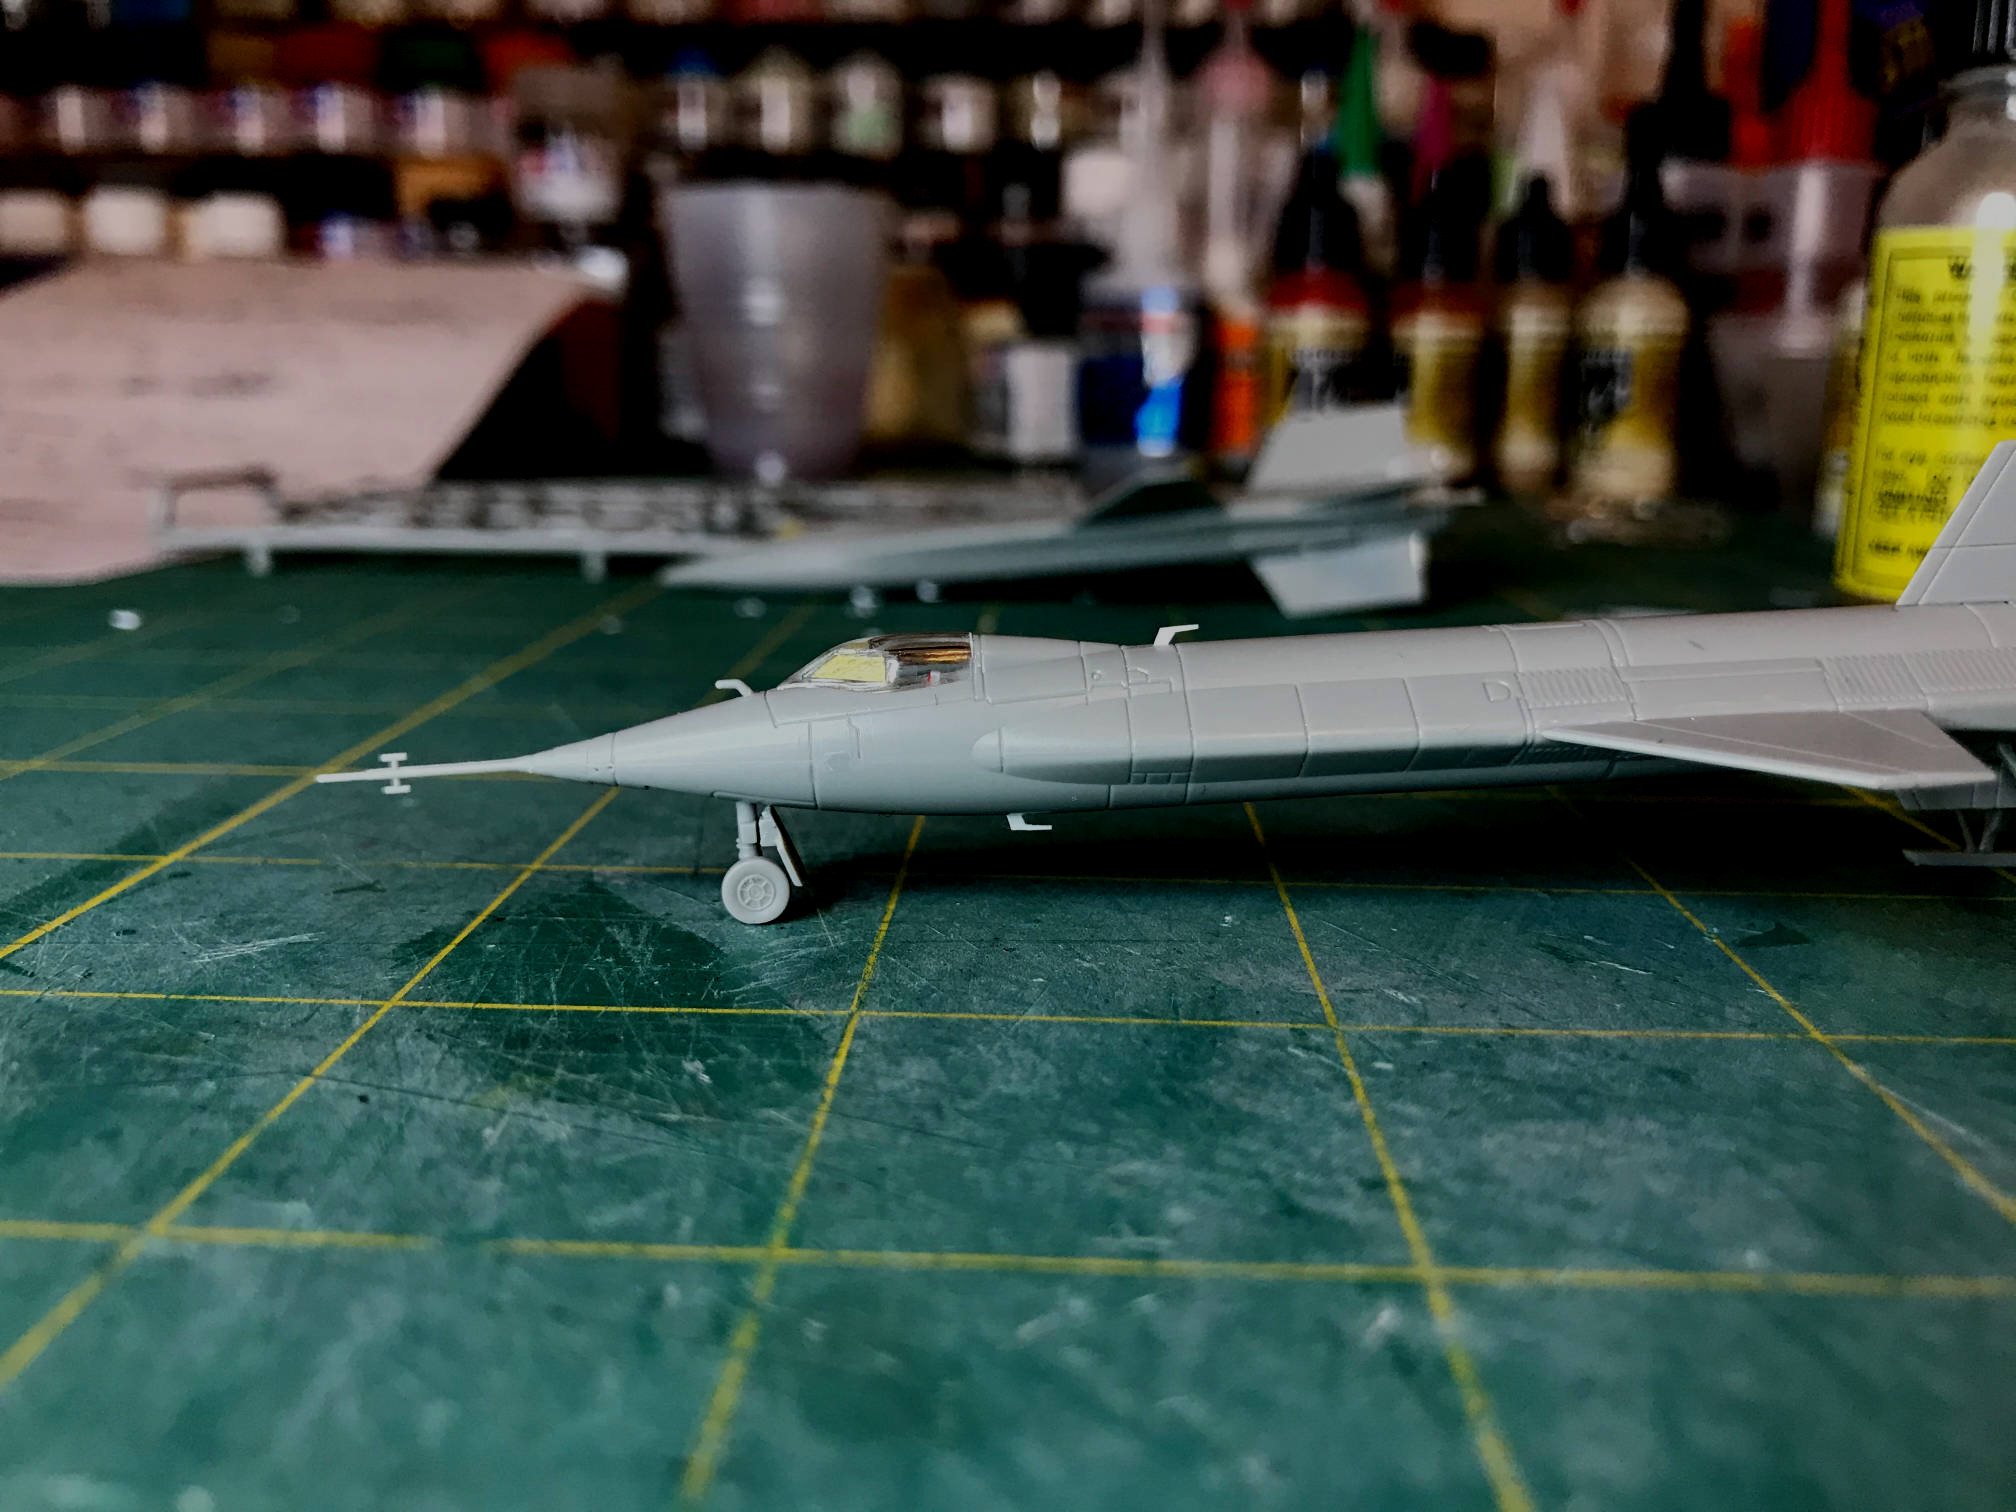
With that X-15-1 and X-15-3 are ready for primer and paint prep.
Thanks for looking, more to come.
