
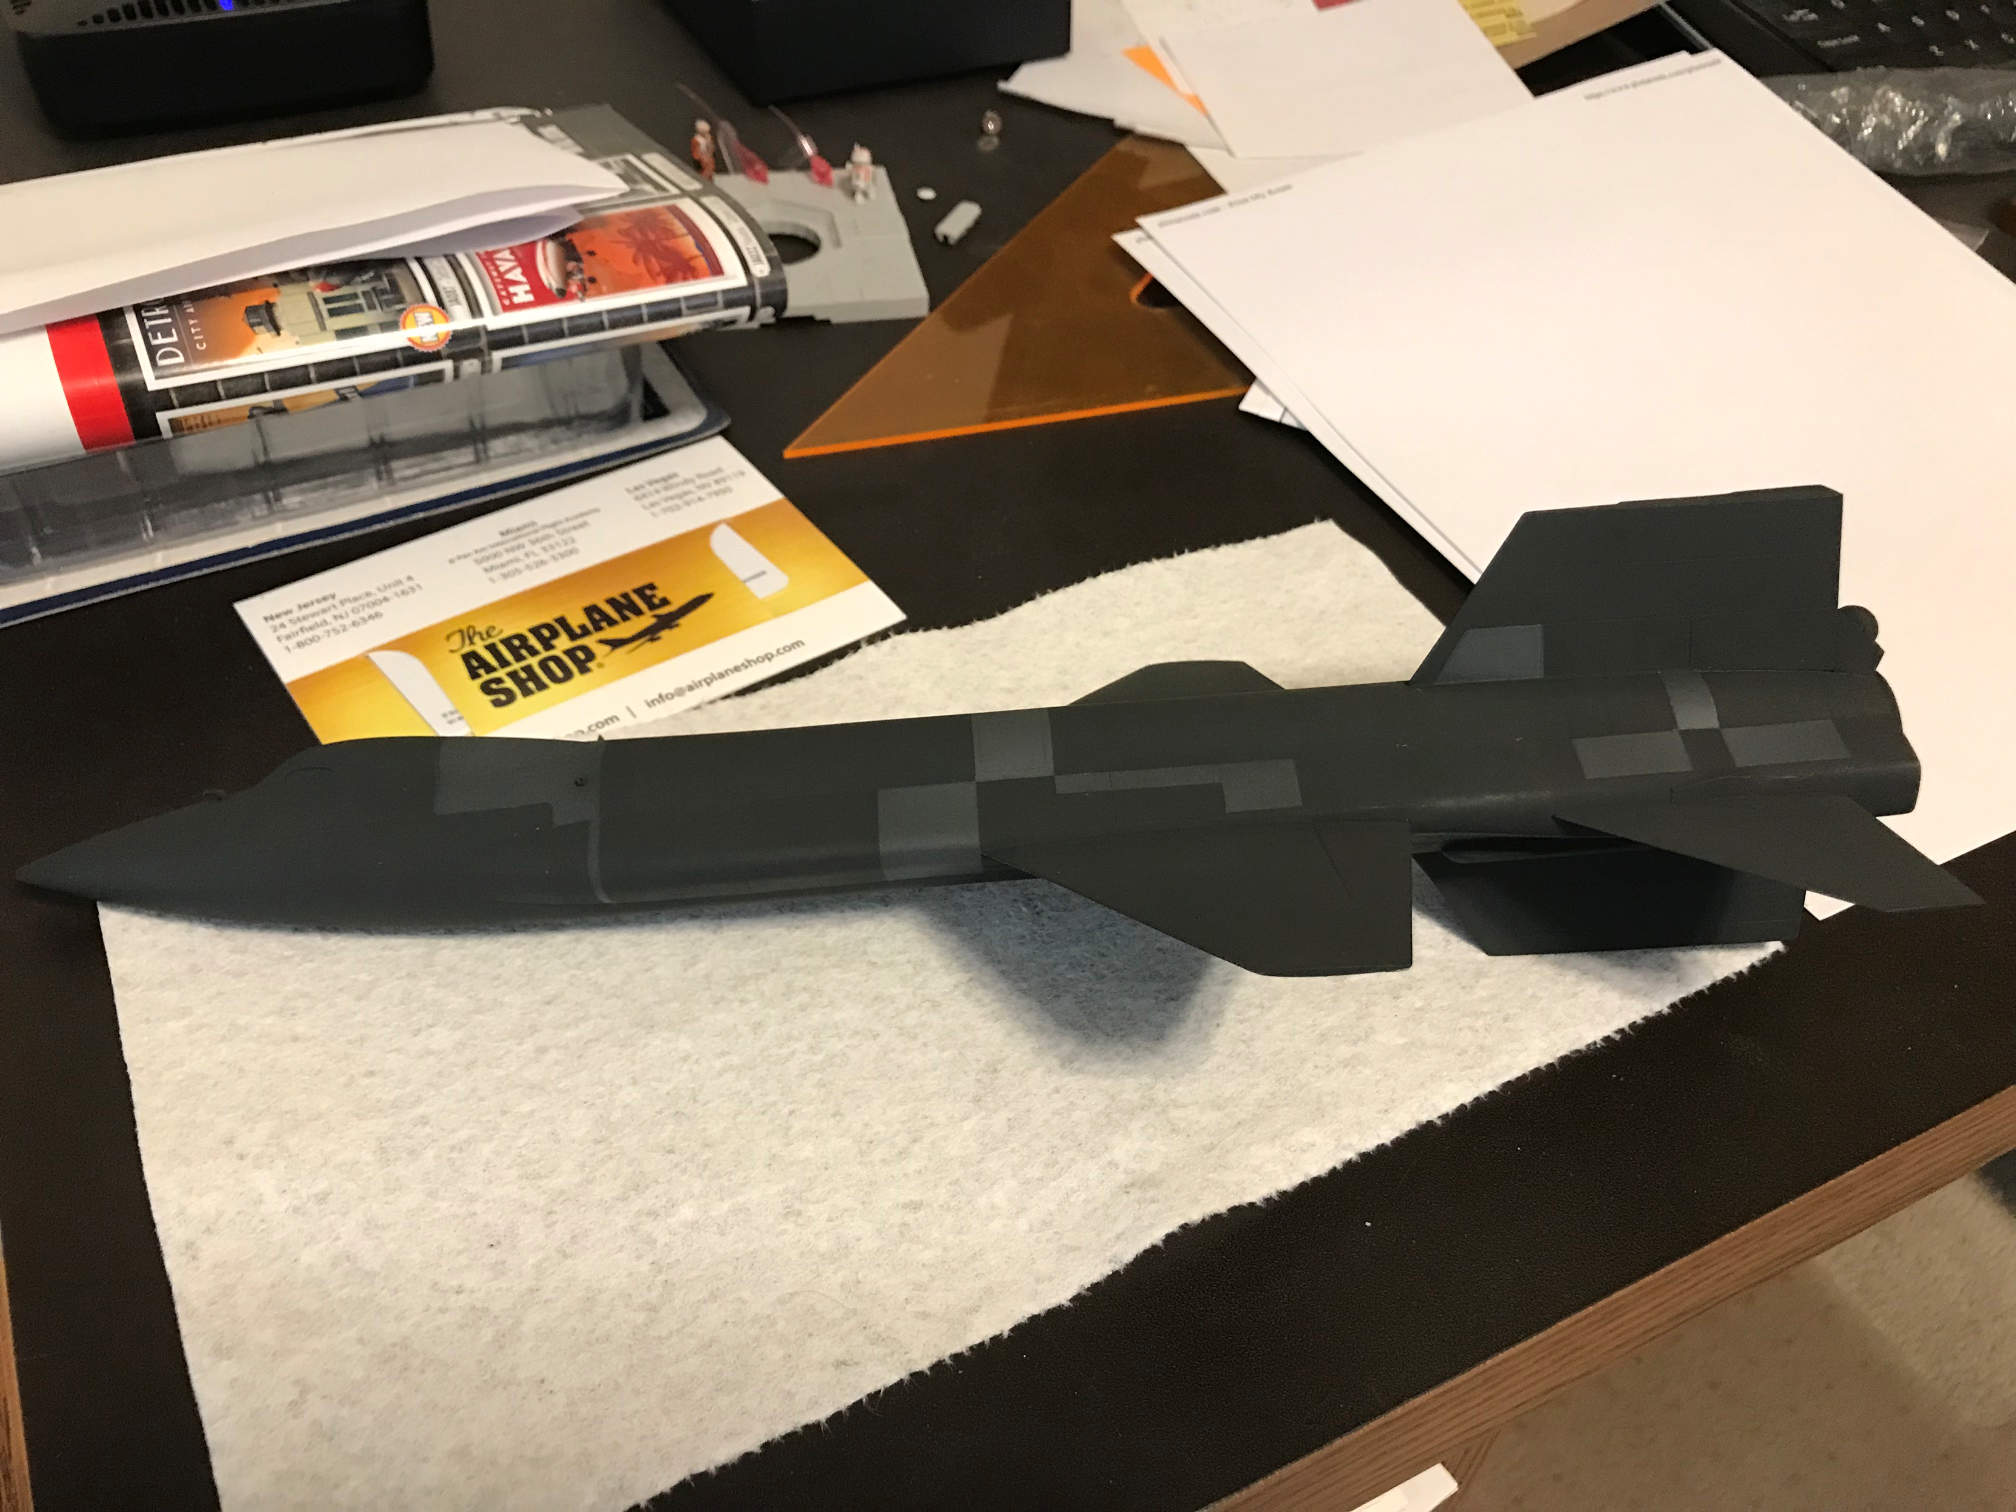
It is time to mask for the slightly lighter Black Gray for some of the panels. I first used Tamiya masking tape to outline the areas and then covered the rest of the bird in more Tamiya tape as well as blue painters tape. I then sprayed on the Vallejo Black Gray. When the paint was somewhat dry I removed the masking.


While the paint was fully curing I moved on to piping the external tanks. I started with the ammonia tank and the pipes that run from the pylon forward. I had to use a straight pin to clean out the holes on the stand offs a bit so the 0.015 round stock would pass through without a lot of pressure.

I chose the ammonia tank first since its piping was a little more complex than the oxygen tank. Several of the pipes need to cross each other on their paths. The scratch built sliver piece of hardware where you see three of the pipes going have holes drilled in them to help in attaching the pipes. I next moved to the back of the ammonia tank to add the piping there.

The back of the tanks have some piping needed to be added as well.
I followed a similar procedure for the front and back of the oxygen tank.


After the piping was done, I then needed to paint the pipes silver. To avoid getting silver on the orange, white and black areas, I put small slips of paper under the pipes while I painted them.

By now the paint on the airframe was cured, so I needed to decide what color I was going to use for the areas that were covered with a test ablator. I suspected that a single color would not match what I thought the color should be. I was probably going to have to mix a custom color. I started by getting a part from my spares box and then painted it with NATO Black. After that had dried I masked off six areas to test different paints. The boxes on the top are from right to left: German Red Brown and Red. The next row down is: Amaranth Red and RLM23 Red. For the bottom row I mixed some Amaranth Red with German Red Brown and Amaranth Red with RLM 23 Red.
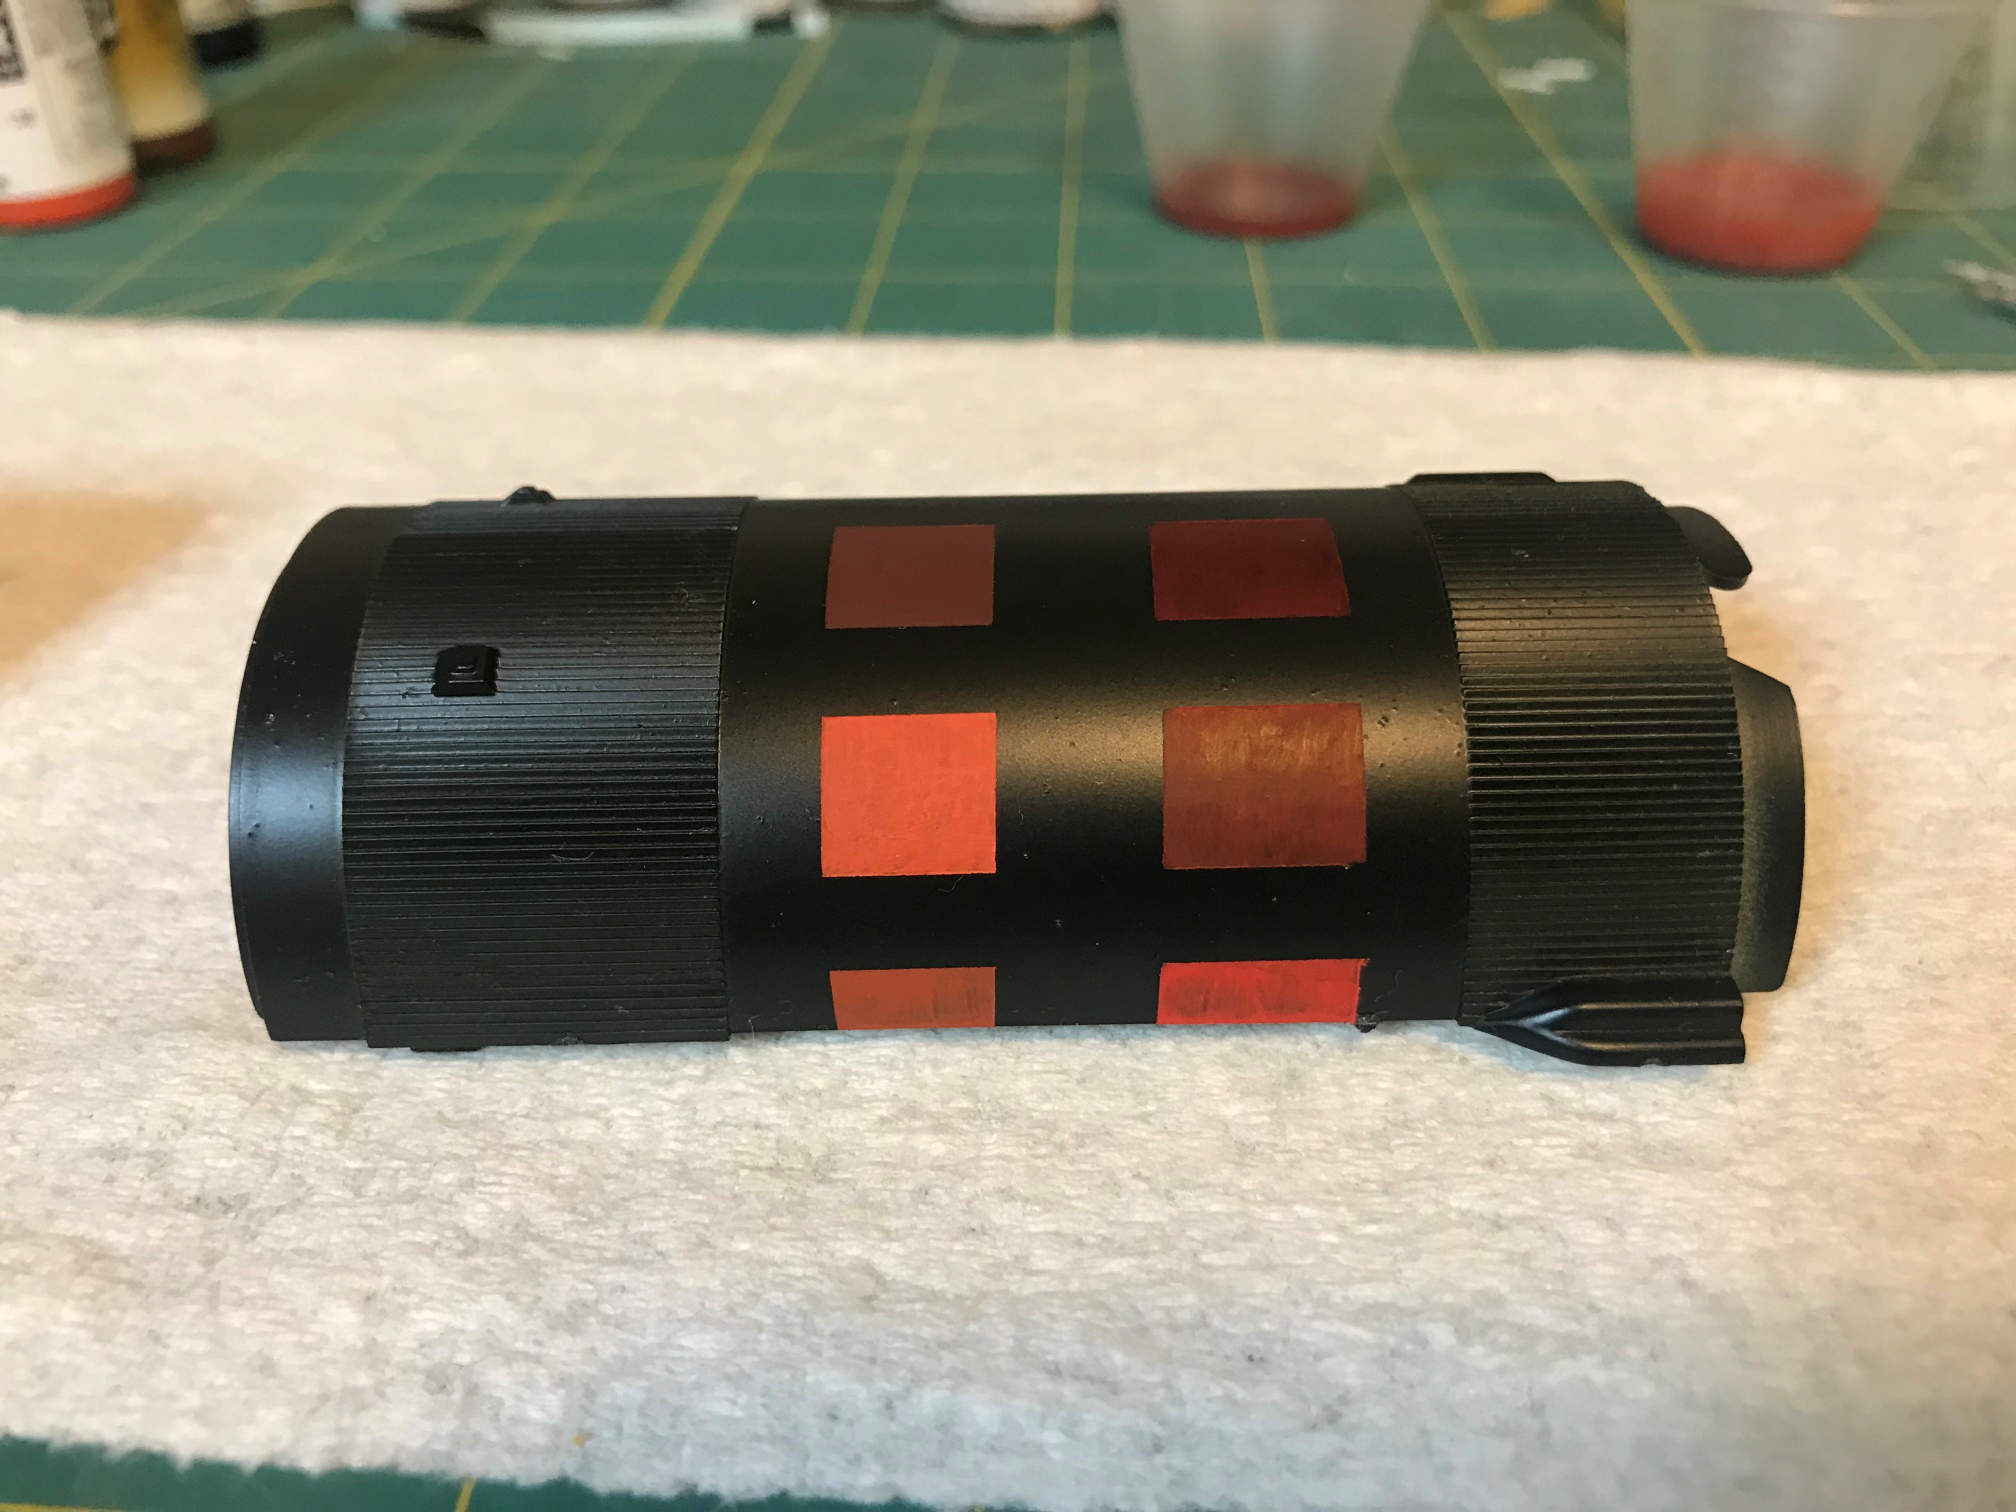
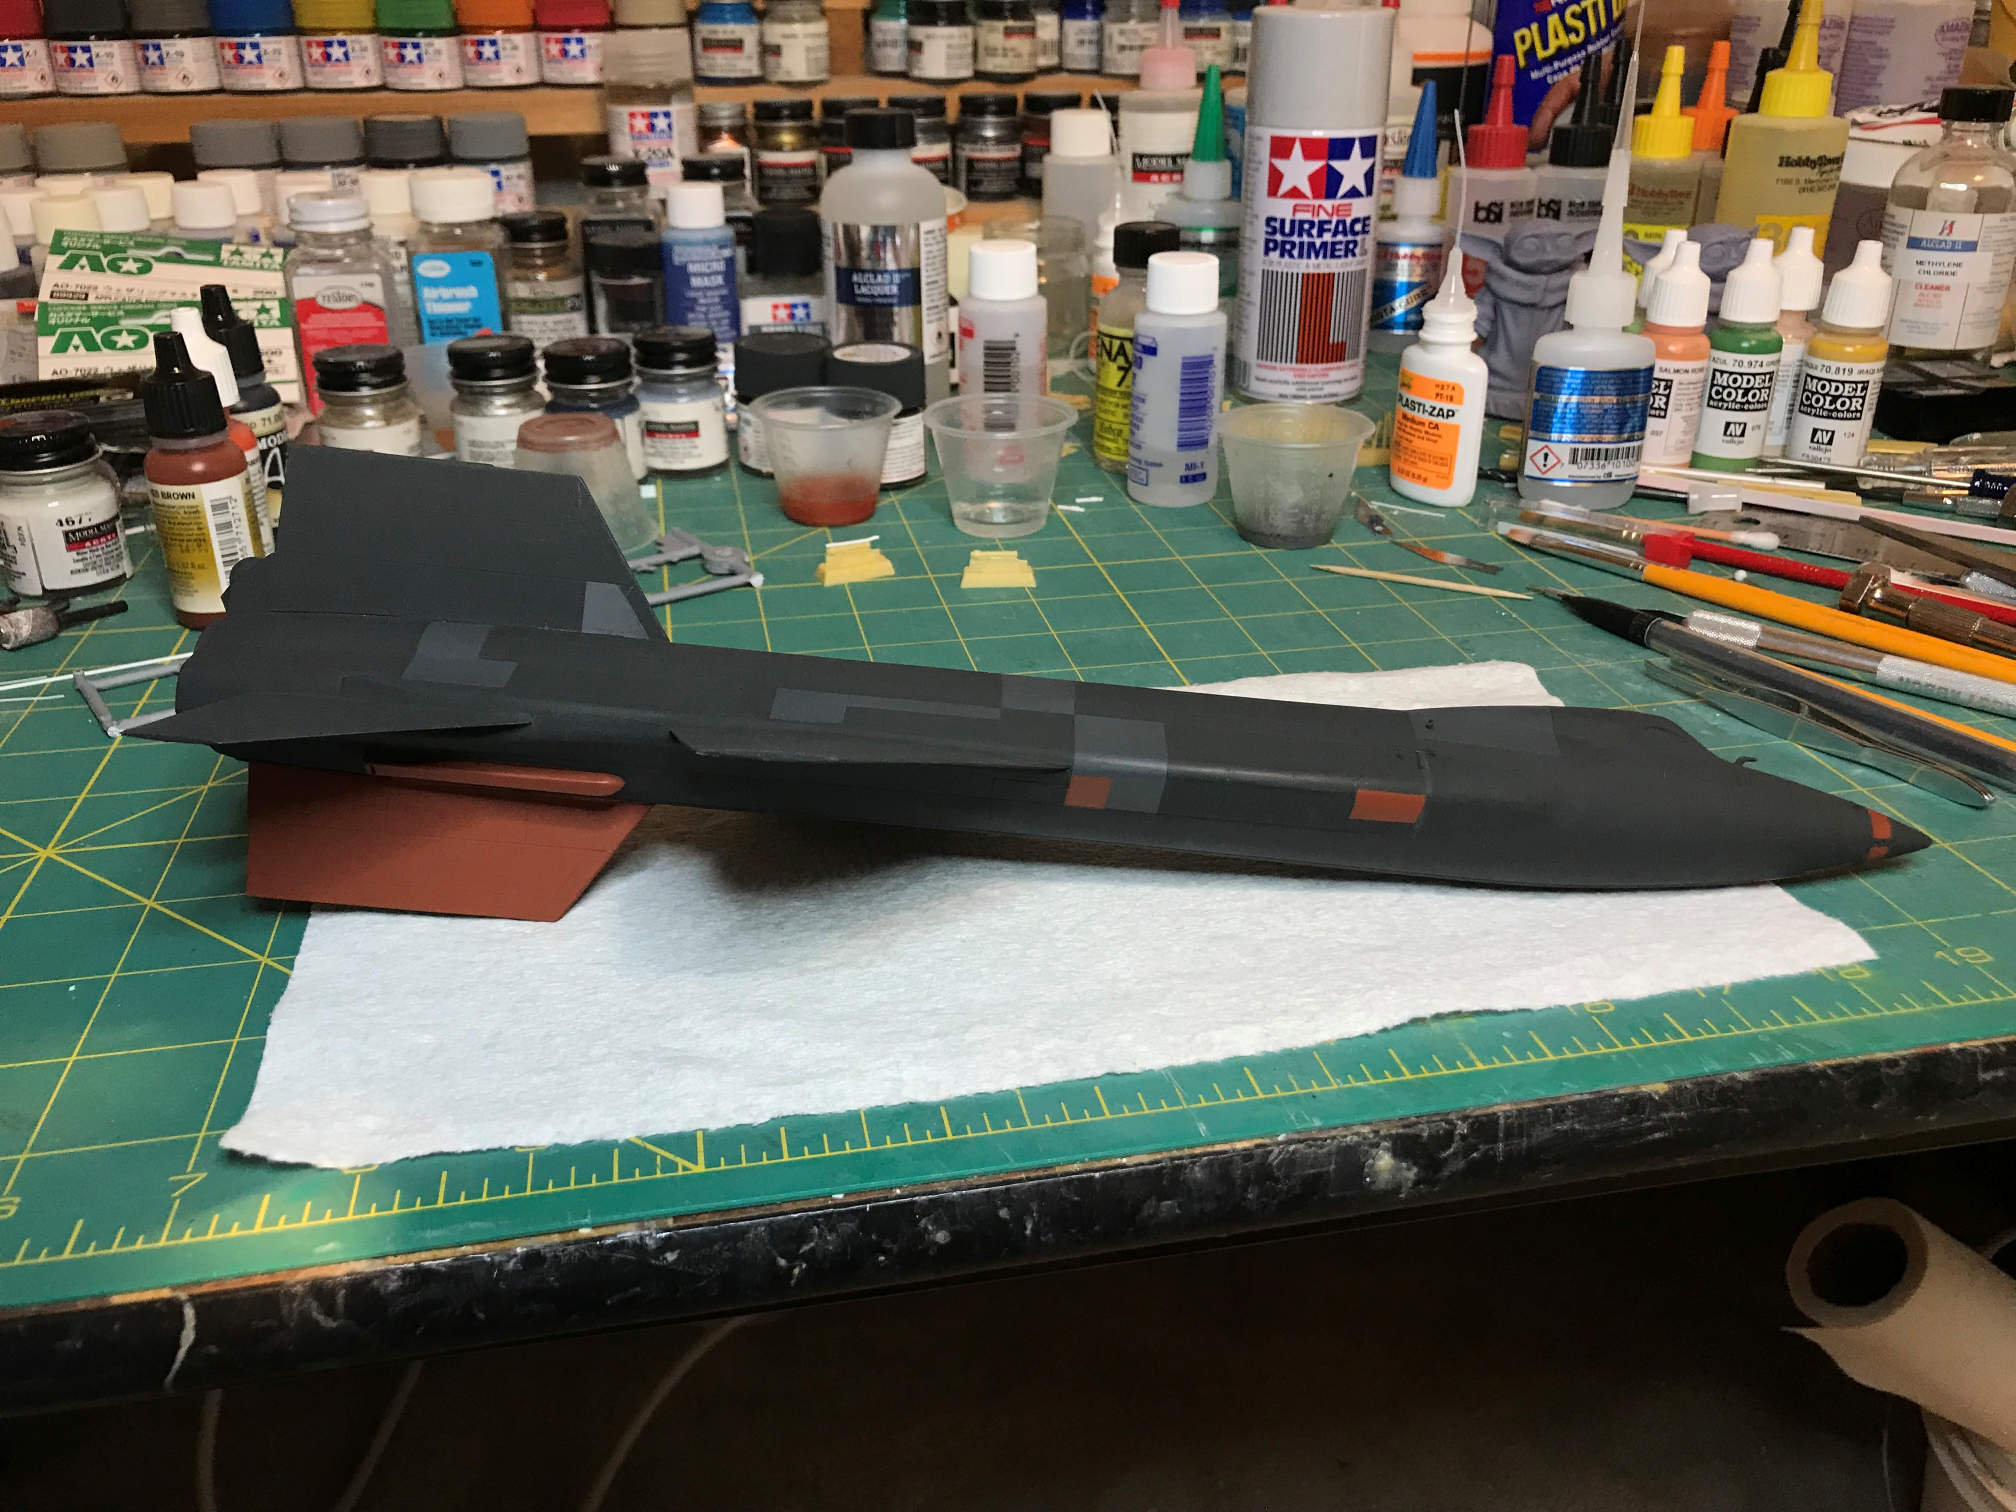
After the patches dried I decided that the Amaranth Red/German Red Brown was the best match. I then started masking the X-15 for the areas that were to be painted the ablator color.

The black area down the middle of the underside is actually already masked for the white stripes so it didn’t need to be masked again. After the paint dried I removed the masking and the result worked out pretty well.


While that was curing I moved to the rear vent pipes and the ventral antennas. You can see that I have already added the third vent pipe to the left hand vents.
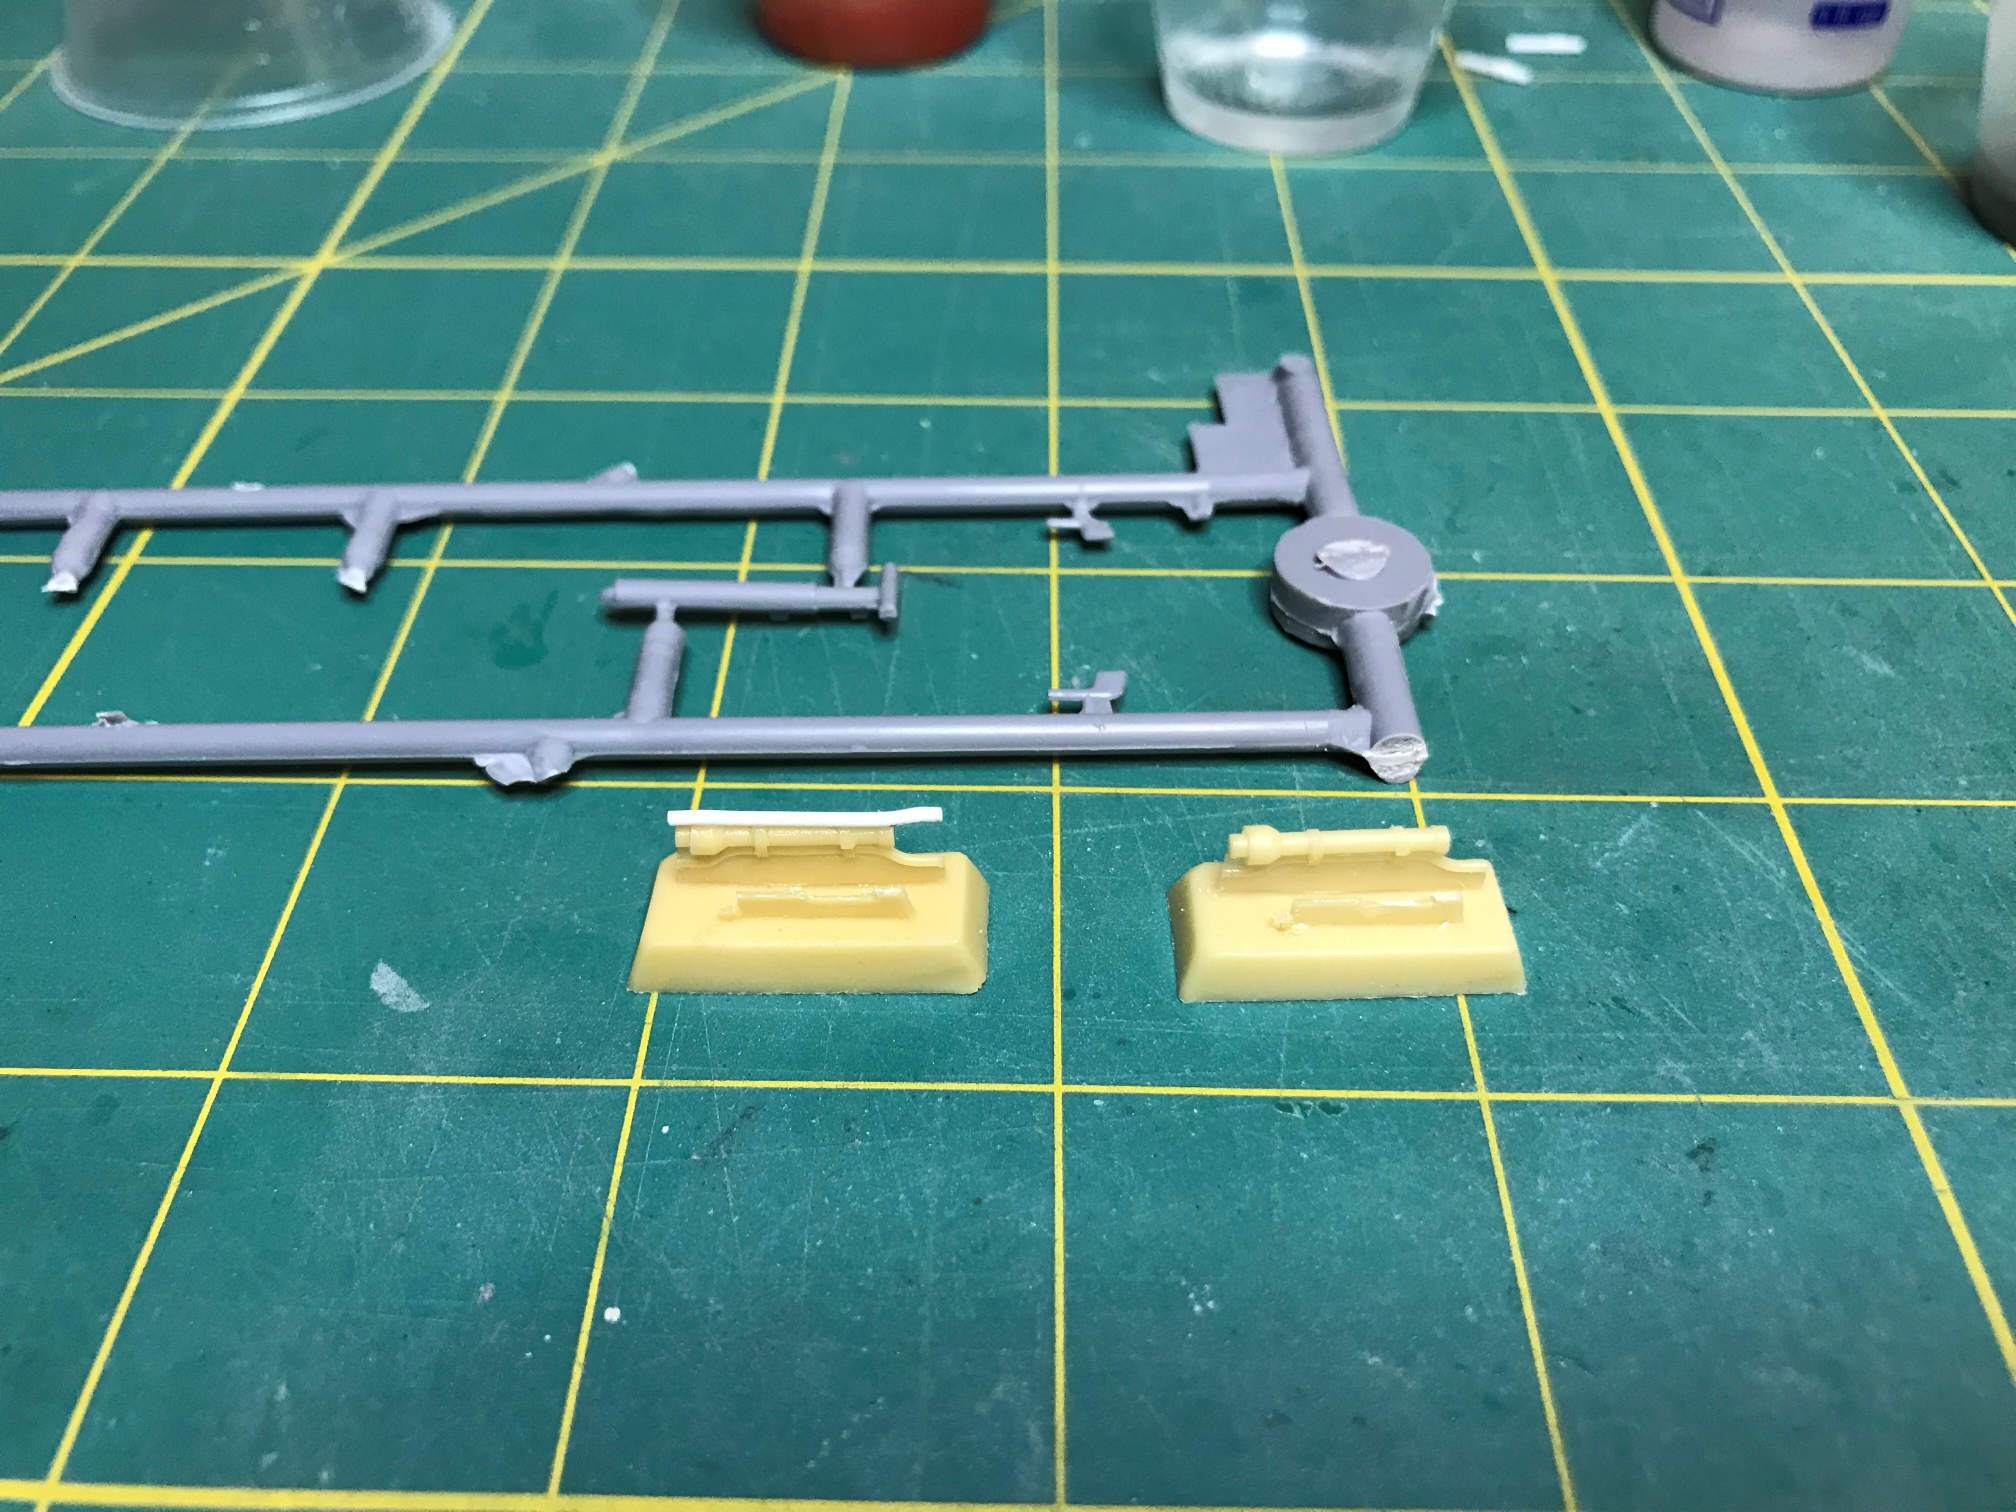
I also needed to thin the antennas where they point toward the rear. The kit part was too thick. It was more like a pitot tube. Here you can see the difference between the kit part (at the top) and the modified part (at the bottom).
I also needed to drill out the vent pipes instead of leaving them as flat ended rods. I also added some straps over the new pipe.

That’s it for now. There are just a few detail bits to paint and then decaling can start on the X-15 airframe. The end is getting close now. More to come. Thanks for looking.
