
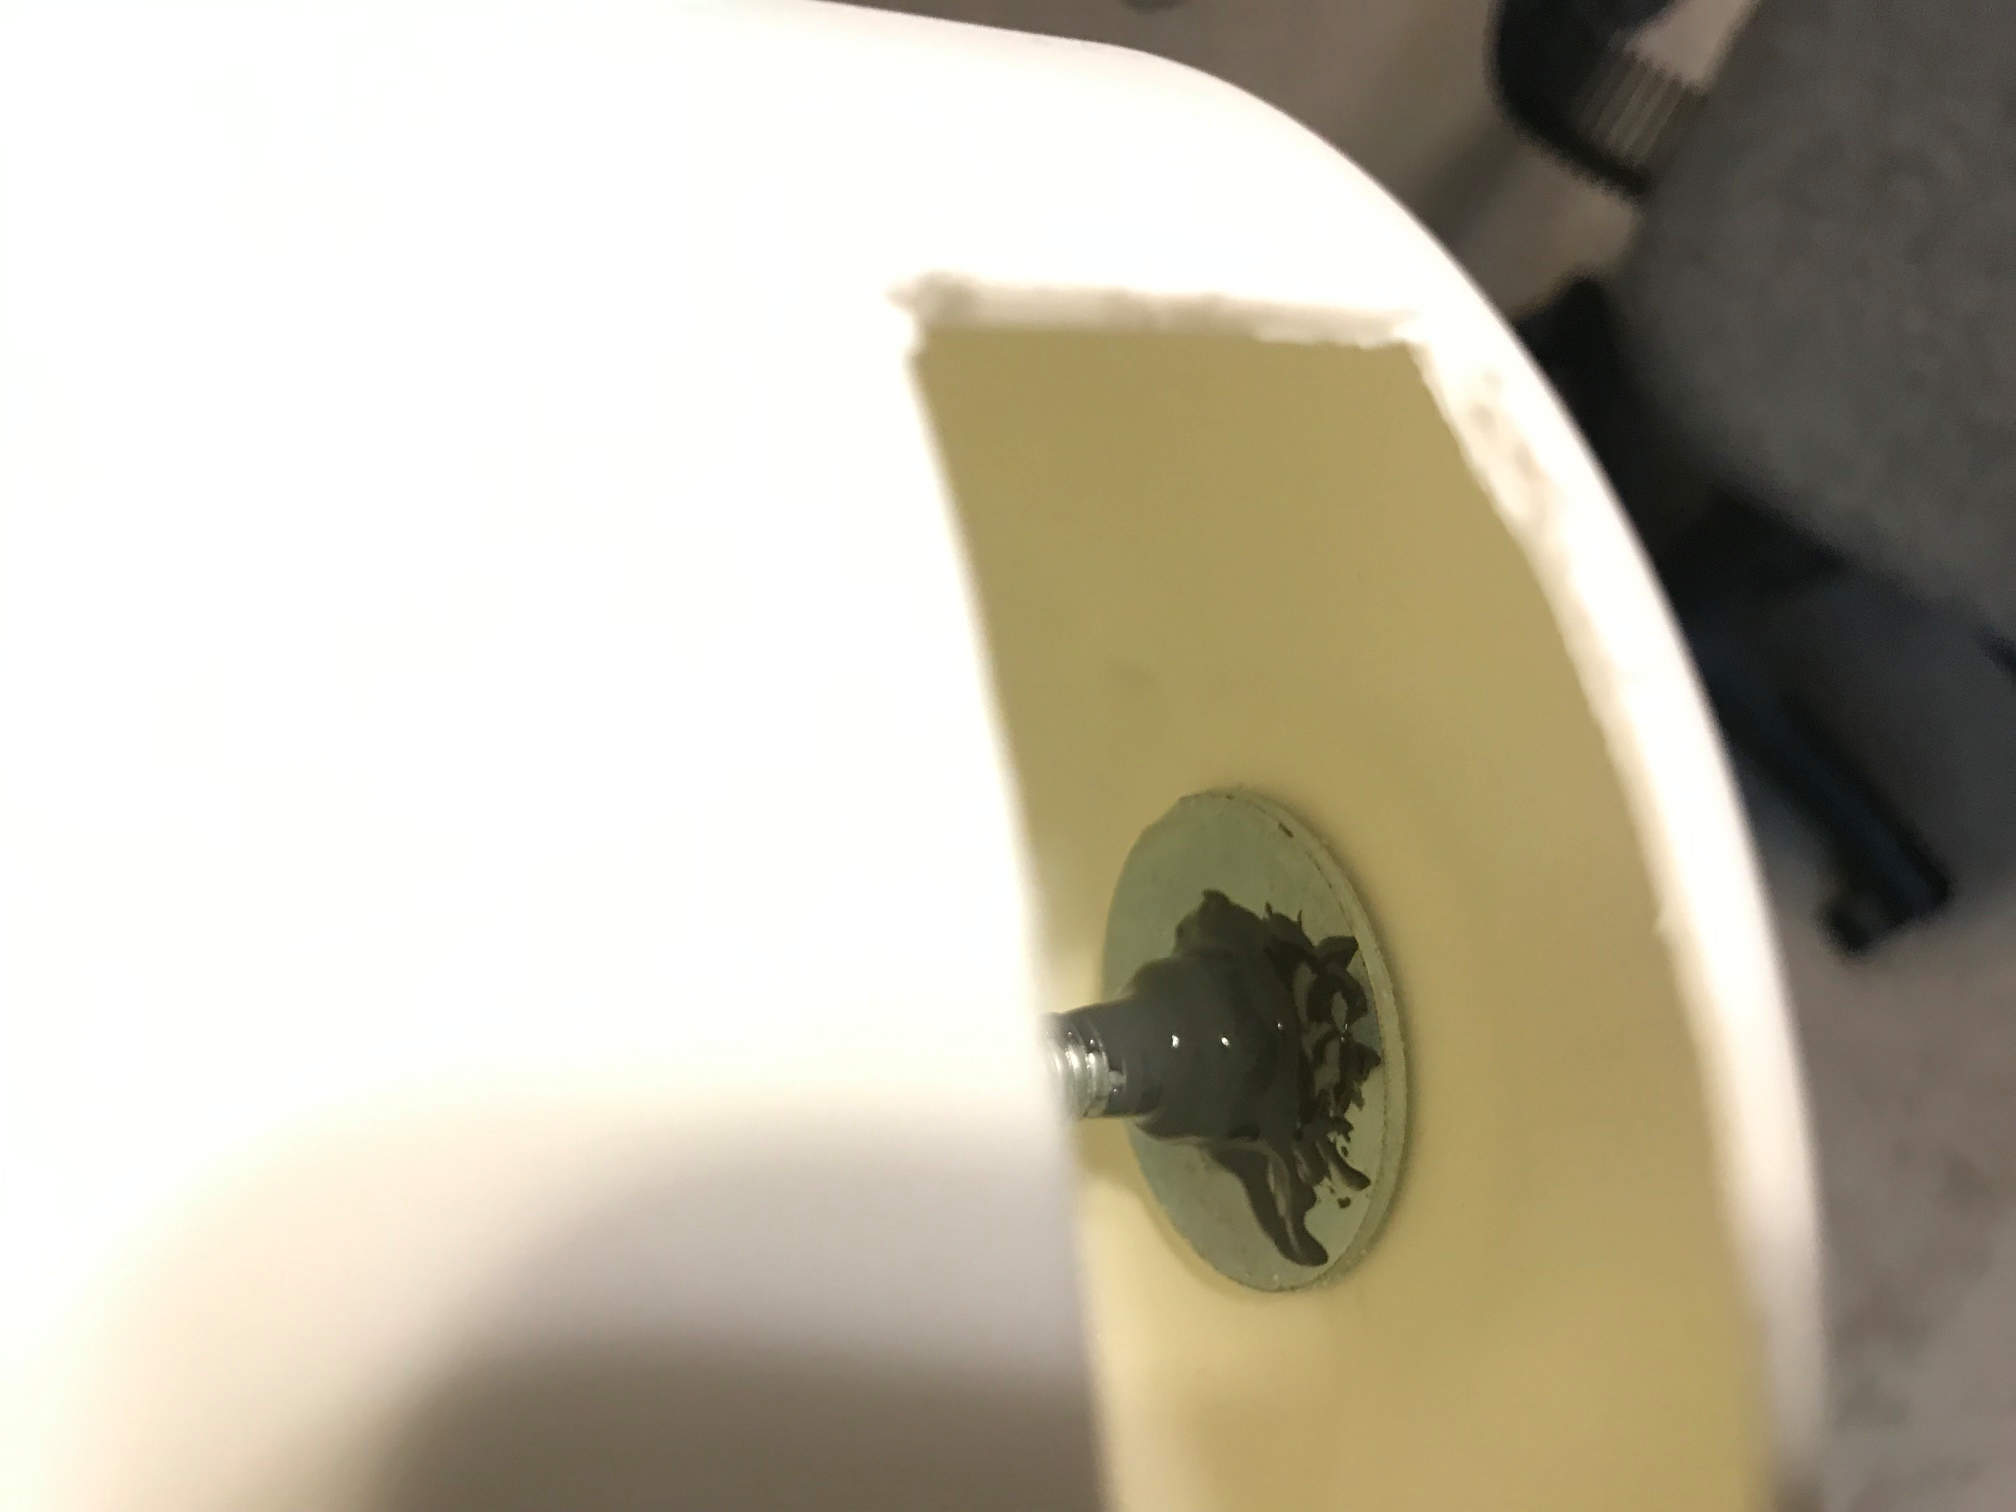
I haven’t done much on this kit lately. If you can call lately 11 months ago! I had many distractions and other life events that caused me to put this project on the back burner. But, last July I did get the nose cone prepared. I cut an access hole in the side of the shoulder and then put an eye bolt through the hole at the back of the nose cone. I then put a nice coat of JB Weld on the nut and bolt to keep them from separating over time.
I also prepped the motor tube to epoxy the Slim Line motor retention in place.

Then it got set aside until June when I finally got around to painting the whole rocket white.

A month later I painted a black band around the tube about 2/3 of the way up from the bottom. I also masked the nose cone and painted a black stripe over the seam.

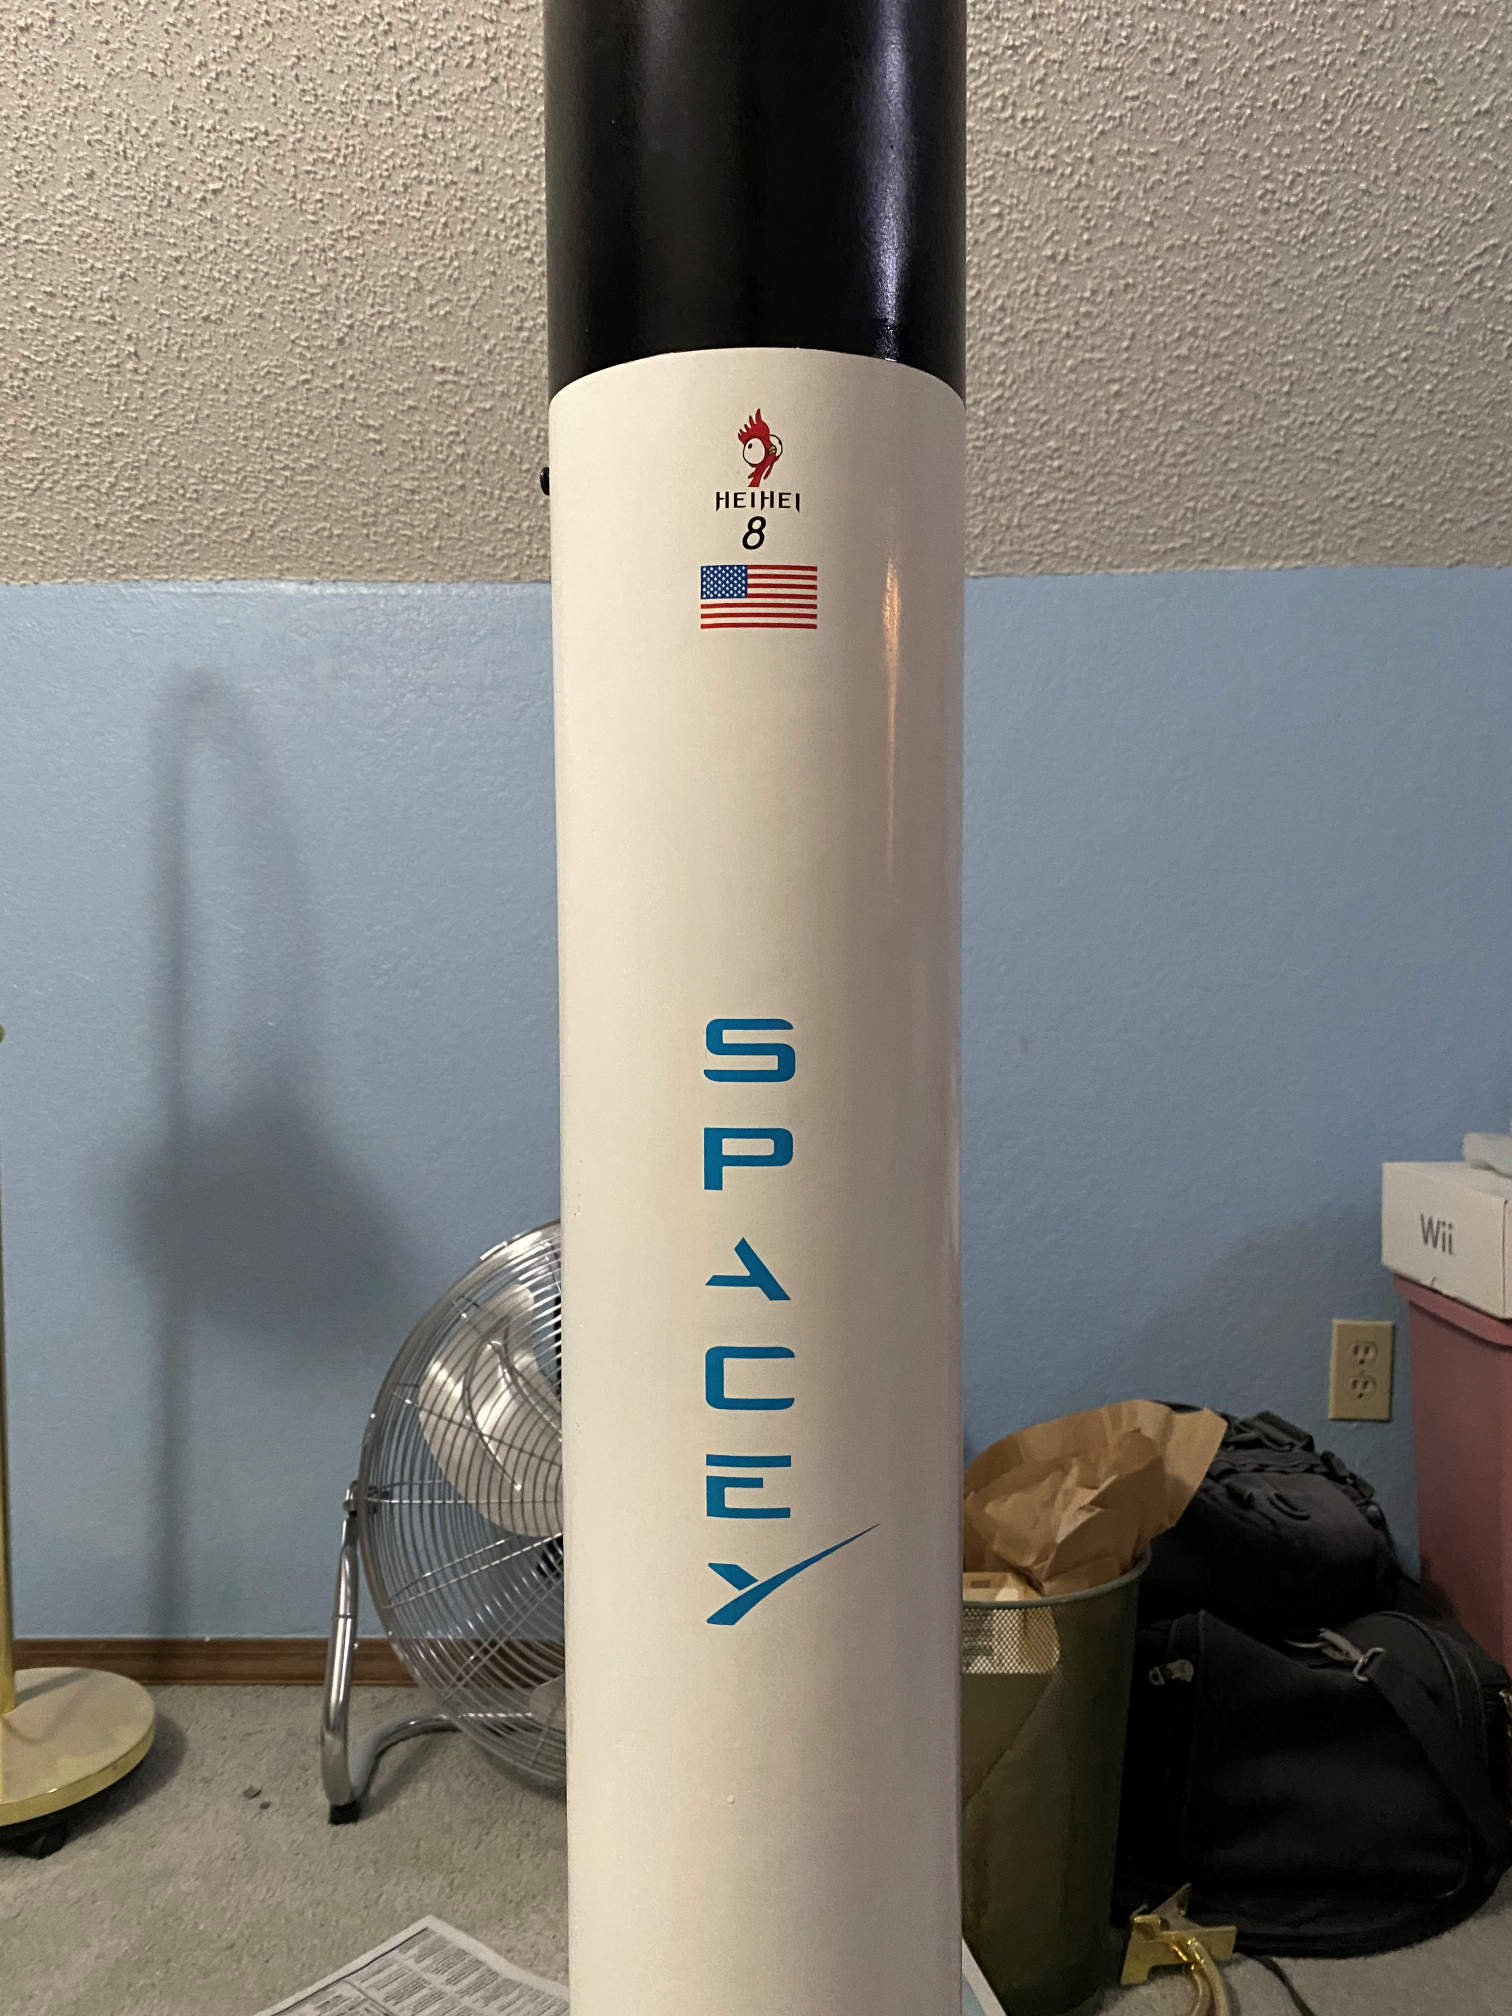
Part of what I did between June and July was to create some decals. I had decided that this rocket would be a kind of spoof on the SpaceX Falcon 9 rocket. The black line on the nose cone represents the separation line of the payload faring. The black band is the interstage. Haven’t gotten around to 3D printing some grid fins yet. I guess that can happen after its first flight.
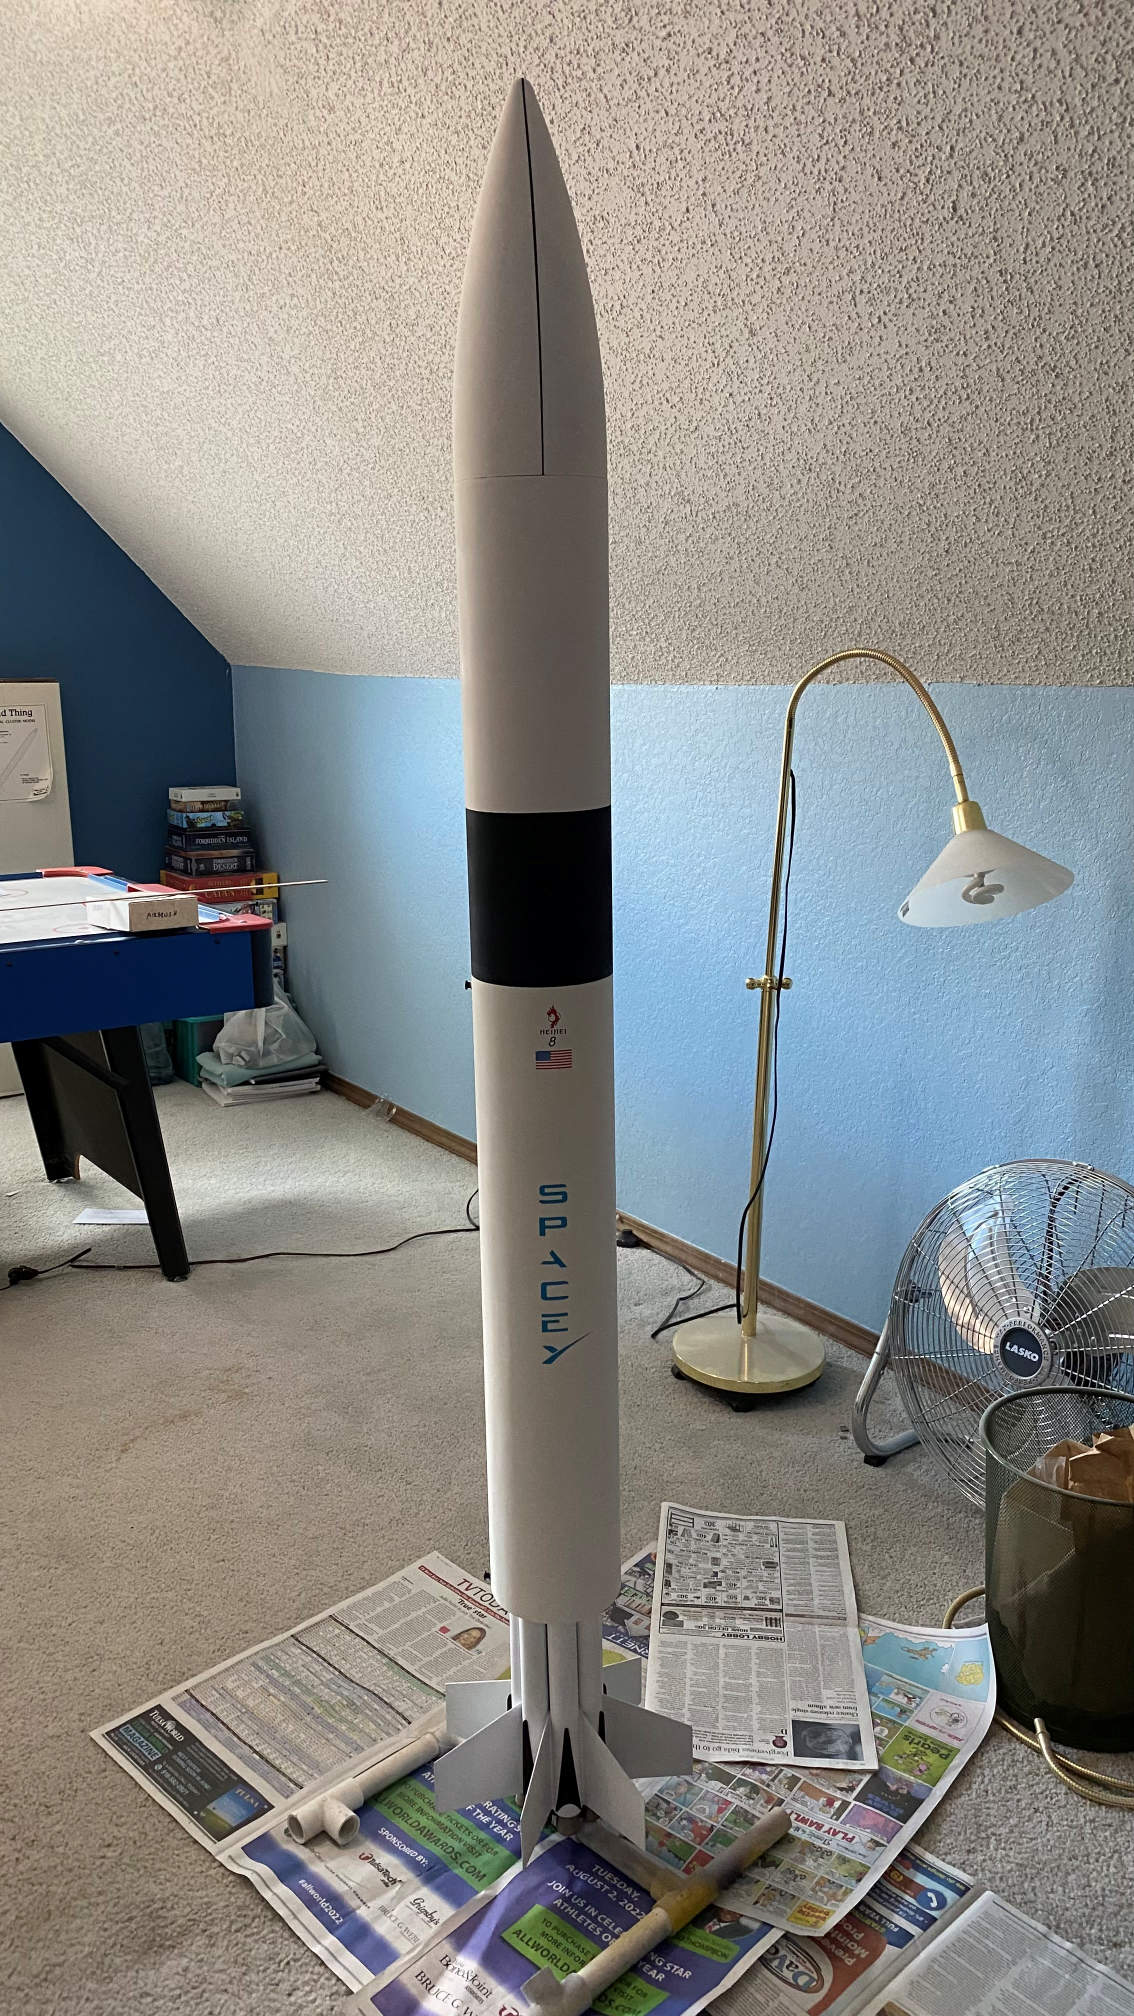
Instead of Falcon 9, this rocket is Heihei 8. Heihei is the stupid but very lucky chicken from the Disney movie Moana. I also used the SpaceX logo and removed a leg of the “X” to make it SpaceY. You can think of it as space-why or spacey which ever you prefer.

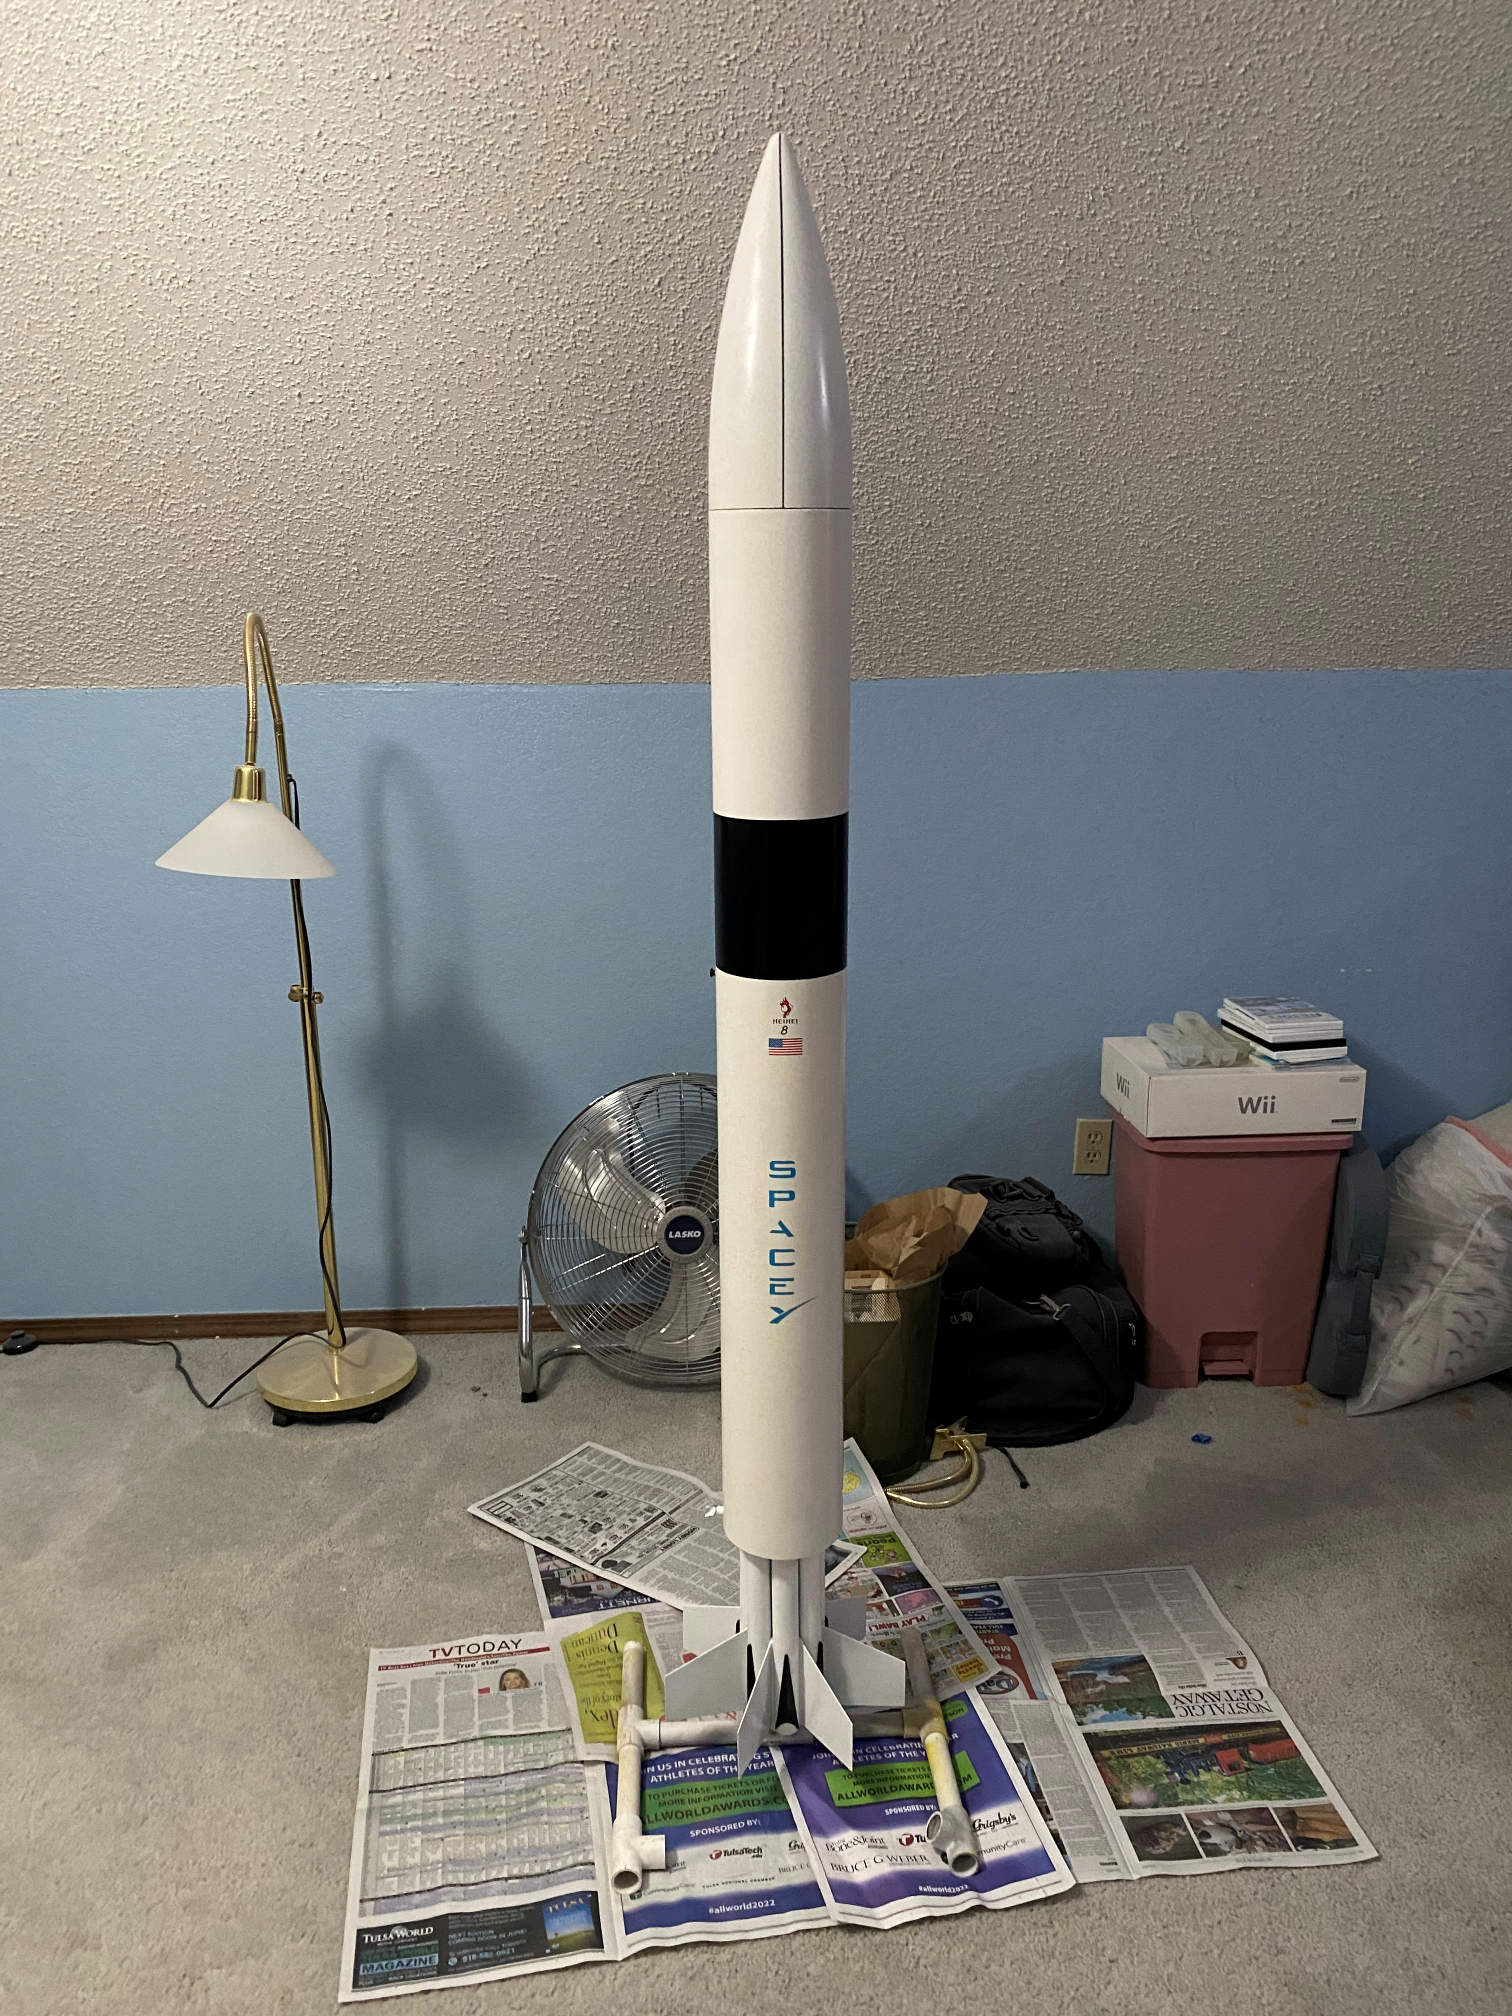
Here is a full length view.
I then sprayed the whole rocket with a clear matte finish. Here is a close up of the base with the simulated landing legs.
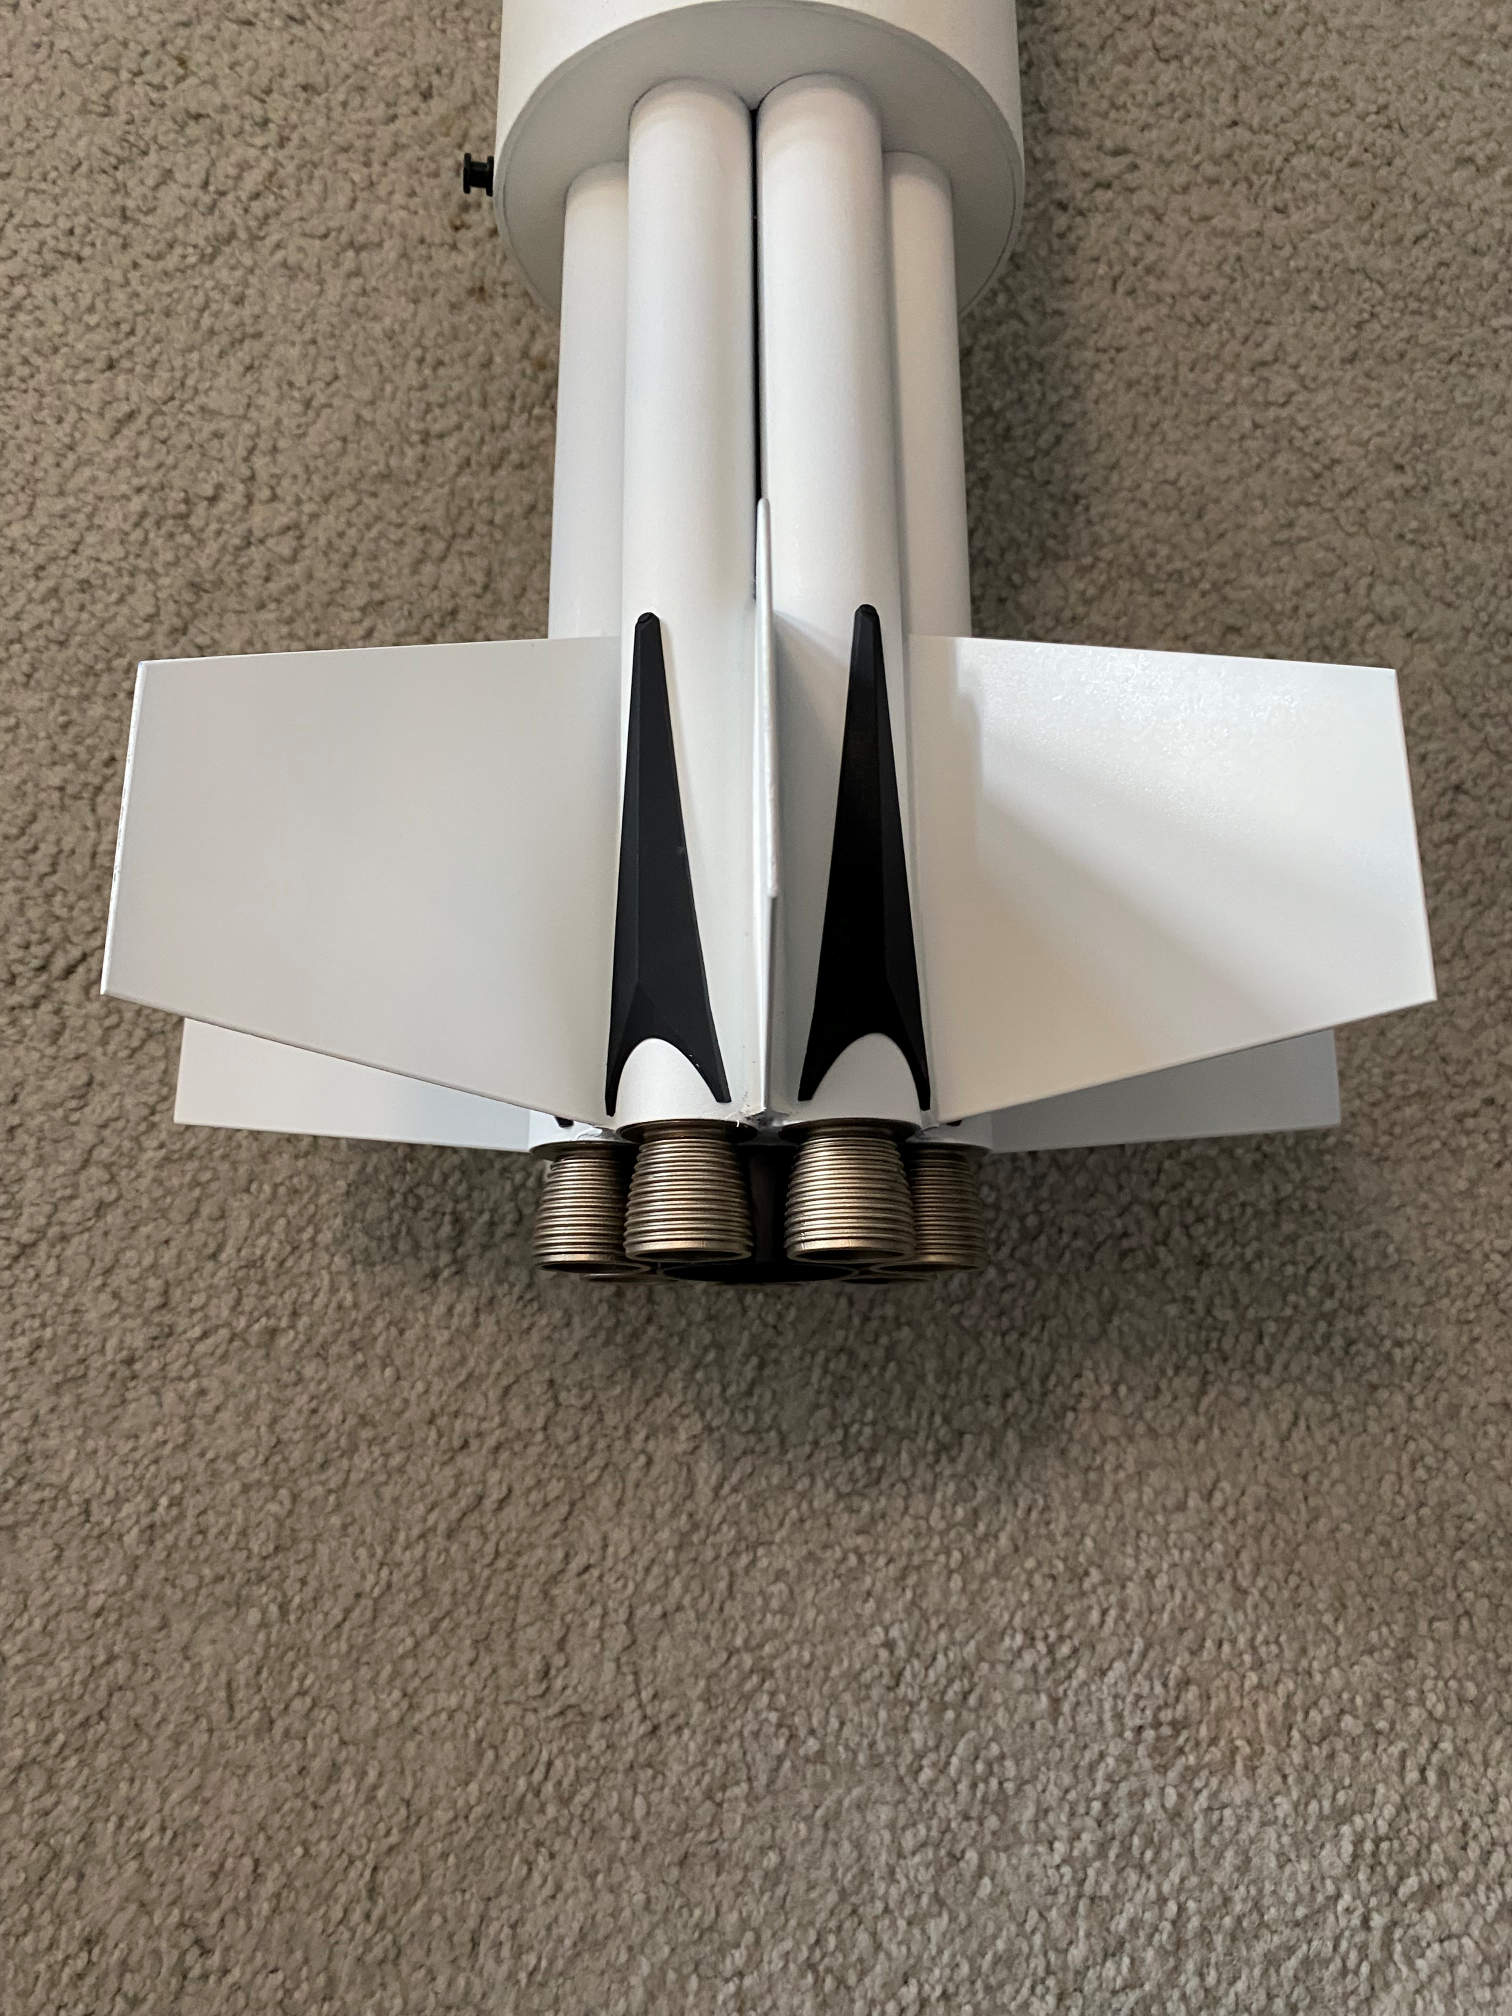
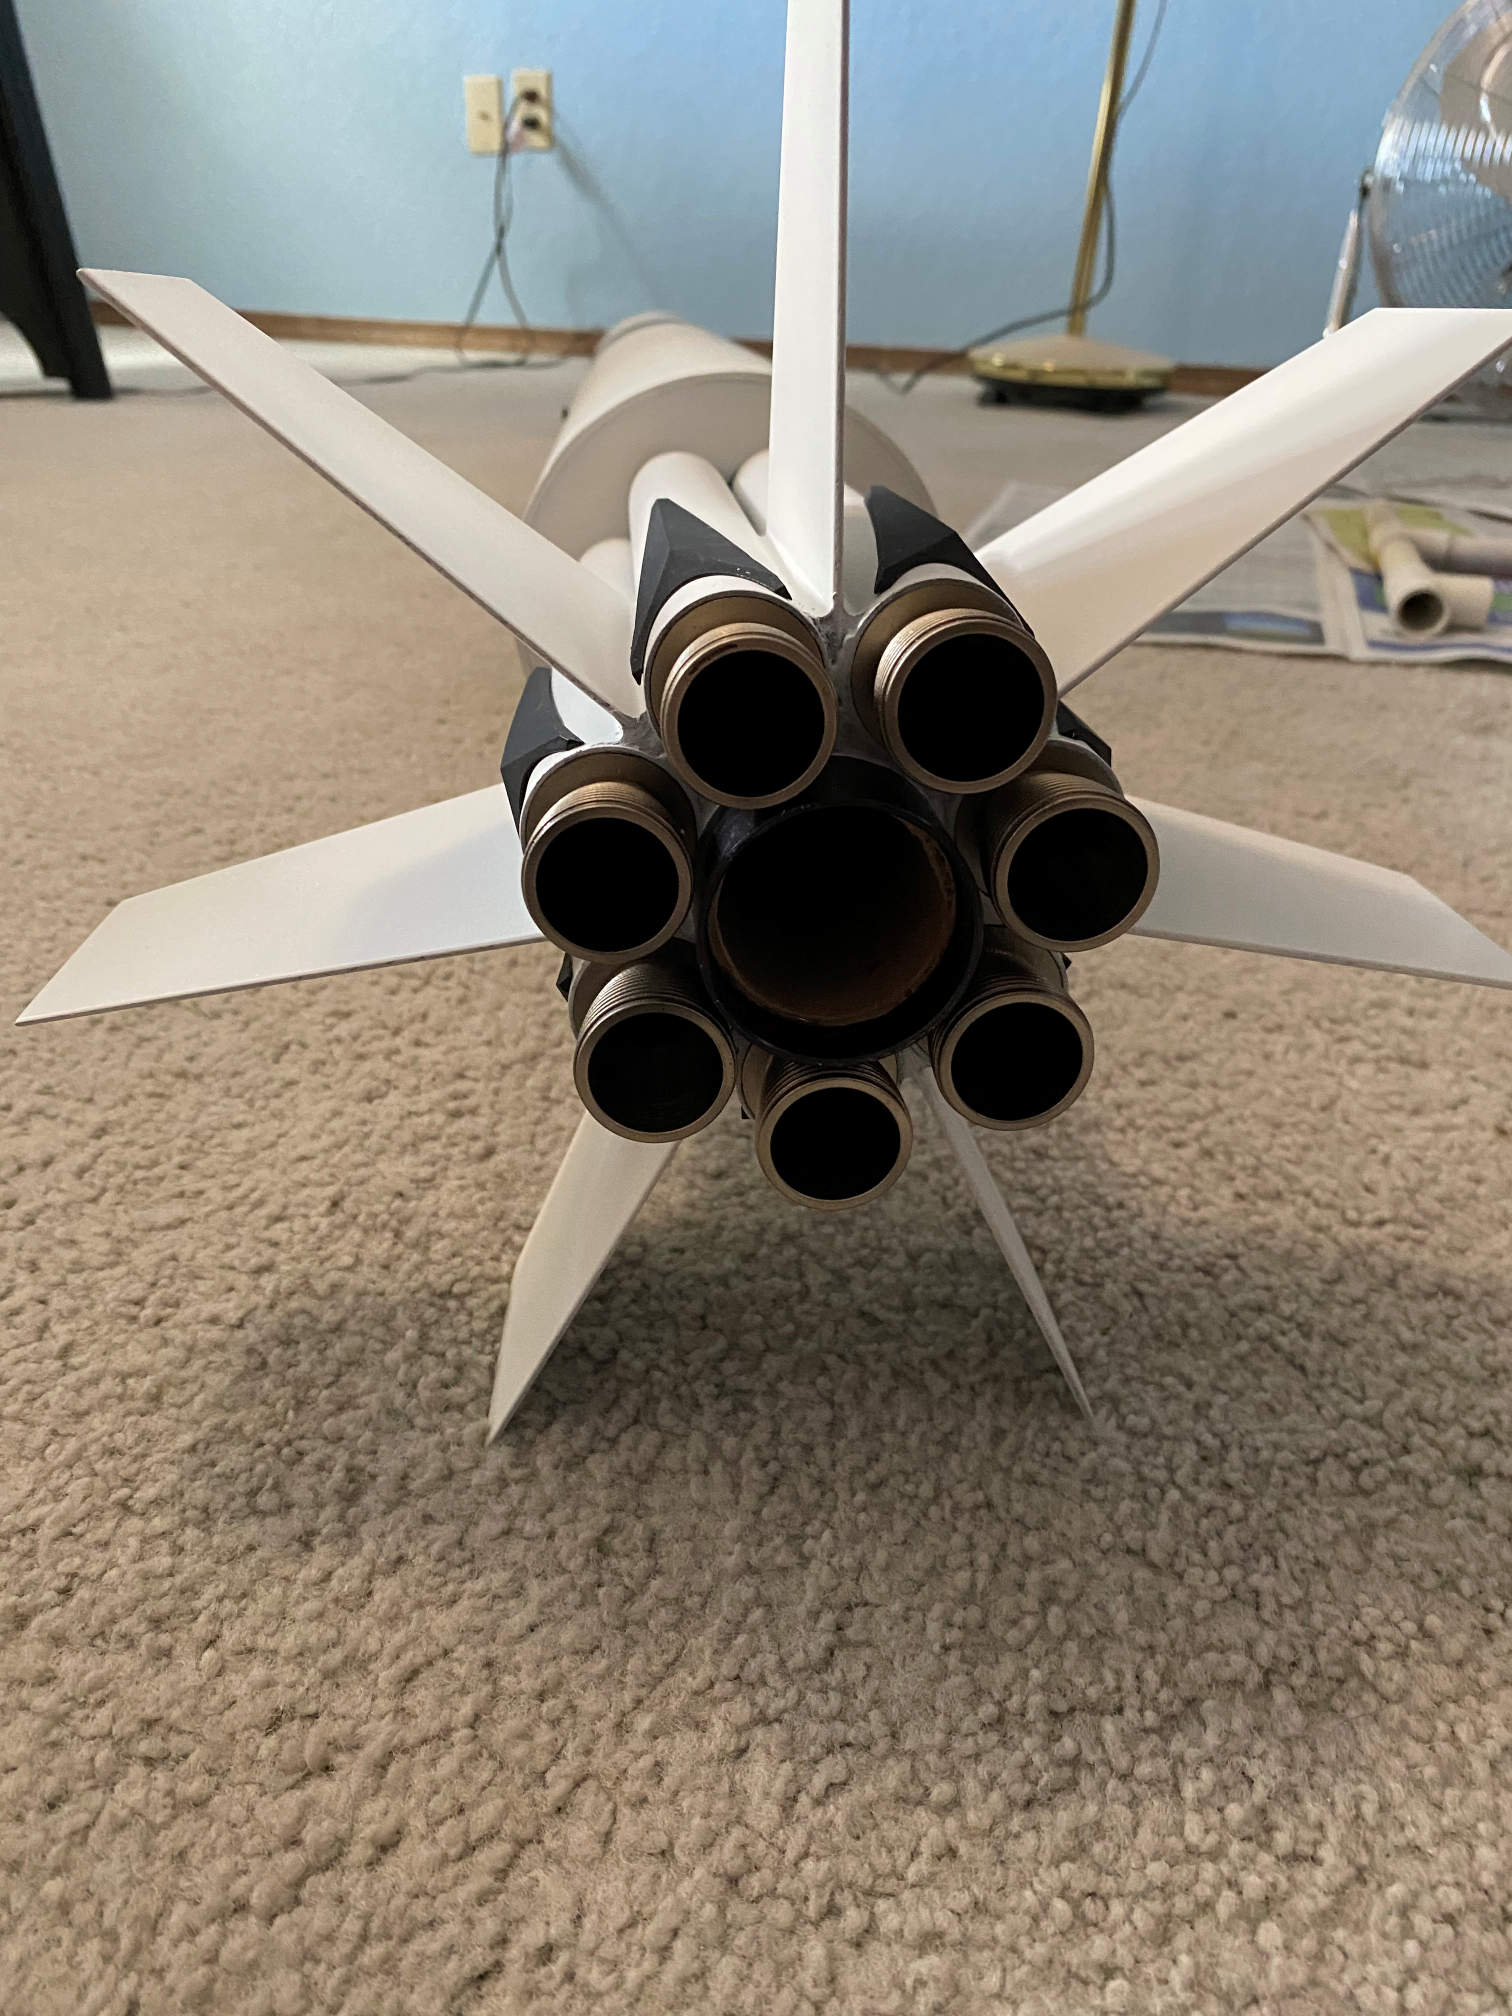
Below is a view of the nozzles from the back.
Finally here is an overall view with the matte finish.
After adding the parachute and shock cord the rocket weighs in at about 7.5 pounds. I’ll use a Chute-Release for parachute deployment. The false nozzles are friction fitted to the tubes. This way when the rocket lands under chute it hopefully won’t damage the end so much as just push the nozzles into the tubes. I can then pull them back out. It will also make it easier to replace any damaged nozzles since they are not glued in place. That’s the theory anyway. We’ll see how it works out this weekend when it will make its first flight.
Here is a photo of myself with the rocket after setting it up on the pad.

The conditions on launch day were great. Very light wind and almost no clouds. The I161T boosted it quickly to altitude and I had shortened the delay charge just right and the ejection charge fired right at apogee. The Chute Release worked perfectly opening the parachute at about 500ft. I could tell right away that I should have used a bit larger parachute. It was coming down just a bit too fast. I fully expected some damage on landing. Sure enough there was some damage. Nothing major as can be seen in this photo.
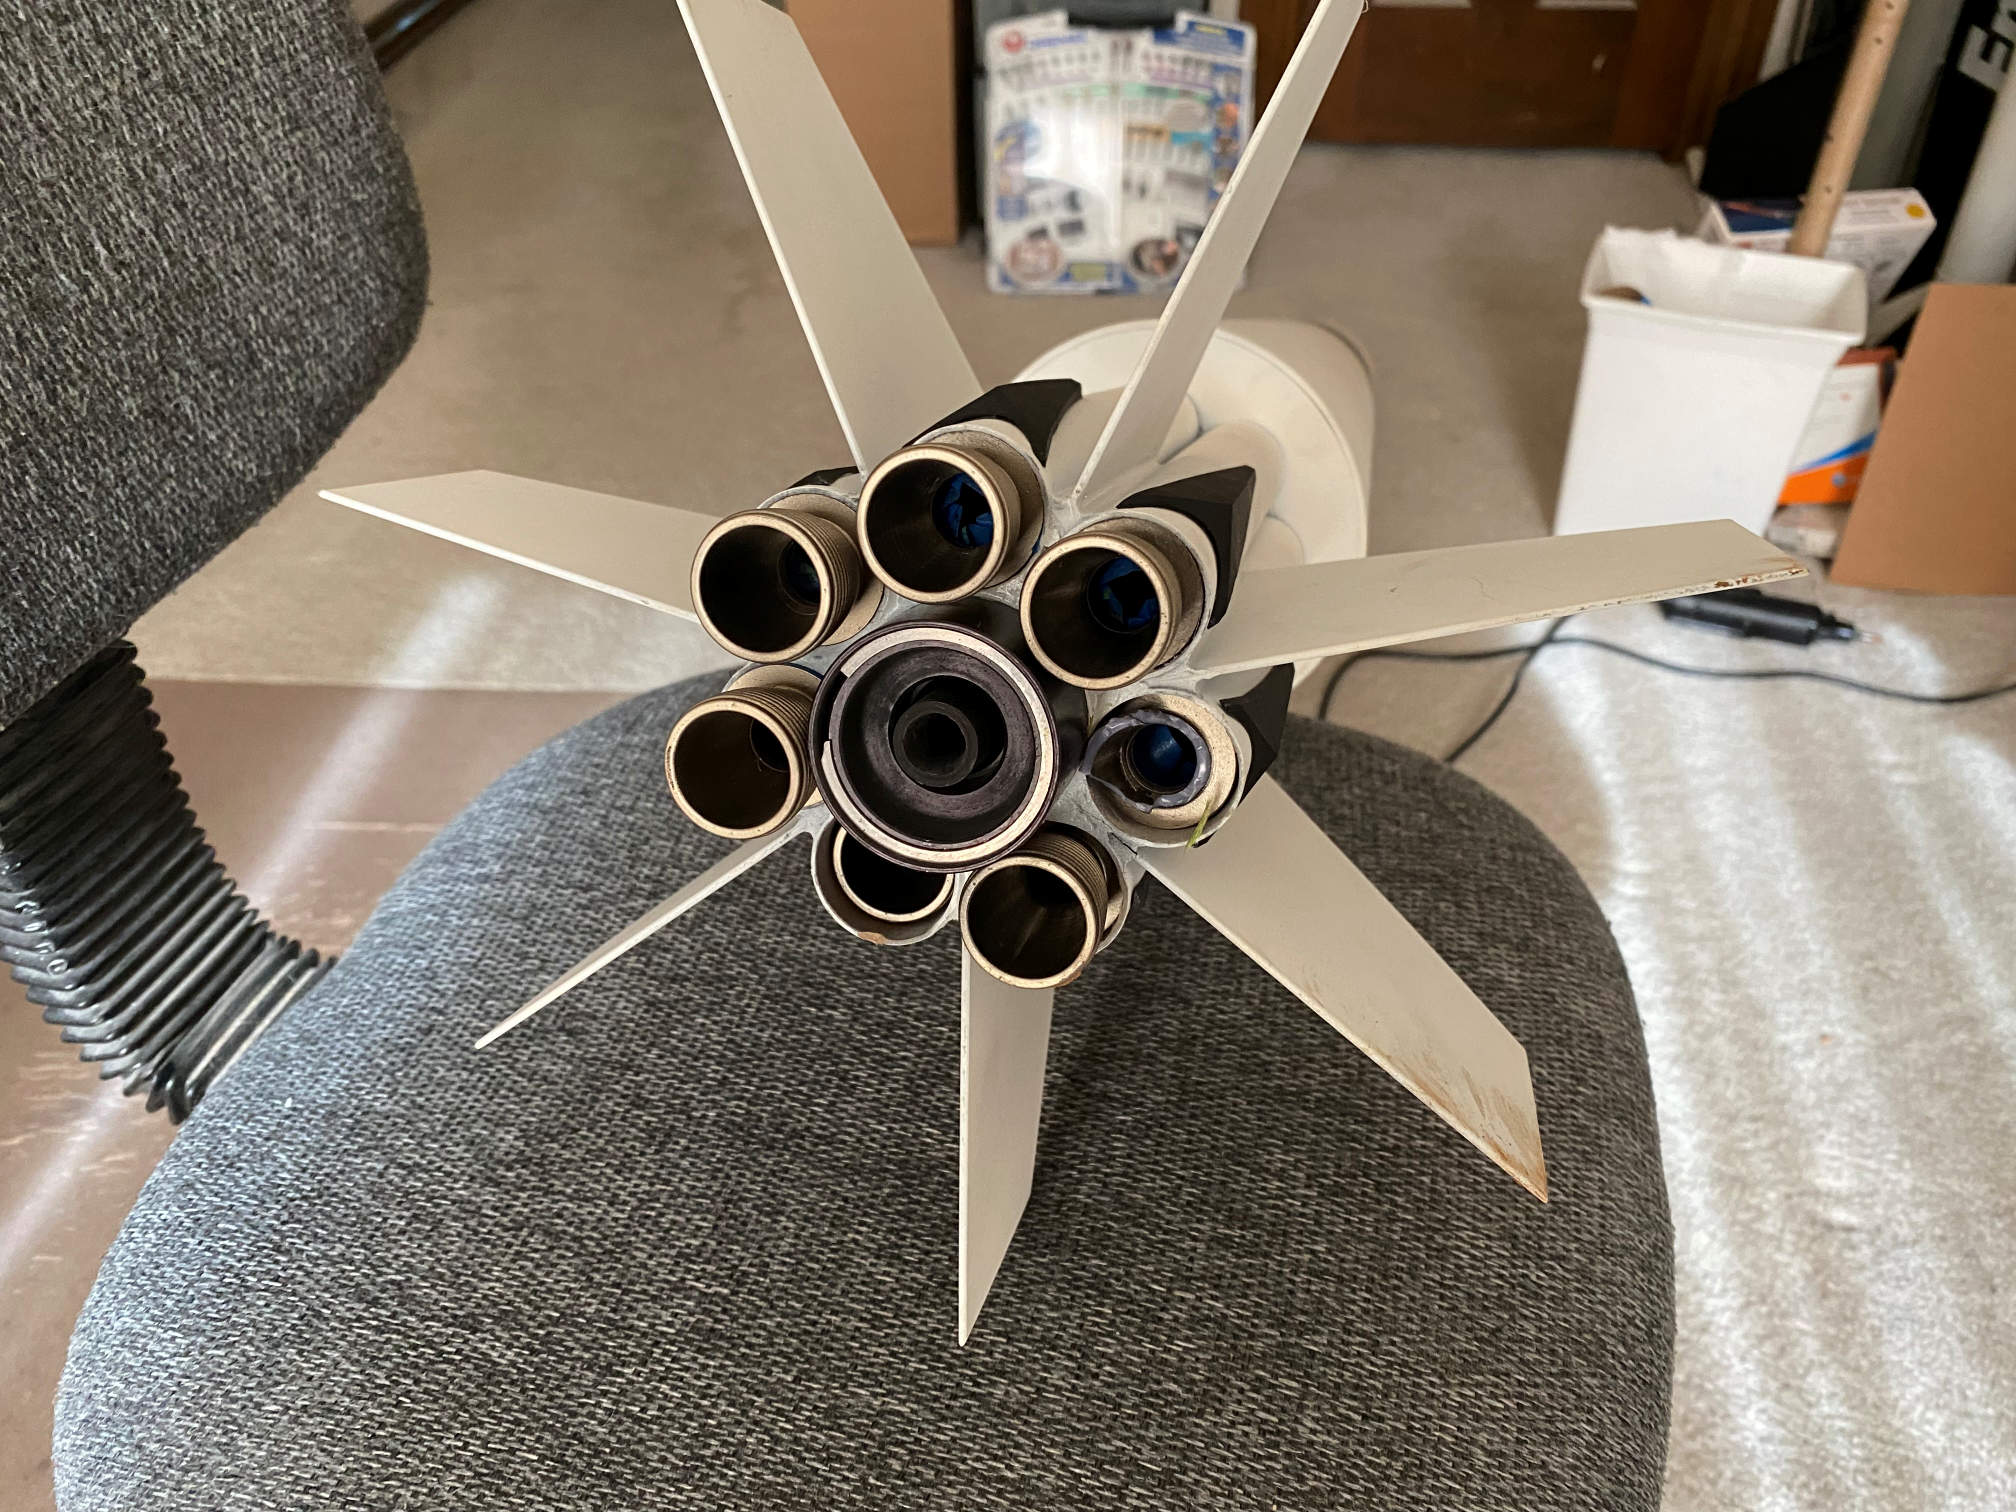
One nozzle was pushed in. I think that actually happened when I put the rocket on the launch rail. One nozzle actually broke off after being pushed inside just a bit. Judging from the dirt on the adjacent fins this was the side that took the brunt of the landing forces. No damage to any fins, just the one nozzle. I tried grabbing part of the broken nozzle with some pliers and pulling the nozzle out, but that didn’t work. All it did was break off more of the nozzle. I should be able to use my Dremel tool and grind a bit off and then be able to extract the rest of the nozzle. I already have a painted spare waiting.
I’m sure that if I had used a larger parachute I would have had less damage. It will get repaired and be ready to fly again.
Now, I’m off to finish another project.
