
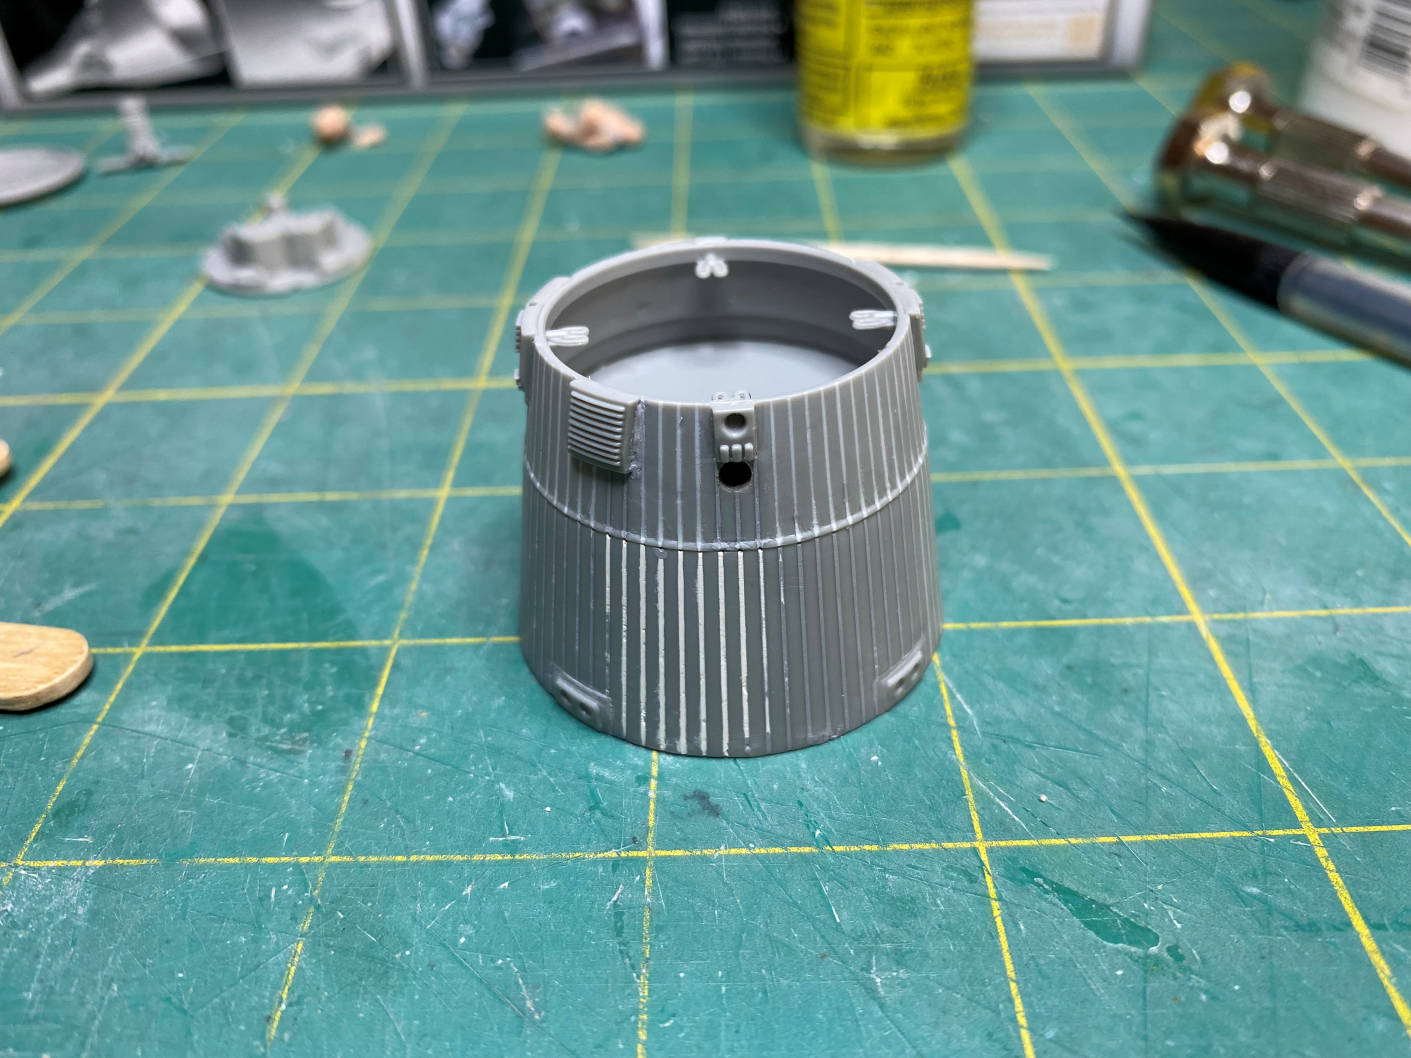
I was doing some dry fitting of the two adapter sections and found that the locator pin for the two sections is misaligned. If you build it stock the roll/yaw/pitch thrusters on the equipment section will not be oriented properly. They should be 45 degrees from the translate right/left/up/down thrusters that are on the retro section. This picture shows the pin. Also note that the little pointy bits that were at the back of the equipment section are gone. Those are bolt covers for the bolts that attach the spacecraft to the Titan II booster. When the bolts are blown at orbital insertion to separate the spacecraft from the second stage, those covers are blown off the equipment section. Since this model is depicting an on-orbit spacecraft they had to go.

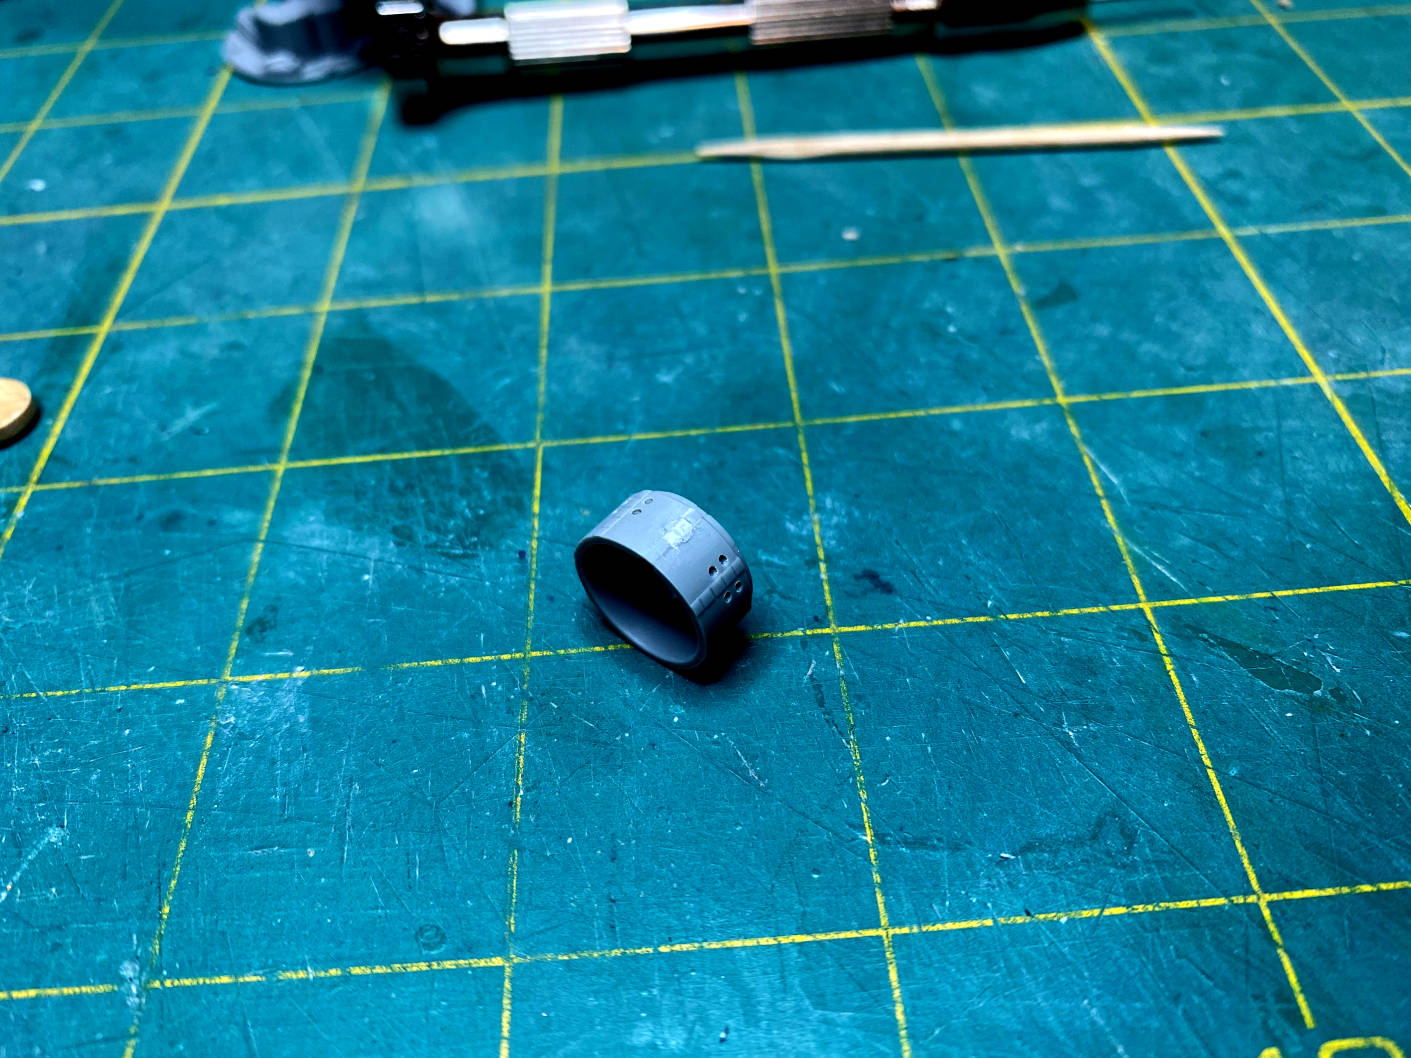
Removing the alignment pin lets me align the two parts as needed. Fixing that alignment problem created another. The back of the equipment section has the translate forward thrusters. If you use the alignment pin provided then they are no longer in the proper place. They should be in line with the translate up/down thrusters on the retro section. Here is a picture showing the pin to be removed.

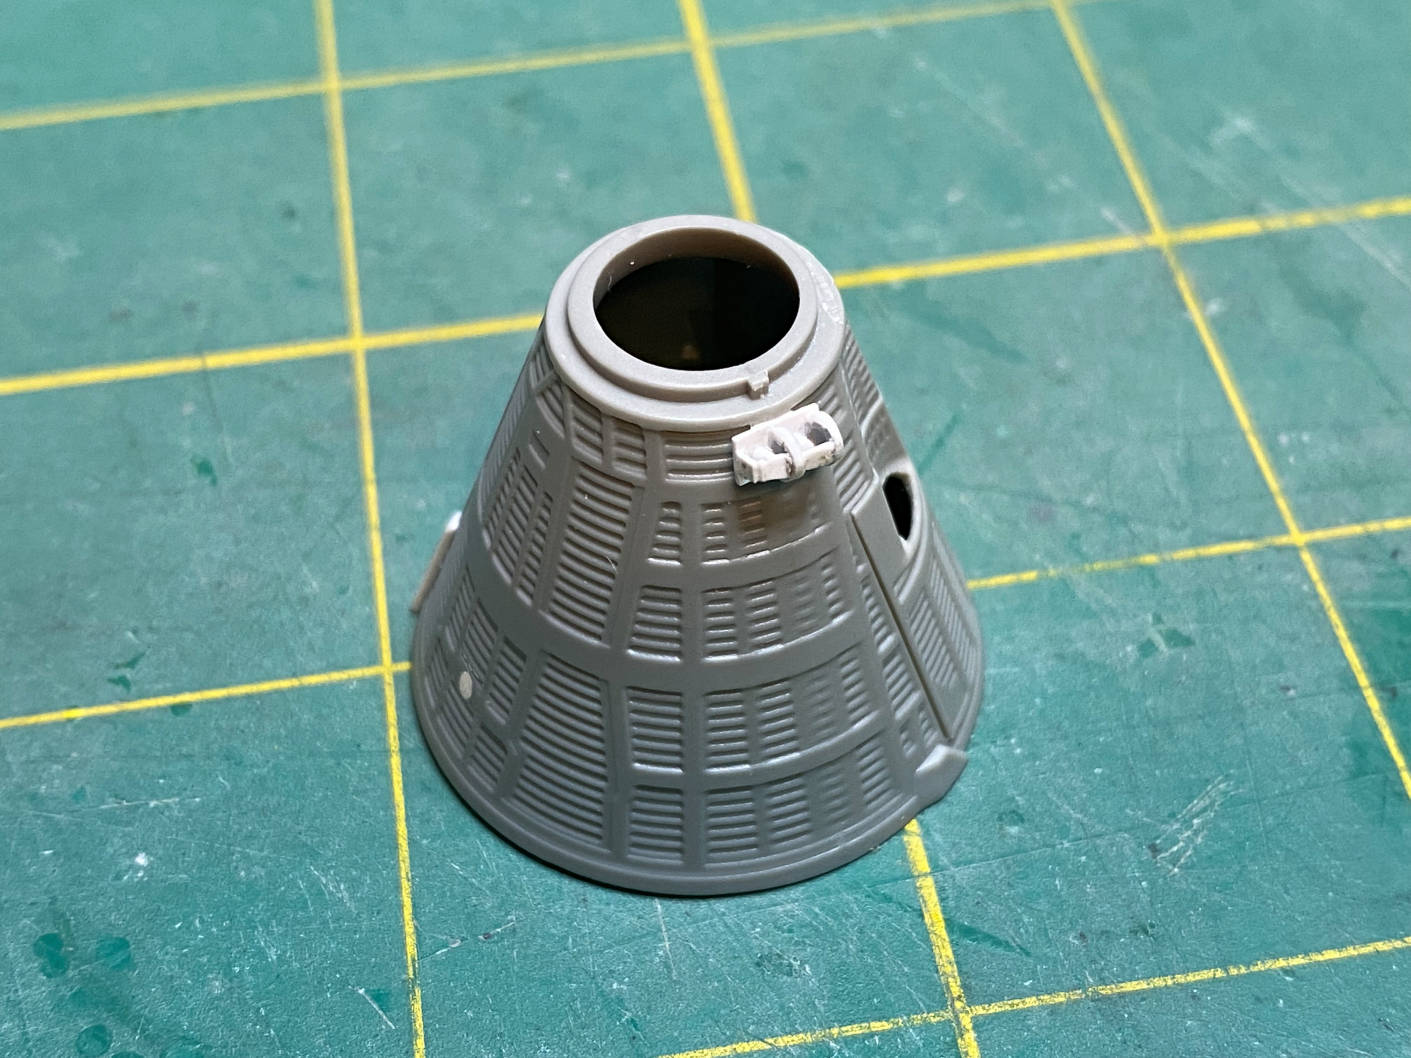
I also added the antenna to the nose piece.

I used some 0.005 sheet to create the new shingles where the Horizon Sensor Cover would have gone.
The upper row of shingles on the re-entry section is not quite right. There should be two rows that run from the cabin section to the recovery section. Between them is where the white line that covers the parachute harness runs. I used strips of 0.005 styrene with cuts to make them look like individual shingles.

I was originally going to drill through the translate up thruster to put the rod that will attach the model to its base. After doing some dry fitting, it looked like that would be too close the the heat shield and might interfere with it. So I drilled a hole below the translate up thruster.
Then I glued a short section of brass tube and then used some epoxy to seal the end of it to keep the mount rod from going all the way through.

I then moved to the crew section and added the third strap cover the is not included in the Dragon kit. It extends below the cabin part since the back piece is not molded into the heat shield the way the other two are.

I then started on the part I was not looking forward to. The horizon sensors. At 1/72 scale they are very tiny and very hard for my fat fingers to work with. It is not exactly scale but I think it gets the idea across and at least there is something there that resembles the sensors instead of nothing. Here is a closeup of the part I scratched up.

It is now attached to the crew section. I’ll put some Mr. Surfacer in the small gap between the ends and the capsule body.
I think it will do fine. Now I can do a bit of assembling and then I’ll prime the parts.
More to come. Thanks for looking.
