
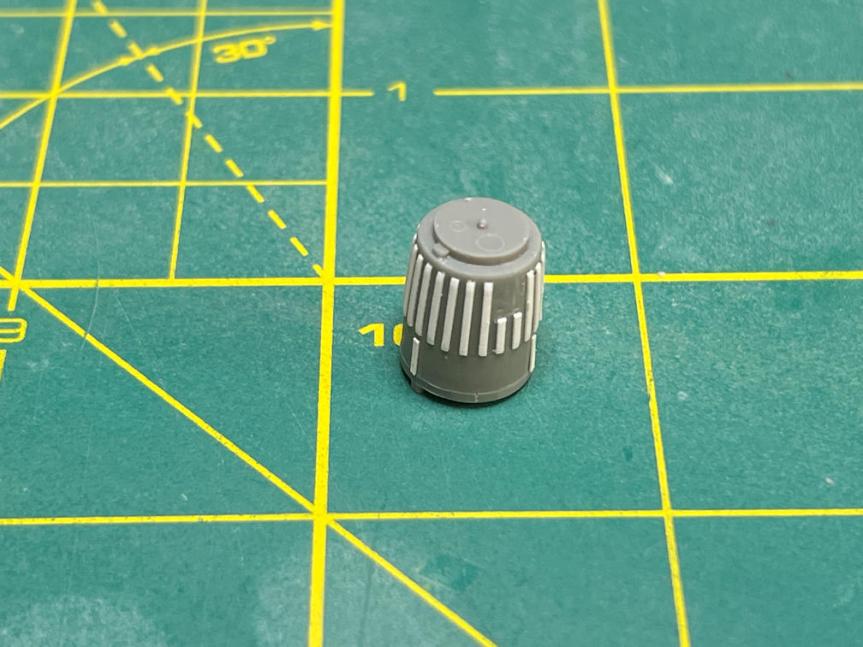
It’s been almost three months since I posted anything let alone a update on this build. It’s been kind of crazy and my most of my extra time has been eaten up with other things. But lately I have been able to find time to concentrate on this model. I’ve been working on it for a little over a year now. It’s about time I wrap it up.
The above photo shows the antenna faring for the capsule. It originally had some light raised lines on it which were supposed to represent the corrugations on it. As I did on that last capsule I built in 2024 for the Mercury Redstone, I used .010 by .020 strip stock and made some new ribbing. I also added some straps that are on the lower antenna cover with the same stock. I also cut out a section to leave room for the horizon sensor cover. I’ll build that later.
I then moved on to the tower posts. They needed the excess wiring removed and the mold mismatch lines cleaned up.
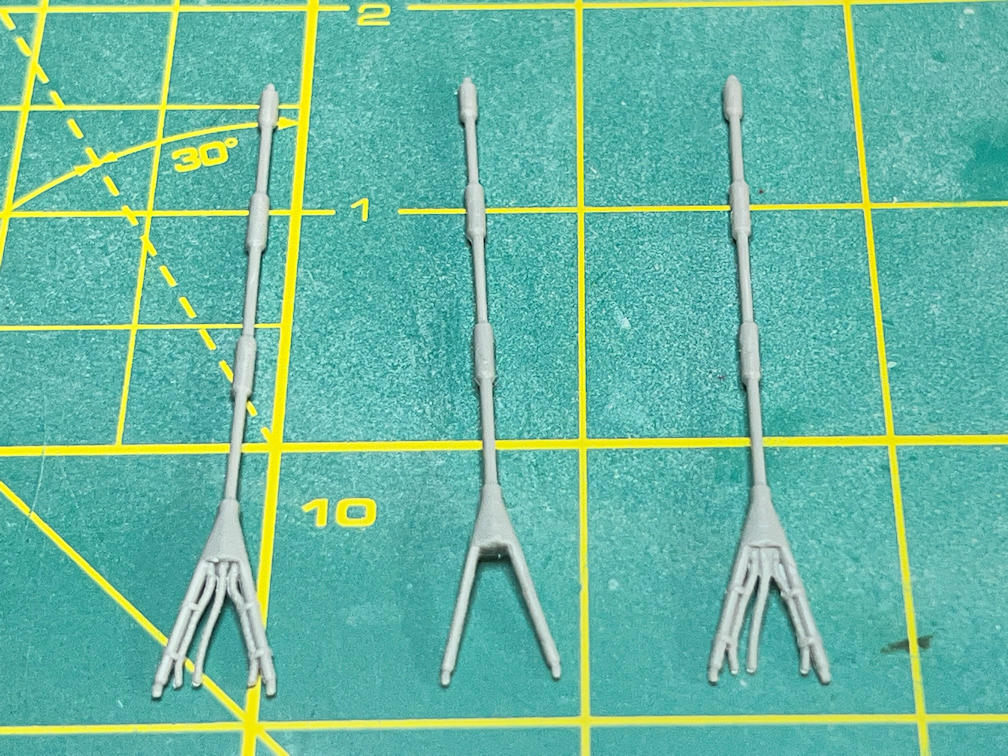
As noticed by other builders of this kit the tower braces on the nose cap are too long. I made multiple attempts to shorten them and at the same time keep them lined up with the tower legs. Each attempt came up short. I guess I’ve lost the ability to measure properly, but at this point I didn’t want to spend anymore time fighting it so I grabbed a nose cap from another kit. That kit won’t need it since if I build another 1/48 Mercury capsule, I’ll be building it as it would look on orbit. I had already bent the tower legs to reduce the outward angle for the modified tower braces so that will have to be reversed.
I painted the cap Tamiya X-1 Black and when it had dried I coated it with Microscale Micro Mask. I then checked to see how much I would need to bend the legs back to their original angle.
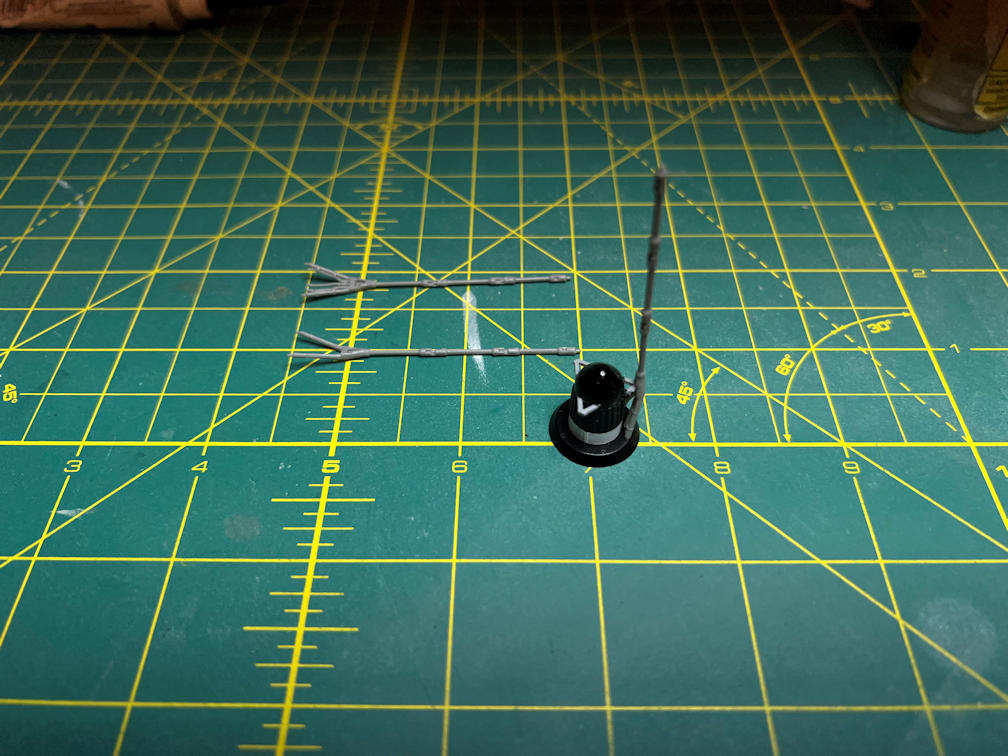
I also glued the rocket nozzles to the body.
I then went back and finished building the tower, using the nose section as a jig so I could check the bend angle on the legs.
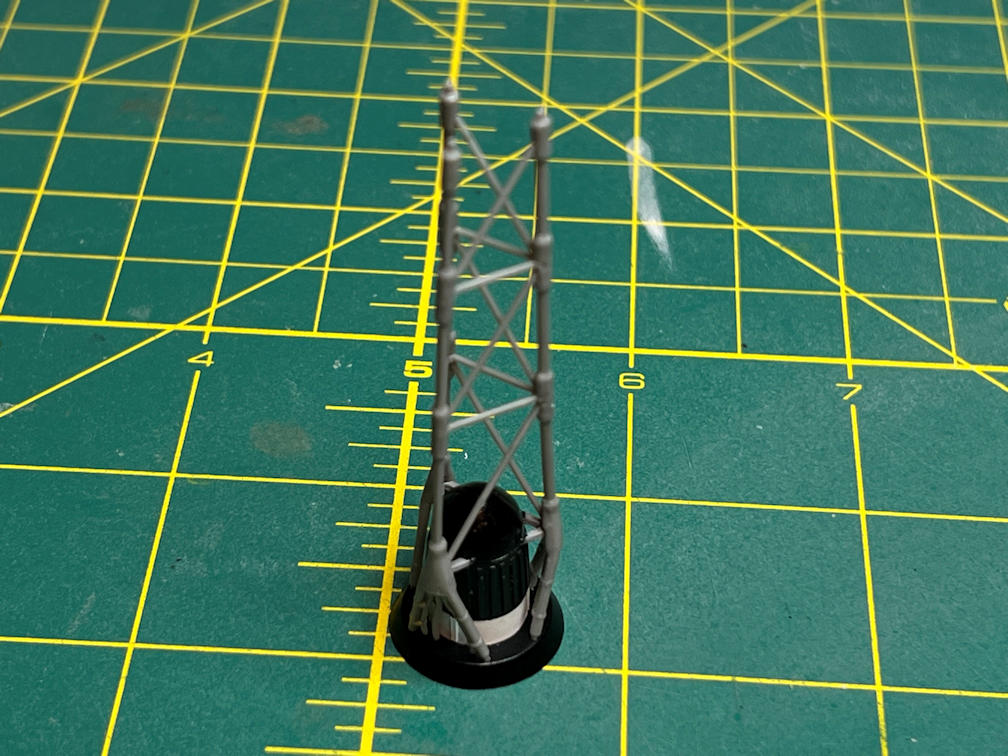
Next the tower section was sprayed with primer. I also added the conduit that leads from each wired leg to the leg with no wires.
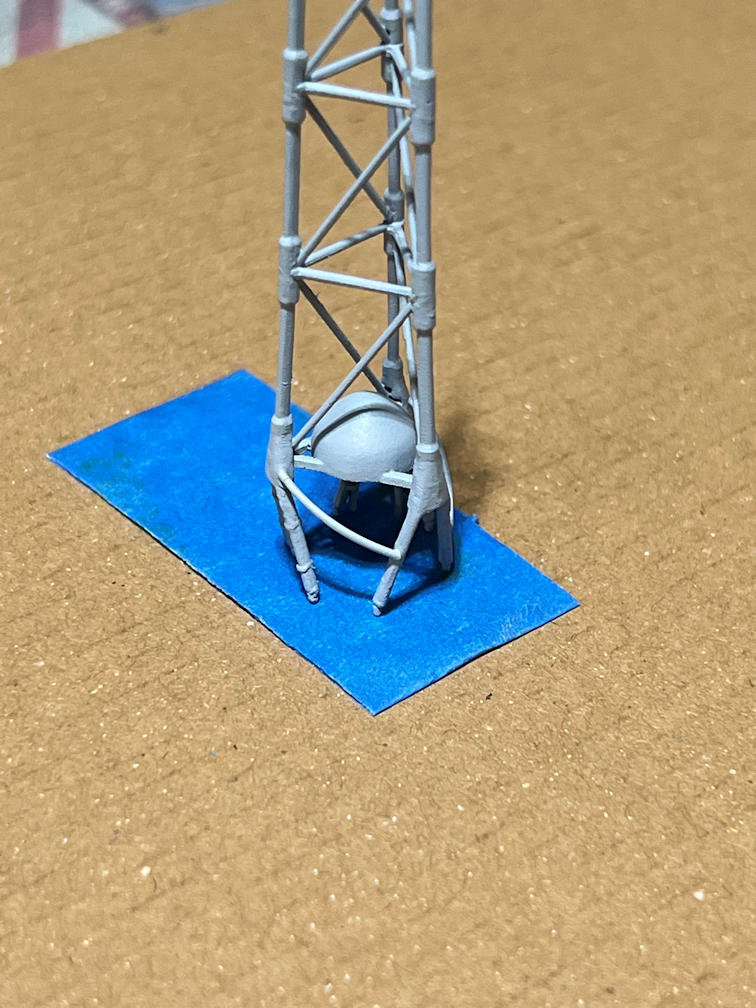
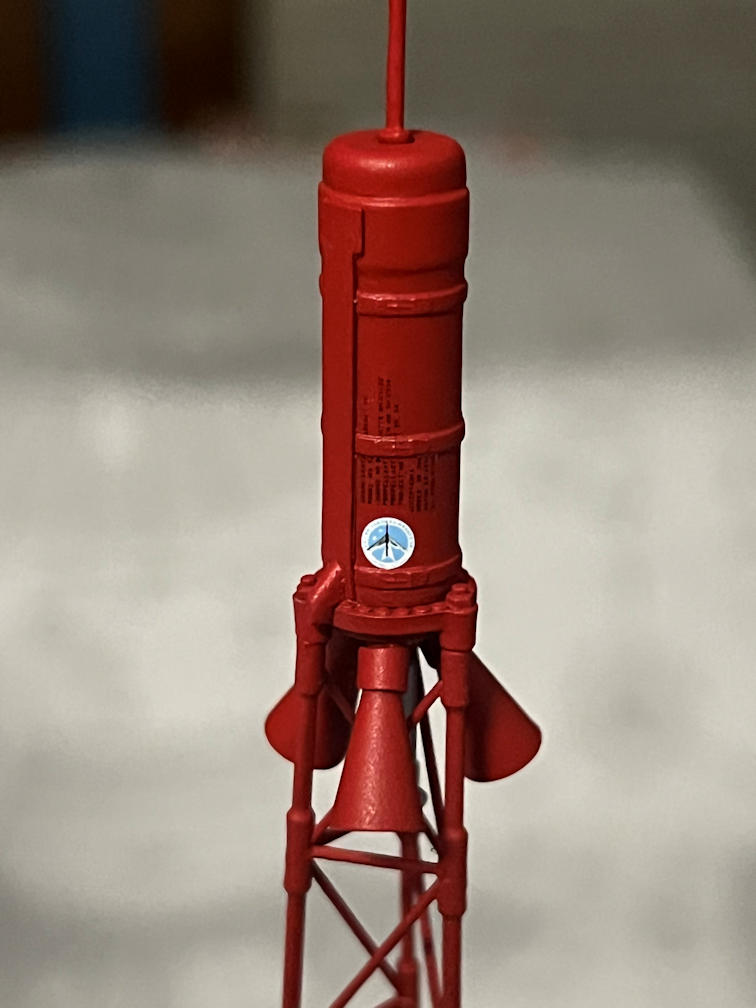
Next I painted the tower Vallejo RLM23 Red. The wires were painted Vallejo Silver RLM01. I also removed the masking from the nose cap.
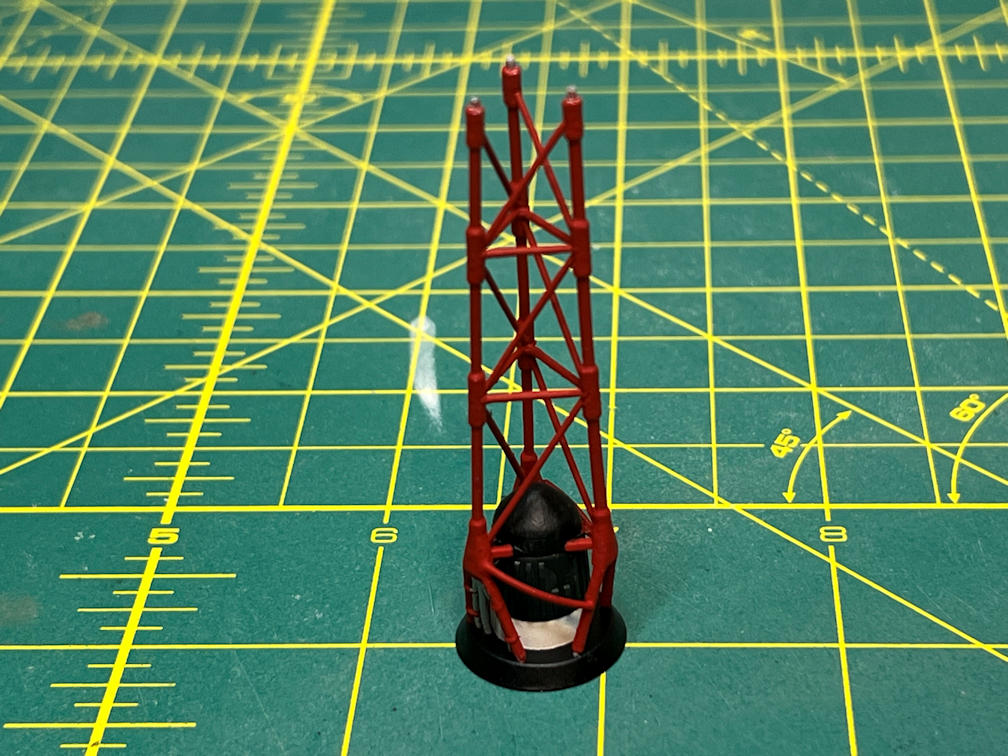
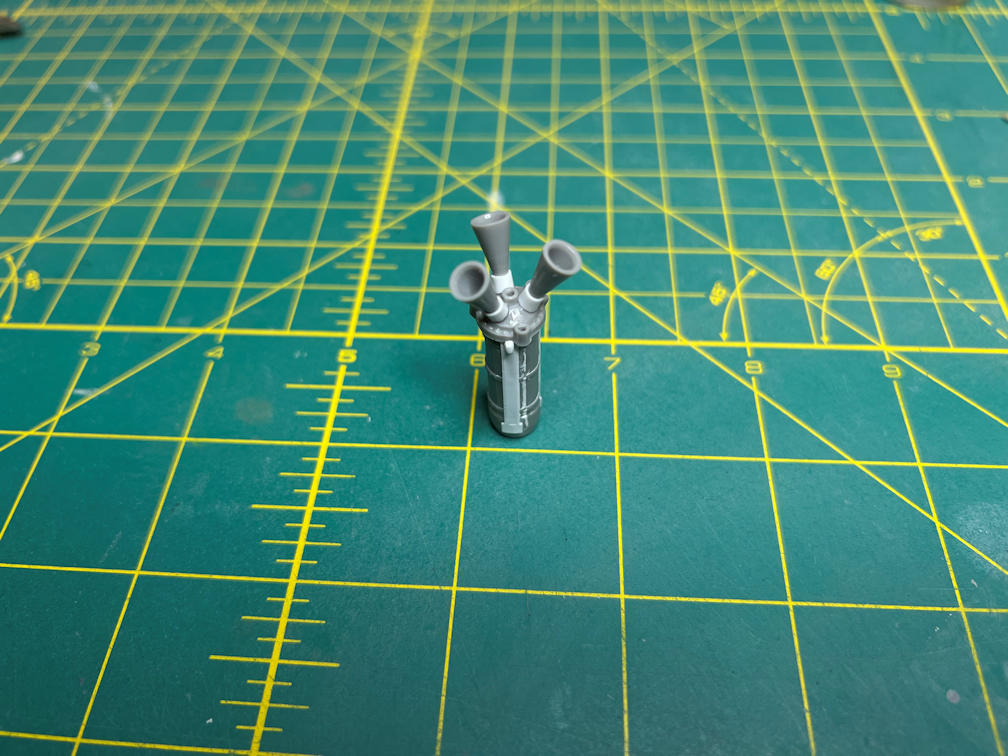
I also painted the rocket motor with the same RLM23 Red. The decals were added and then the tower jettison motor was attached. It had been painted Tamiya TS-30 Silver Leaf.
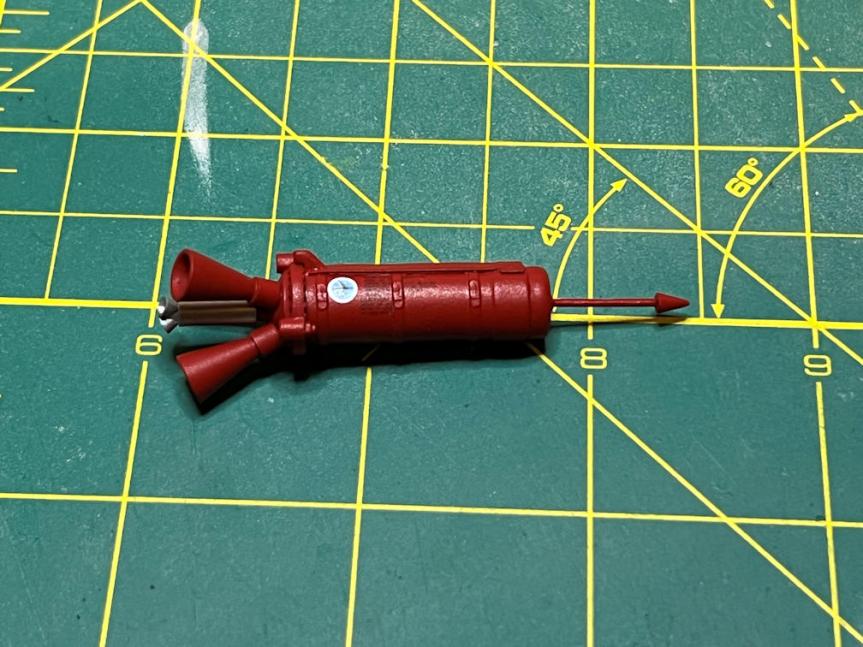
Next I created the horizon sensor cover with a rectangle of 0.005 sheet stock and the teardrop shaped cover was made from 0.010 sheet stock.
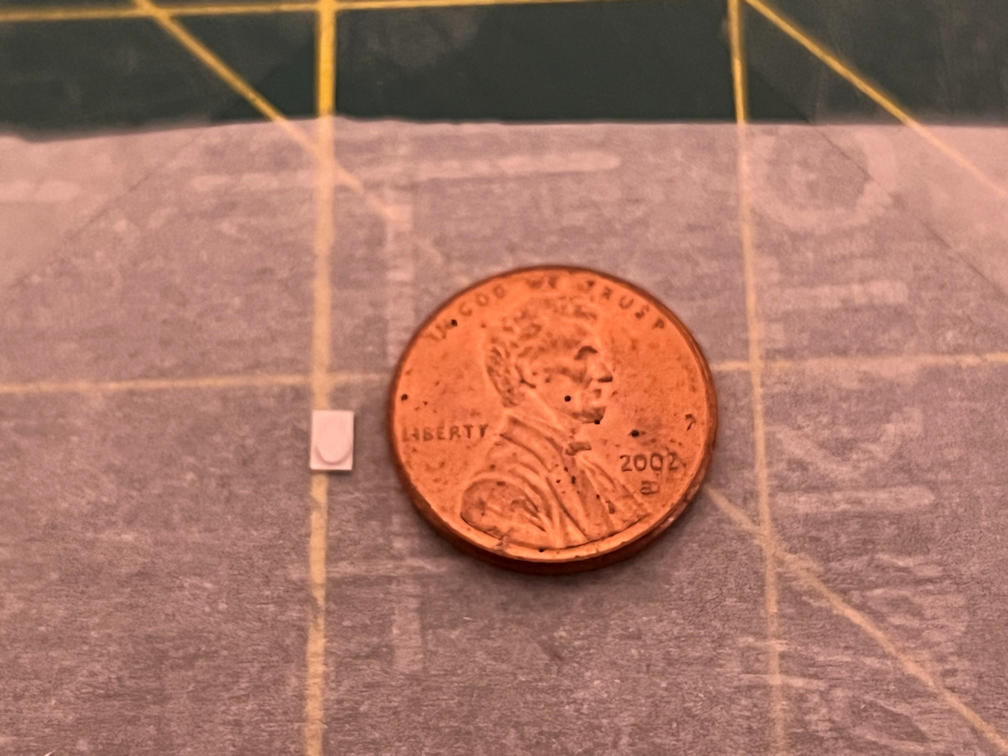
I then primed it and painted it Tamiya XF-1 Flat Black. Then it got a coat of Tamiya Flat Clear. After the clear coat cured I glued the cover to the antenna faring with Elmer’s White Glue.
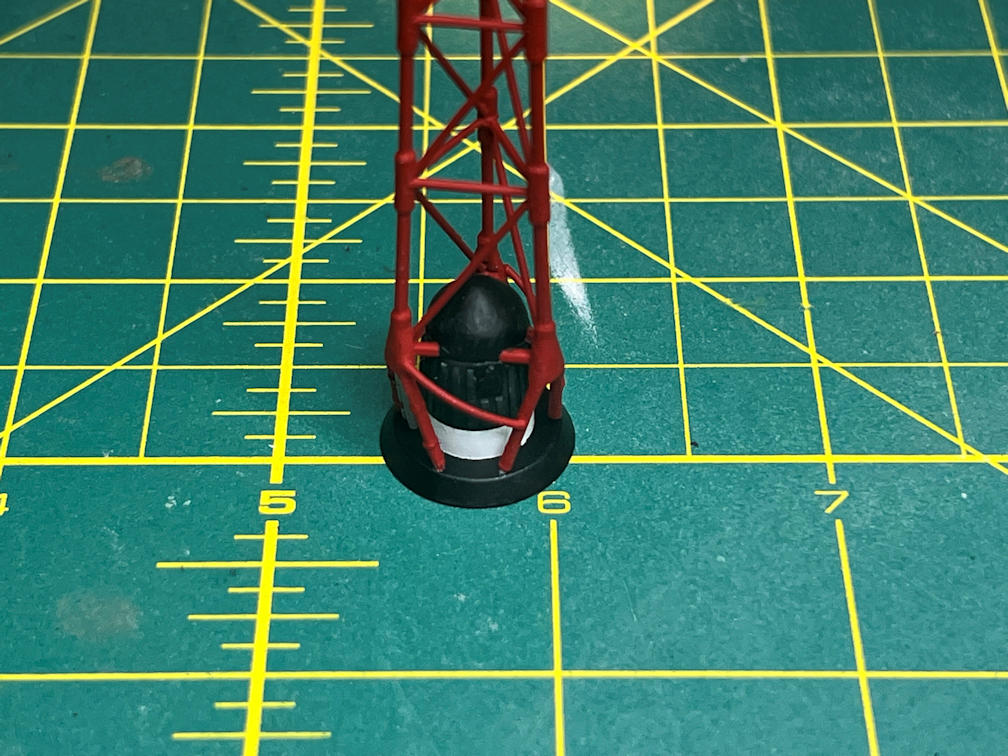
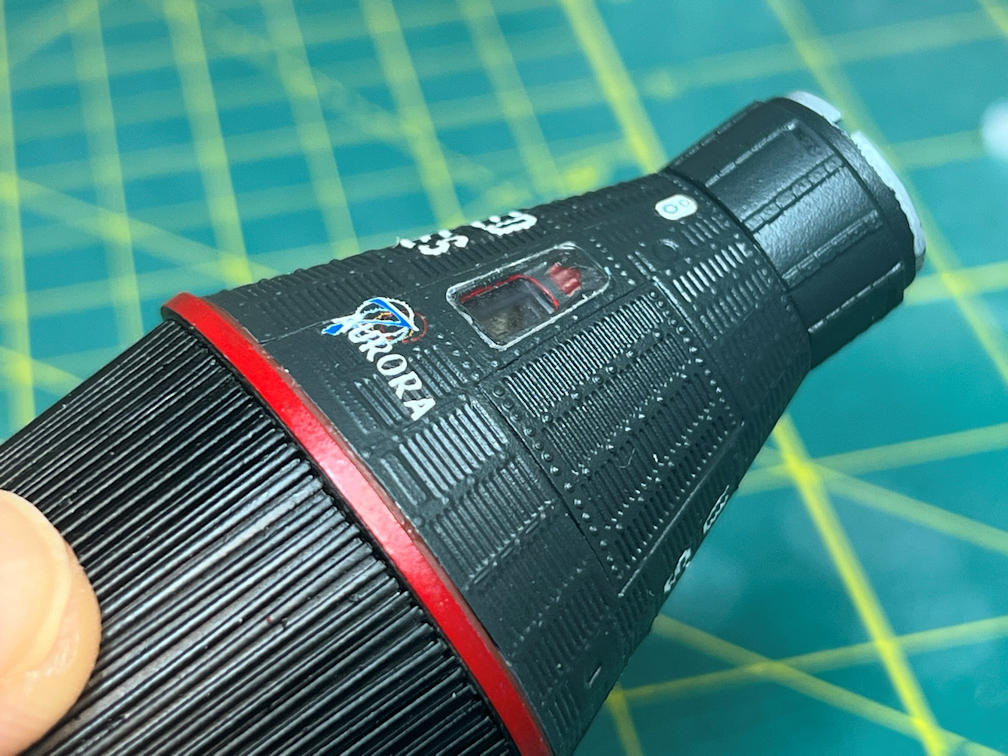
I then glued the heat shield with the capsule interior to the Atlas adapter and glued the capsule fore body to the heat shield. Note, you can just barely see the astronaut figure through the window.
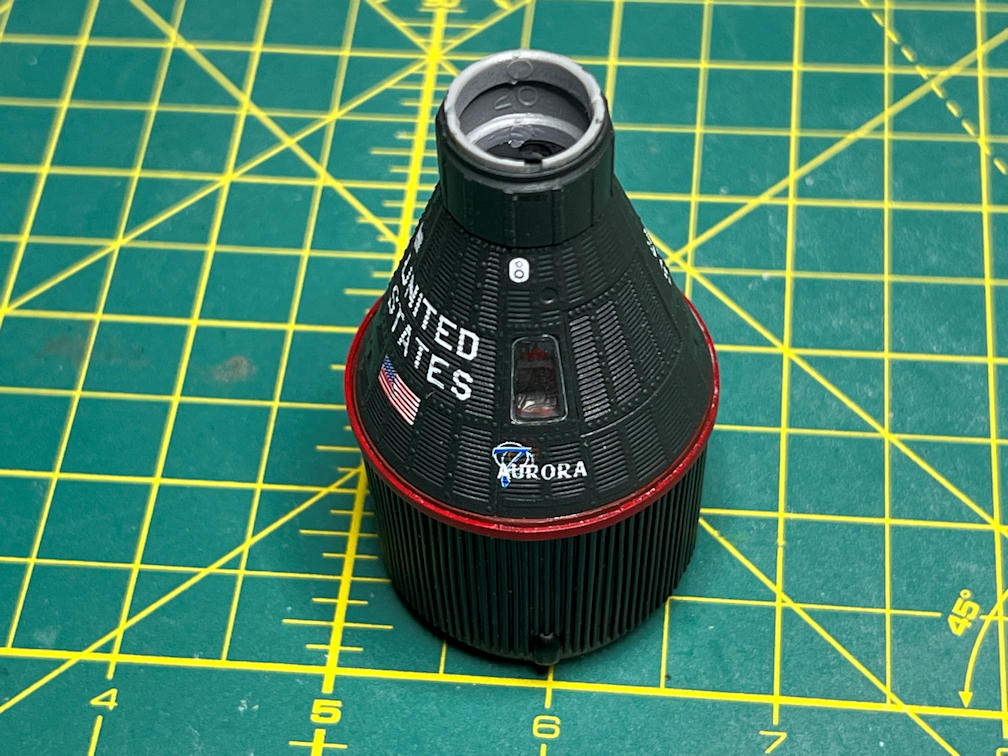
After I attached the capsule body I took a couple of photos to show how much can be viewed through the window. You can see the control panel but it is hard to make out much color since so little light gets through.
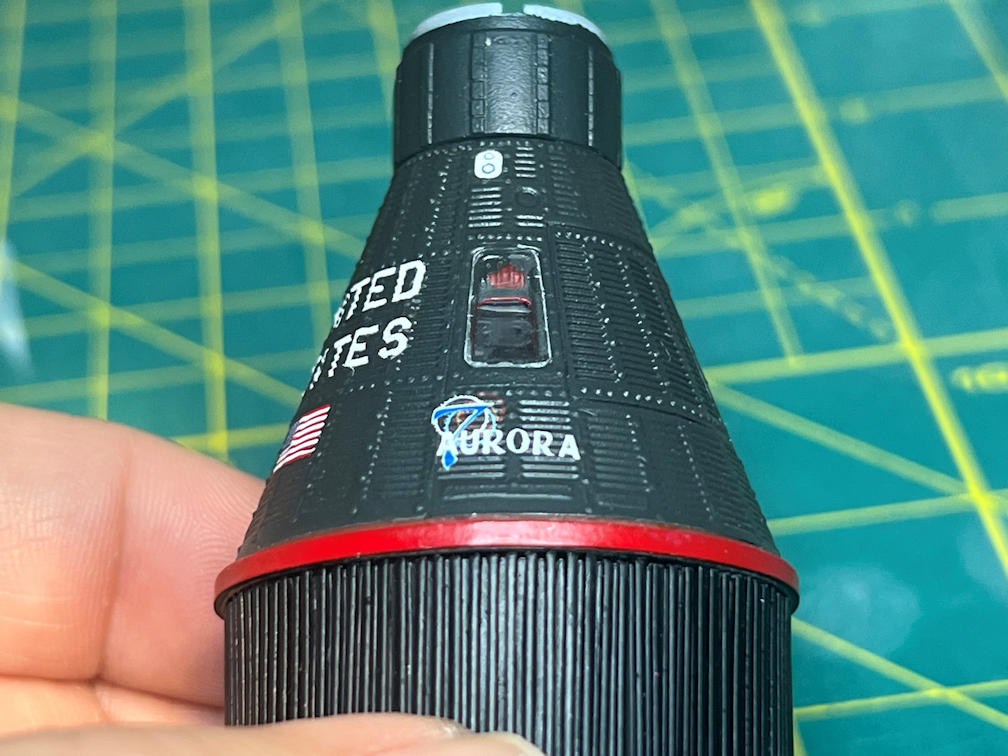
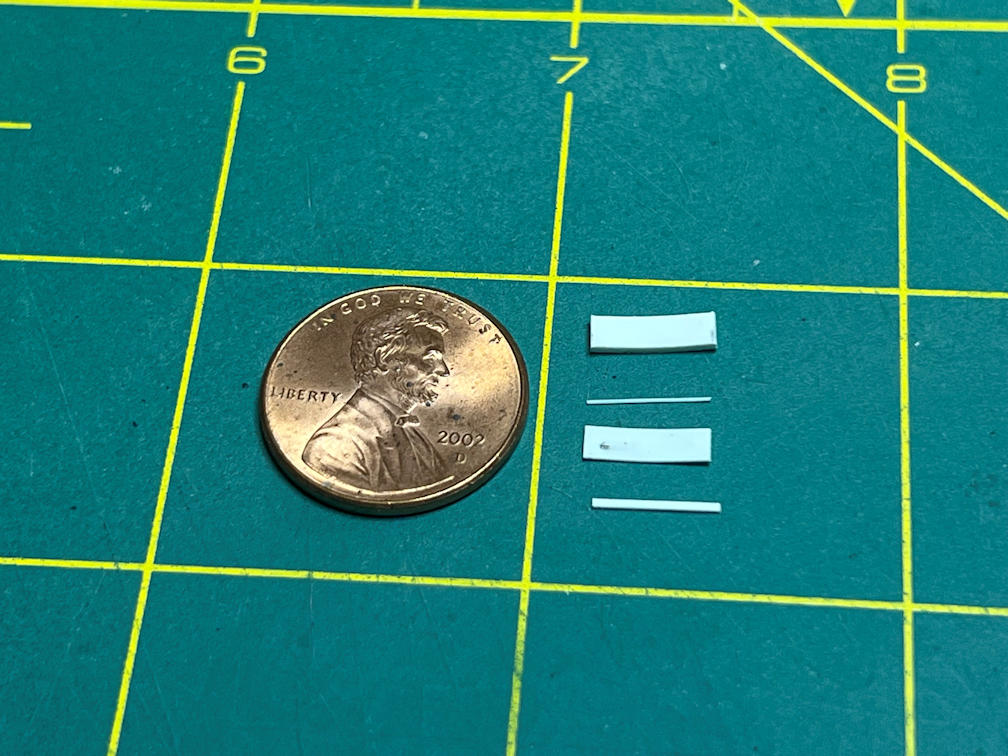
On to the umbilical covers. I’ve been thinking about them for a long time. None were provided in the kit so they needed to be scratch built. I finally came up with a workable solution. They are not perfect but at this point I think they are good enough. I made them from four separate styrene parts. The below photo shows the individual parts. From top to the bottom the pieces are made from 0.030 x 0.188 strip, a section of 0.3 mm rod, a section of 0.010 x 0.188 strip, and a section of 0.015 x 0.020 strip.
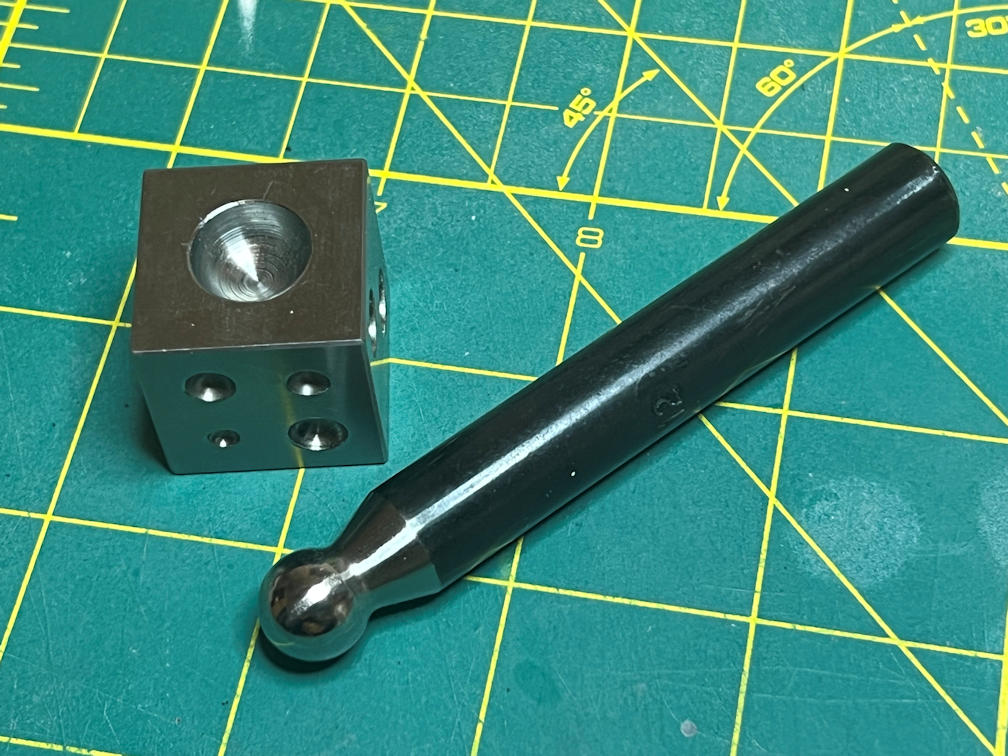
Note the parts have a slight curve to them to match the capsule and the retaining ring. I used a dapping tool to form the curve. I’ve used it with great success with photo etch antennas from after market kits for other models. Here is a photo of the dapping tool.
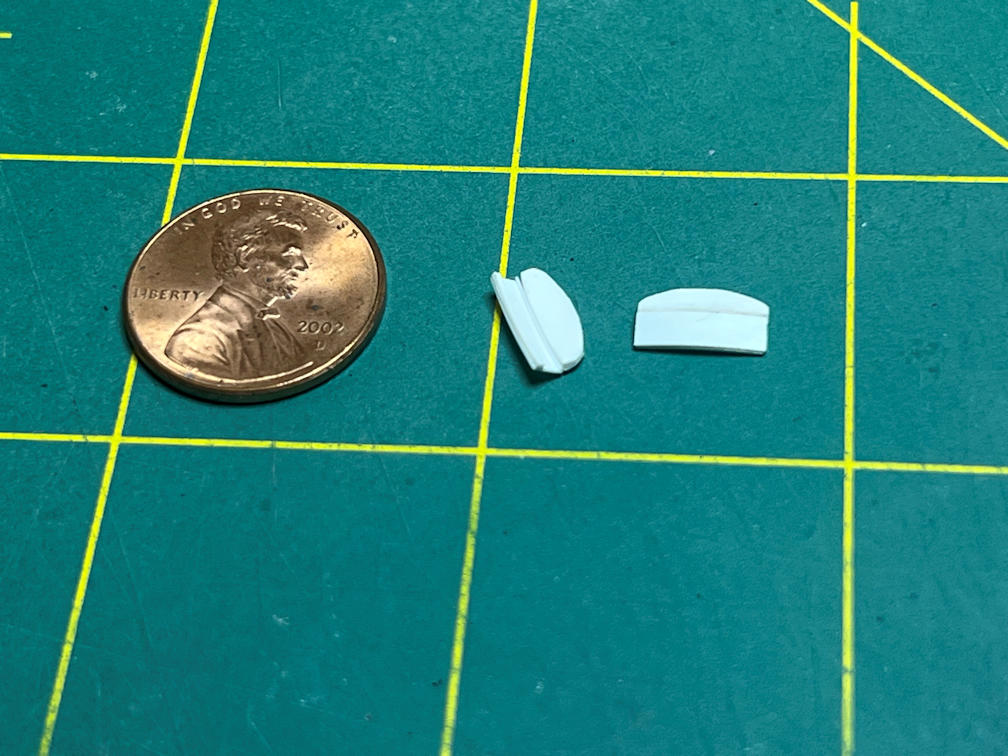
I shaped the 0.030 x 0.188 stock to the approximate shape seen in various pad photos. Then the strip of 0.010 x 0.188 stock was narrowed to fit over the clamp ring and leave just enough room for the 0.015 x 0.020 strip. The 0.010 strip was glued to the shaped part at an angle that would allow the shaped piece to rest against the capsule body and the 0.010 strip would rest against the red retaining ring. Then the 0.3mm rod was placed into the inside of the joint and glued in place. This would make the joint stronger to help it hold up to handling. Finally the 0.015 x 0.020 strip was glued to the bottom of the thin wide part so that it would engage with the bottom of the red retaining ring. Here is a photo of both sides of the umbilical cover.
Then they were primed and I used a bit of filler on the outside seam. A brief sanding session followed along with another coat of primer. When the joint was gone I sprayed them Tamiya TS-14 Black followed by a coat of Tamiya Flat Clear. Here is a photo of the capsule after they were glued in place.
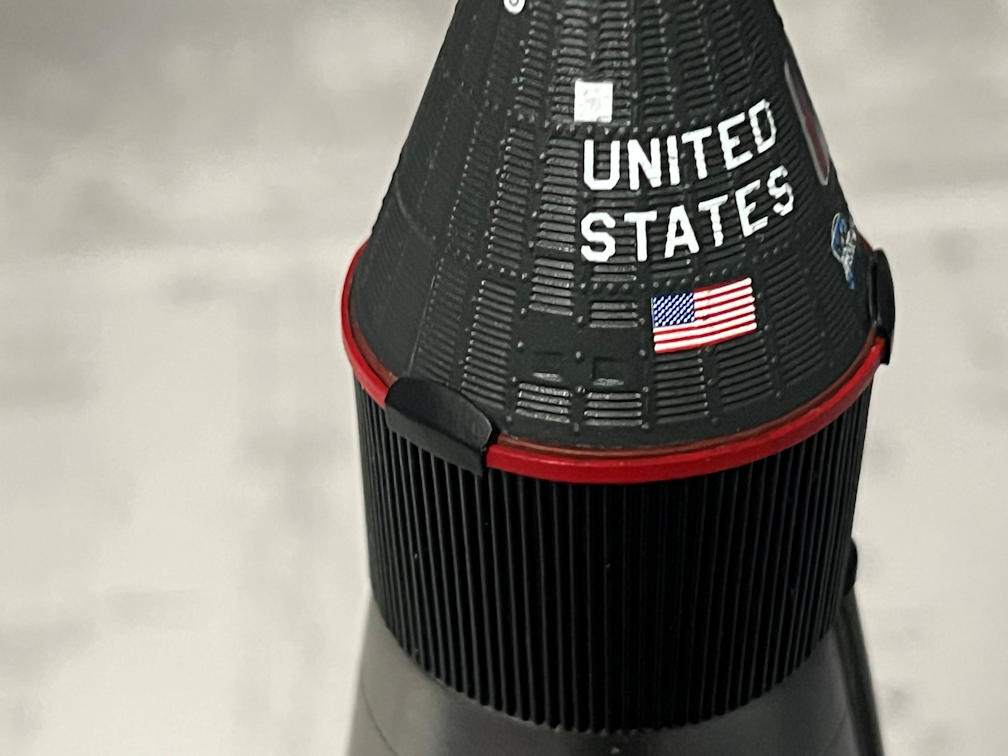
I then glued the tower into place on top of the capsule. When the glue on that part was set, I glued the escape rocket to the top of the tower. I then touched up any blemishes on the tower with the RLM23 Red. Then the adapter/capsule assembly was attached to the top of the Atlas booster. Here are a few close up photos of the capsule area.
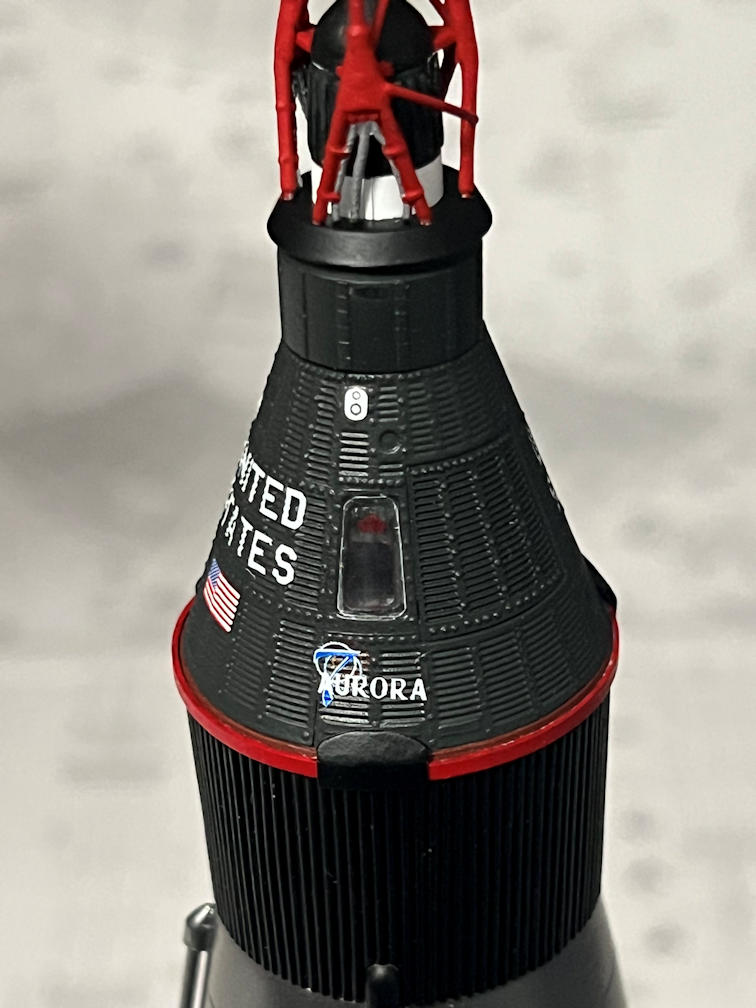
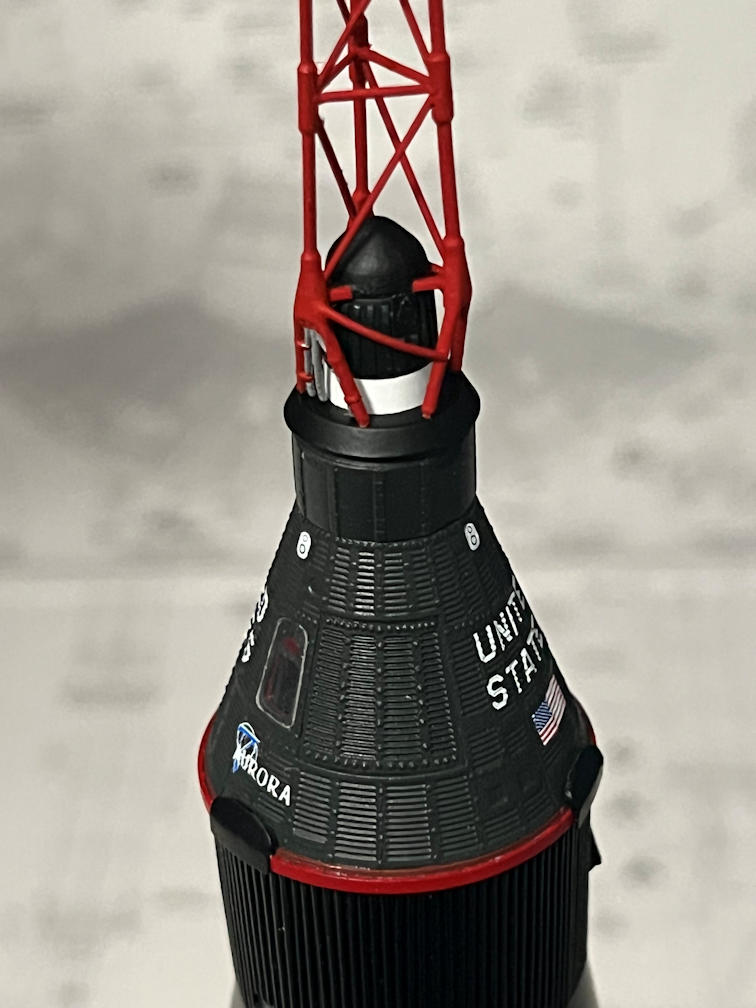
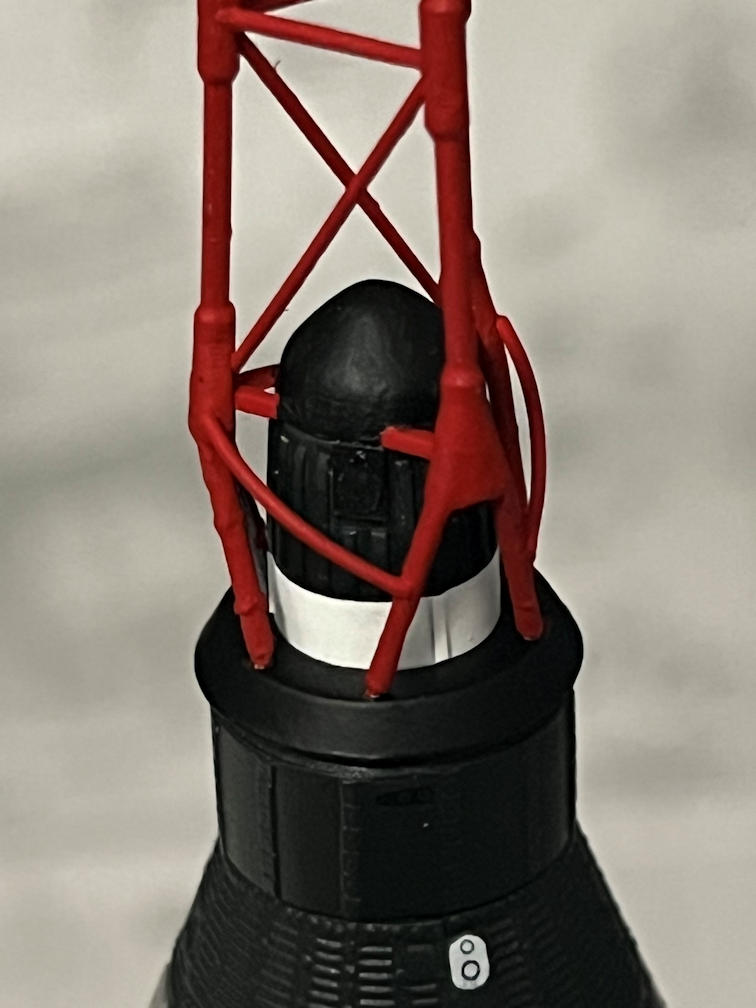
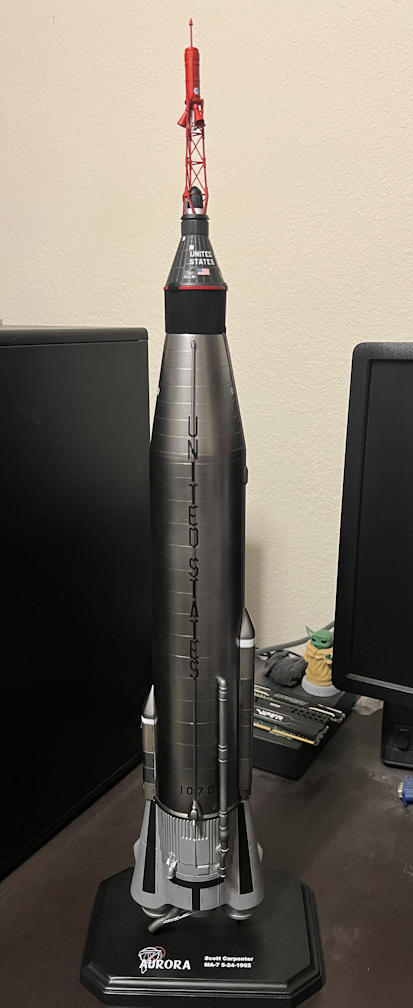
With that the model is finally finished! Here is a photo of the completed model. You can click on any photo to see a larger version.
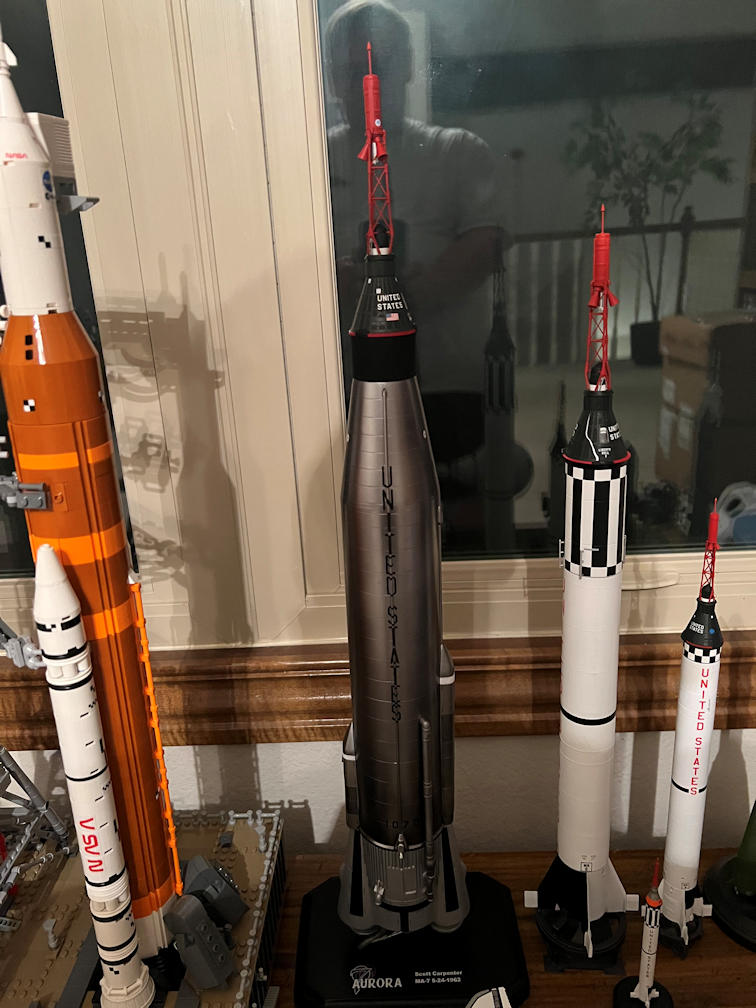
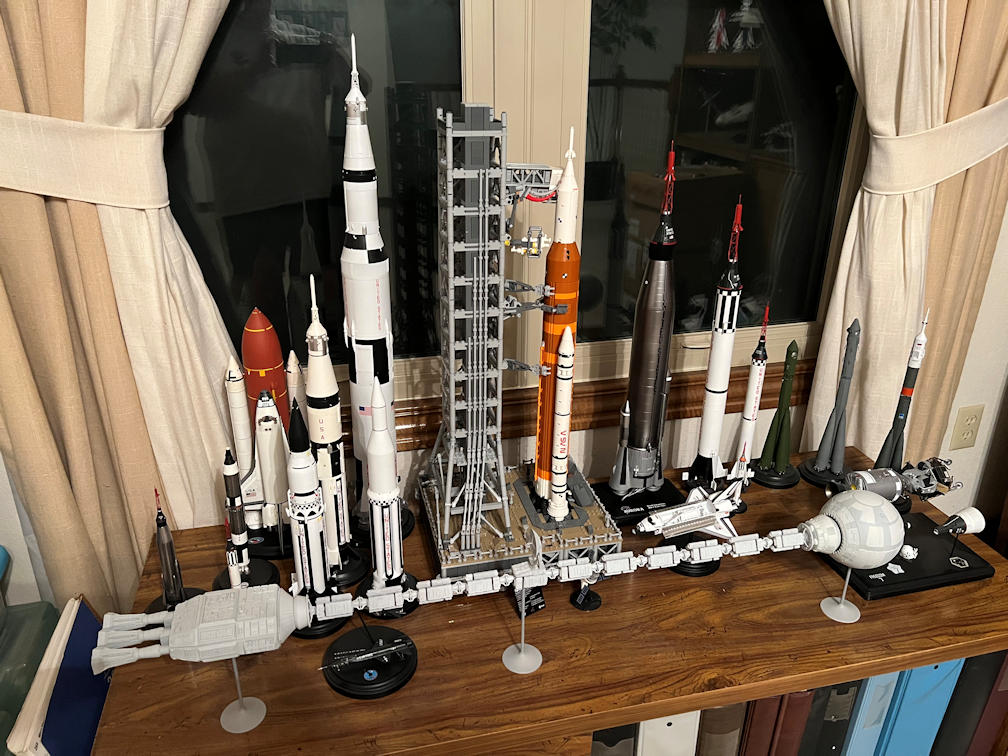
The second and third photo shows more of the collection.
When I started this build seventeen months ago I really didn’t think it was going to take me this long to complete. I’m glad it’s finished and I’m pleased with how it turned out. It’s not perfect by any means but it’s good enough for the only audience that matters. The next model I build, whatever that turns out to be, will be a completely different subject and I’ll probably build it mostly out of the box. I need to recharge a bit. I have a 1/48 Eagles Talon Gemini Titan II kit in the stash. It’s been in the stash a few years longer that the Atlas was. It will probably stay there a good while longer.
Thanks for following along the journey. There is more to come.

